Tag Archives | Video tutorial
all-three-on-worksurface

Heat Embossing on Foil

Hello! I recently had someone ask me if you can heat emboss on foil paper. The answer is YES! But there are a few tricks to doing this. So today, I’m going to share with you the tricks for heat embossing on foil paper.

June is wedding season here, so I have three wedding cards to share using foil paper and this technique.

The background florals are from the May 2019 Hedgehog Hollow kit, and I love them! This kit has sold out, but I hear that we may be seeing some more designs from Sophia Caldwell in the July Kit! Be sure to head over to the store here to pre-order your kit.

I used Ranger Black Sparkle embossing powder for all these cards today (it has glitter in it and you know I love my glitter!)

Foil is notorious for curling when you apply heat, so before you heat emboss, allow your heat gun to warm up for 30 seconds. Then apply heat in short bursts.

I have all the details of how to make these cards in my video below, or watch on YouTube:

Remember to avoid touching the foil card too much, as it likes to smudge and show fingerprints. And, if you get some curling just add something heavy to the top to flatten it out. You may be tempted to run it through your die cut machine again, but don’t! Foil card is susceptible to indentations and it’s much better to treat it carefully.

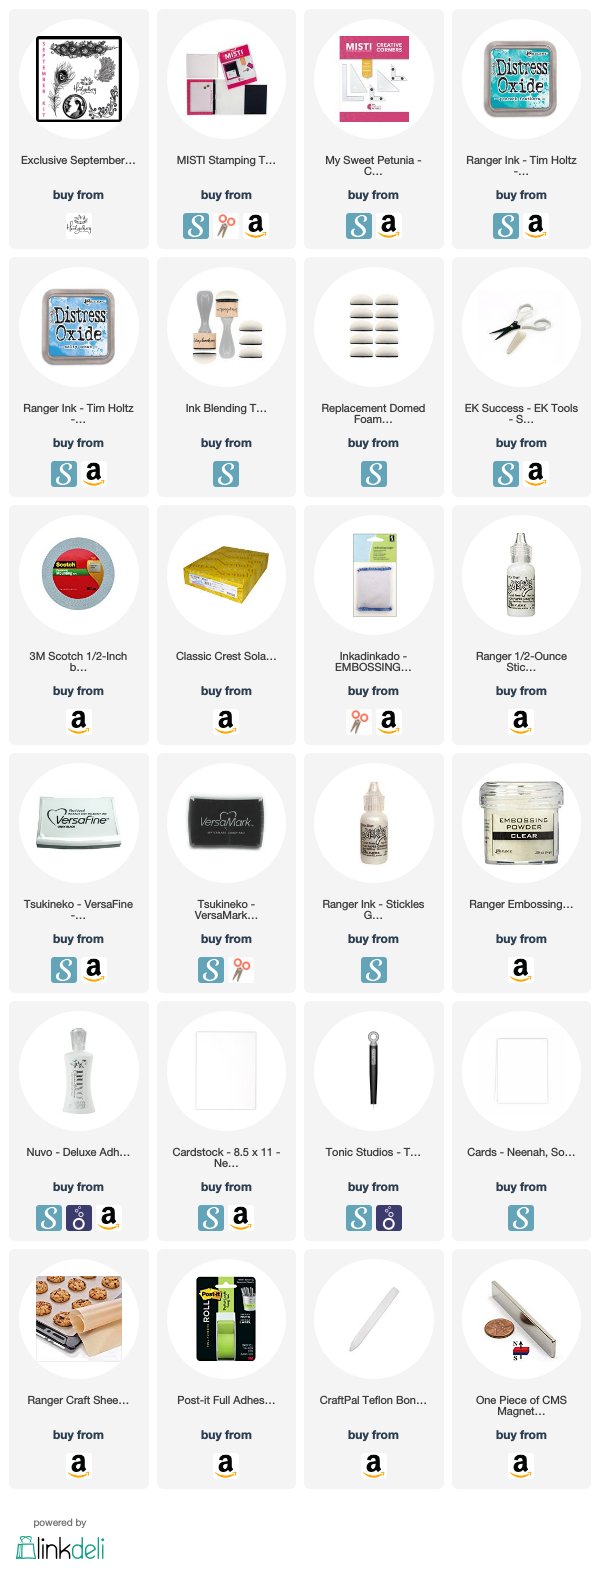
I hope you enjoy this technique! I’m often asked what supplies I used, so I’ve put together the list for you below. Affiliate links are used when possible, so if you click to purchase on one of these links I may receive a small commission. These help to keep up with blog costs so I can continue bringing you fun projects! Thanks for your support!


Thanks for stopping by today!

Comments { 0 }
blue-card-only

Dry Embossing with a Stencil

Hello! Today I am going to encourage you to try this at home: a fun technique that adds such flair to a handmade card. That technique is using a stencil to dry emboss on your card panel.

I must first say: it’s difficult to capture the embossed look on camera, so I’m going to show you some close up photos first.

See that embossed look…notice the lower leaves
Dots added for interest

Can you see the embossing? A photo is so tricky to capture that! But in real life, it adds another dimension and is oh-so-pretty!

To finish off this card, I added some dots to the leaves, and bubble embellishments to the flowers.

I have a short video to show you how to do this, watch it below or on YouTube:

See, fun and easy…and pretty quick to add some flair to your card.

I hope you enjoyed this bonus technique about stencils. Did you see my first video on how to use a stencil 5 ways? See it here.

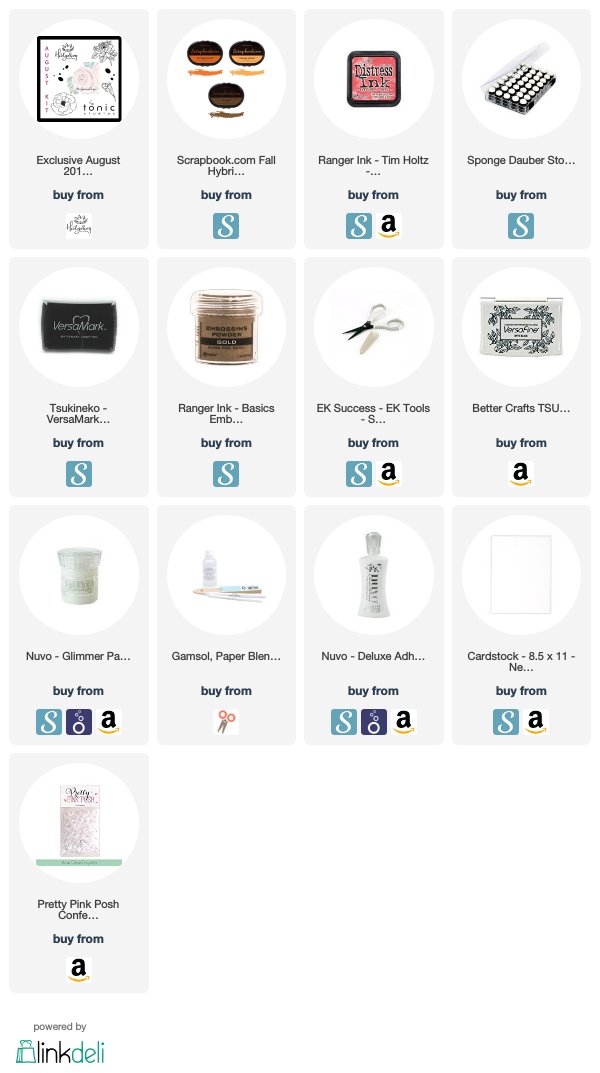
I’m often asked what supplies I’ve used on my projects, so I’ve added the list here. Affiliate links are used when available at no extra charge to you, if you purchase a product using these links I may receive a small commission. These help me to keep these projects coming and cover blog costs. Thanks for your support!


Hope you’re having a great day.

Comments { 0 }
both-flower-cards

Hey, Gorgeous!

Did you see my giveaway as a part of the Save the Crafty YouTuber video hop? Click here to see it!

As a part of that hop, I’m giving away two of my favorite word dies from PinkFresh Studio. I’ve been making a few more cards with them because I just can’t stop! Lol

These first two are just simply inked backgrounds that have been embossed, then I added the sentiments in gold glitter paper! I put a white backing on those sentiments so they would stand out.

gold glitter paper on white

It is so simple to create a striking card with just a few products! I used fun foam behind this sentiment to make it really pop off the card.

For these next cards, I did not use the backing for the sentiments, just the words alone. It’s great you can get such a variety of looks.

Those large flowers look so beautiful with this sentiment, I think! I colored the flowers up with Copics, then added a sentiment to match. For the blue flower below, I didn’t have paper that matched exactly, so I just used the same copic marker to color on some white paper. Then I die cut the sentiment from that!

To enter to win a set of these sentiment dies, all you have to do is comment on my video here. And you may want to continue hopping on this video hop because there are over 50 prizes to be awarded! (I hope you win!)

I’m often asked what supplies I use on my cards, so I have a list below. Affiliate links are used, when possible, so if you purchase using that link below, I may get a small commission. These help me keep up with my blog costs and to continue to bring you fun projects. Thank you for your support!


Thanks for stopping by today!

Also, check out my previous post here to see more cards made with these dies and FOIL! Love them. 🙂

Comments { 0 }
poppies-with-copics-1

Poppy Cards 3 Ways

Hello! Today I’m sharing 3 different ways to use 1 poppy flower stamp. This stamp is one of my favorites from the beautiful May 2019 Hedgehog Hollow kit. I just couldn’t stop at one card!

Poppies 3 ways

My first card features Copics and dimensional poppies. My second card in this picture features watercoloring layers. And the third card features heat embossing on vellum. I’m sharing some tips for hiding that adhesive on the vellum!

Watch my video for all the details below or on YouTube:

These poppies are so beautiful and they are illustrated by the talented Sophia Caldwell. I’m loving them so much.

Dimensional Poppies
Quick Watercoloring with White Heat embossing
Poppies with plaid

Thanks for stopping by! I often get asked what supplies I’ve used on my cards, so I’ve put together this list for you. Affiliate links are used when possible, so if you order through these links I may receive a small commission. These help to cover blog costs and also help to bring you more fun projects and cards. Thank you for your support!

I hope you enjoyed these projects today. See you next time!

Comments { 0 }
Intro Graphic (1)

5 Ways to use a Stencil and a giveaway!

Hello there! Today I’m a part of the Save the Crafty YouTuber Video hop sharing 5 ways to use a stencil. There are tons of giveaways, and on my channel you have a chance to win 2 of my favorite die cuts!

These 5 ways are some of my very favorite ways to create beautiful cards using a stencil! I hope you will check out my video below or on YouTube:

To enter for a chance to win, be sure to comment on my YouTube video! These are such fun ways, here are some close ups for you:

Selective inking with a makeup brush
Glitter paste!
Foiling…so pretty! (Do All Things with Love is one of the dies you could win!)
Hey Gorgeous is one of the dies you could win!
So many beautiful ways to use a stencil!

Thanks for stopping by! I hope you have a great time on the video hop.

Comments { 2 }