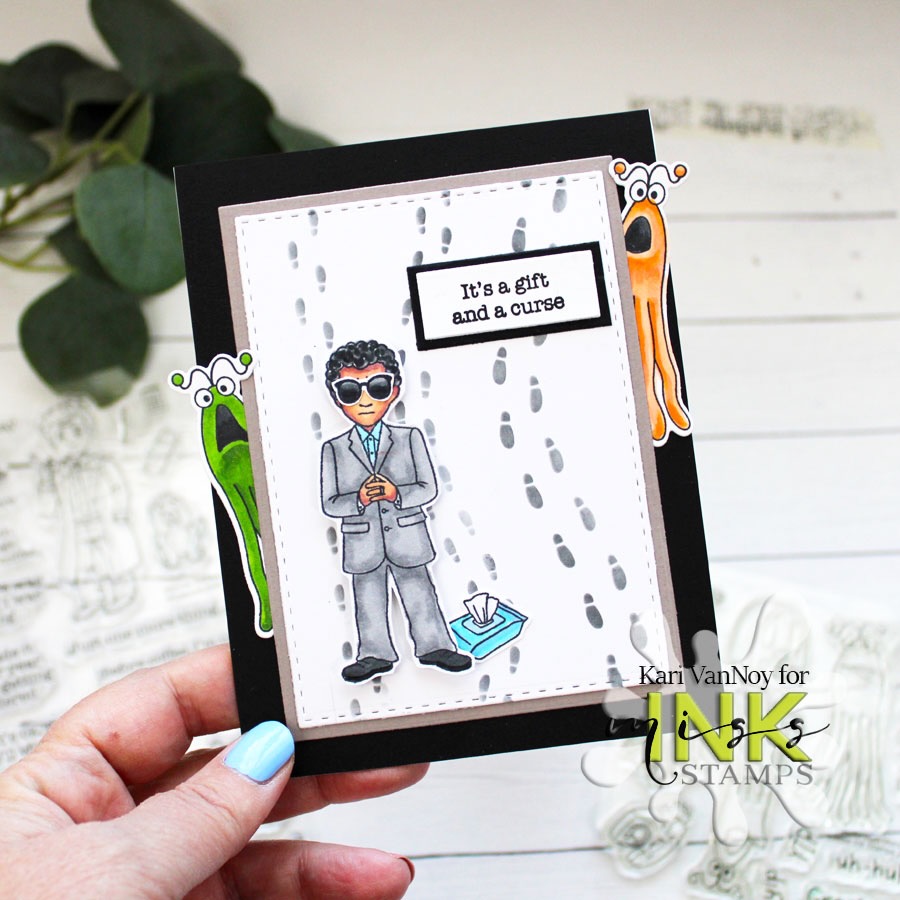
Hello, today I have a fun card that’s a murder mystery turned extra-terrestrial investigation! Watch the video below or in HD on YouTube:
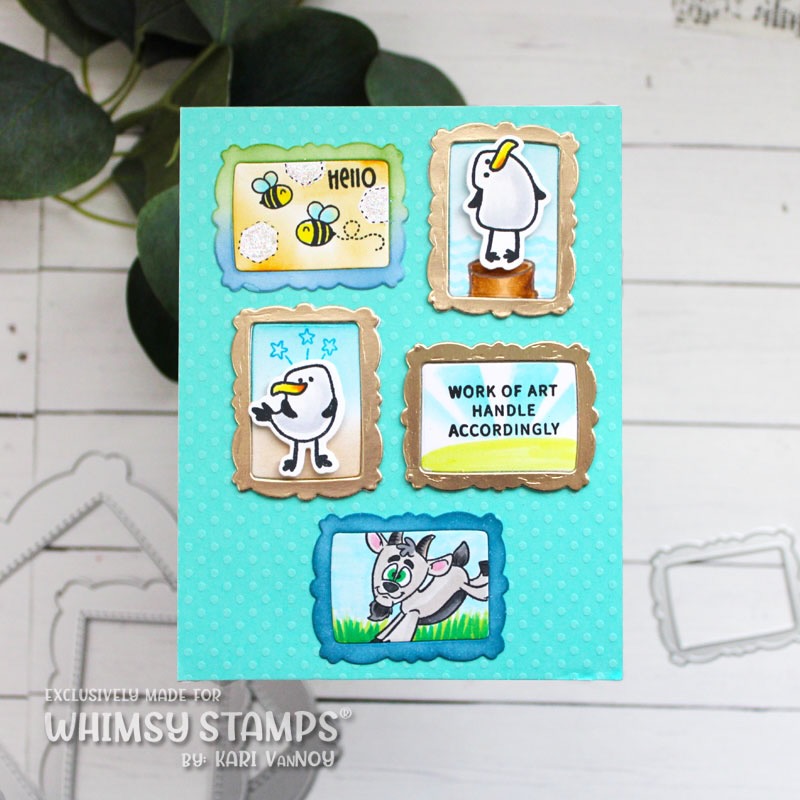
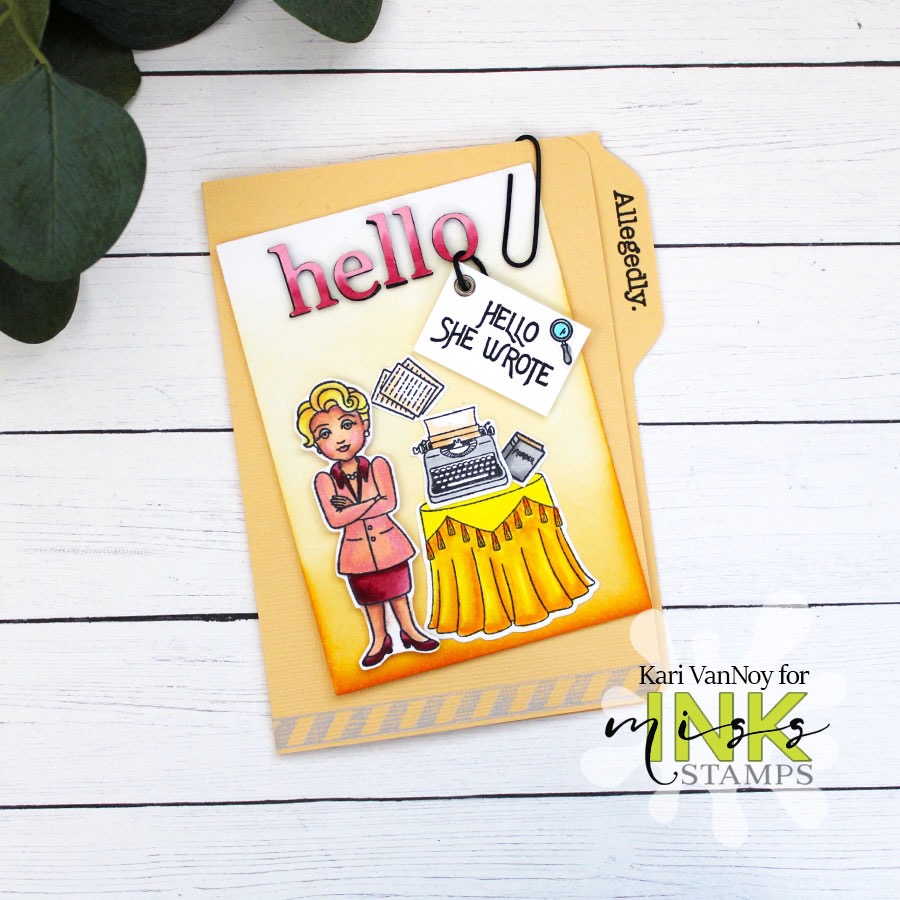
I had a little fun with this one when I saw the glasses stamp in the Whodunnit Stamp set. I colored them up to look like sunglasses and then put them on one of the characters.
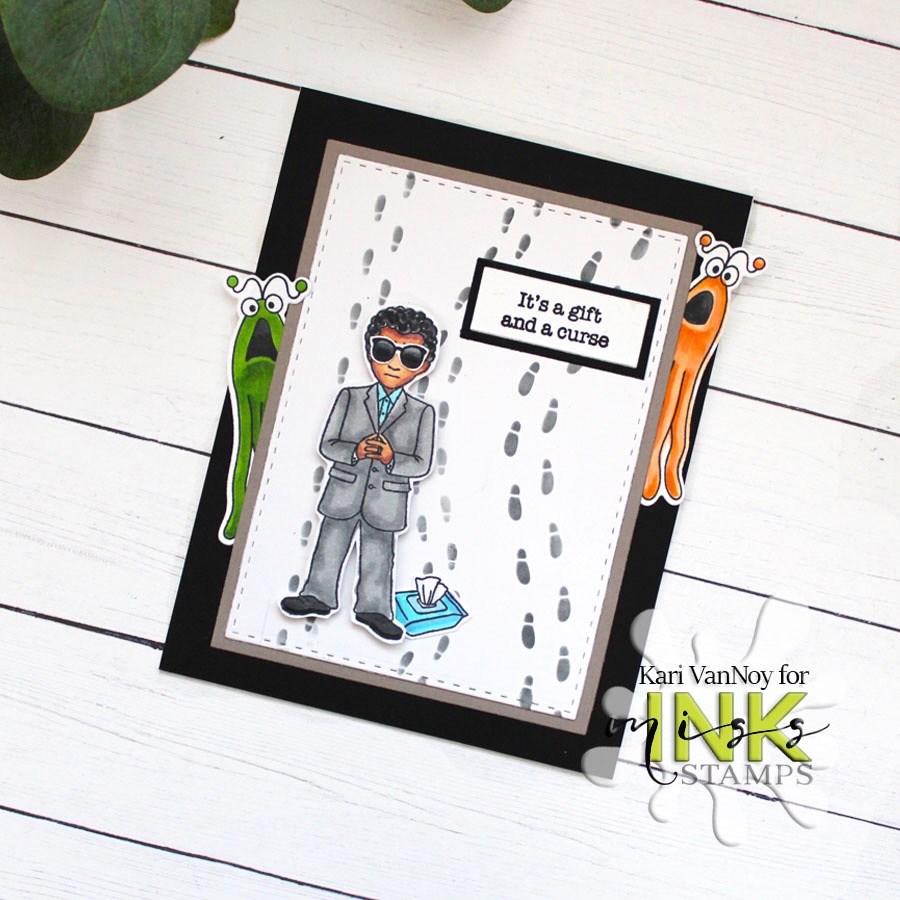
This Hello From Mars stamp set is so cute…and perfect for when an investigation turns to a Roswell situation. I know, I know…those footprints look like HUMAN footprints. They are very good at the element of mimicry. Lol.

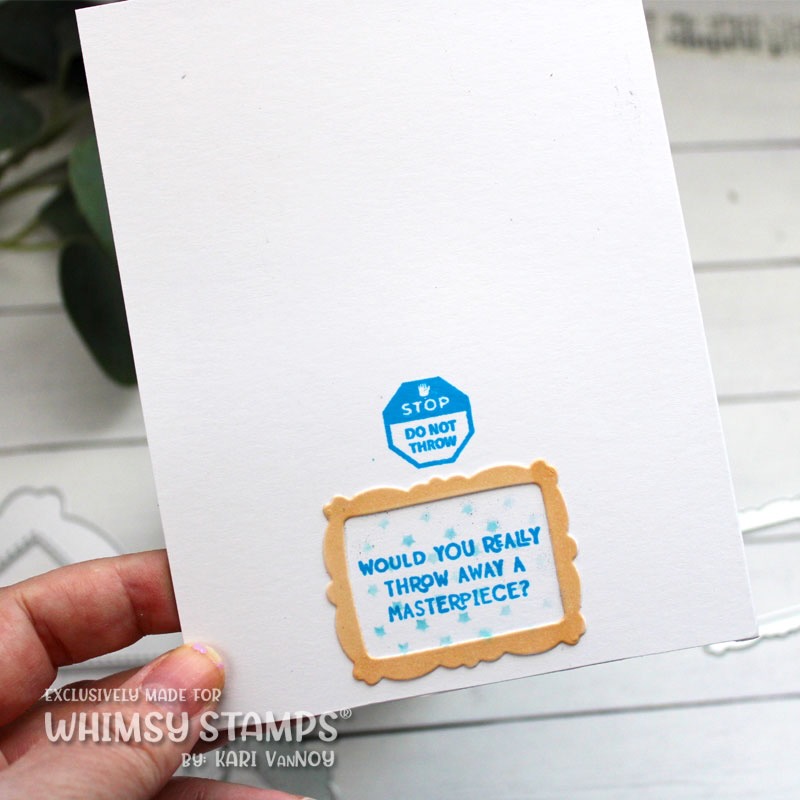
Once he’s done with THIS investigation, he will definitely need a new package of hand sanitizing wipes!
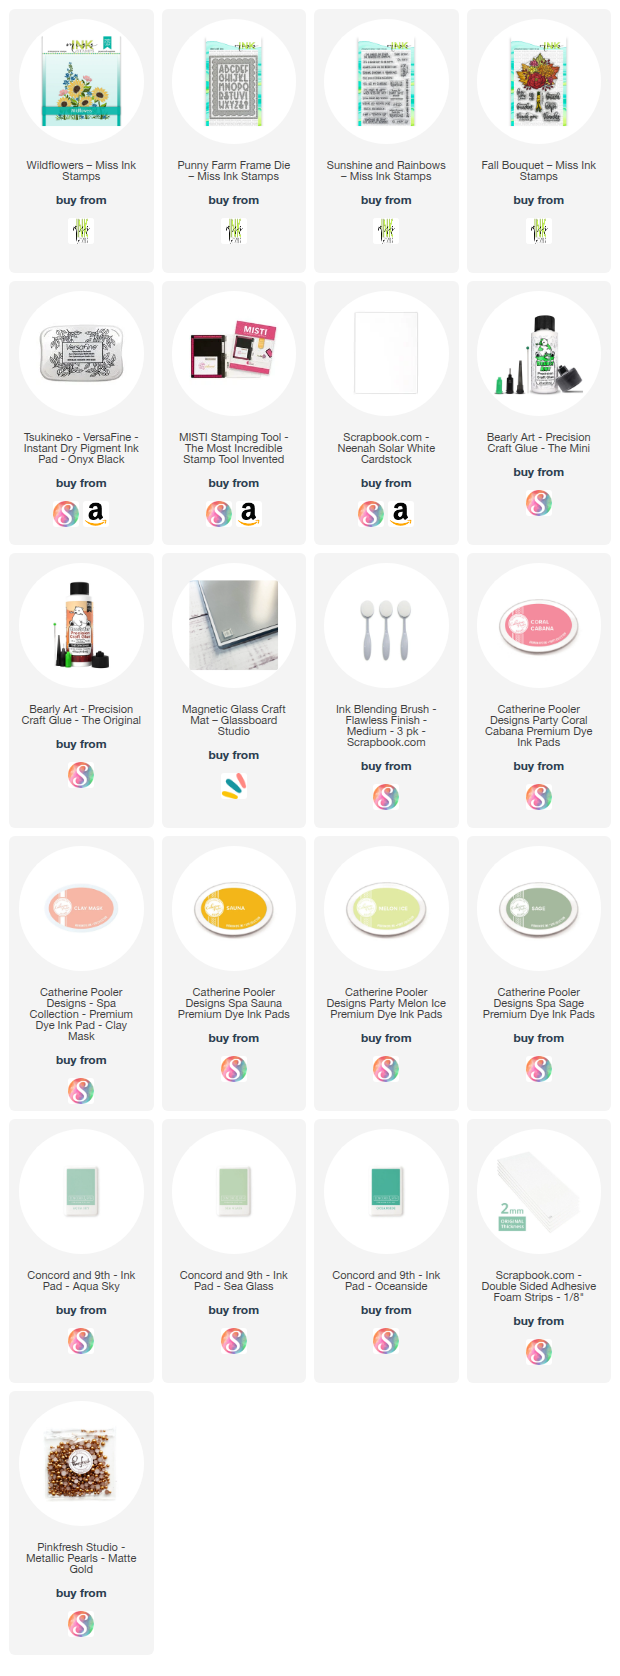
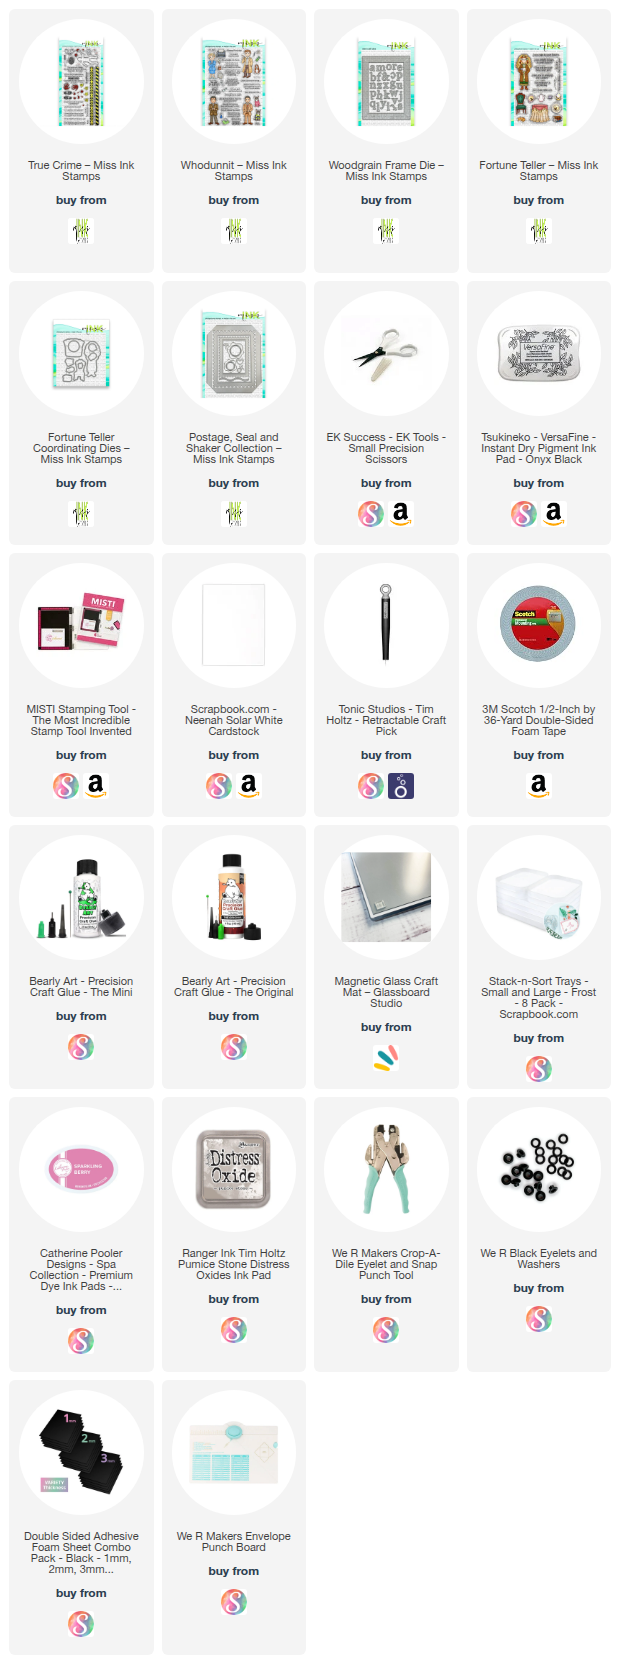
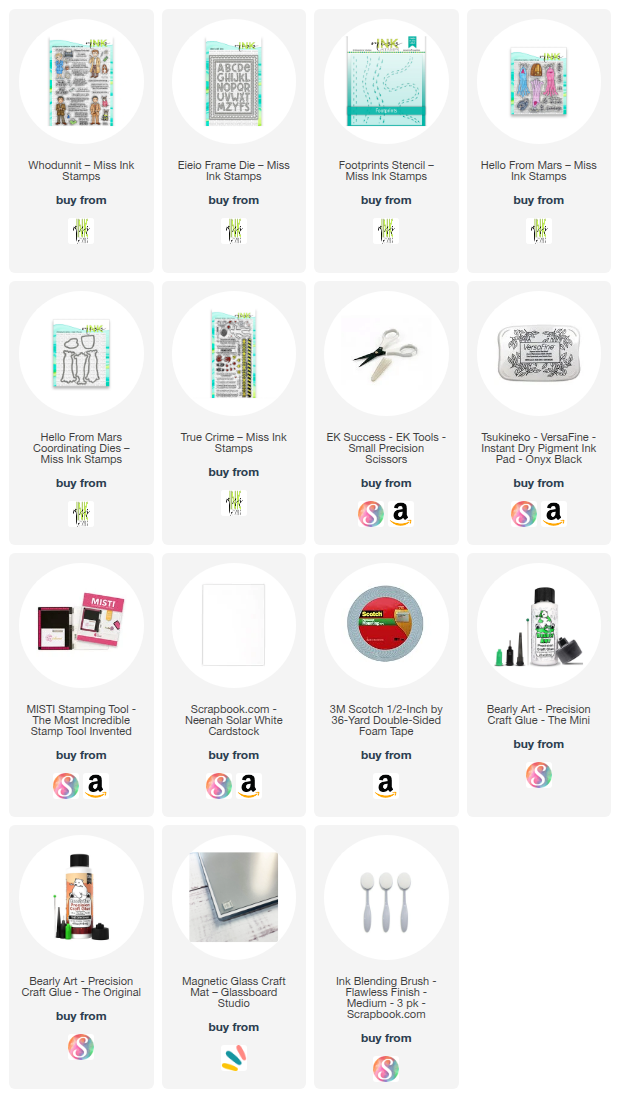
I’m often asked what supplies I use to make my cards and projects, so I’ve put together a list using affiliate links when possible. If you make a purchase with these links I may receive a small commission. These help me to keep up with blog costs and continue bringing you fun projects. Thank you so much for your support!

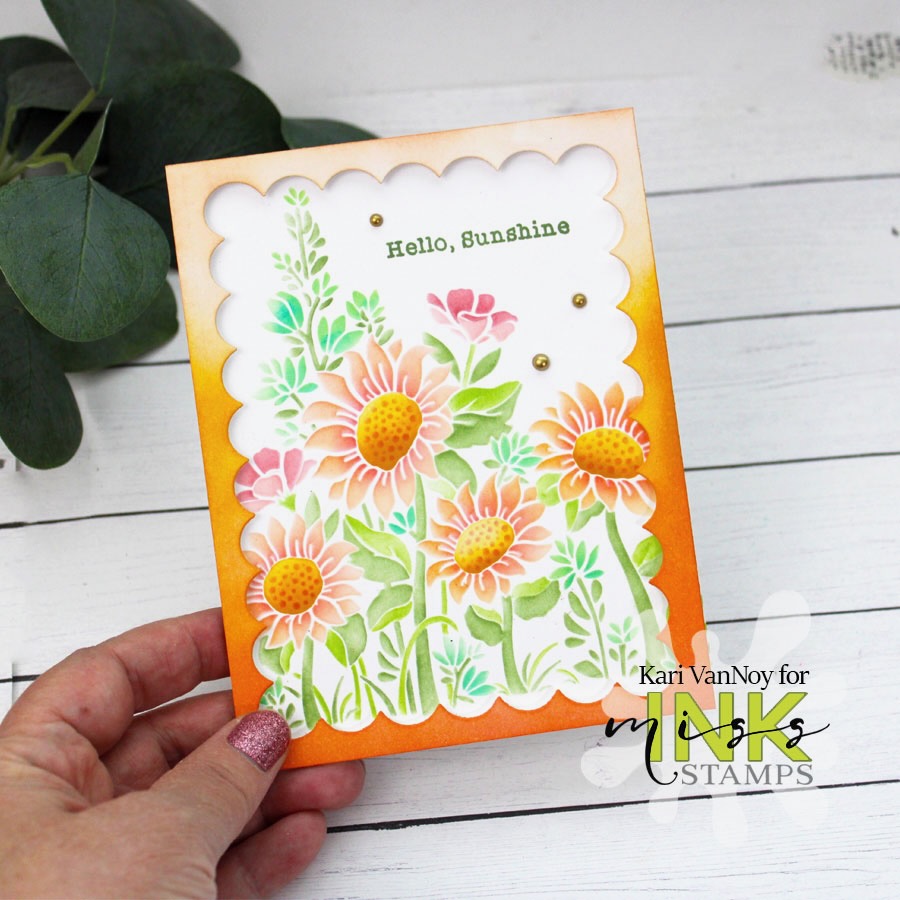
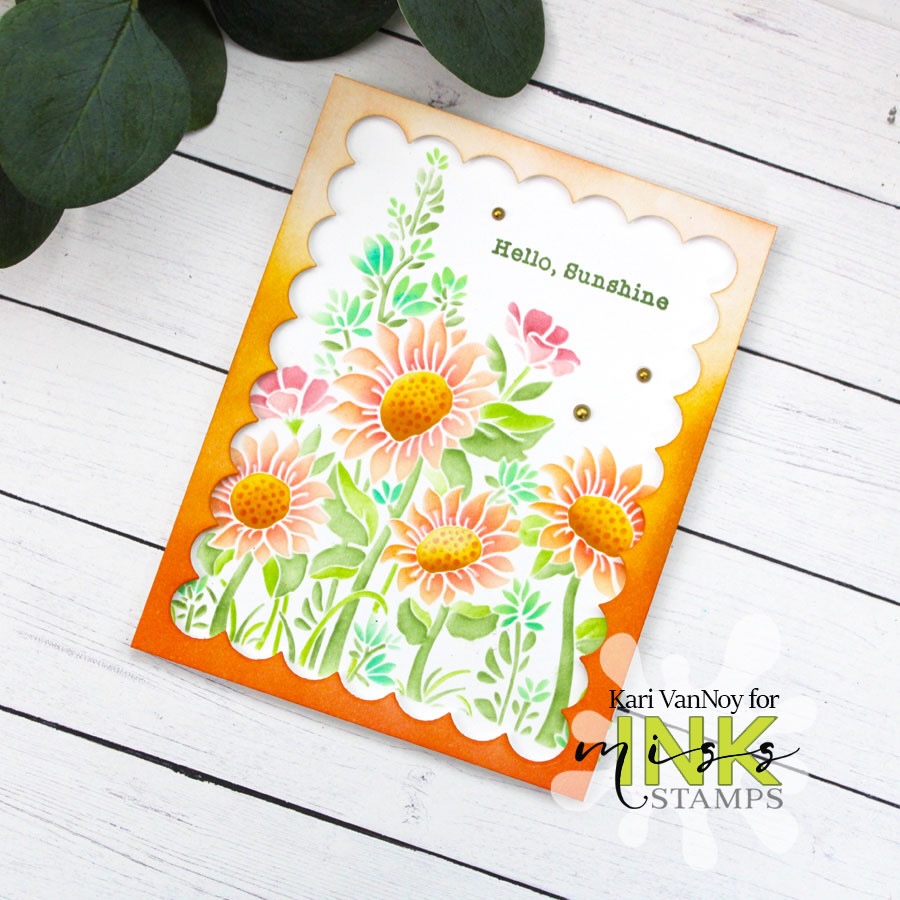
I hope you enjoyed this card today. It was so much fun to create. See you soon with more cards!
Kari