Tag Archives | Video tutorial
both-cards-2

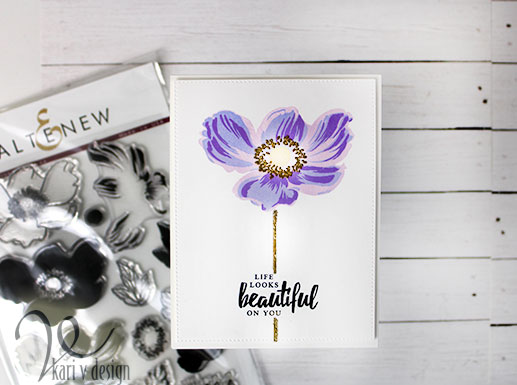
Life Looks Beautiful on You

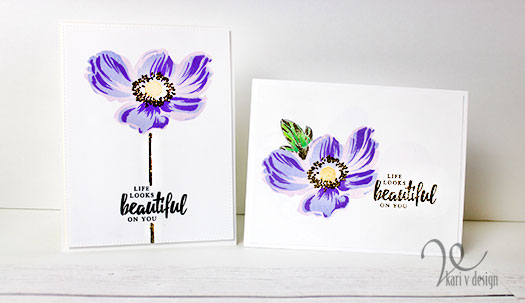
Hello! Today I have another card share for my Altenew Educators Certification Program. This time, I was inspired by Jennifer Rzasa in the Clean & Simple Boutique Cards class.

Clean & Simple definitely does not come easy for me, but Jennifer suggested adding a little something extra like foil or embossing powder. This gives the card a bit more flair and still remains clean & simple.

Here’s my take, (it is difficult to capture the shine of the gold in photos, so please keep scrolling for more pictures):
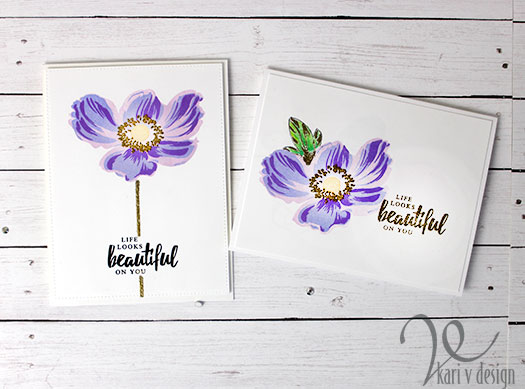
I just love the look of this stamp set (Build-A-Flower: Anemone)! I used a variety of purple inks to get this look. Since I don’t have my Altenew inks yet, I combined both Distress Ink and Distress Oxides to get this look.

The idea was to add a gold embossed stem to the Anemone, but this stamp set doesn’t have any stems, so I drew one on using a Versamarker!
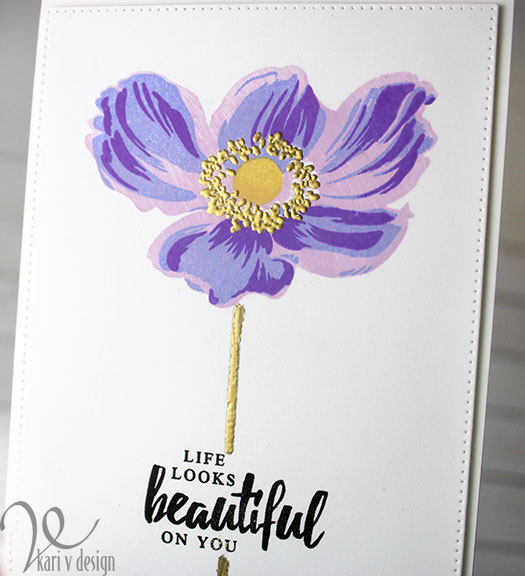
Gold embossing powder adds a pop of shine

I have a video below to show you the process, or watch on YouTube:

Just imagine all the different color combinations you can try on this flower. I love the big change in colors I got here, but for a more subtle effect you could simply use one or two colors and double, even triple stamp in that color.
I hope you enjoyed this project today. I often get asked what products I’ve used, so I have a list below. I use affiliate links, when available, at no extra cost to you. When you purchase using these links, I may receive a small commission. This helps me to keep up with blog costs and continue to bring you projects like this! Thanks for your support.

Love this Anemone set! Thanks so much for stopping by.
Dramatic Anemone
Comments { 4 }
purple-with-starfish

A Jellyfish card with Bioluminescence

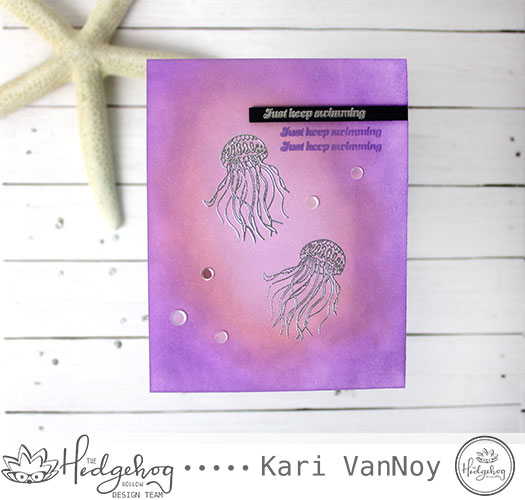
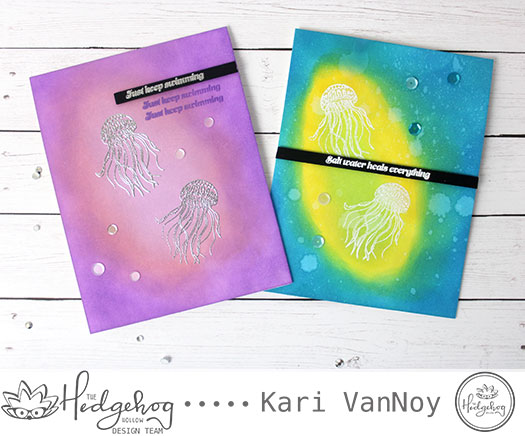
Hello! Today I have a couple cards re-creating the look of Bioluminescence using Distress Oxide inks. Did you know that over 90% of all jellyfish produce a chemical reaction that creates light? So cool! So today I thought a card showcasing that natural phenomenon would be fun.

I actually have had a REAL-LIFE encounter with a jellyfish. In fact, too close of an encounter! Yes, I was stung multiple times on the leg while I was snorkeling in Hawaii. But I was told that I was LUCKY…because it was only a “mild” one. And it only hurt for a few hours afterwards.

But that is why I enjoy jellyfish more on a CARD! Lol.

Just Keep Swimming, Just Keep Swimming…

I have a quick video showing the process of this card, including how I fixed an error on stamping the sentiment. (I always try to save a card after working so hard on it, if possible!)

Watch the video below or in HD on YouTube:

These cards actually came together pretty quickly, and I think they will be great encouragement cards. You can make them as dramatic or subtle as you want, depending on the colors you choose.

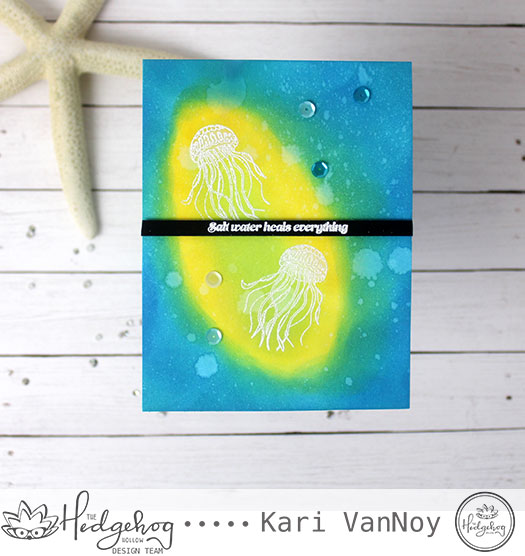
I splattered water on the blue card, but not on the purple card. I like both ways. Which one do you like better?

Salt Water heals everything (except jellyfish stings!)

Have you ever met a jellyfish in the ocean? I’d love to hear your stories!

I hope you enjoyed these cards today. Thanks for stopping by!
Comments { 0 }
golden-hello-close-up-1

Watercolor Paper to create an underwater Scene

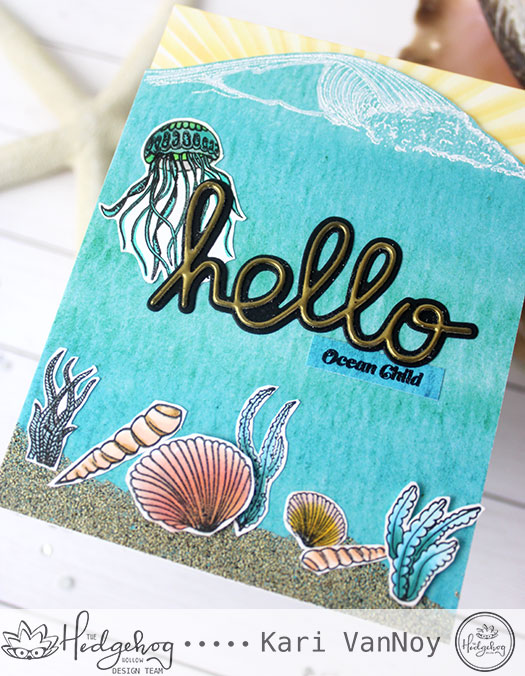
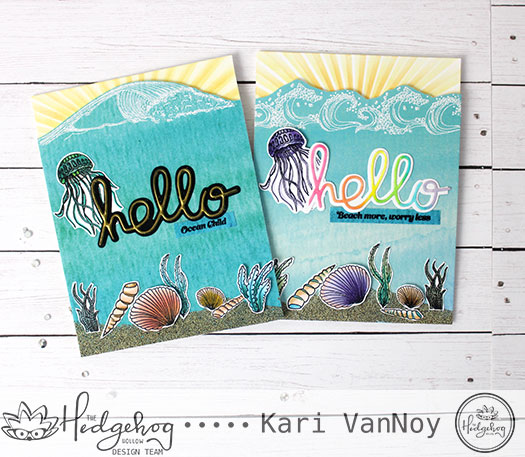
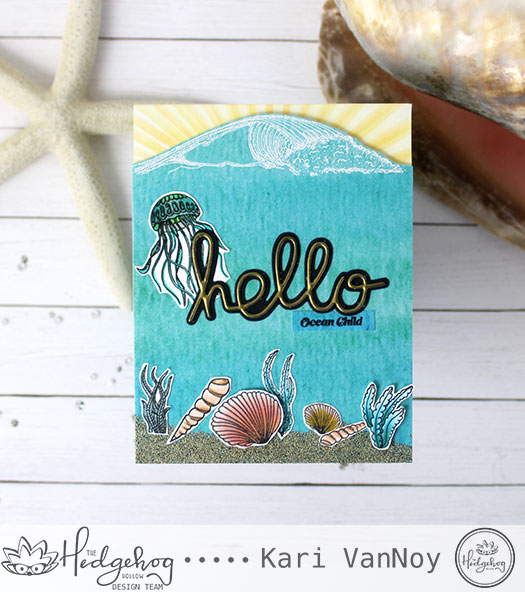
Hello! Today I was inspired by some designer paper that looks like watercolor! It came in the June 2019 Hedgehog Hollow Kit, and I couldn’t wait to create a scene complete with jellyfish.
I have a process video below, or watch it in HD on YouTube:

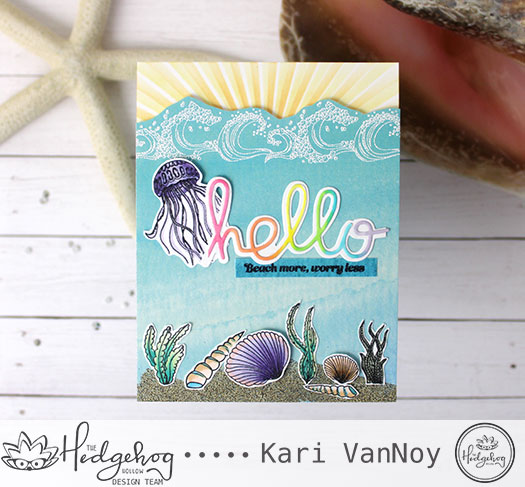
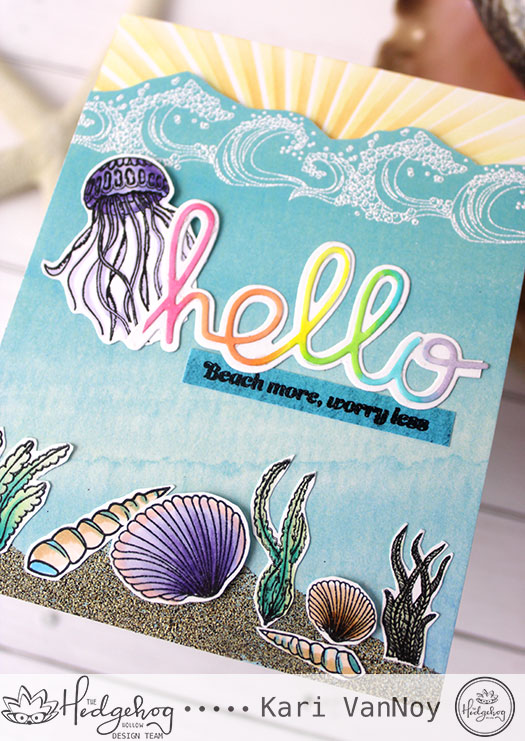
I think the waves that also came in the kit (as well as the underwater images) are fantastic. I heat embossed the waves with white embossing powder, then fussy cut the top to reveal the stenciled sun rays.

All the images were colored with Copics, and fussy cut to create this underwater scene. The Hello sentiment is from my stash, and is currently a favorite of mine!

A rainbow hello!

For the sand, I used some embossing powder called “Dirty Sand” that I found at Creativation last year. It’s from Emerald Creek and I love it….it really looks like sand! I know that some other companies have since come out with a sand embossing powder, but this was the first one I had ever seen.

I’m often asked what products I’ve used on my cards, so I’ve linked them below, using affiliate links when possible. I couldn’t find the sand embossing powder that I used, so I’ve linked a couple others that I found. When you purchase using one of these links, I may receive a small commission. These help me keep up with blog costs and continue to bring you fun projects. I thank you very much!

Thanks for stopping by!

Comments { 1 }
all-three-on-worksurface

Heat Embossing on Foil

Hello! I recently had someone ask me if you can heat emboss on foil paper. The answer is YES! But there are a few tricks to doing this. So today, I’m going to share with you the tricks for heat embossing on foil paper.

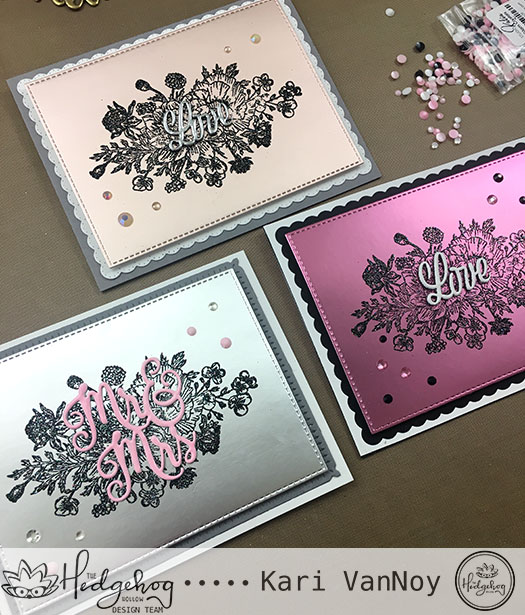
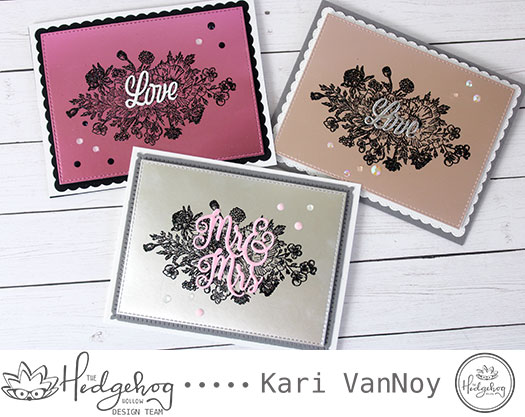
June is wedding season here, so I have three wedding cards to share using foil paper and this technique.

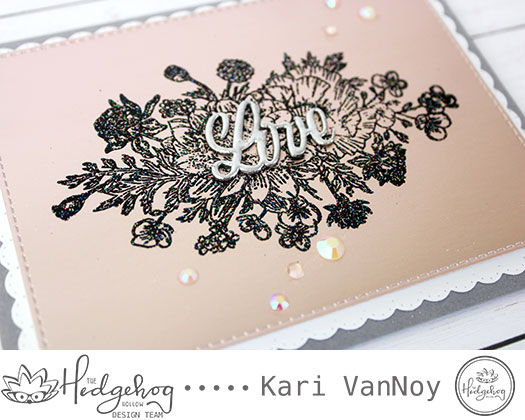
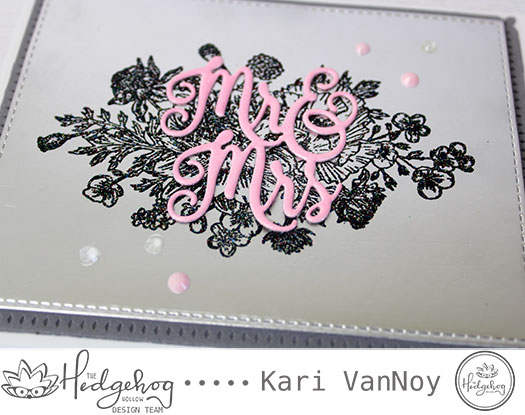
The background florals are from the May 2019 Hedgehog Hollow kit, and I love them! This kit has sold out, but I hear that we may be seeing some more designs from Sophia Caldwell in the July Kit! Be sure to head over to the store here to pre-order your kit.

I used Ranger Black Sparkle embossing powder for all these cards today (it has glitter in it and you know I love my glitter!)

Foil is notorious for curling when you apply heat, so before you heat emboss, allow your heat gun to warm up for 30 seconds. Then apply heat in short bursts.

I have all the details of how to make these cards in my video below, or watch on YouTube:

Remember to avoid touching the foil card too much, as it likes to smudge and show fingerprints. And, if you get some curling just add something heavy to the top to flatten it out. You may be tempted to run it through your die cut machine again, but don’t! Foil card is susceptible to indentations and it’s much better to treat it carefully.

I hope you enjoy this technique! I’m often asked what supplies I used, so I’ve put together the list for you below. Affiliate links are used when possible, so if you click to purchase on one of these links I may receive a small commission. These help to keep up with blog costs so I can continue bringing you fun projects! Thanks for your support!


Thanks for stopping by today!

Comments { 0 }
blue-card-only

Dry Embossing with a Stencil

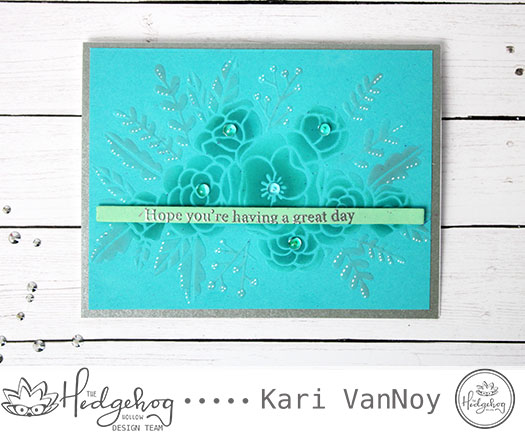
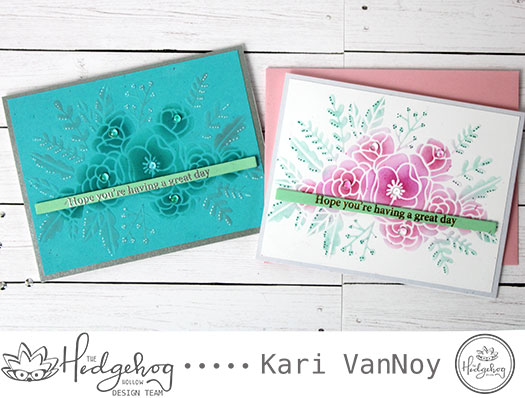
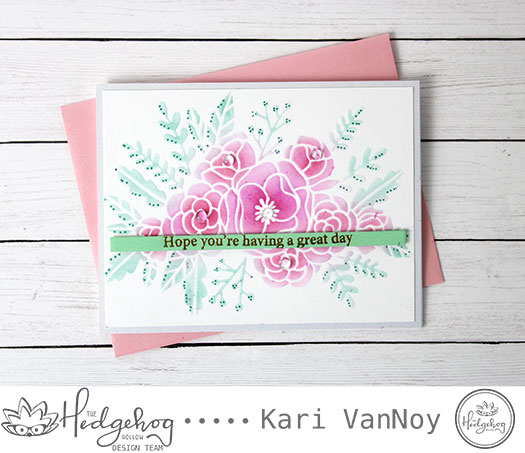
Hello! Today I am going to encourage you to try this at home: a fun technique that adds such flair to a handmade card. That technique is using a stencil to dry emboss on your card panel.

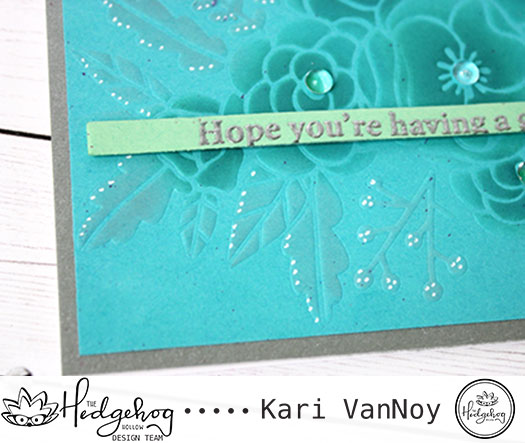
I must first say: it’s difficult to capture the embossed look on camera, so I’m going to show you some close up photos first.

See that embossed look…notice the lower leaves
Dots added for interest

Can you see the embossing? A photo is so tricky to capture that! But in real life, it adds another dimension and is oh-so-pretty!

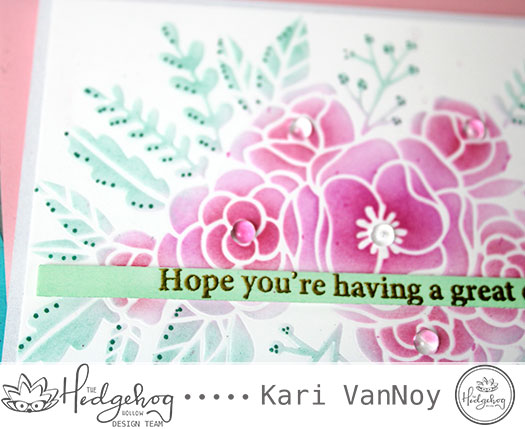
To finish off this card, I added some dots to the leaves, and bubble embellishments to the flowers.

I have a short video to show you how to do this, watch it below or on YouTube:

See, fun and easy…and pretty quick to add some flair to your card.

I hope you enjoyed this bonus technique about stencils. Did you see my first video on how to use a stencil 5 ways? See it here.

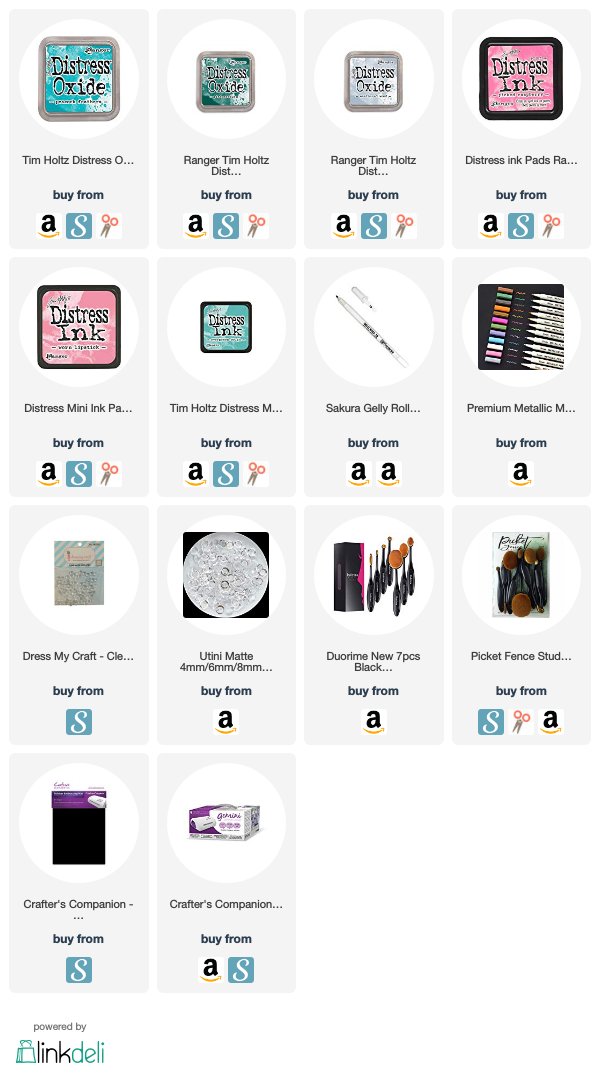
I’m often asked what supplies I’ve used on my projects, so I’ve added the list here. Affiliate links are used when available at no extra charge to you, if you purchase a product using these links I may receive a small commission. These help me to keep these projects coming and cover blog costs. Thanks for your support!


Hope you’re having a great day.

Comments { 0 }