Hello! Today I’m excited to share one of the products from the NEW Release from Maker Forte! It’s a Christmas in July release, but there are a few products that are not-so-Christmasy like this one.
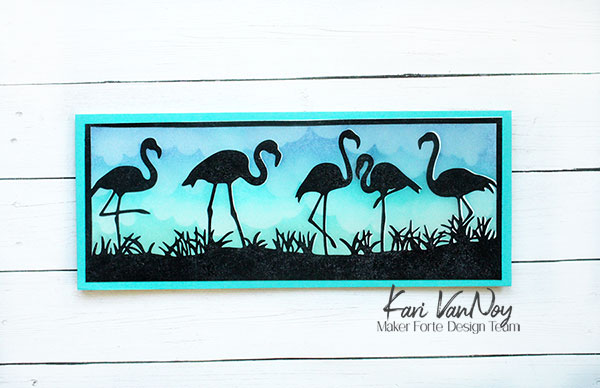
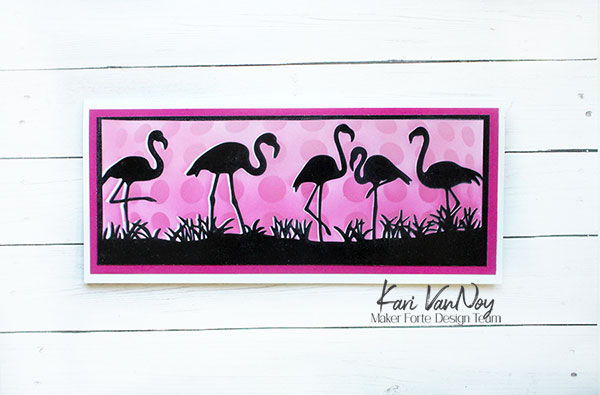
I love this slimline die, and today I’m sharing how to create easy Alcohol ink backgrounds! Watch the video below or in HD on YouTube:
If you have never used Alcohol inks, this technique is SO EASY and it comes out as a surprise every time. That’s one thing I love about using alcohol inks: the variety!
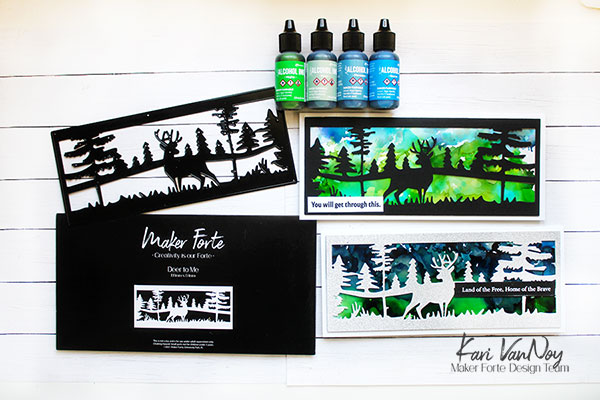
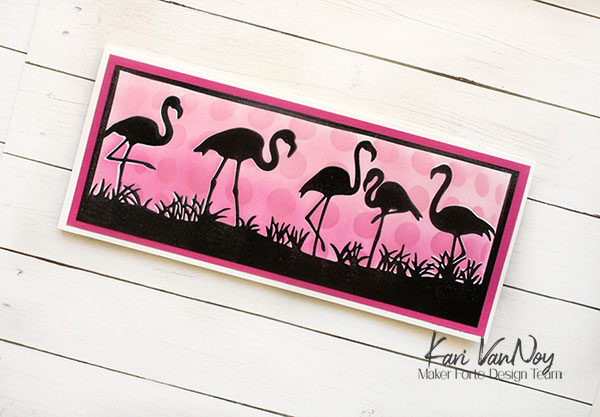
Just look at how that top card looks like theres mountains and clouds in the background! I couldn’t have planned it better. Here’s my simple technique:
- Add Alcohol Blending Solution to glossy photo paper
- Drop on some alcohol ink…start with one or two colors
- Use a spritzer tool to move the inks around
- Add more ink or Blending solution until you like it
- Allow to dry
- Cut to size for background
There, see how easy that is?
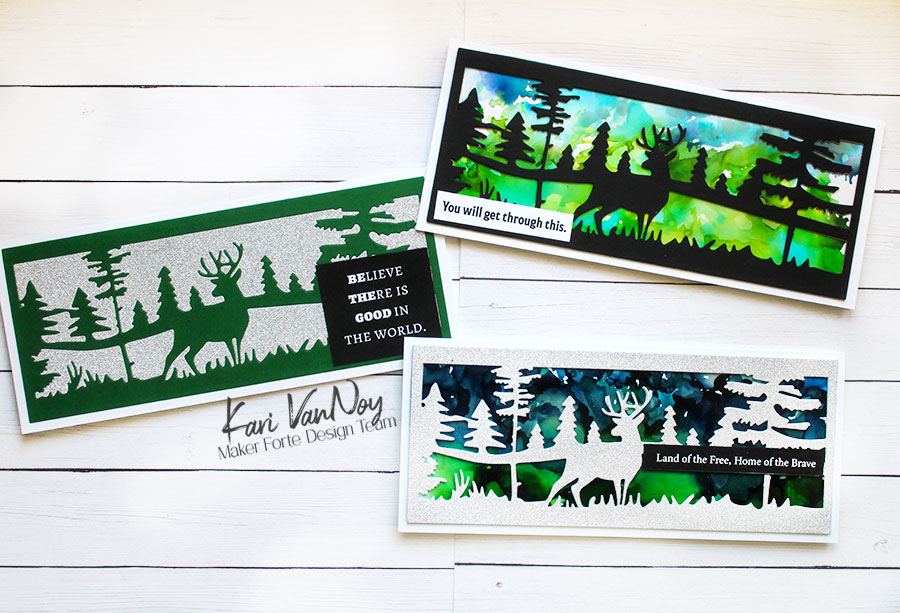
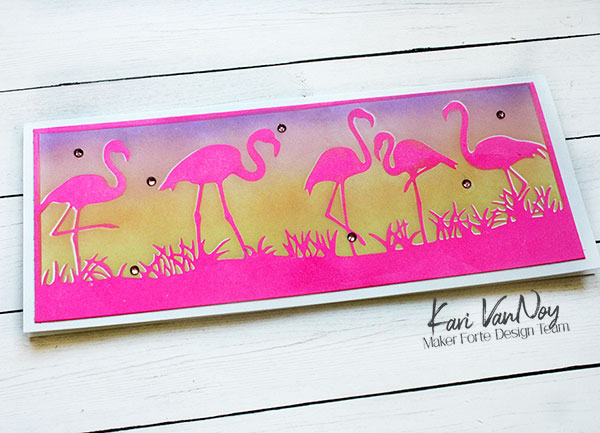
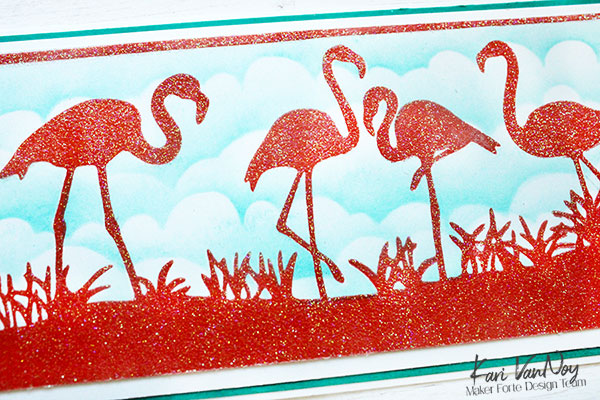
I also used the “extra” die cuts from the silver glitter paper to create a third card using the inlaid die cut technique. This creates a smooth card and looks so neat.
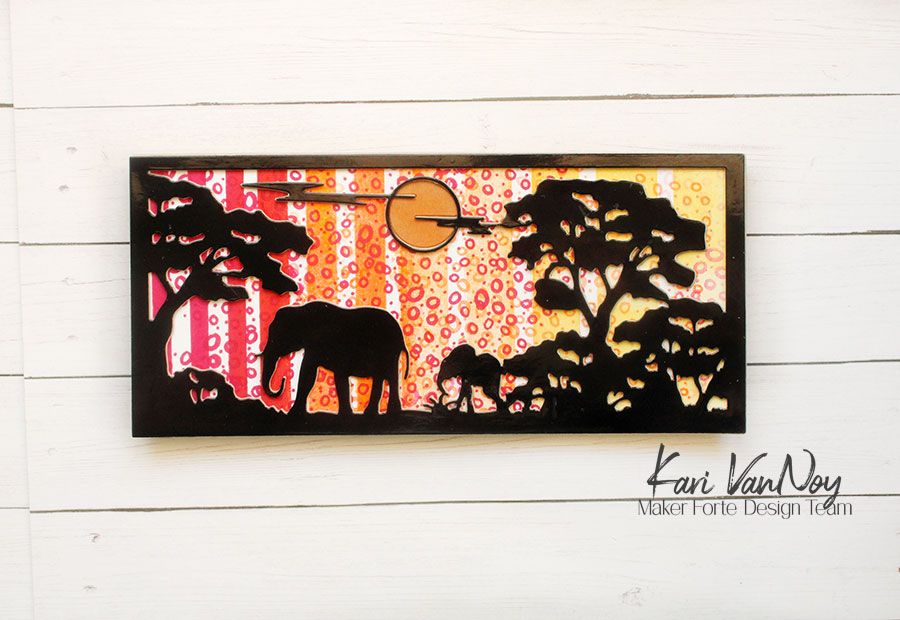
I love creating interesting backgrounds for these slimline dies. Here’s a photo of one I created earlier for the Safari die. I used some striped stamps and Mansi’s art marks stamps to create an interesting look.

Check out the entire new release from Maker Forte HERE.
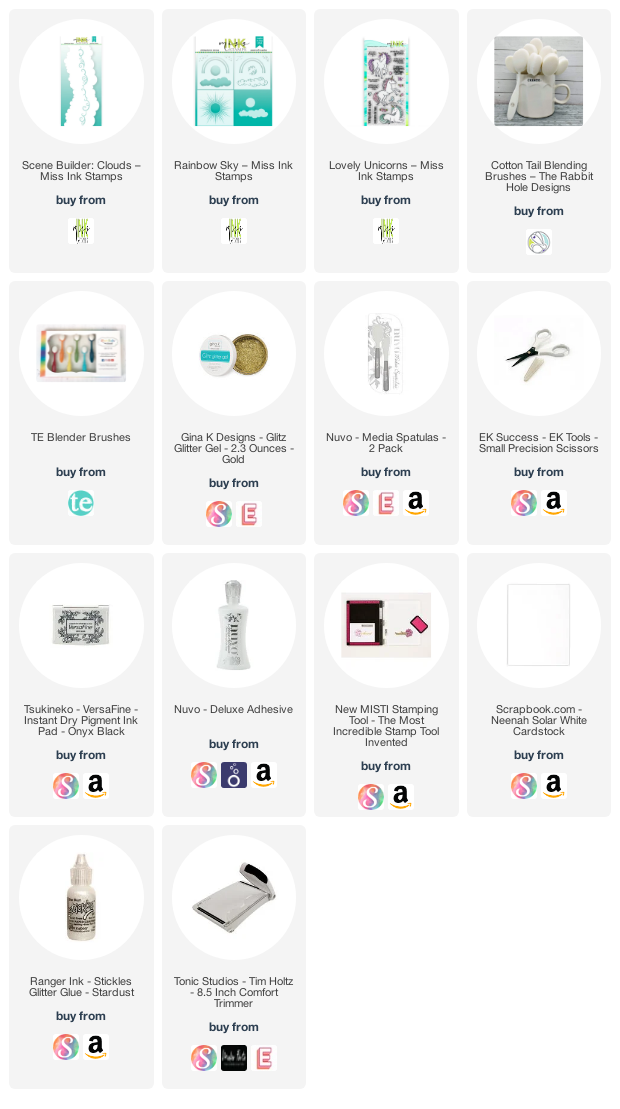
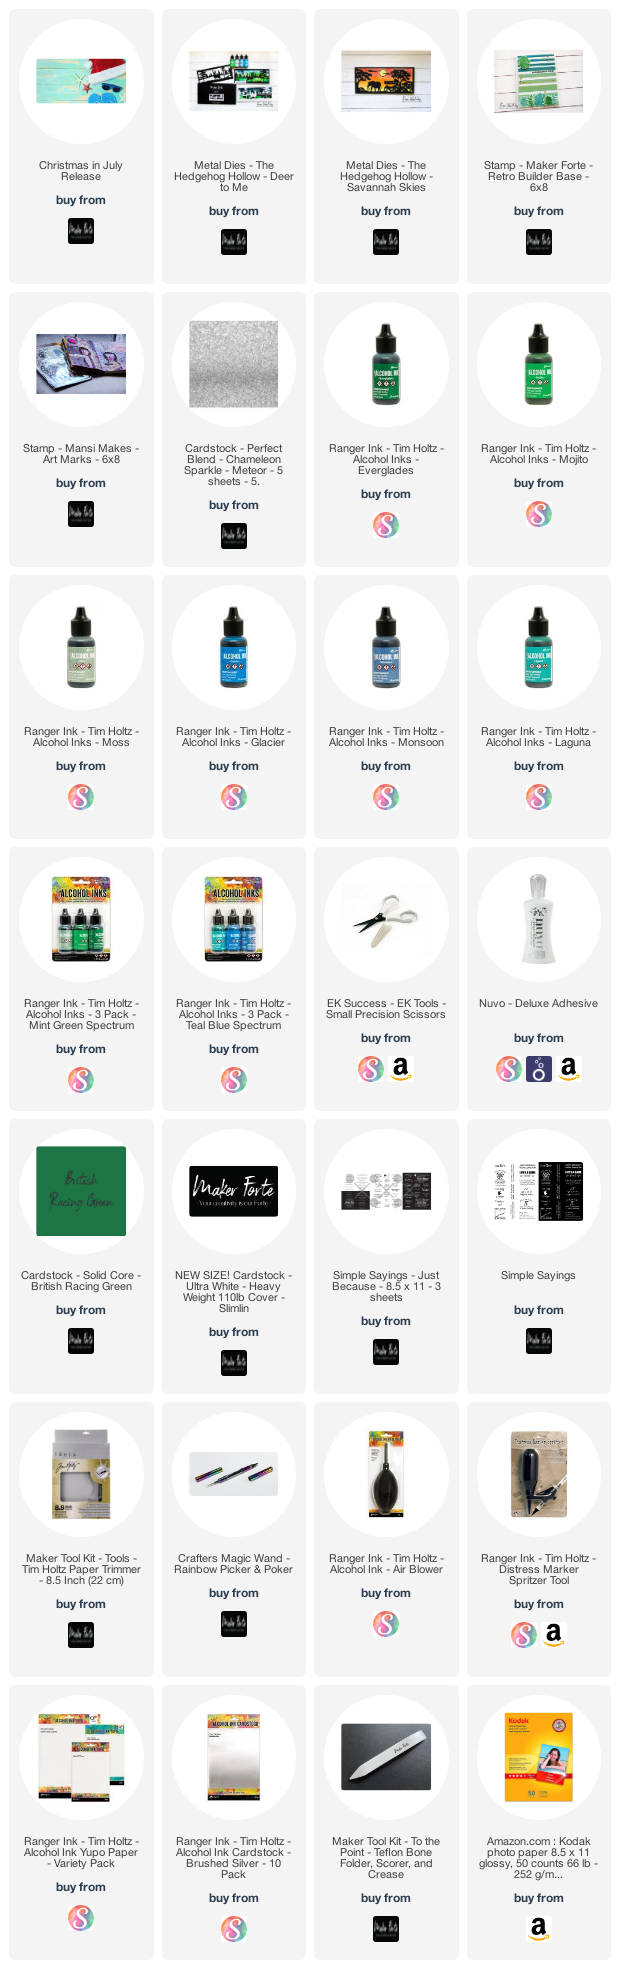
I’m often asked what supplies I use to make my cards and projects, so I’ve put together a list using affiliate links when possible. If you make a purchase with these links I may receive a small commission. These help me to keep up with blog costs and continue bringing you fun projects. Thank you so much for your support!
I hope you enjoyed! If you give it a try, please tag me so I can see your creations! Thanks for stopping by.