Hello, today I have a sad post to write. I am sad to create this card today, but grateful for my very special furry friend. My dog, Snickers, has crossed the rainbow bridge. He lived a very long life…he was 17 1/2 years old! But his body was done, and he left us on Tuesday evening.
I created this card before he died, but I didn’t do the voiceover for the video for 2 days afterwards. I think I held it together enough to get the video done, luckily it’s a short video!
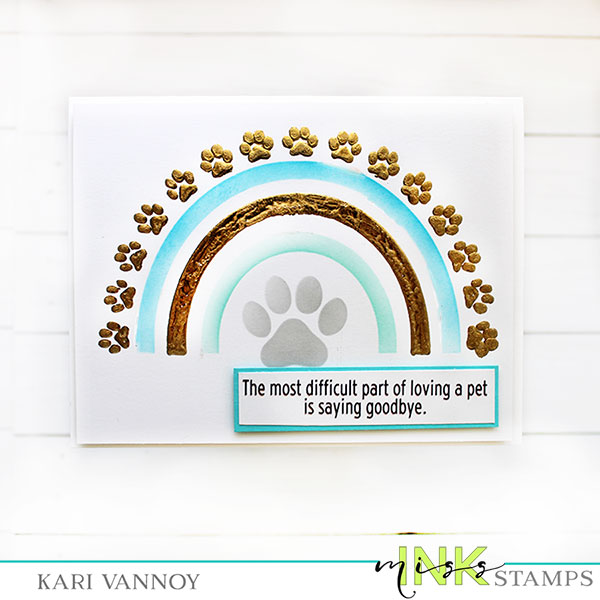
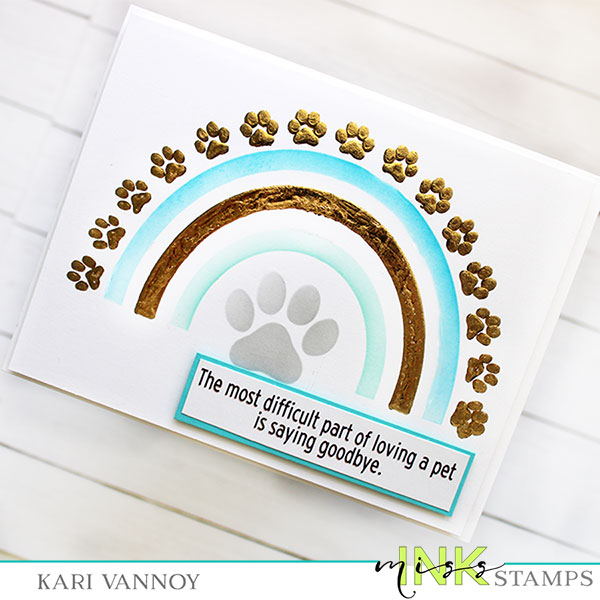
The most difficult part of loving a pet is saying goodbye. I agree. It was so hard for me to lose my sweet Snickers. He would spend HOURS with me in the craft studio and since he’s been gone, I haven’t created anything new.
I do believe it will get easier. And there will be a time when I wake up not expecting him to be there. But today, I am still looking for him, and waiting to hear that jingle walking behind me…
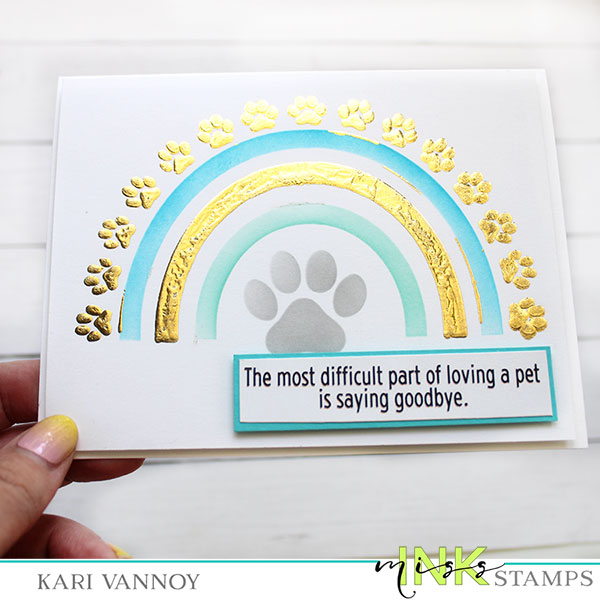
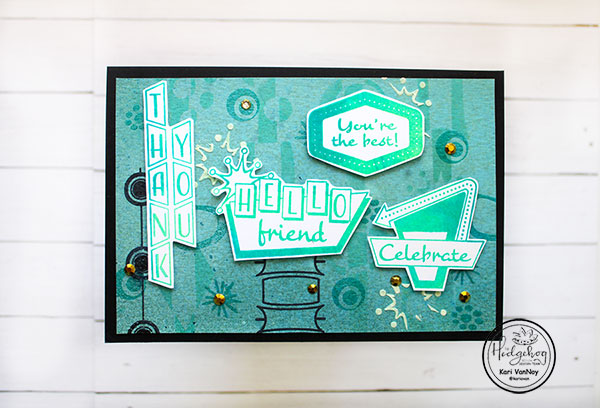
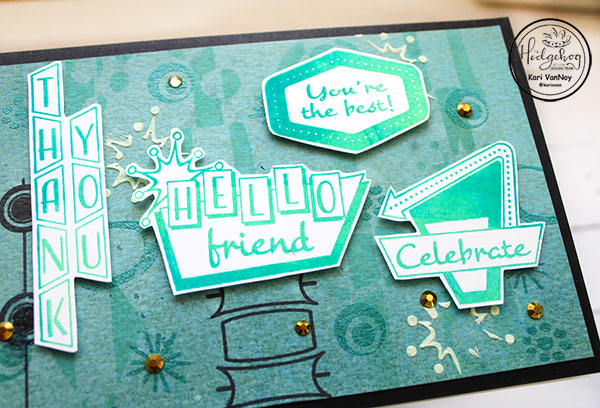
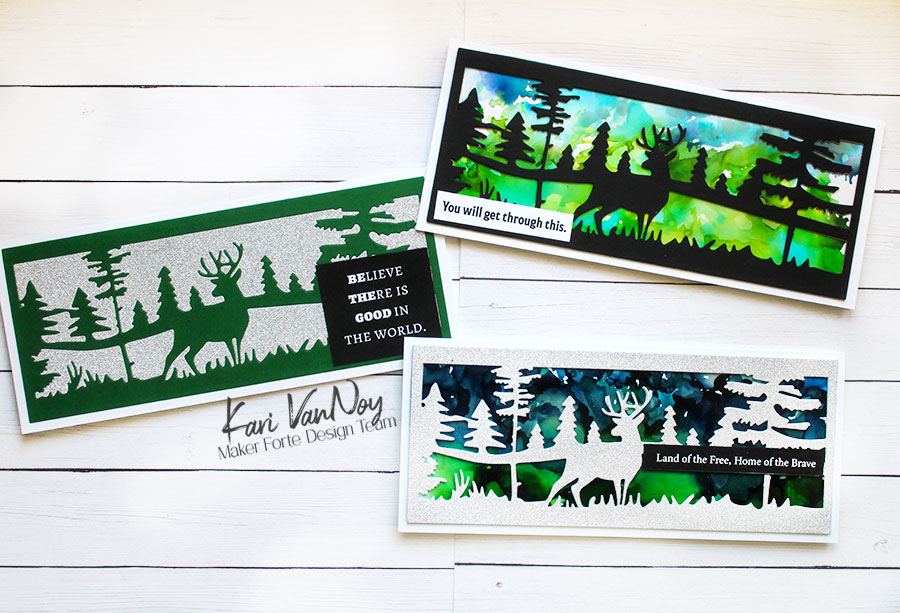
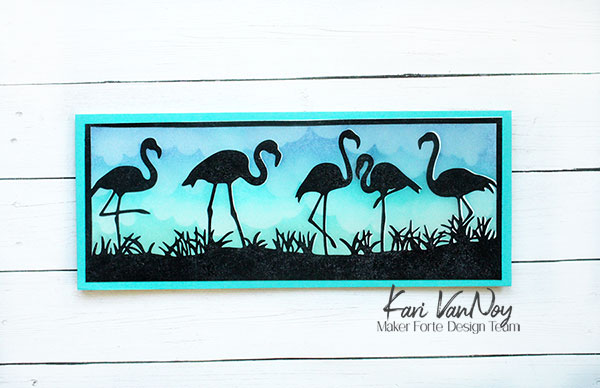
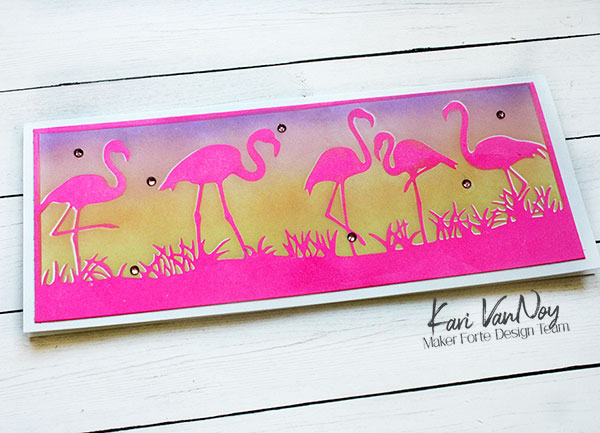
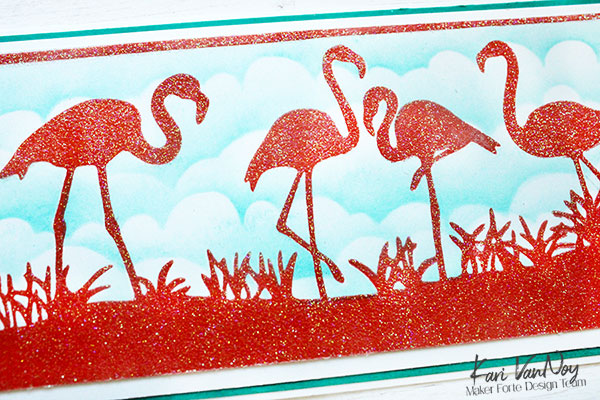
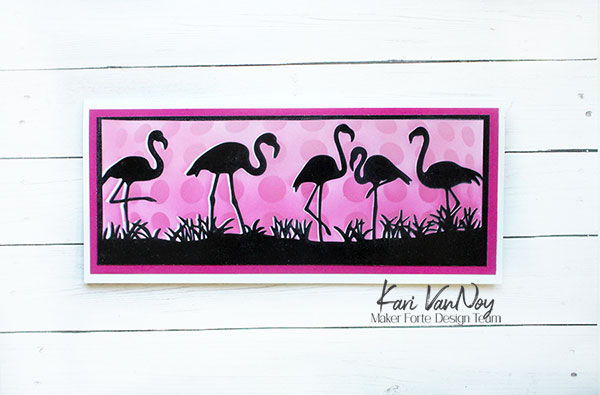
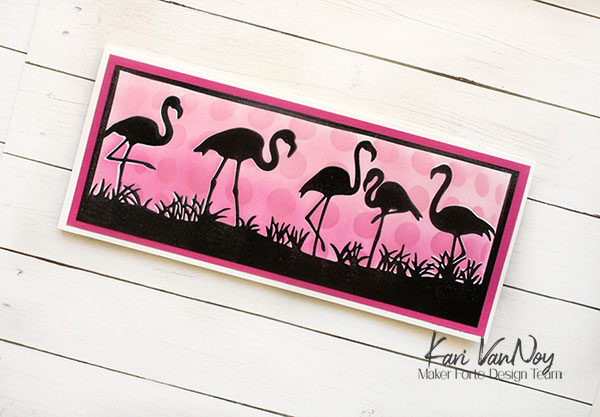
I love adding foil to a stenciled card. I show you just how I did it in the video above. And while this is a simple card, it holds quite a lot of meaning.
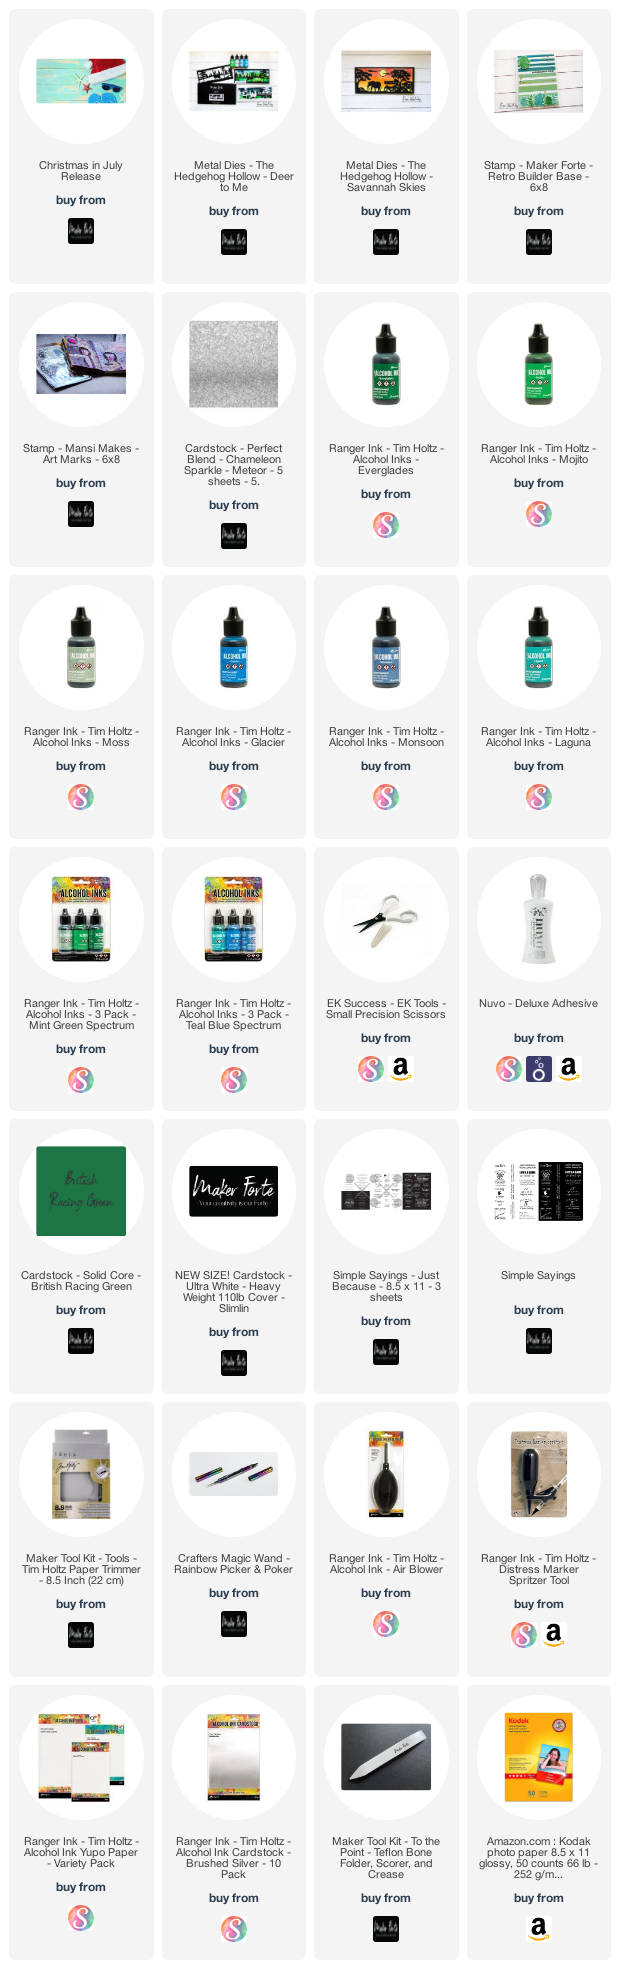
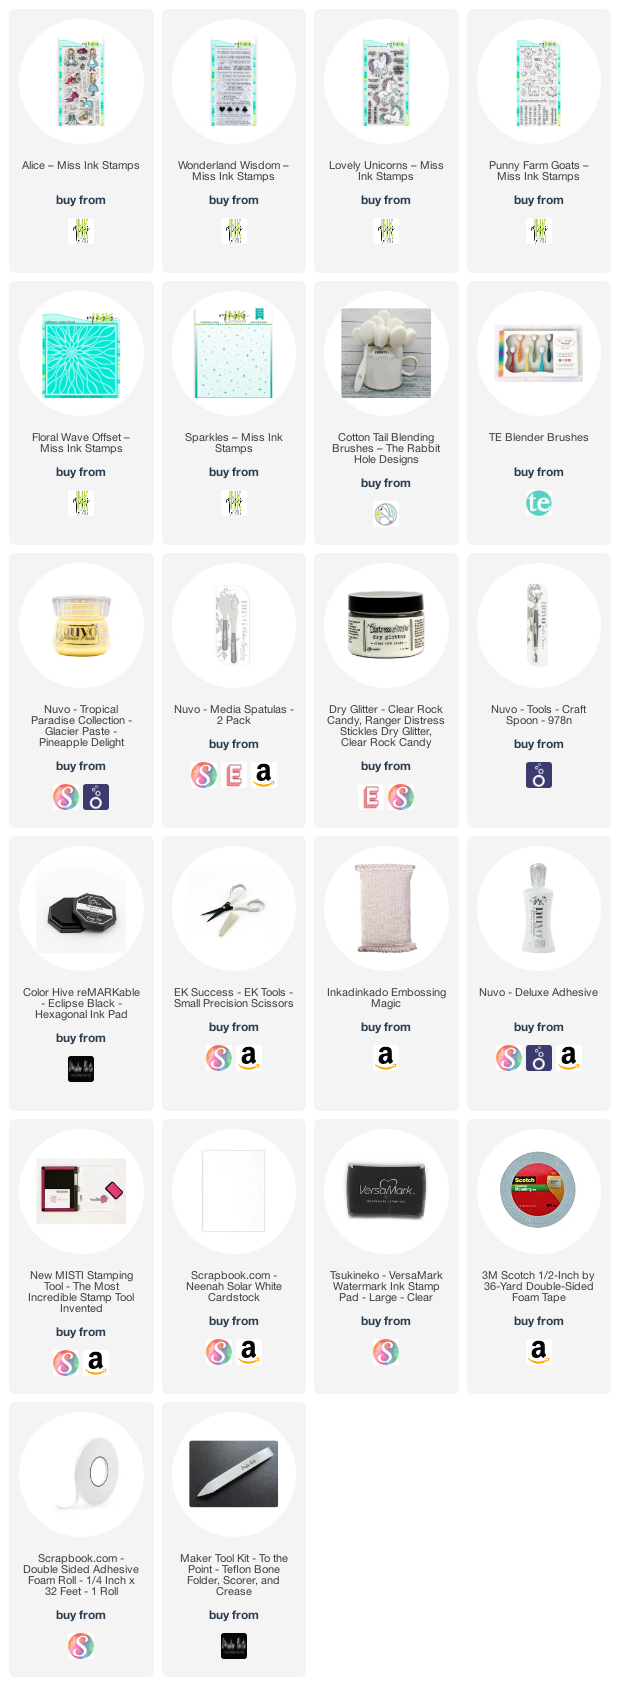
I’m often asked what supplies I use to make my cards and projects, so I’ve put together a list using affiliate links when possible. If you make a purchase with these links I may receive a small commission. These help me to keep up with blog costs and continue bringing you fun projects. Thank you so much for your support!
Thanks for stopping by.