Hello there! Today I’m inspired by Laurel Beard’s Stenciling Techniques class over at Altenew classes. She has the best ideas in this class, some I’ve never tried before!
She also had a suggestion to do a stencil overlay on a watercolor background. Well, it got me thinking. What if I did a stencil overlay over ANOTHER stencil? That sounds fun!
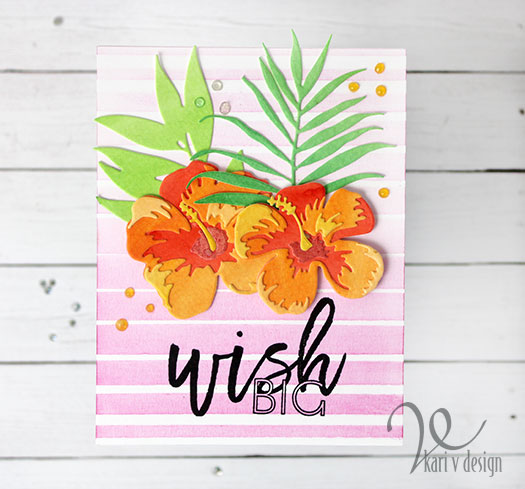
So I got out two of my favorite stencils from Altenew and first I added the Ombre Stripes Stencil to my background using Spiced Marmalade Distress Ink. Then I added the Graffiti Scribble stencil right over the top and inked on some Picked Raspberry Distress Ink. Guess what?!? It worked!
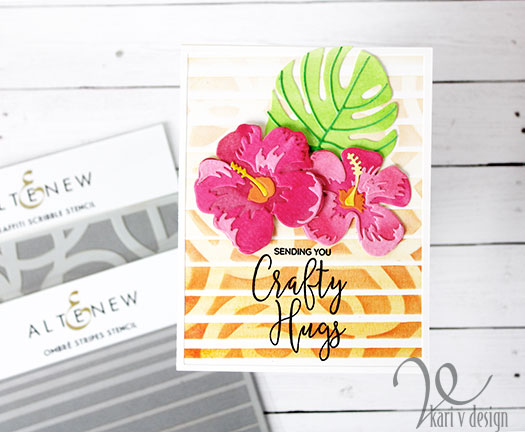
The sentiment is from another of my favorite Altenew sets! Such a great sentiment for a card. (This one is going to a crafty friend).
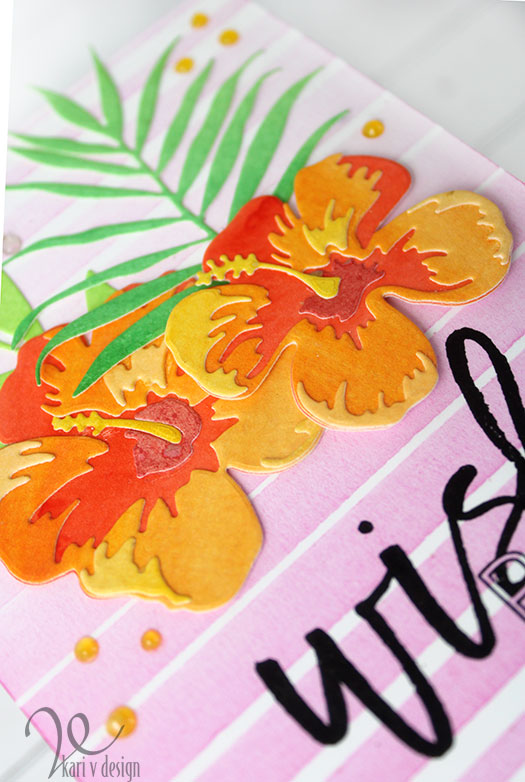
I added some Hibiscus flowers that I die cut from watercolored panels. I used Gansai Tambi watercolors to get a very vibrant look. When I watercolored up my panels…I did them in a sort of Ombre fashion, with a darker pink at the top and a lighter pink at the bottom. Then I die cut my hibiscus so that the top layers would be the lightest. I did the same with the orange flowers (see below). I think these flowers look so pretty out of watercolored paper.
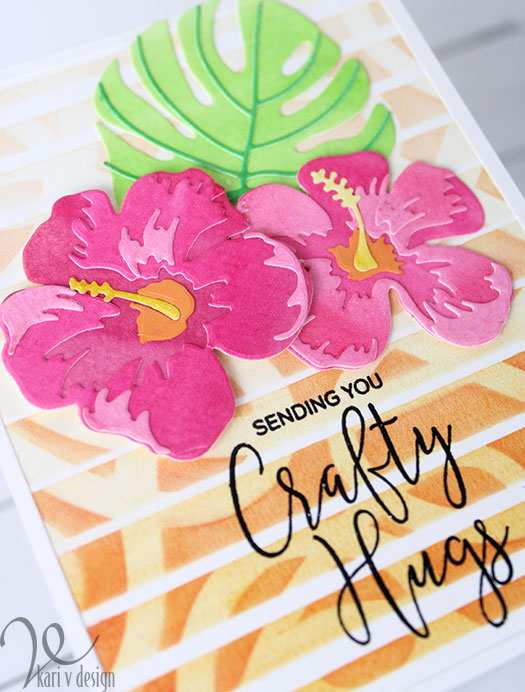
I found that for this technique, I like using a stencil brush…it’s so easy to spread on the color without affecting the stencil. I just lightly brush back and forth from one side to the other (starting and ending OFF the sides of the paper) until I get the shade I want. In this case, I blended the Picked Raspberry over the Spiced Marmalade and it gave me a darker orange color. Pretty neat.
I glued down the flower and Monstera leaf with liquid glue, and popped up the top hibiscus flower with foam tape.
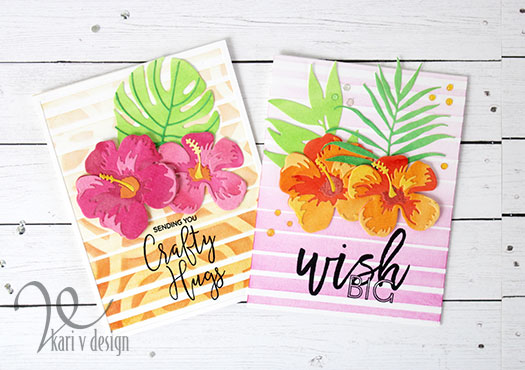
I also created a card just using the Ombre Stripes Stencil alone, to give you a perspective of what the layering does to the card.
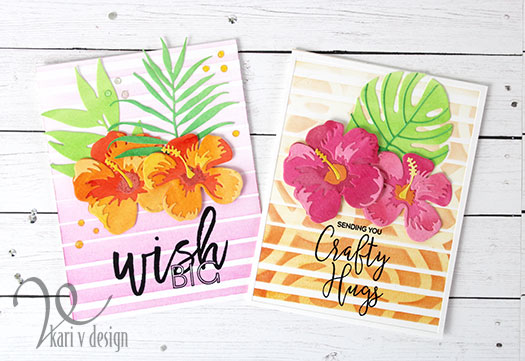
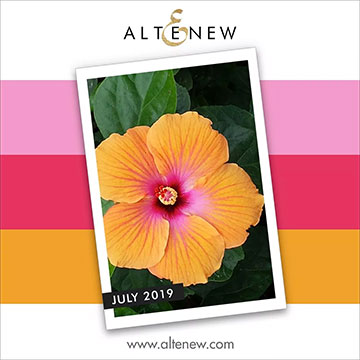
I think it adds quite a bit when you layer the stencils! I made the card on the left first for my sister’s birthday card and then I tried the two stencils for the card on the right. Can you guess that the design and color scheme was inspired by the July Altenew challenge?
Lol. I love entering these challenges and I have a lot of fun with them. For this card, I added some Nuvo Jewel drops to complete the look. [I didn’t think the double stenciled card needed the extra drops since it already had so much interest!]
I’m often asked what supplies I’ve used to create my cards, so I’ve compiled a list for you using affiliate links, when possible. If you purchase product with these links I may receive a small commission. I appreciate this so much, as this helps me to keep up my blog and continue to bring you fun projects! Thank you very much.
I hope you enjoyed these projects today. I am really loving these florals and stencils so much right now. See you next time!


WOW, Kari! Love the stencil over stencil look. The choice of colours is brilliant too!
Thank you for entering your gorgeous work to the AECP assignment gallery. Well done!
Thank you so much, Erum!!
Looks like you are having the most amazing time in this class! Love your idea to stencil over a stencil, I really must give a try myself! Thanks for the inspriation!
Totally love this! Your interpretation and use of stencil are superb, Kari! Thanks so much for entering your beautiful work in Altenew AECP assignment Gallery. Beautiful colors and design. Well done!