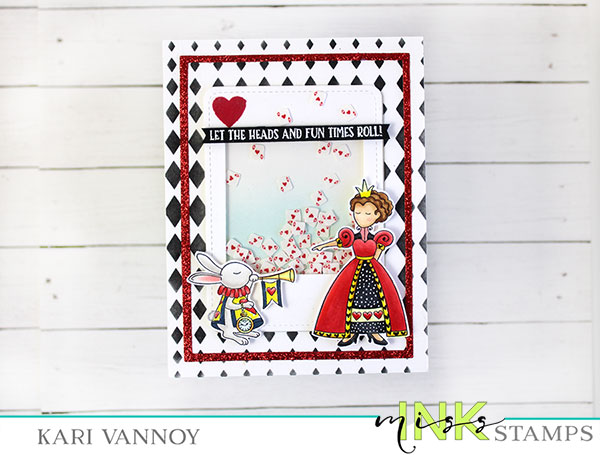
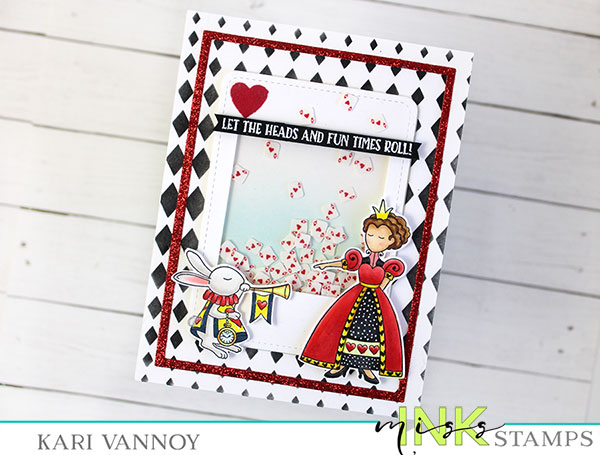
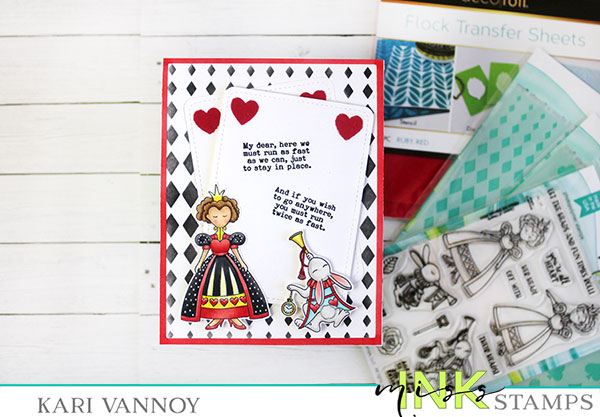
Hello! Today I have a Queen of Hearts Shaker card with Flock to share! This card has been in my head for a really long time and now it’s finally coming to life.
See that heart on the top? It’s made with Flock Transfer Sheets and Deco Transfer Gel…so it has a fuzzy feeling to it. Such a fun, tactile addition to add to your cards.
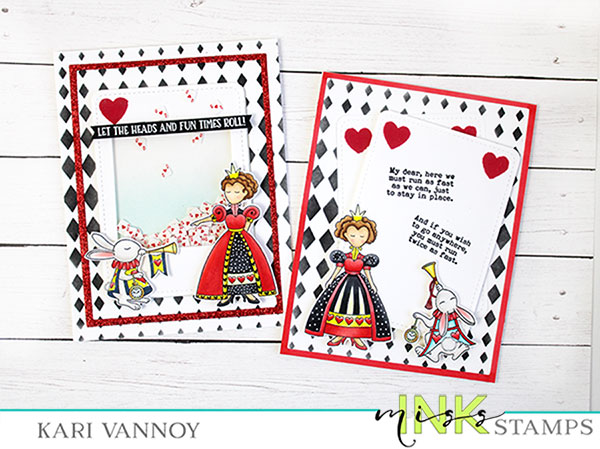
I show you how to do this and even show you a BONUS card in my video. Watch it below or in HD on YouTube:
I colored up more images than I needed this time, which is why I made an extra card. I love making more than one at a time when I have extras!
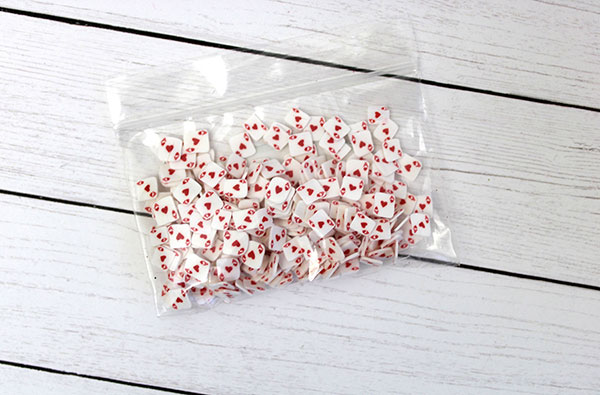
These Queen’s Guard small Embellishments from Miss Ink Stamps inspired the entire card:
I love that they look like mini playing cards!! Too cute.
I’m often asked what supplies I use to make my cards and projects, so I’ve put together a list using affiliate links when possible. If you make a purchase with these links I may receive a small commission. These help me to keep up with blog costs and continue bringing you fun projects. Thank you so much for your support!
I hope you enjoyed these cards today! I really LOVED creating them. See you soon!
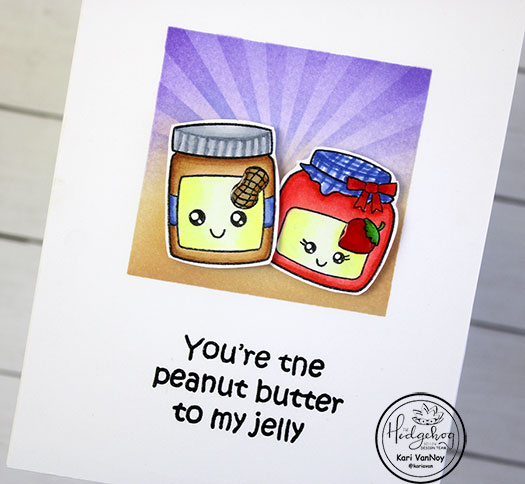
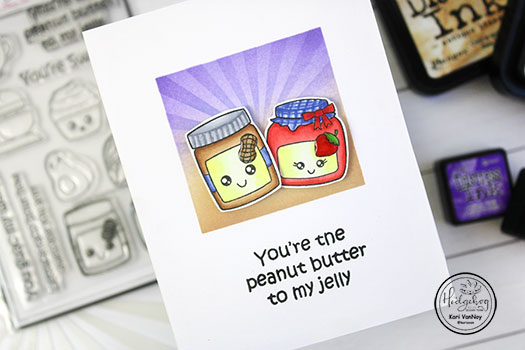
Hello! Today I have the sweetest little peanut butter and jelly jars for you, with some added detail that you won’t want to miss!
I’m working with the Hedgehog Hollow July 2020 Kit today, and the cutest food stamps and sentiments are included in this kit.
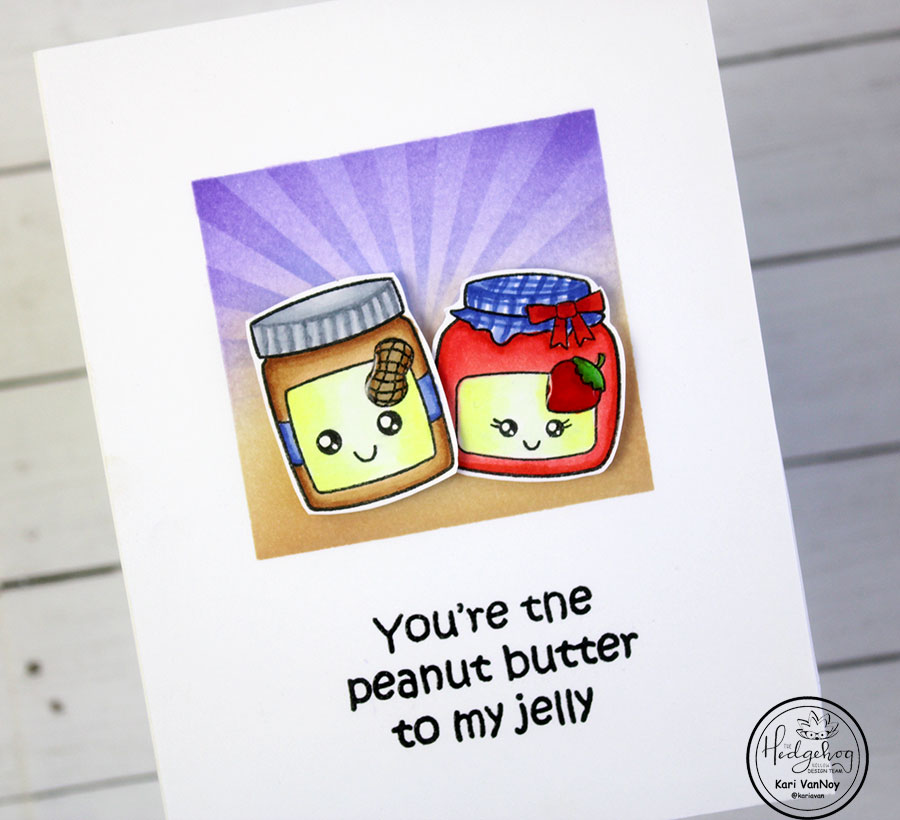
Just take a look at those peanut butter & jam jars!! So cute. But definitely needing some detail on the lids. So today I show you how to do just that.
Watch my video below or in HD on YouTube for all the fun details:
I’m often asked what supplies I use to make my cards and projects, so I’ve put together a list using affiliate links when possible. If you make a purchase with these links I may receive a small commission. These help me to keep up with blog costs and continue bringing you fun projects. Thank you so much for your support!
I finally got up the courage to use my NEW favorite blending brushes! I had them on my desk for a couple weeks before I finally put them to use, they were just so pretty!
And if you want even more details, don’t forget to check out The Hedgehog Hollow Blog and leave a comment to show some love.
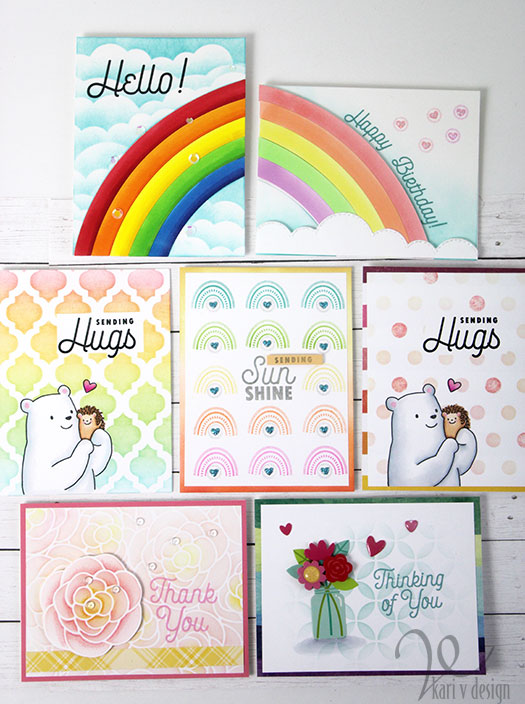
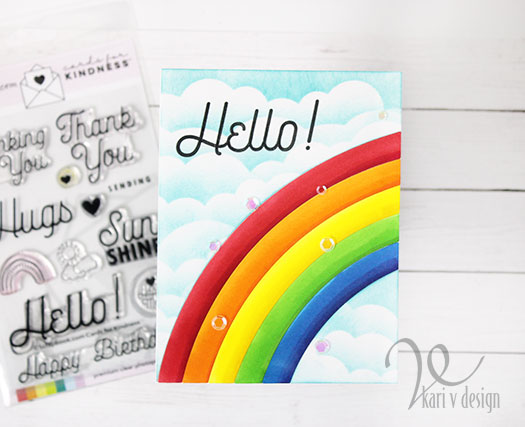
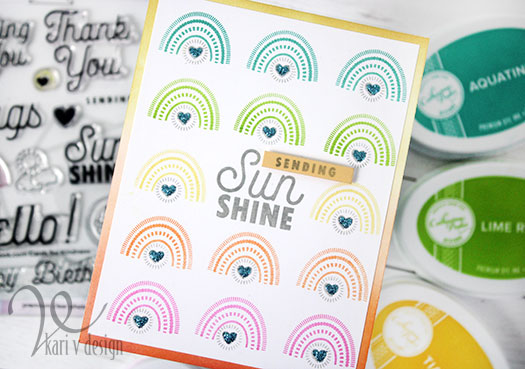
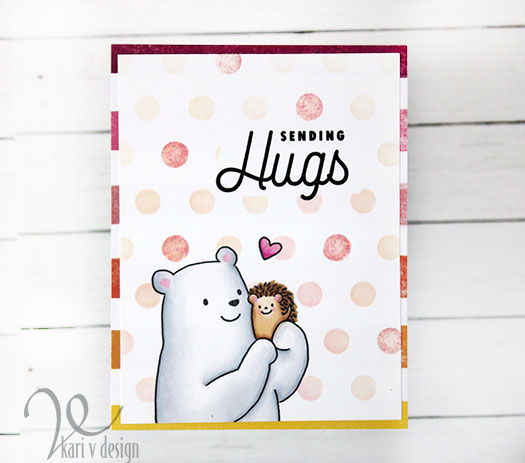
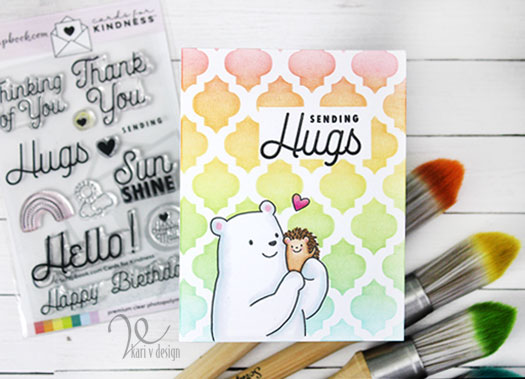
Hello! Today I am sharing the best new stamp set I’ve seen for this time. It’s called Cards for Kindness and it’s by Scrapbook.com. I love ALL the sentiments and icons in this set, and of course I couldn’t stop at just ONE card! Lol.
Scrapbook.com is now collecting cards for their Cards for Kindness Drive, please click here to read more about what they need! If you are a cardmaker, they need YOUR help!
Here’s a look at all 7 cards I’ve made so far with this set. As I said, I LOVE ALL the sentiments in this set. So you can bet I have more cards on the way!
I have a video to share, showing you TWO card ideas and the entire stamp set. View it below or on YouTube:
Have I mentioned that I love this set? Check out the set below in the supply list and all the supplies I’ve used.
I’m often asked what supplies I use to make my cards and projects, so I’ve put together a list using affiliate links when possible. If you make a purchase with these links I may receive a small commission. These help me to keep up with blog costs and continue bringing you fun projects. Thank you so much for your support!
I hope you enjoyed these bright, kind cards for today. Don’t forget to check out the Cards for Kindness campaign…there are so many people who need a cheerful card!
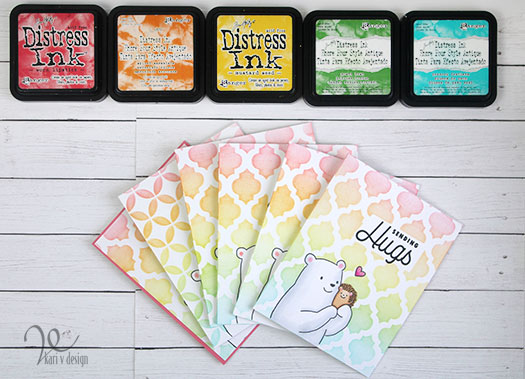
Hello! Today I am a part of Justine Hovey’s Video hop celebrating 50K followers on her channel! This is a hop with lots of prizes and many great techniques shared.
Today I am sharing the double stencil technique, which is a favorite of mine for an interesting background. Check out my video below or on YouTube. (Be sure to comment on my video and on all the videos in the hop to enter to win one of multiple $50 gift cards!)
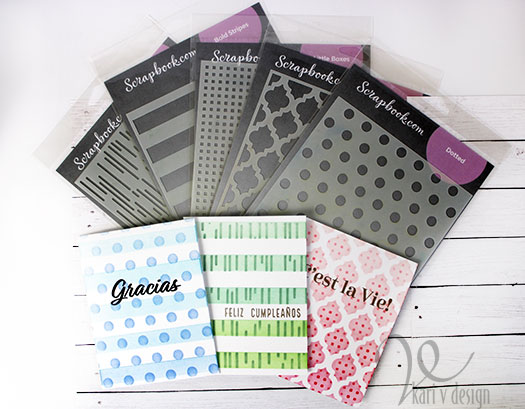
First I will show you a few simple cards to share the technique. This works best when you have one stencil with a larger design, and one stencil with a smaller more detailed design.
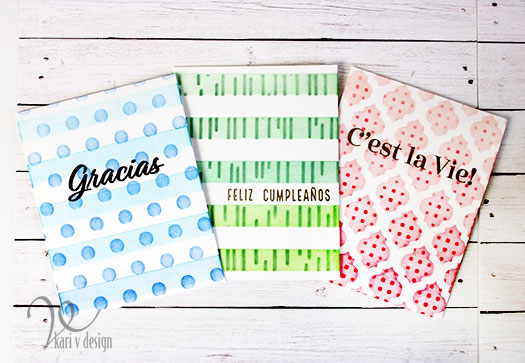
Simple cards to show the technique…
First stencil the larger stencil, then place the smaller stencil over the top and use a darker color to stencil on the second one.
This technique is much more difficult to explain in a blog post, so I hope you will go check out the video.
Here are some more examples and cards I made using this technique:
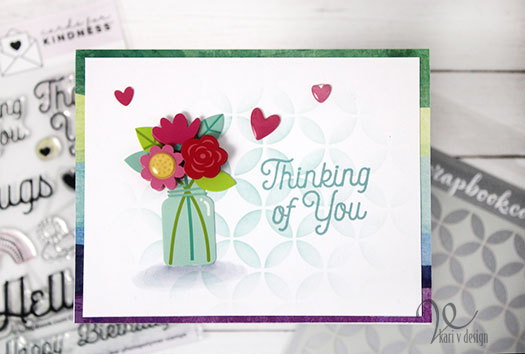
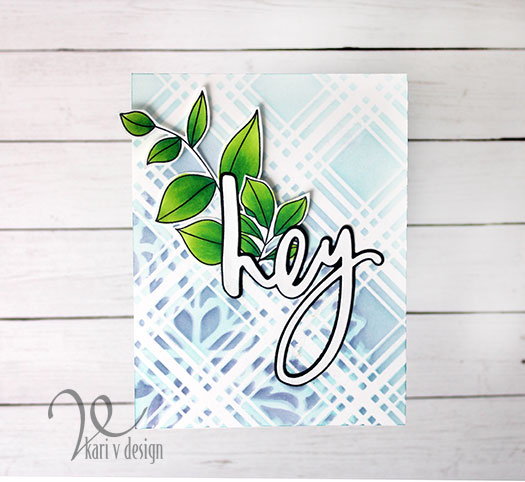
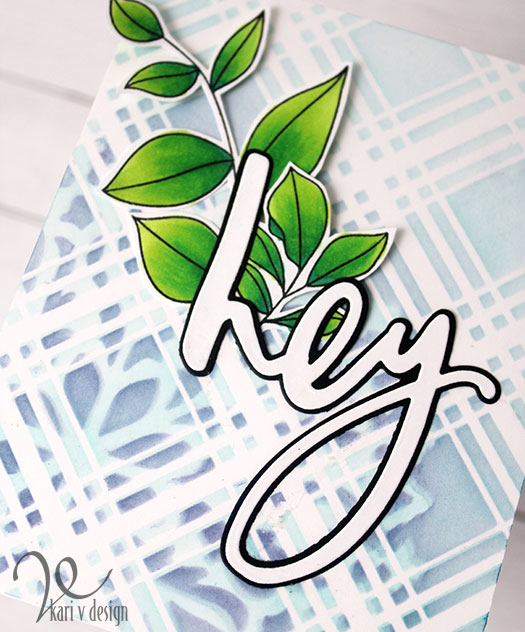
For this one, I stenciled on the plaid design first with a light blue ink, then added the medallion stencil over top and used dark blue and purple inks.
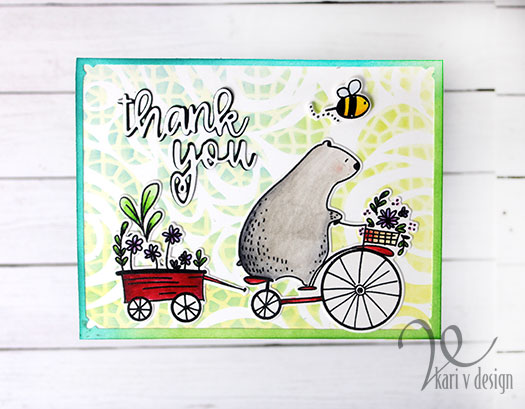
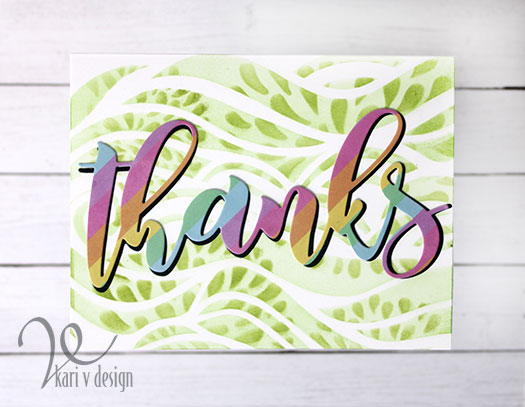
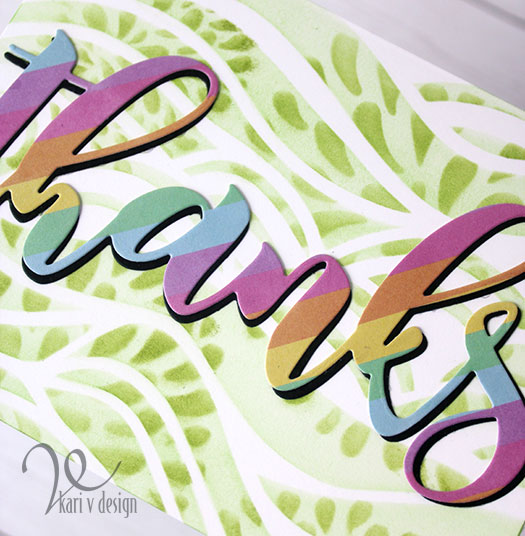
Big bear loves a bike ride Wave stencil with a floral stencilCircle stencil with plaid stencil
I’m often asked what supplies I use to make my cards and projects, so I’ve put together a list using affiliate links when possible. If you make a purchase with these links I may receive a small commission. These help me to keep up with blog costs and continue bringing you fun projects. Thank you so much for your support!
I hope you will give this technique a try! I really have fun with it. It’s a great way to build up some backgrounds.
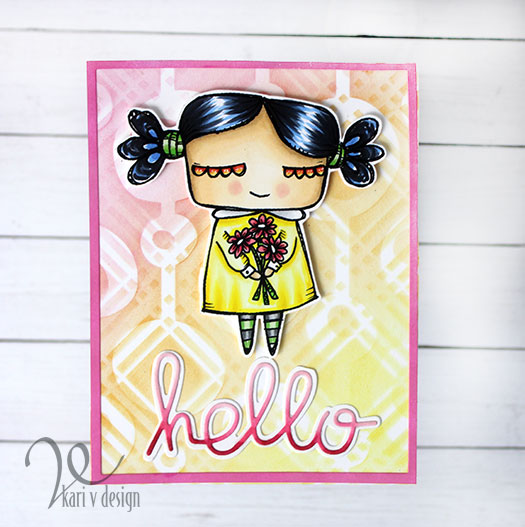
Hello there! Today I’m inspired by Laurel Beard’s Stenciling Techniques class over at Altenew classes. She has the best ideas in this class, some I’ve never tried before!
She also had a suggestion to do a stencil overlay on a watercolor background. Well, it got me thinking. What if I did a stencil overlay over ANOTHER stencil? That sounds fun!
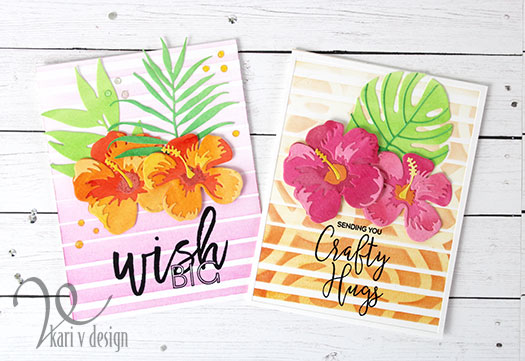
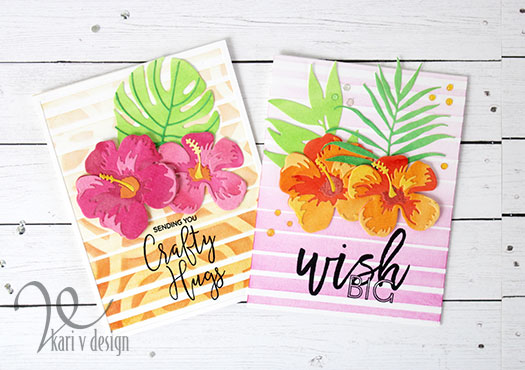
So I got out two of my favorite stencils from Altenew and first I added the Ombre Stripes Stencil to my background using Spiced Marmalade Distress Ink. Then I added the Graffiti Scribble stencil right over the top and inked on some Picked Raspberry Distress Ink. Guess what?!? It worked!
Sending you Crafty Hugs!
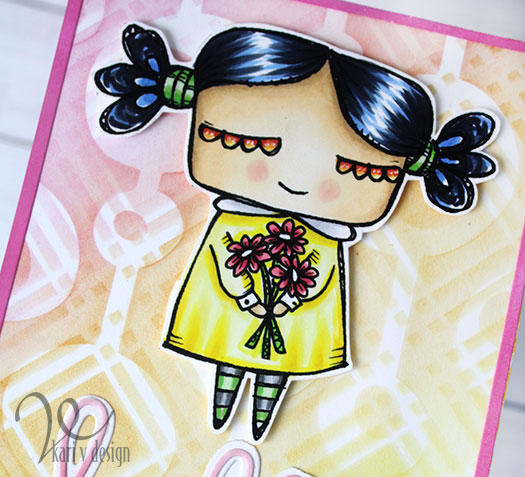
The sentiment is from another of my favorite Altenew sets! Such a great sentiment for a card. (This one is going to a crafty friend).
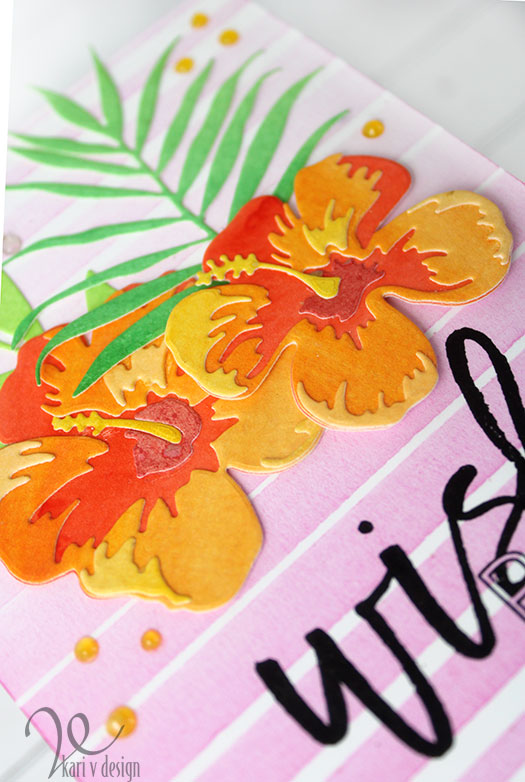
I added some Hibiscus flowers that I die cut from watercolored panels. I used Gansai Tambi watercolors to get a very vibrant look. When I watercolored up my panels…I did them in a sort of Ombre fashion, with a darker pink at the top and a lighter pink at the bottom. Then I die cut my hibiscus so that the top layers would be the lightest. I did the same with the orange flowers (see below). I think these flowers look so pretty out of watercolored paper.
You can see a little texture from the watercolor paper
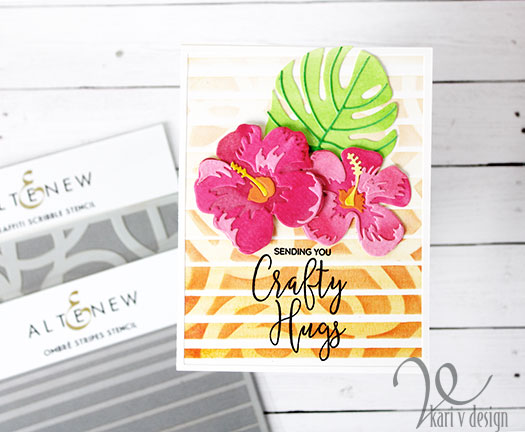
I found that for this technique, I like using a stencil brush…it’s so easy to spread on the color without affecting the stencil. I just lightly brush back and forth from one side to the other (starting and ending OFF the sides of the paper) until I get the shade I want. In this case, I blended the Picked Raspberry over the Spiced Marmalade and it gave me a darker orange color. Pretty neat.
I glued down the flower and Monstera leaf with liquid glue, and popped up the top hibiscus flower with foam tape.
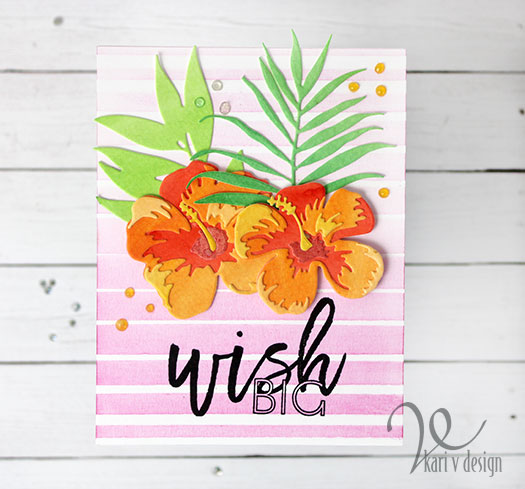
I also created a card just using the Ombre Stripes Stencil alone, to give you a perspective of what the layering does to the card.
One stencil used on the left, two stencils used on the right
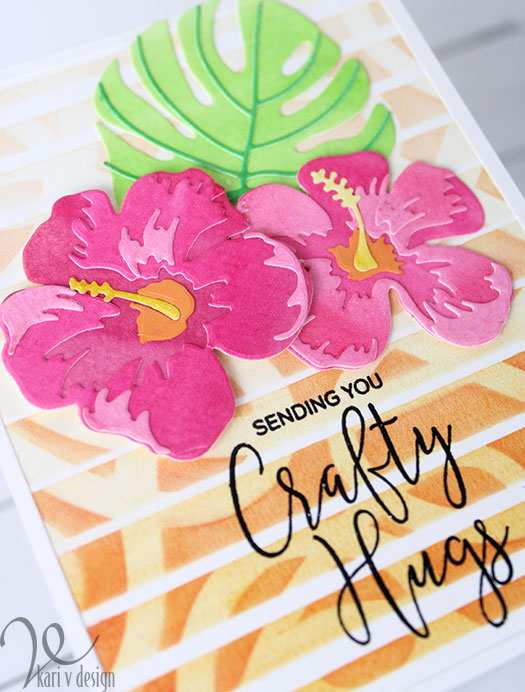
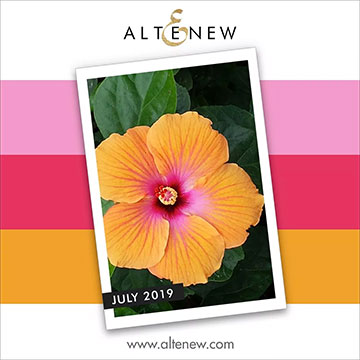
I think it adds quite a bit when you layer the stencils! I made the card on the left first for my sister’s birthday card and then I tried the two stencils for the card on the right. Can you guess that the design and color scheme was inspired by the July Altenew challenge?
Lol. I love entering these challenges and I have a lot of fun with them. For this card, I added some Nuvo Jewel drops to complete the look. [I didn’t think the double stenciled card needed the extra drops since it already had so much interest!]
You can see some of the watercolor splatters on the middle of this hibiscus
I’m often asked what supplies I’ve used to create my cards, so I’ve compiled a list for you using affiliate links, when possible. If you purchase product with these links I may receive a small commission. I appreciate this so much, as this helps me to keep up my blog and continue to bring you fun projects! Thank you very much.
I hope you enjoyed these projects today. I am really loving these florals and stencils so much right now. See you next time!
Hi I'm Kari. I'm a creator, a card maker, and a day maker! I am Lucky in love to a supportive husband, blessed to raise 3 kids (all moved away now!), and happy to be watched over by 2 dogs.
I originally started this blog to remind me to be happy amid adversity, and I hope it inspires you, too!