Yes it does! Hello again. Today I have the sweetest cards to share using a stamp set I’m completely in love with! I had the opportunity to meet the artist of this particular stamp and she is the greatest, too. You know how when you meet someone and you can just tell they are going to be a friend? Well, that’s how I feel about her.
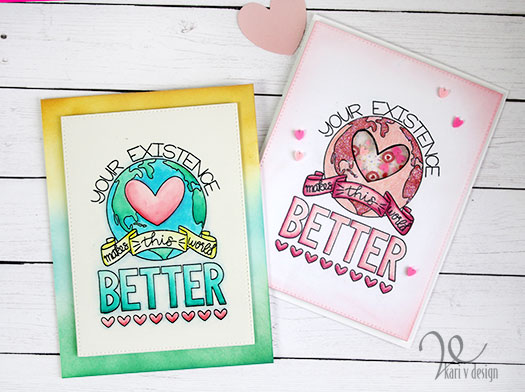
When I saw this stamp I knew immediately what I wanted to create. First, a watercolor card. Then, a red/pink shaker card! So here’s what I made:
I’m loving these cards! I can already think of many, many people who I can send one of these to. Guess I need to make a few more cards with this one, right?!
I created a video to show you some tricks for pulling these cards together. Watch it below or on YouTube:
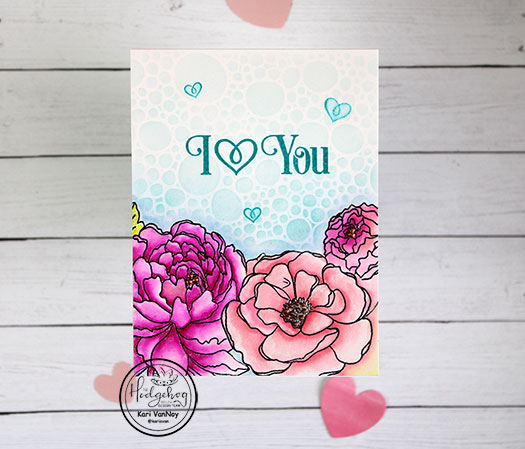
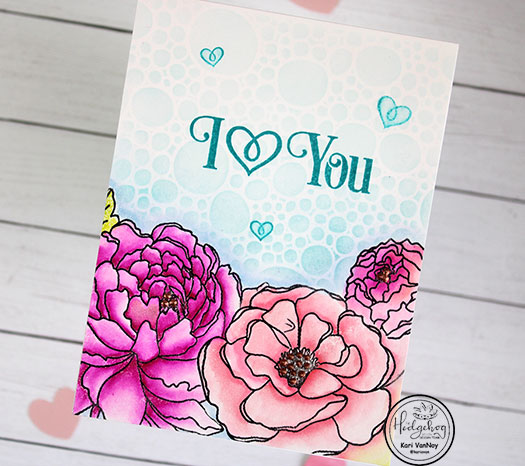
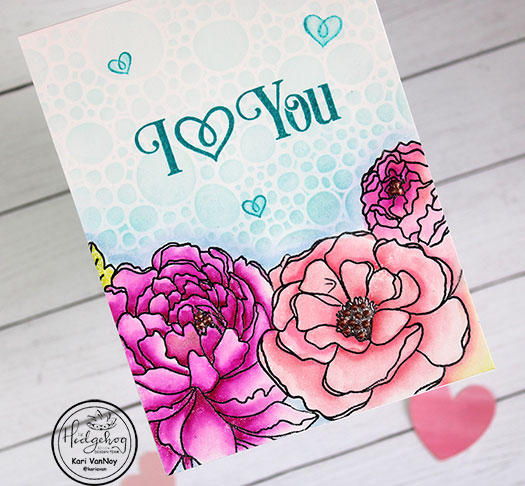
The first card is created using Zig clean color real brush markers. I used Bristol paper for this one because it seems to allow the watercolor to blend a little better. I can keep adding color and blending to add some darker areas, too. For some areas I used a waterbrush along with the Zigs, and for some I colored the Zigs on straight.
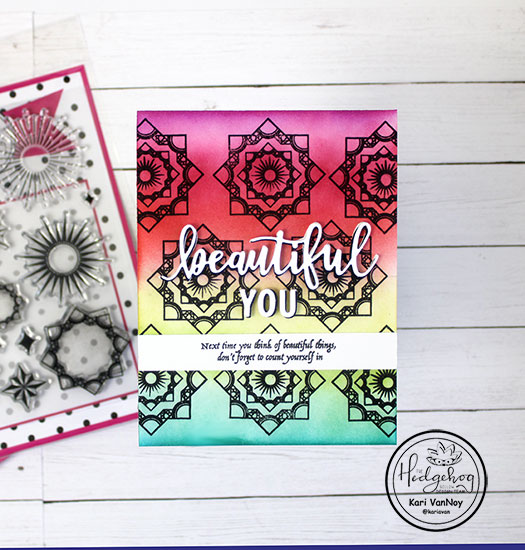
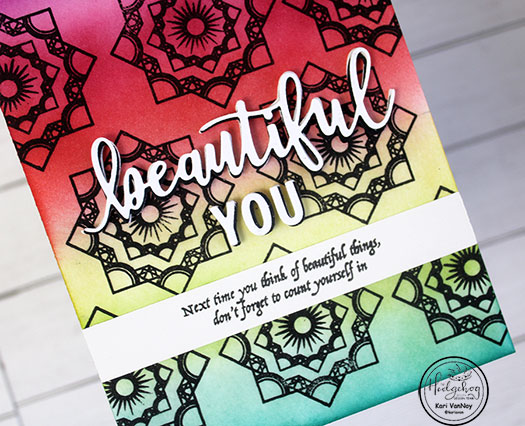
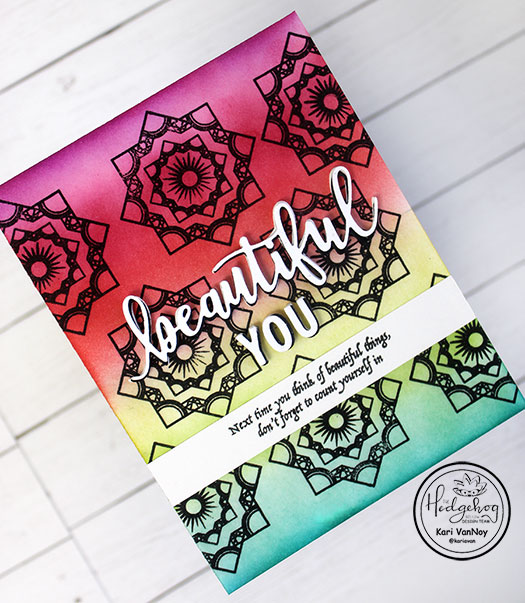
For the background on this one, I did some ink blending with Distress Oxides in matching colors. It really makes the panel pop, doesn’t it?!
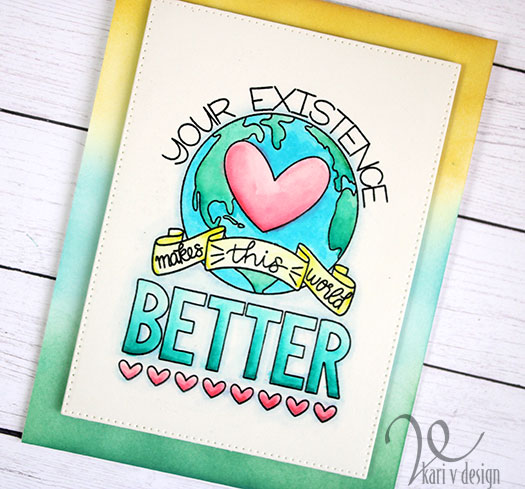
I think these colors are so happy. I used a rectangle pierced die to cut out the panel before adding it to the background with fun foam.
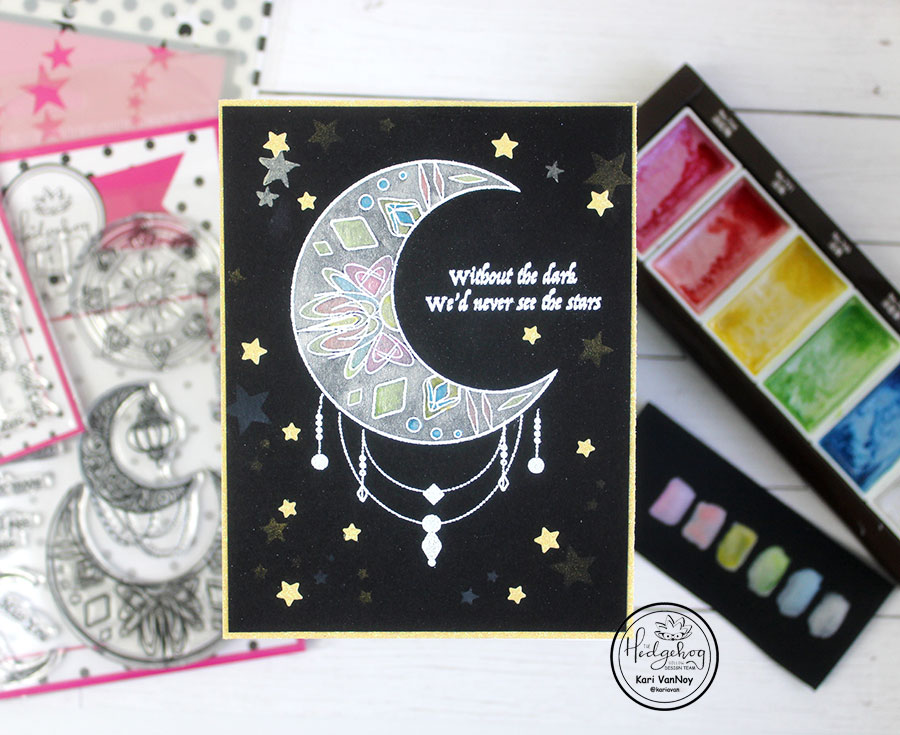
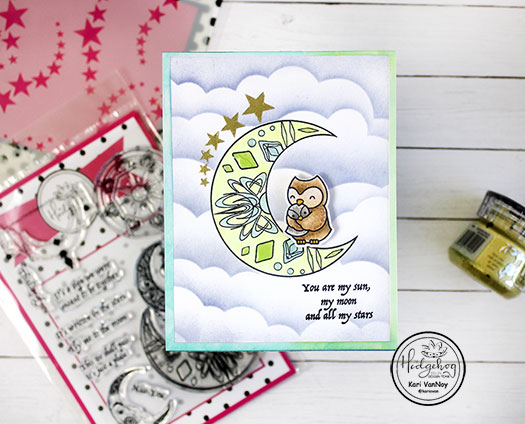
The second card is colored with only pink and red Prismacolor pencils. I’m pretty sure I was inspired by Valentine’s day!
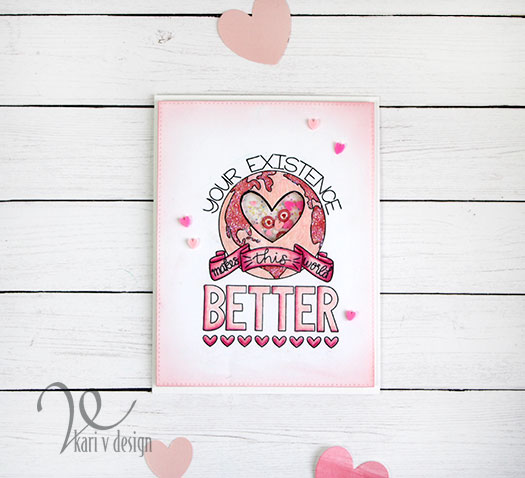
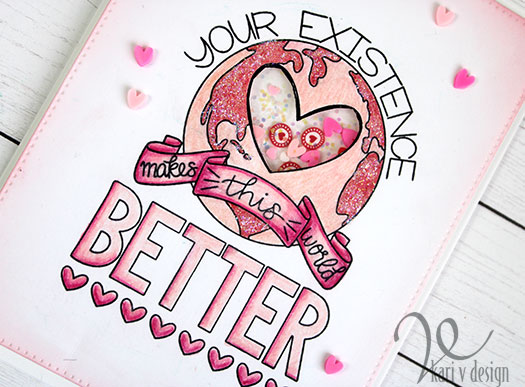
I cut the heart out on the center heart to create a shaker element to this card. And of course I had to add some glittery Stickles to all the lands in this world. That’s probably how my world would be, lol.
I’m often asked what supplies I use to make my cards and projects, so I’ve put together a list using affiliate links when possible. If you make a purchase with these links I may receive a small commission. These help me to keep up with blog costs and continue bringing you fun projects. Thank you so much for your support!
I hope you enjoyed these projects today! This stamp set is brand new from Trinity stamps, so be sure to head over to get one for yourself before they are all gone!
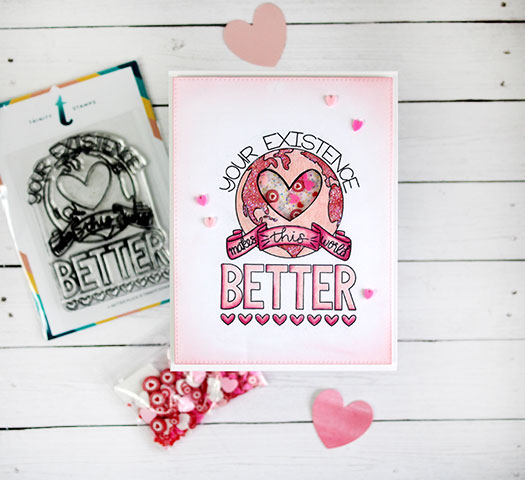
Thanks for stopping by! Your Existence Makes this World Better! (and a big thanks to Dani for creating this perfect stamp…I love it). See you soon!