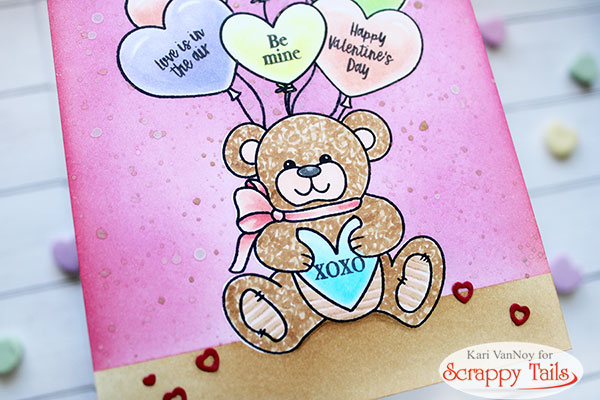
Hello again! It’s that time again…time to create some Valentine’s for your loved ones. Today I have a Valentine Conversation Heart Bear card to share. I was inspired by those conversation heart candies released at this time of year. I never eat them (do you like them?) but they sure are cute for a sweet message!

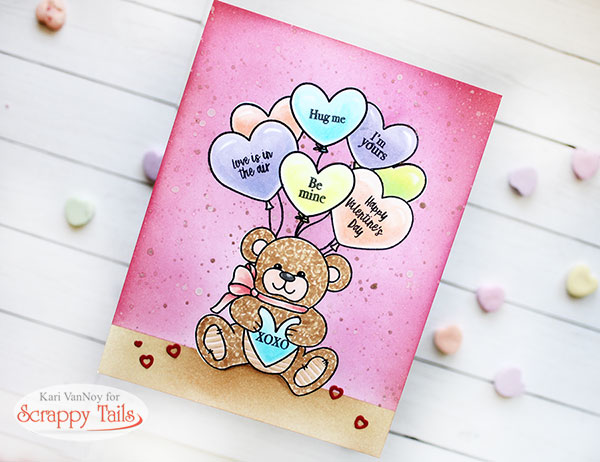
After I made this card, I ran out to get some just for this photo shoot. Lol!
I have a video showing you masking techniques and coloring techniques for this one-layer card. Watch it below or in HD on YouTube:
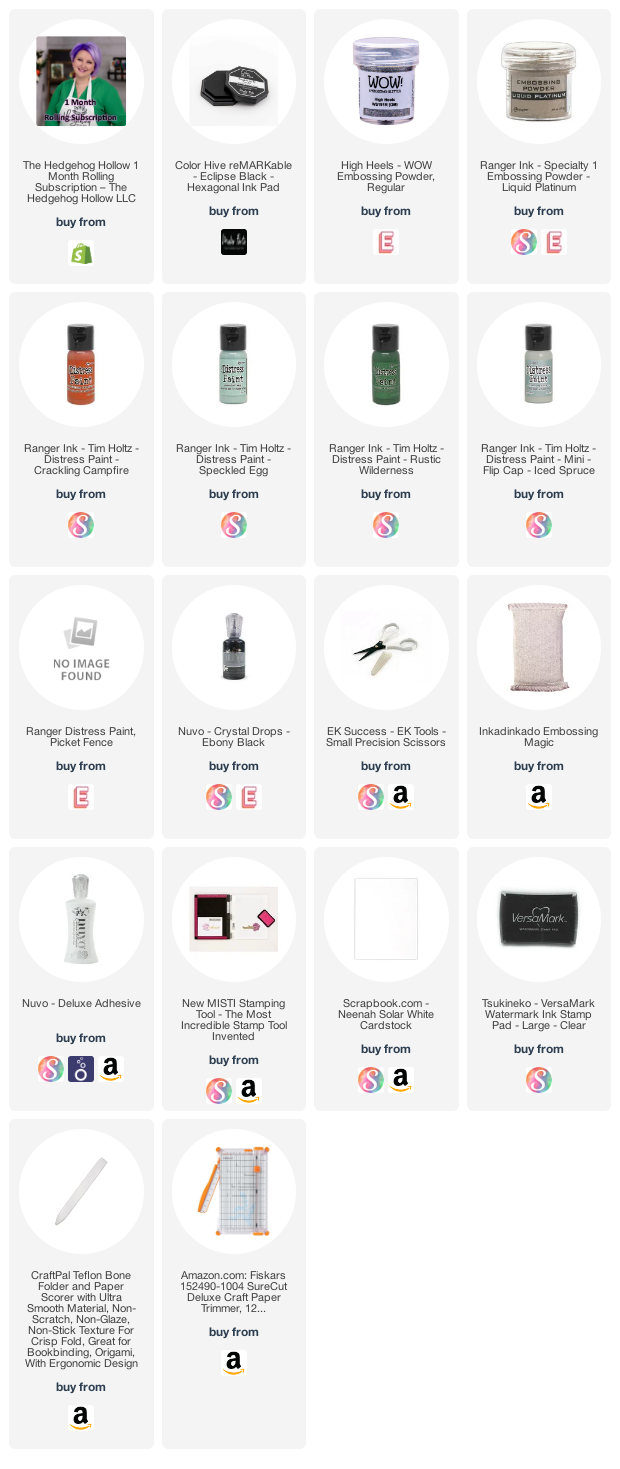
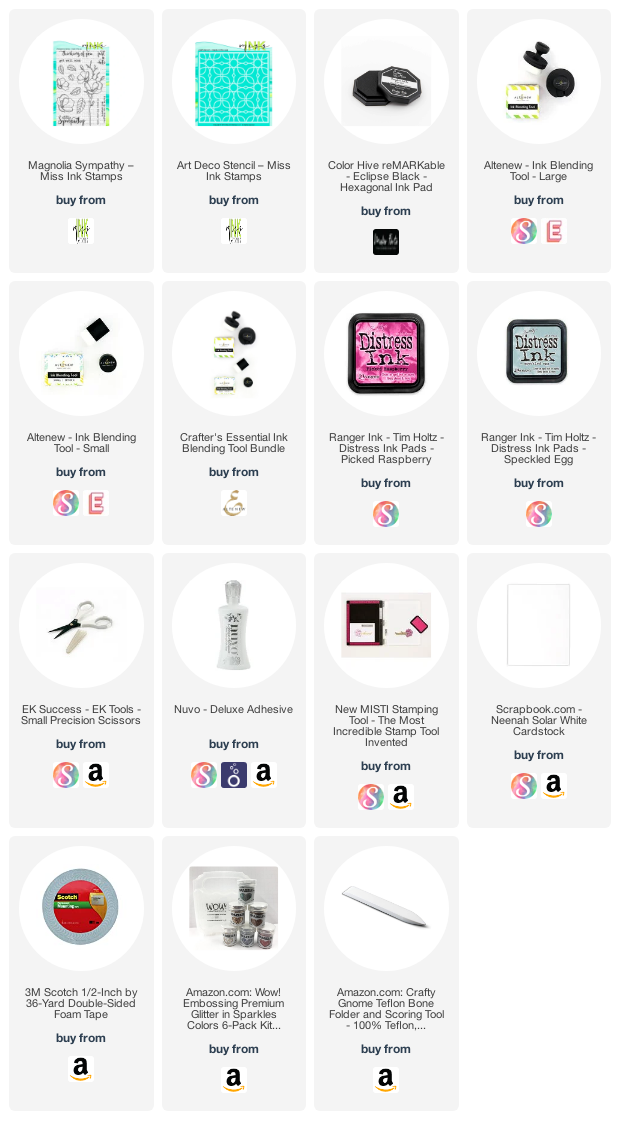
I’m often asked what supplies I use to make my cards and projects, so I’ve put together a list using affiliate links when possible. If you make a purchase with these links I may receive a small commission. These help me to keep up with blog costs and continue bringing you fun projects. Thank you so much for your support!

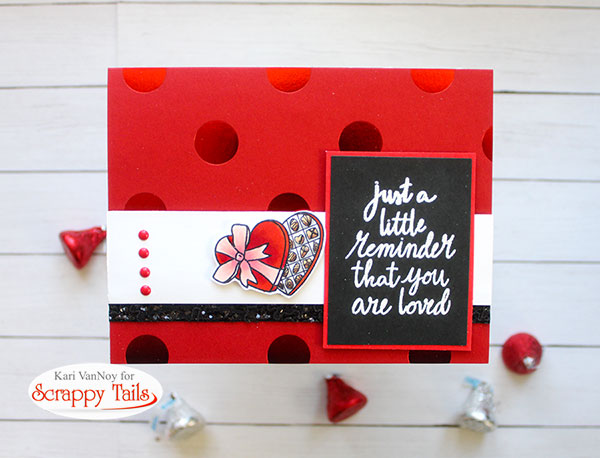
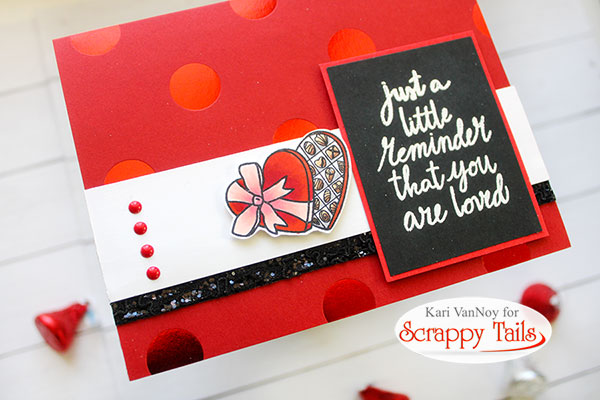
I loved this set so much, that I made a second card using the box of chocolates! This time, I went a little more formal with blacks and reds as the color scheme:
Happy Valentine’s Day! I call it Hug Day, but I guess right now Hugs are a little difficult to get. At least you can still get chocolate!