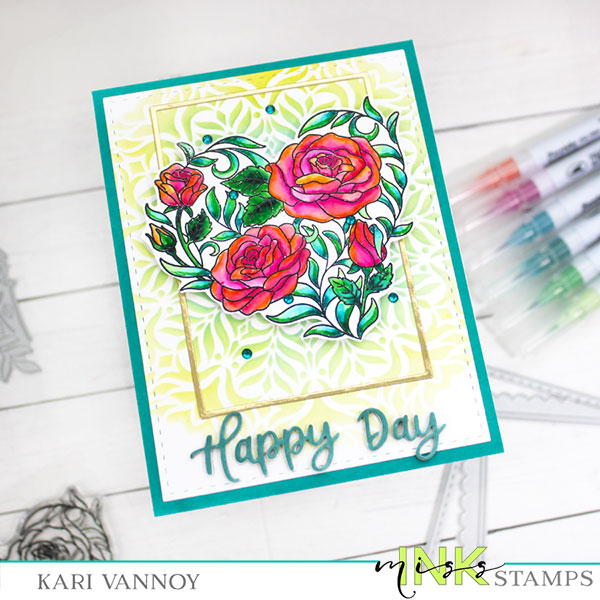
Hello! I’m back with another card in my Halloween Card Series with a Cat Mandala card. This is a fun (and super easy card) to create! I am absolutely in love with this Halloween Stencil from Miss Ink Stamps…it creates a beautiful card.
Watch the video below or in HD on YouTube:
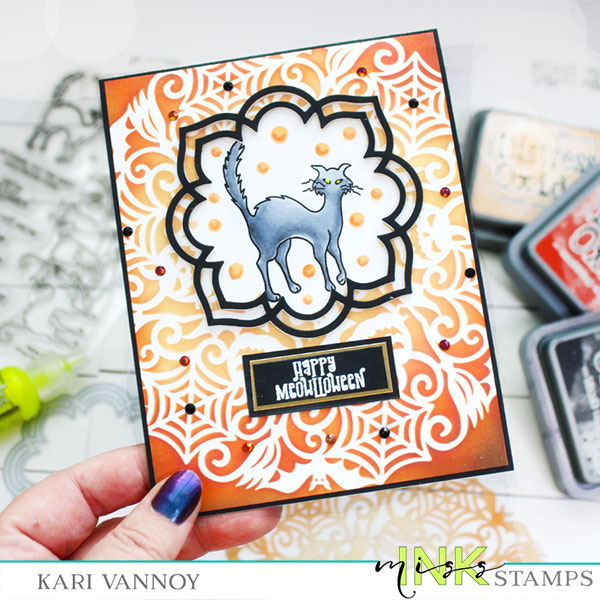
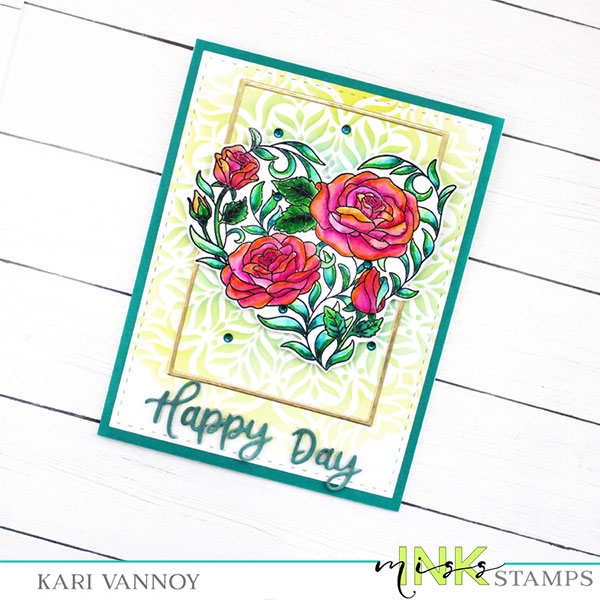
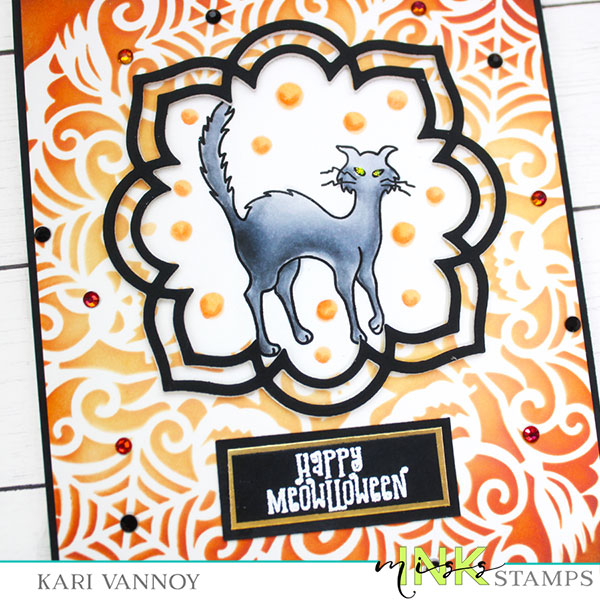
To create this card I started by stamping the cat image in the center of the panel. Then I made a MASK using the Magnolia Frame Die and some thin computer paper. I stuck that mask down with some repositionable adhesive.
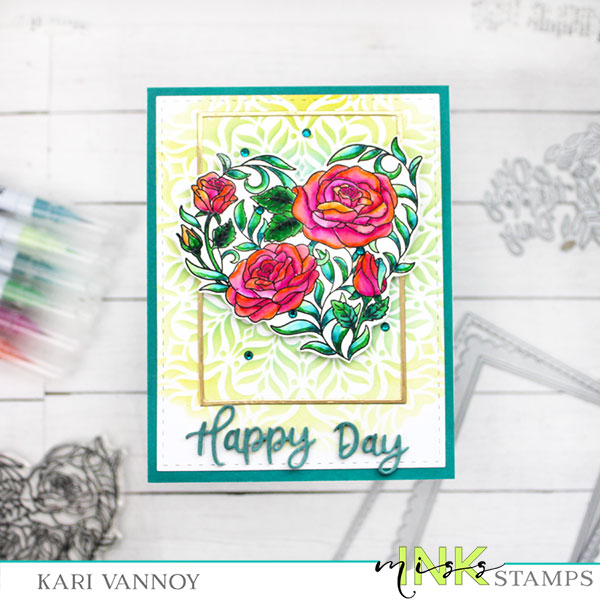
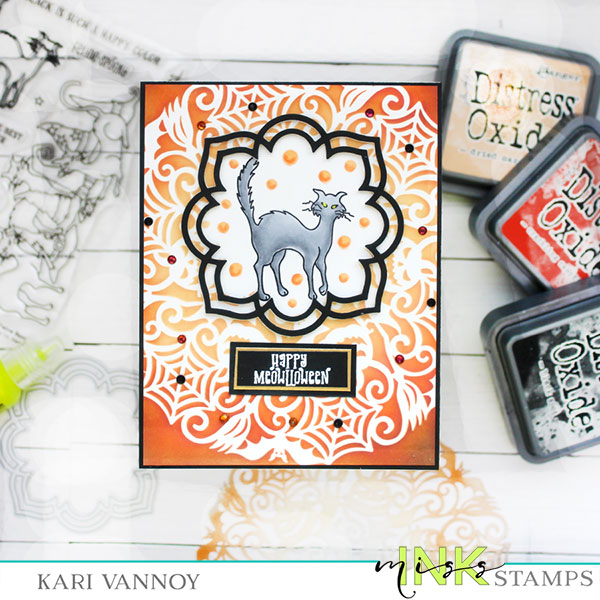
After that, I was ready to use that amazing Halloween Mandala stencil! I used two shades of orange ink and a little black ink around the very edges. Once I was finished ink blending, I removed the stencil and the mask and was ready to color up the cat with Copic markers.
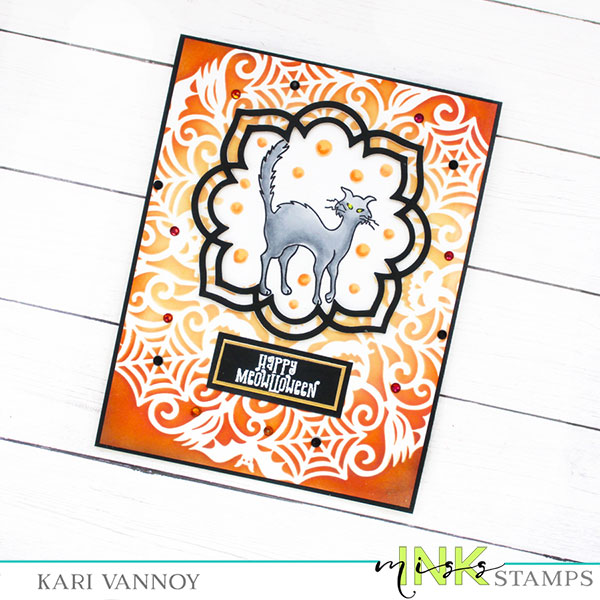
I added the frame around the cat (building it up with multiple layers) and then added some polka dots in the white space. You could leave the white space if you wanted, but I love the polka dots!
I added a white heat embossed sentiment, using black cardstock and a thin layer of metallic gold cardstock. To finish off this card, I added some orange and black gems around the mandala AND some yellow stickles to the cat’s eyes. (Ooohh…spooky!)
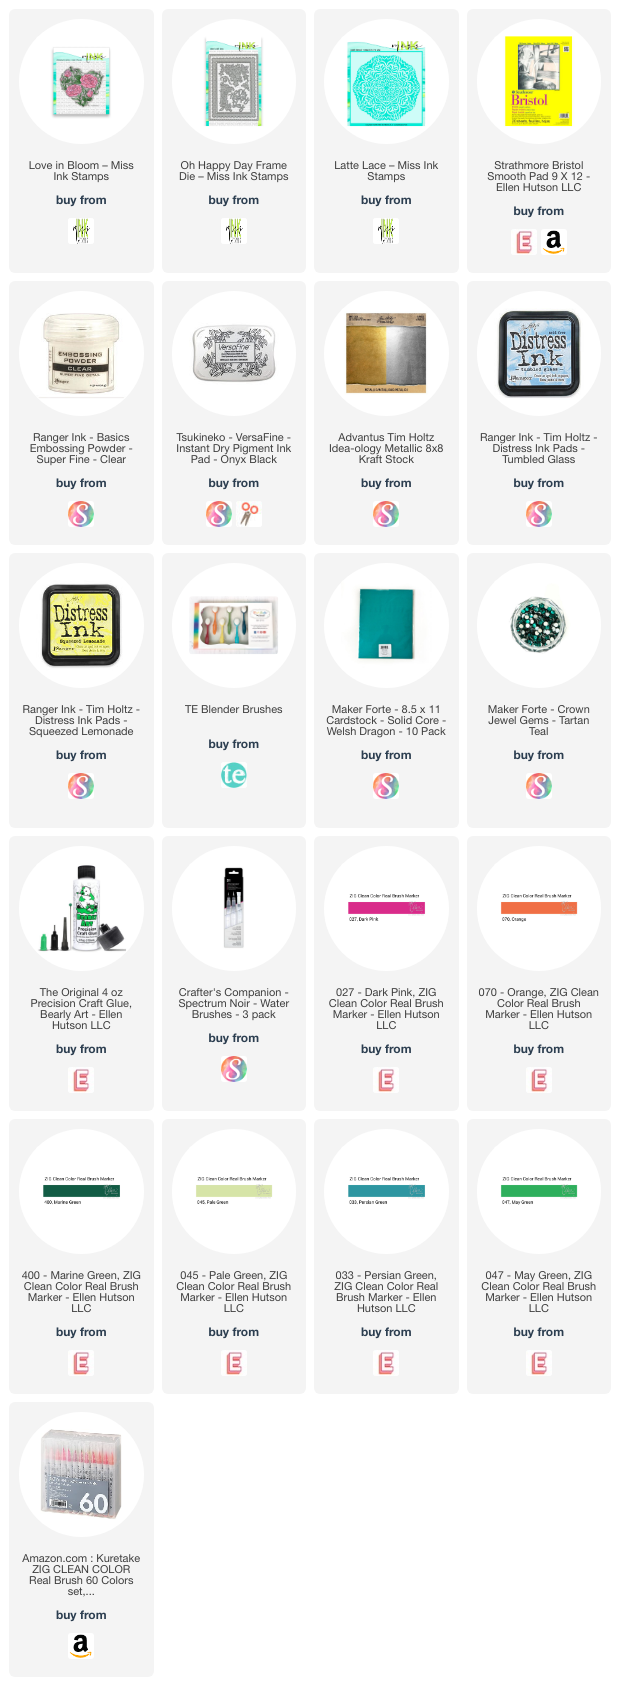
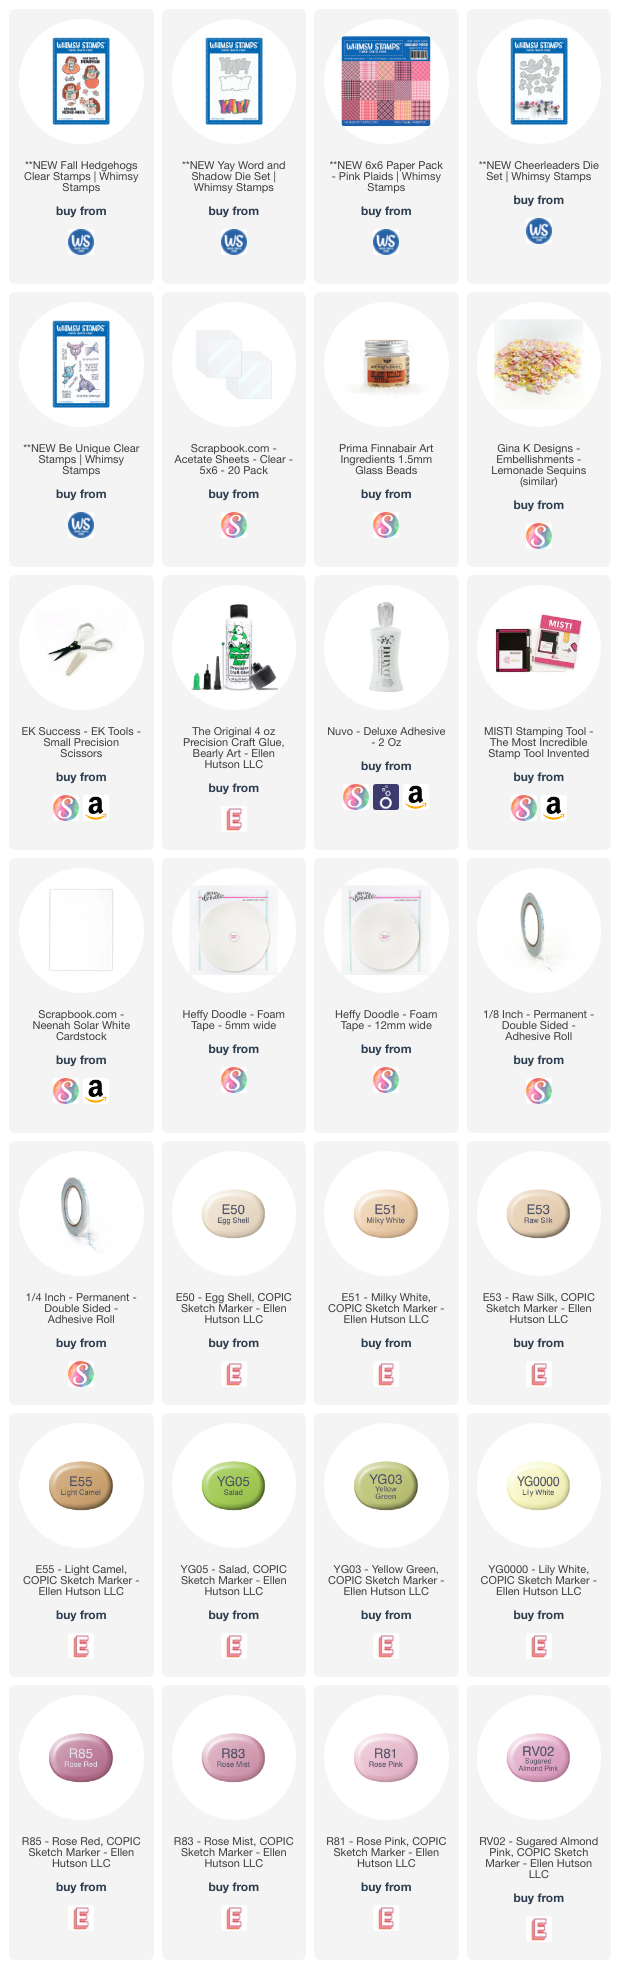
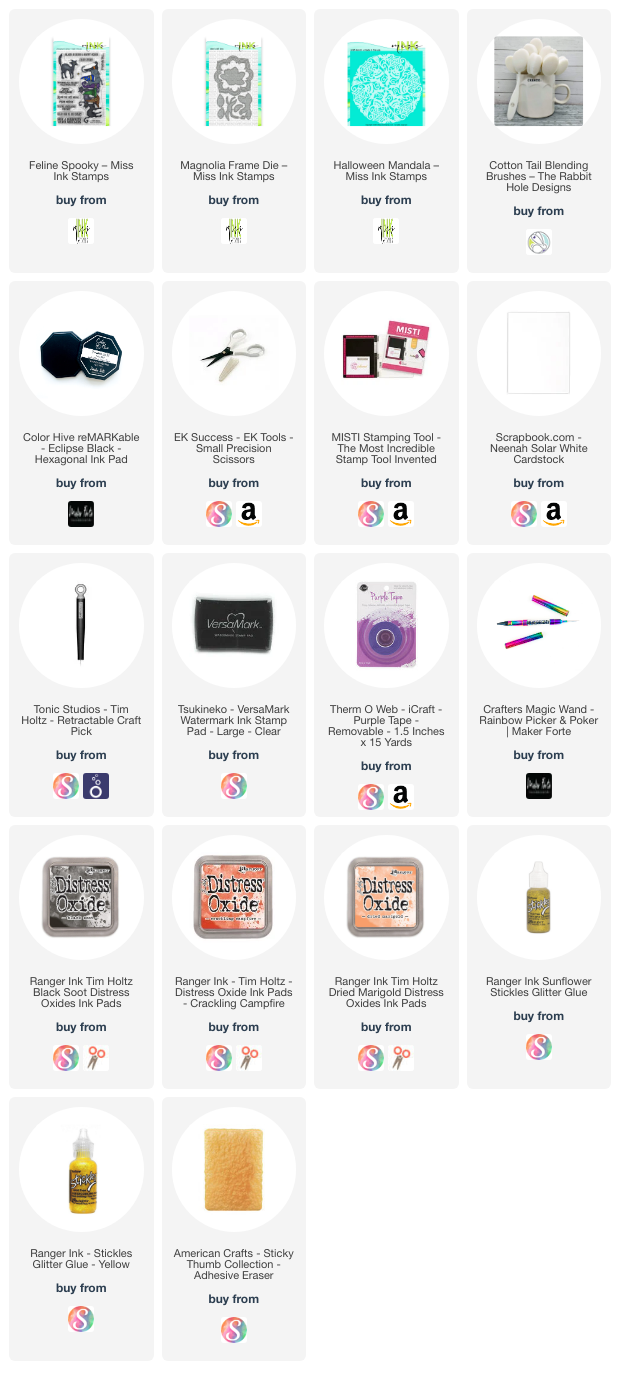
I’m often asked what supplies I use to make my cards and projects, so I’ve put together a list using affiliate links when possible. If you make a purchase with these links I may receive a small commission. These help me to keep up with blog costs and continue bringing you fun projects. Thank you so much for your support!
I hope you enjoyed this project today! It’s my second card in my Halloween card series this year. Come back soon to see more fun (and cute) Halloween cards!