Tag Archives | Video tutorial
Kari-V-BOTH-so-Annoying-cards

Foiling and Angry Birds

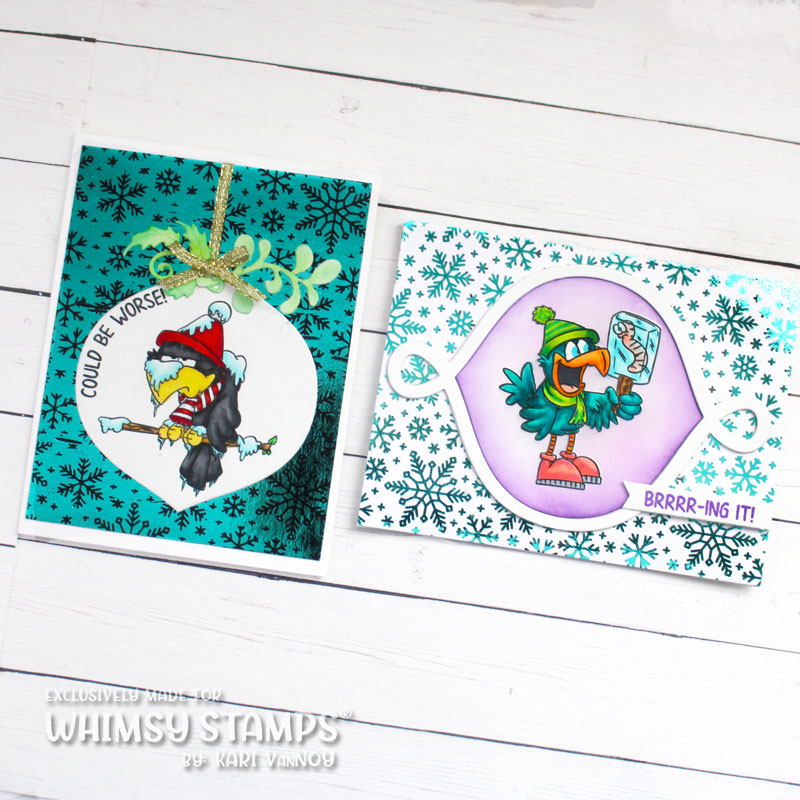
Hello! Happy New Year! I’m back with my first video and card share of the New Year. I hope your holidays were delightful and not nearly as cold as it is for these Angry Birds cards I am sharing today.

Watch the video below or in HD on YouTube:
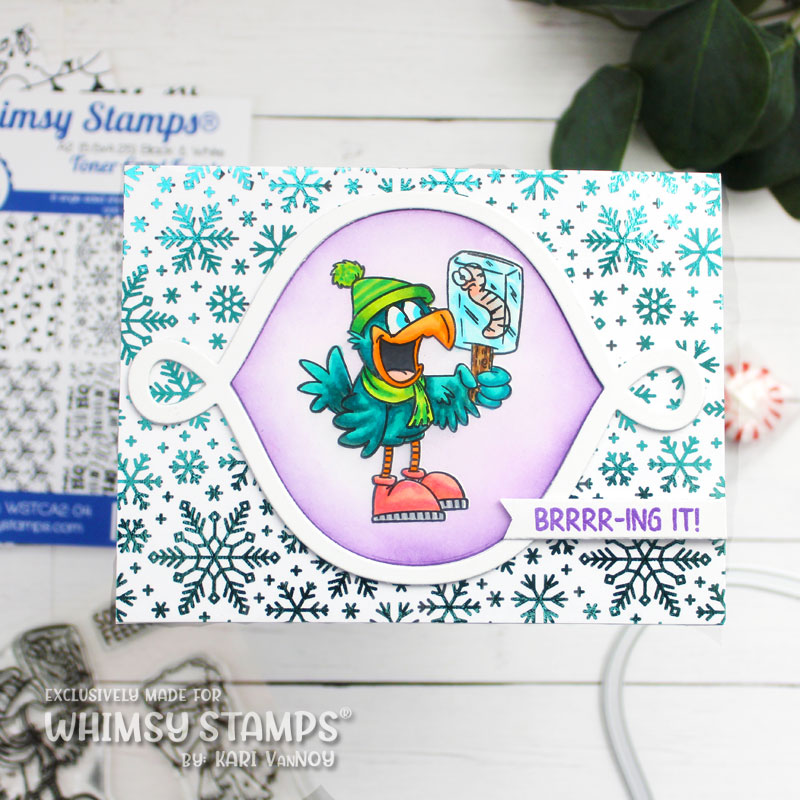
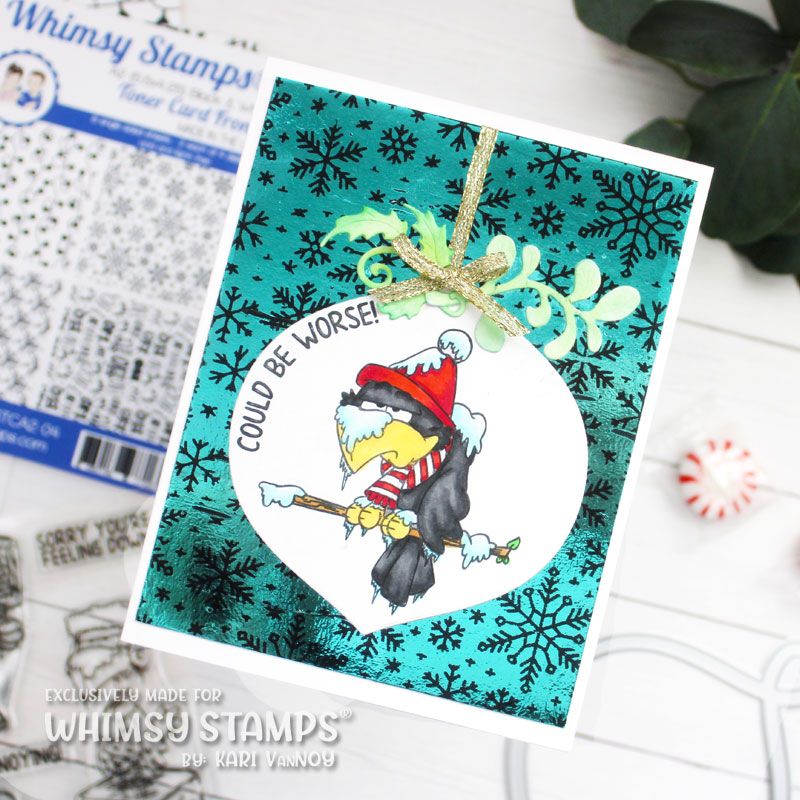
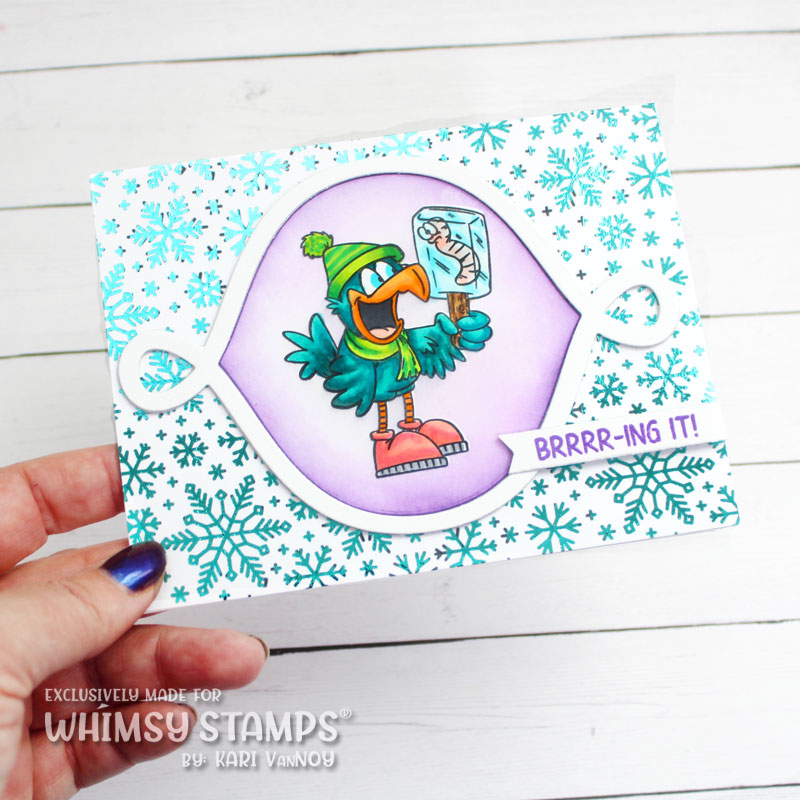
For these cards, I started with some Toner Card fronts from Whimsy Stamps. I used some aqua DecoFoil to foil this snowflake background…then I saved the leftover foil to make the second card background.
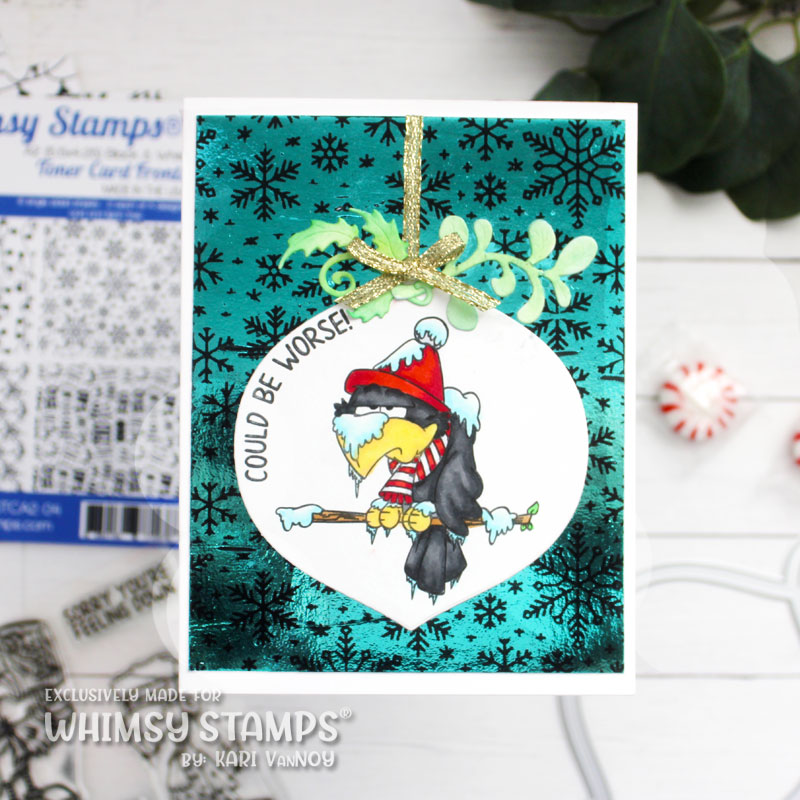
I think these birds are so funny (but don’t they look cold…brrr)! There is another fun image in this stamp set also, so go and check it out. I have the supplies listed below.
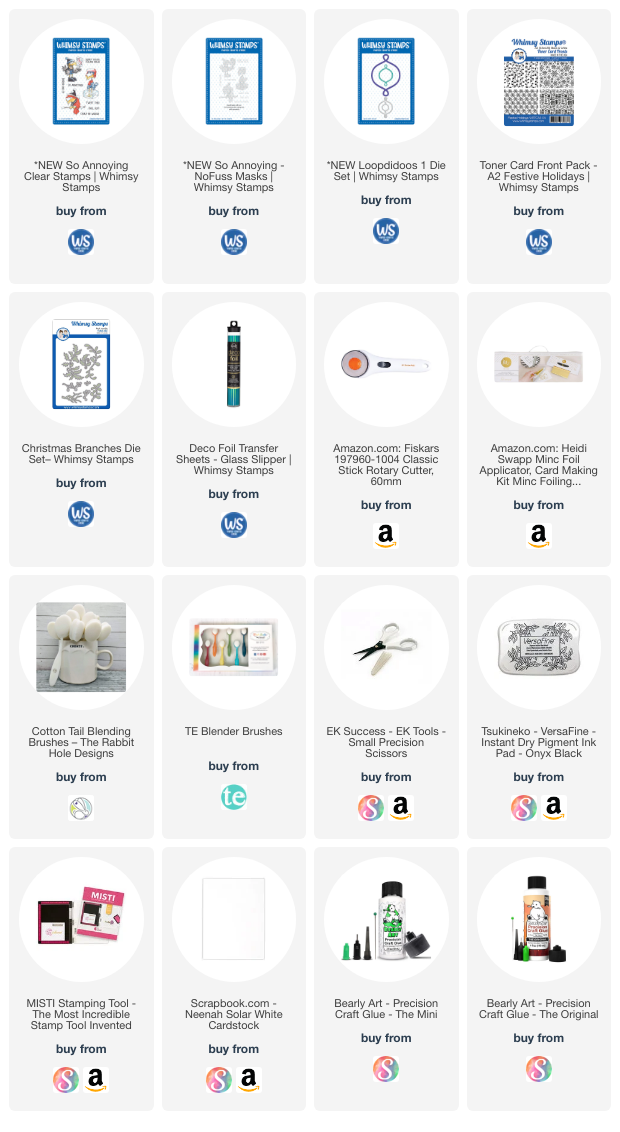
I’m often asked what supplies I use to make my cards and projects, so I’ve put together a list using affiliate links when possible. If you make a purchase with these links I may receive a small commission. These help me to keep up with blog costs and continue bringing you fun projects. Thank you so much for your support!


I hope you enjoyed the foiling and these card projects today! It’s been chilly here, but not cold enough for snow (we rarely get snow here in Arizona). How about where you are? See you soon with more cards to share!
Comments { 0 }
SUNSHINE-love-and-joy-alice-card-1

Holiday Wishes from Alice & Friends

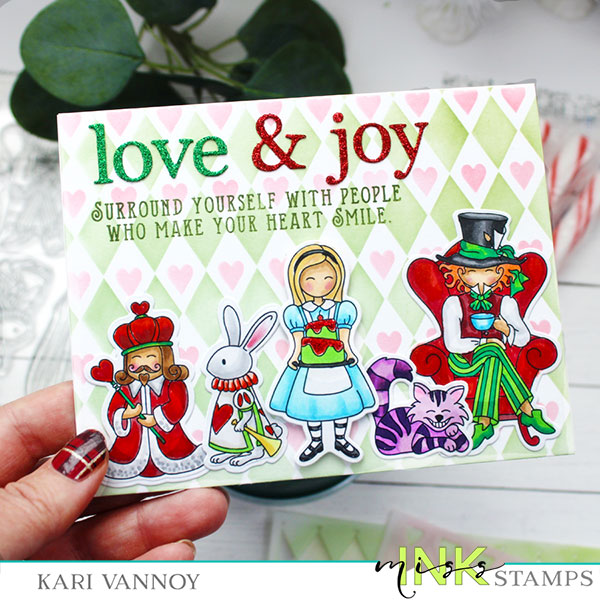
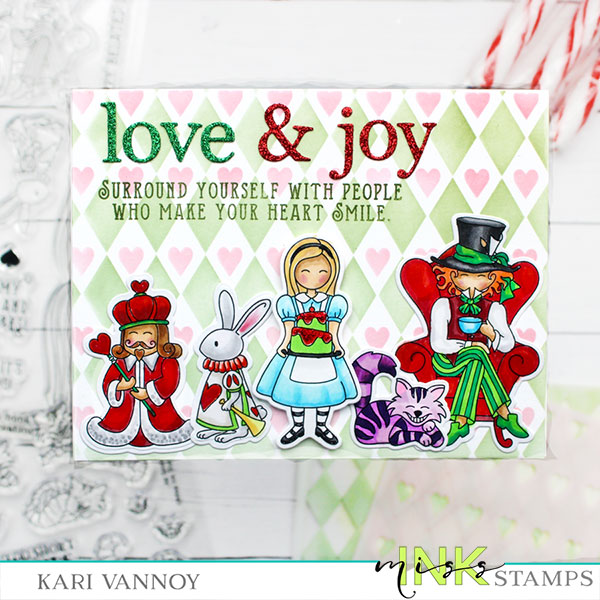
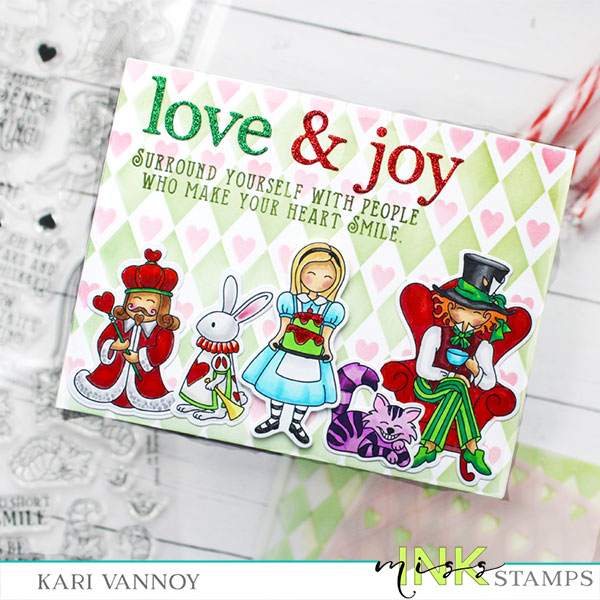
Hello! Today I have a new card and video bringing you Holiday wishes from Alice & Friends! I just absolutely HAD to make a holiday card with Alice.

Watch the video below or in HD on YouTube:

For this card I brought together a few of the stamp sets from the Alice Collection: All Smiles stamp set & Storybook Alice stamp set.

I used the Alice Background layering stencils in light green and light red for the background (which I absolutely LOVE!) I should mention that this is a 3 layer stencil set, but I only used 2 layers in this card. So many other options for this stencil that I have yet to explore!

The Love & Joy is cut from the alphabets in the Woodgrain Frame Die set using glitter paper. I love a bit of that glittery shine! I used Lawn Fawn glitter paper so the glitter doesn’t come off all over the place.

The subsentiment is from the All Smiles stamp set…isn’t is a lovely sentiment?

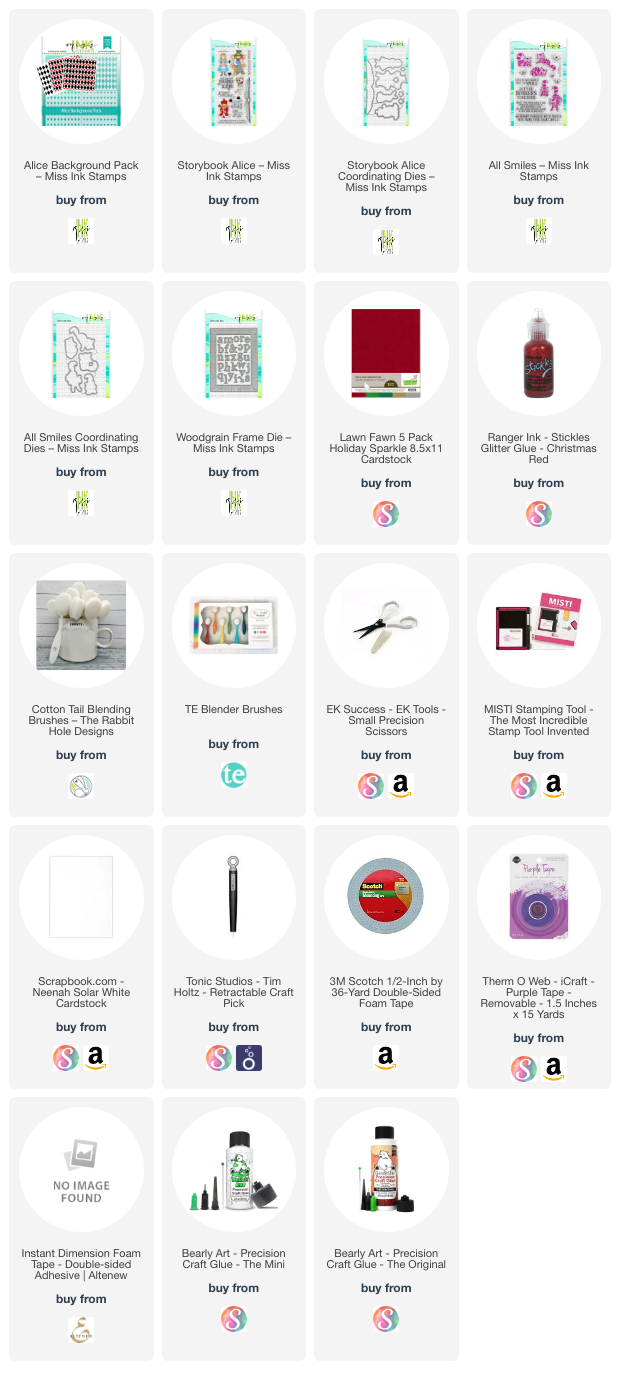
I’m often asked what supplies I use to make my cards and projects, so I’ve put together a list using affiliate links when possible. If you make a purchase with these links I may receive a small commission. These help me to keep up with blog costs and continue bringing you fun projects. Thank you so much for your support!


Happy Holidays from all of us!

Comments { 0 }
silver-metallic-background-card-1

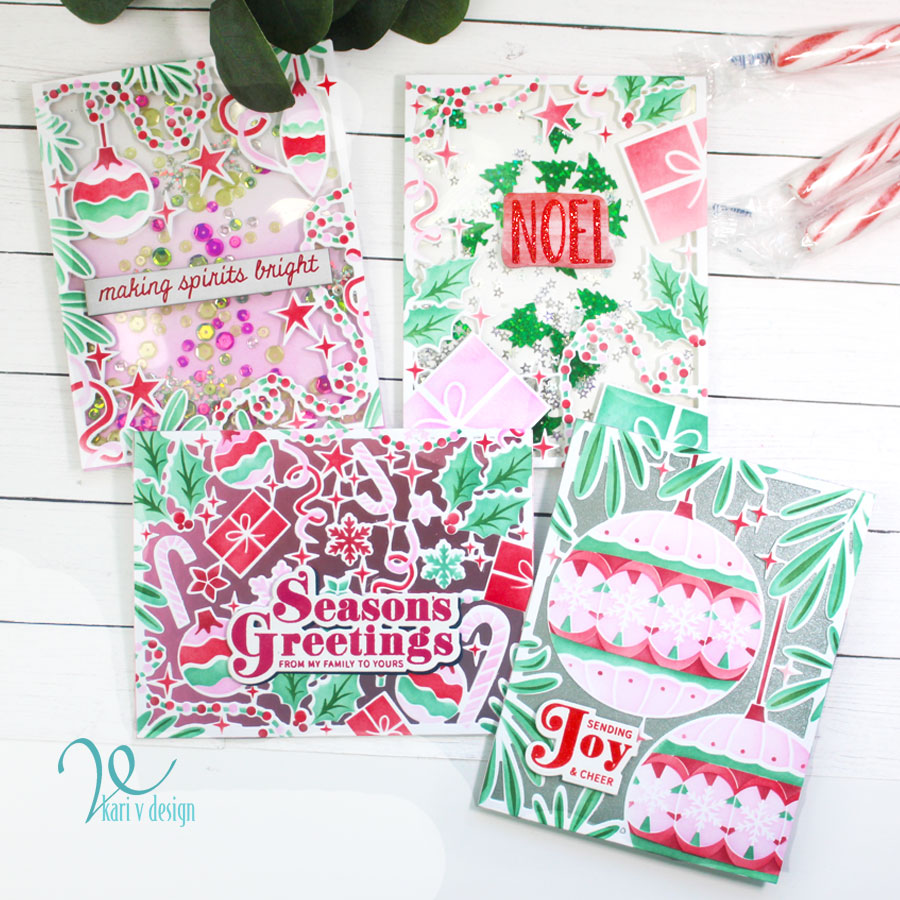
Step up Your Stenciling!

Hello! Today I have a fun video sharing a new (to me) way to Step Up Your Stenciling! Watch the video below or in HD on YouTube:

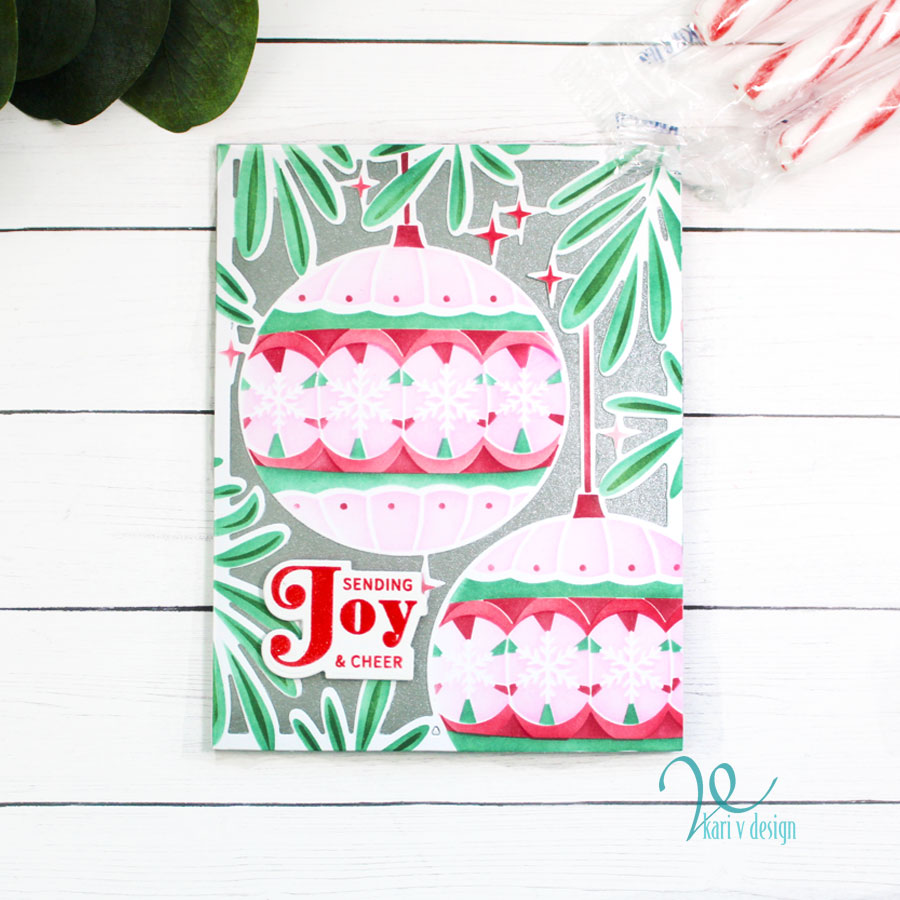
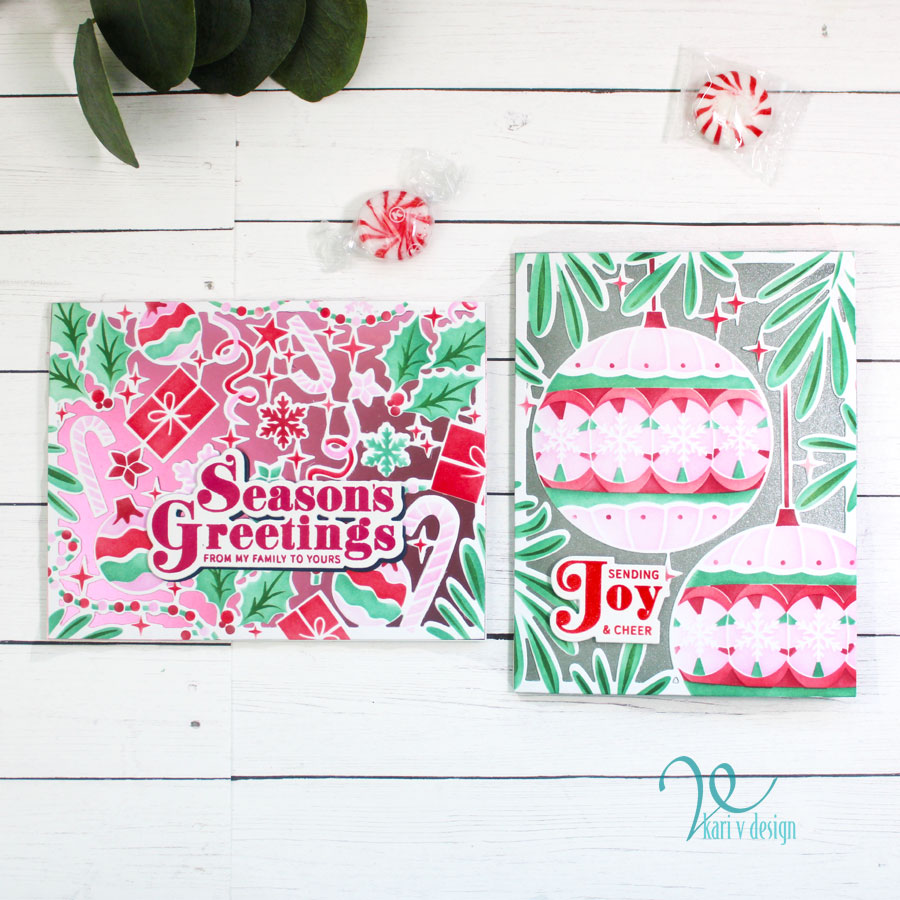
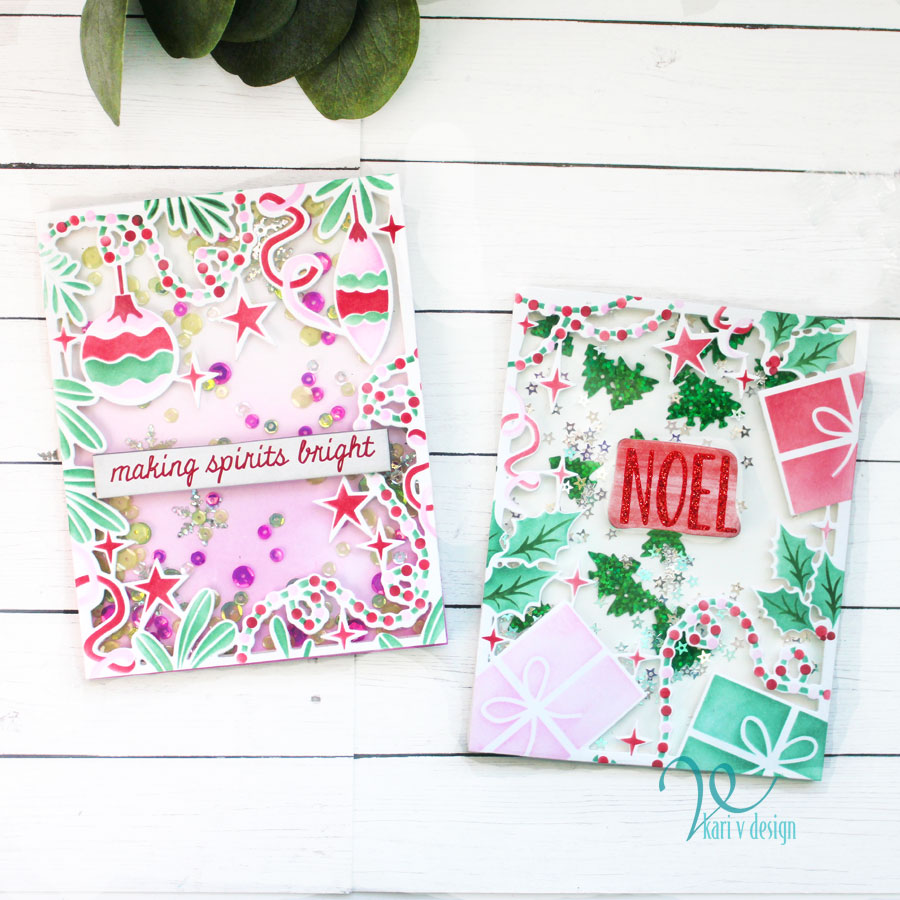
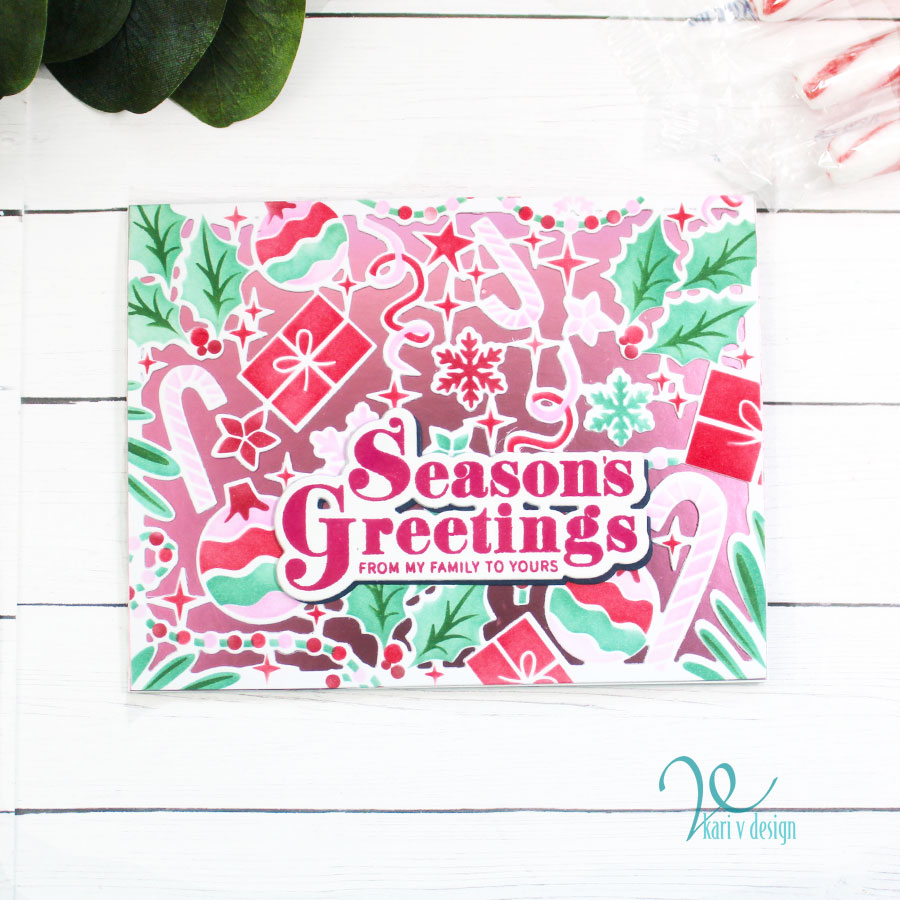
The large stencil I’m using today is from The Ton and it will cover an 8 1/2 x 11″ cardstock!! Then you can cut them down to make 4 cards.

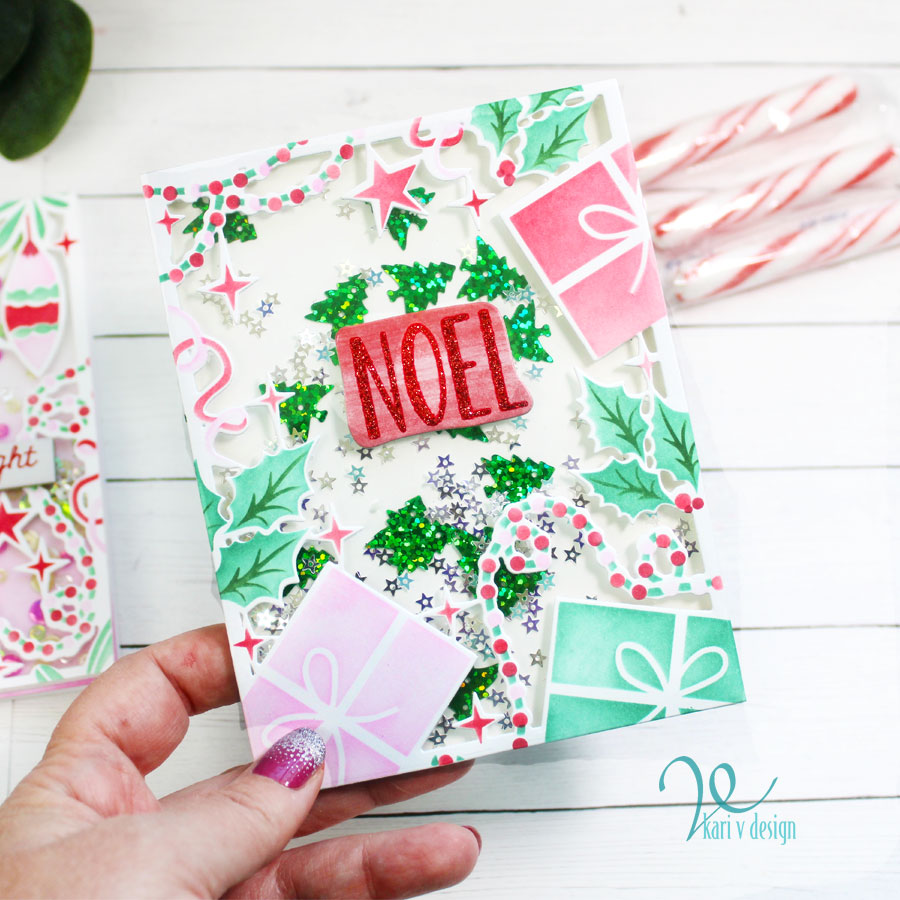
But the amazing NEW product is this die set that coordinates! You can cut each panel and that allows you to create a shaker card, or put some sparkly/metallic paper behind the panel. AMAZING!!

I just love this set…watch the video to see how it works!

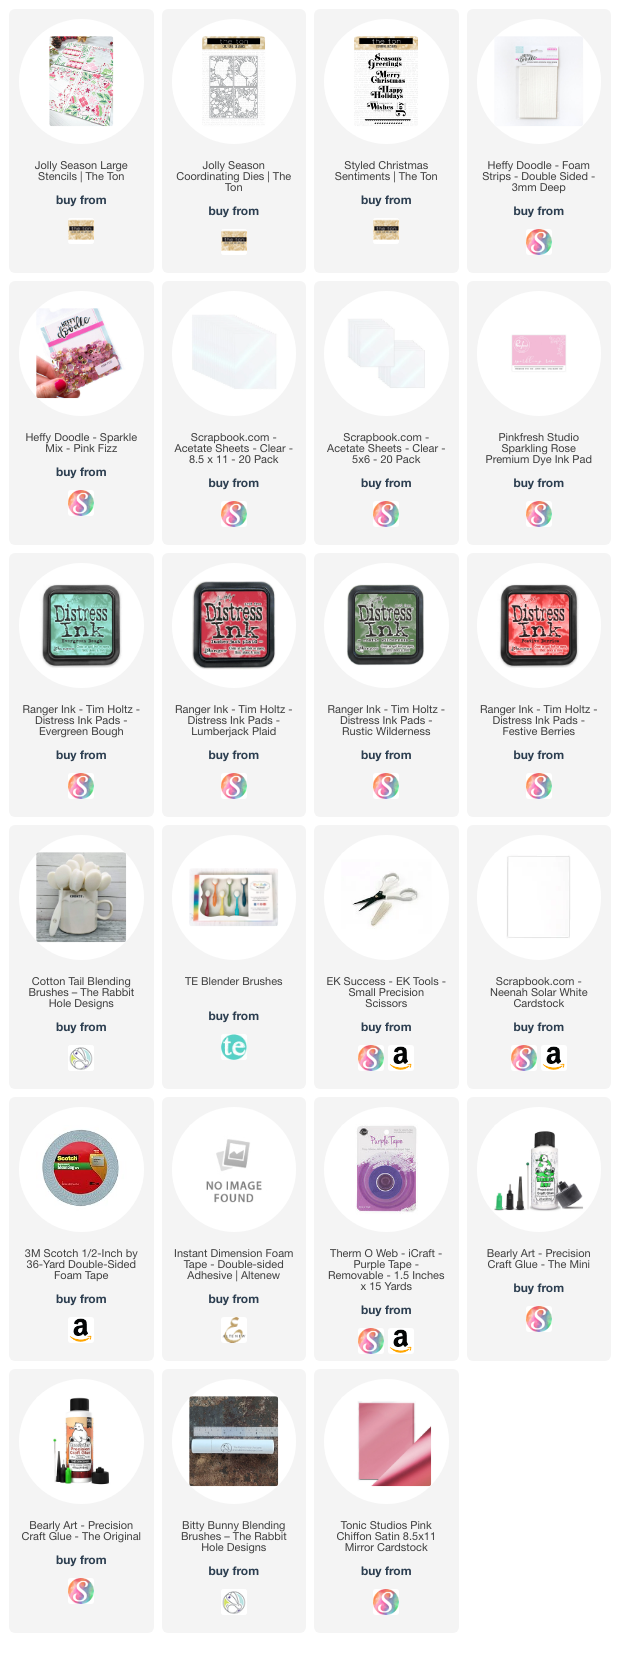
I’m often asked what supplies I use to make my cards and projects, so I’ve put together a list using affiliate links when possible. If you make a purchase with these links I may receive a small commission. These help me to keep up with blog costs and continue bringing you fun projects. Thank you so much for your support!


I hope you enjoyed these projects today! Have a very Happy Holiday Season!

Comments { 0 }
Kari-V-Snowman-card-4

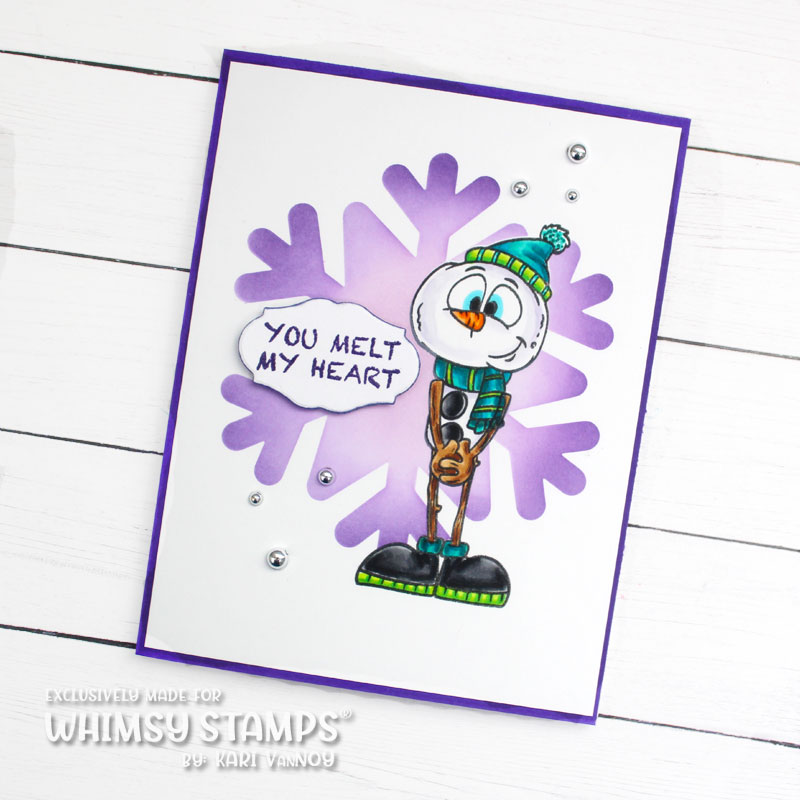
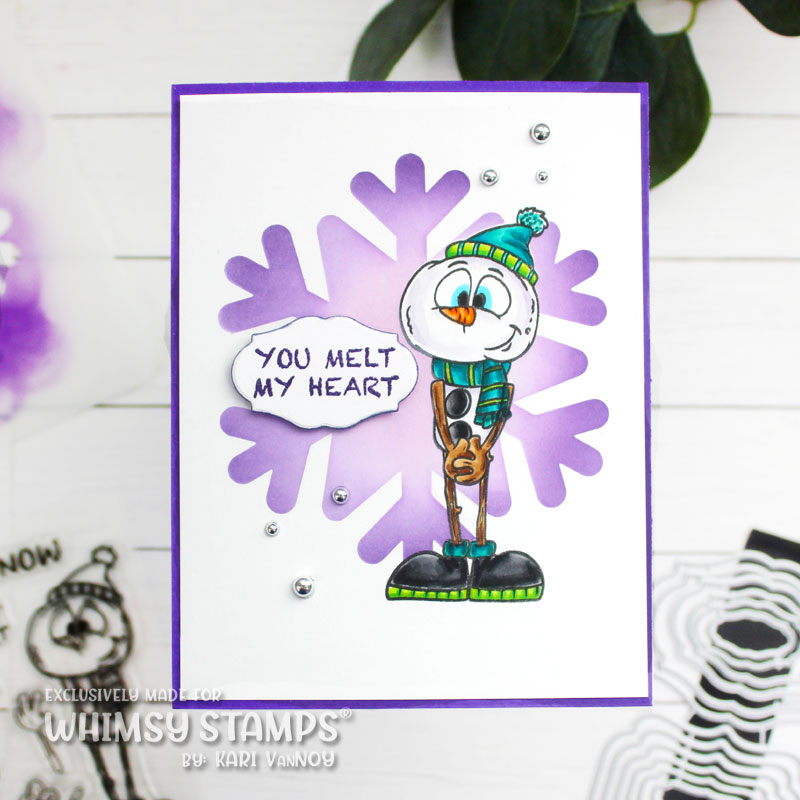
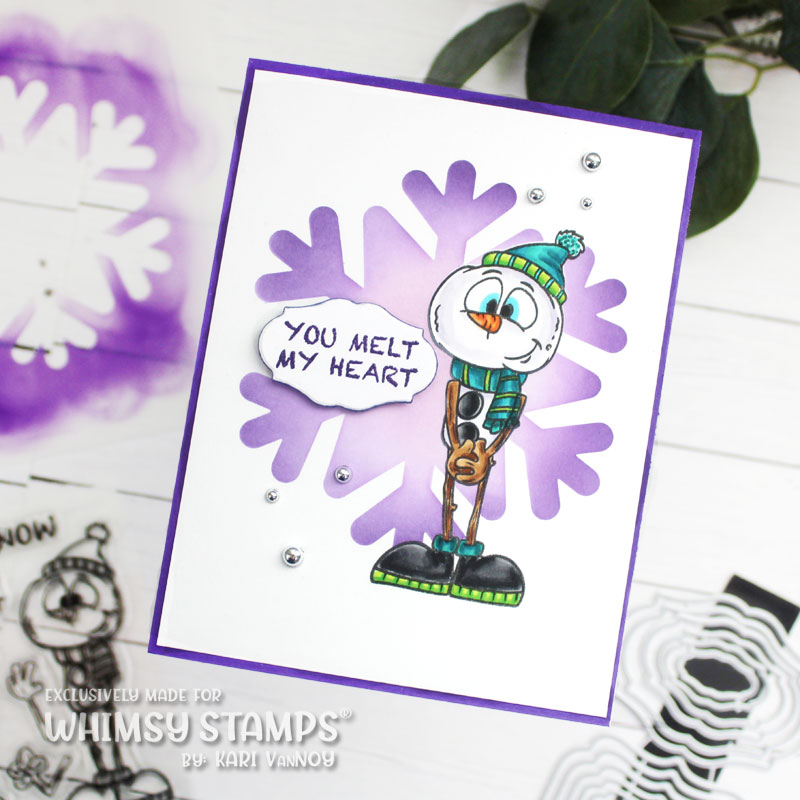
Masking a Snowflake

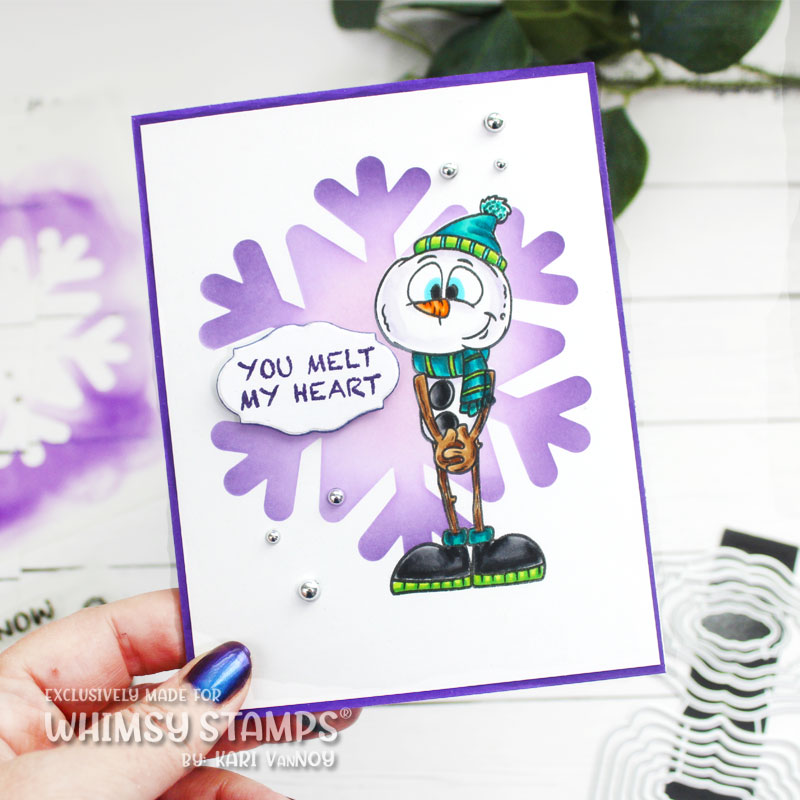
Hello! Today I have a fun Snowman card with a Snowflake Mask. This is a fun one because it involves masking with a stencil and masking with adhesive masks. I hope you enjoy the video!

Watch the video below or in HD on YouTube:

This is a very unique and very cute snowman!! This stamp set offers a few options for his hands…I used the clasped hands and masked them off before stamping the snowman body. I do have to say: I AM IN LOVE with the No-Fuss Instant Masks from Whimsy! I just think they are genius!

After I stamped the snowman, I also masked off the body so I could use the It’s A Snowflake Mask Stencil to add that beautiful purple snowflake. You could create a snowflake in any color you want, of course!

I finished this card off with a mat of purple and some silver pearl beads.

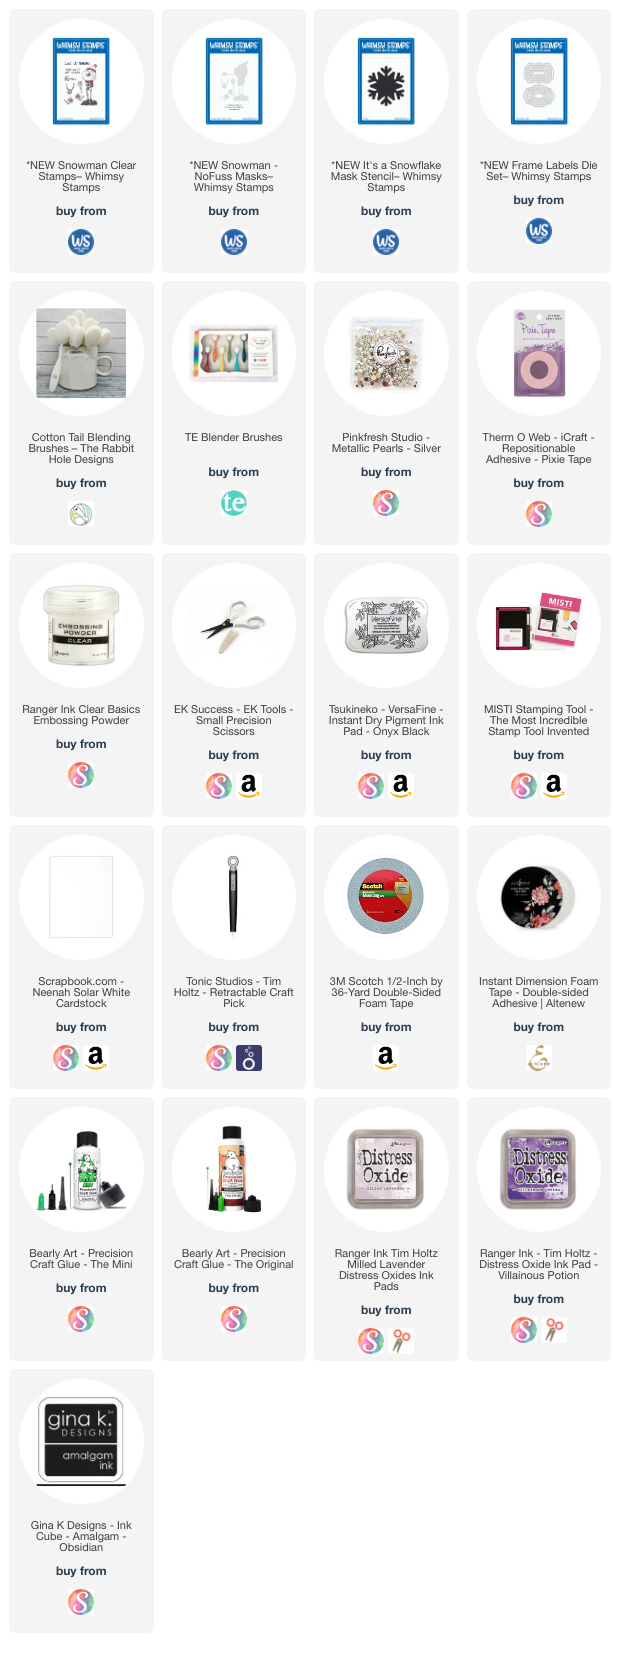
I’m often asked what supplies I use to make my cards and projects, so I’ve put together a list using affiliate links when possible. If you make a purchase with these links I may receive a small commission. These help me to keep up with blog costs and continue bringing you fun projects. Thank you so much for your support!


Did you enjoy this project today? Let me know! See you soon with a new card share.

Comments { 0 }
SUNSHINE-meowy-christmas-card-3-w-supplies

Adding Gold to Christmas Cards

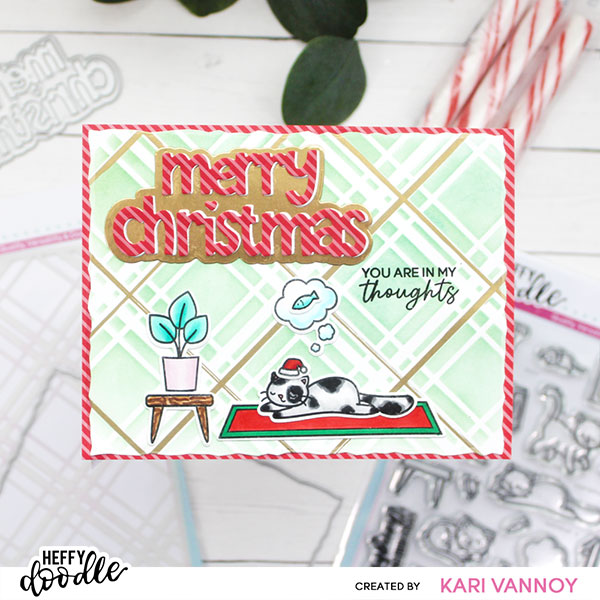
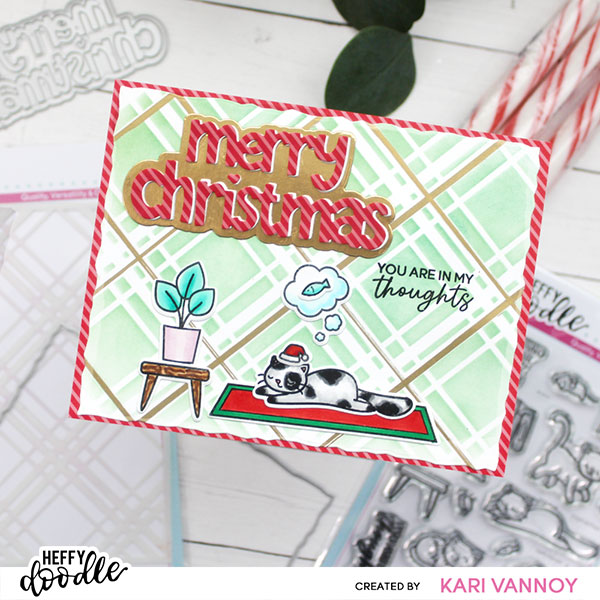
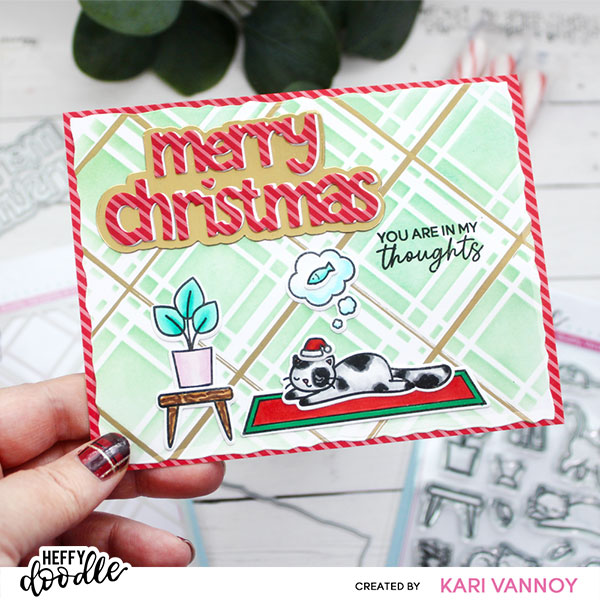
Hello! Today I have a video about Adding Gold touches to Christmas Cards. I’m starting with the cutest Cozy Kitties stamp set and plaid stencil from Heffy Doodle.

Watch the video below or in HD on YouTube:

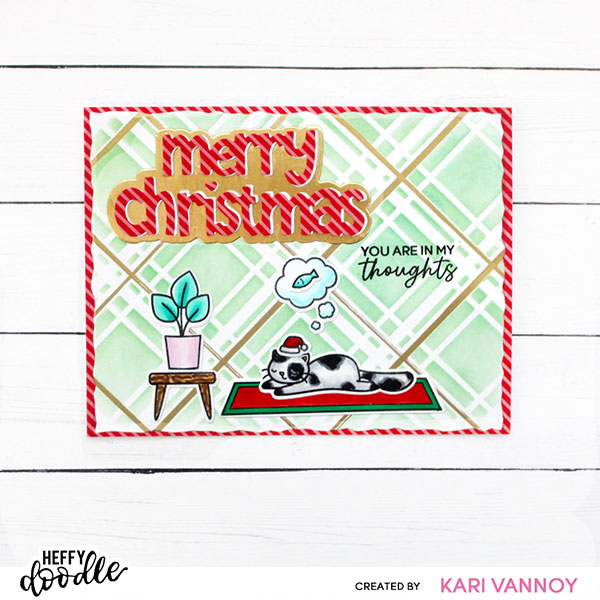
First I blended some Evergreen Bough ink onto my panel. Then I added some gold to my background using a gold pen…I just followed the stripes on the stenciled background using a ruler to get it straight.

This Cozy Kitty is just the cutest! I colored the images using Copic Markers. Then I cut out the Merry Christmas sentiment using the striped red paper from Tinsel Town 6×6 Paper Pack from Heffy Doodle. I love the red stripes! You can see I also used the same paper for the mat layer around my panel.

For the shadow layer of the Merry Christmas Sentiment die, I used Gold Metallic cardstock. It’s another easy way to add a touch of gold!

I hope you will check out the video to see all the details of this card coming together.

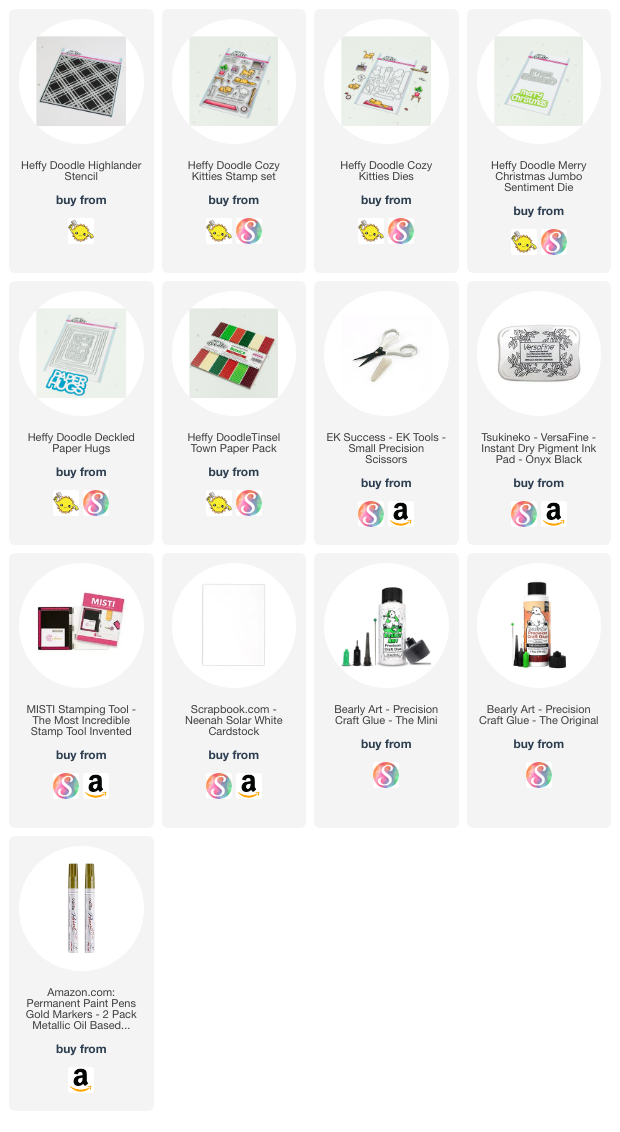
I’m often asked what supplies I use to make my cards and projects, so I’ve put together a list using affiliate links when possible. If you make a purchase with these links I may receive a small commission. These help me to keep up with blog costs and continue bringing you fun projects. Thank you so much for your support!


I hope you enjoyed this project today! I’ll be back soon with more cards to share.

Comments { 0 }