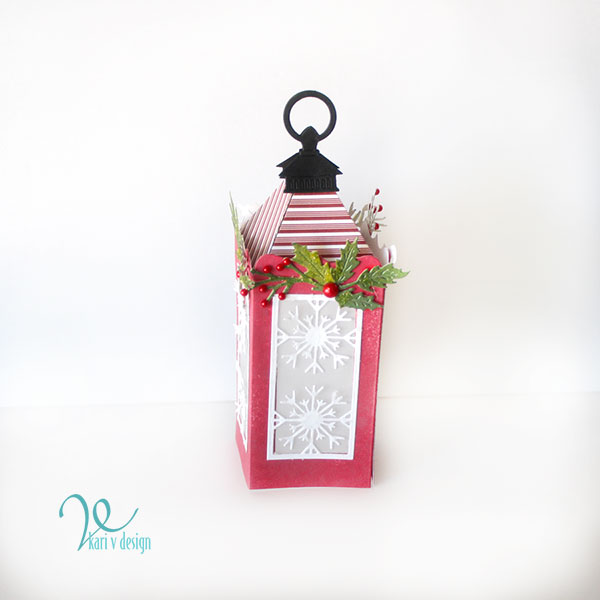
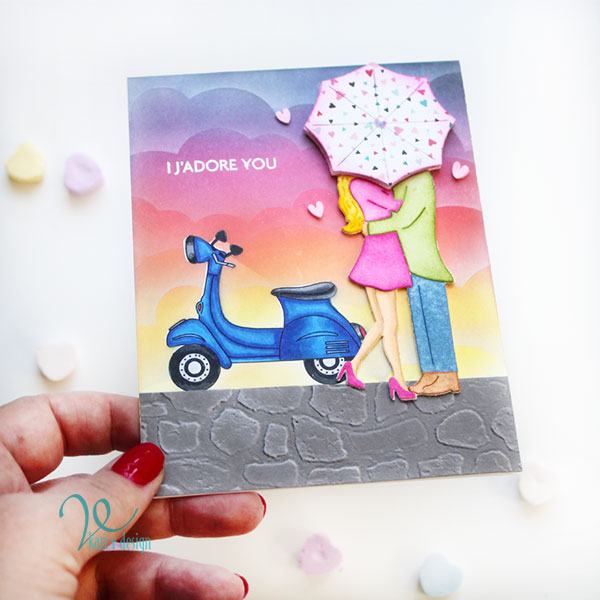
Hello! Today I have a card with a couple stealing a kiss under the umbrella! I’m using the new J’Adore card Kit from Scrappy Tails Crafts.
Watch the video below or in HD on YouTube:
This card kit has so much included: a large stamp set, a die set, a 6×6 paper pad, a layering stencil, and two packs of embellishments! Watch the video to see all that is included in the kit.
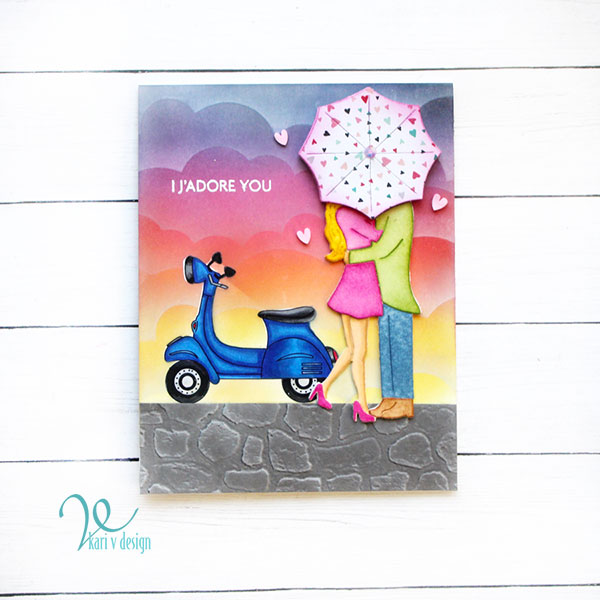
For this card I used the die set, the stamp set and some of the embellishments out of the kit. This die set is such a delight to work with! There is a base layer that allows you to add on each of the details of the die. I used ink blending to color up the elements this time, except for the skin…for that I colored with Copic markers.

That Scooter is from the stamp set…and I colored it up with blue markers. I love the idea of a scooter on a cobblestone path!
I’m often asked what supplies I use to make my cards and projects, so I’ve put together a list using affiliate links when possible. If you make a purchase with these links I may receive a small commission. These help me to keep up with blog costs and continue bringing you fun projects. Thank you so much for your support!

SALE
Scrappy Tails Crafts is having a sale 20% off all items in the Shop INCLUDING the new J’Adore Collection (but excludes card kits). Shop HERE to check it out. You must use the code: SCTVALENTINE20. Hurry, it’s only Now through February 17, 2023 at 11:59 p.m. EST. Enjoy!
Thanks for stopping by! See you soon with more cards!