Tag Archives | Handmade card
lion-flatlay-wooden-background

Five Ways to Use Gilding Flakes

Hello again! I’m up on the Hedgehog Hollow blog today (here) to show you my favorite ways to Use Gilding Flakes.

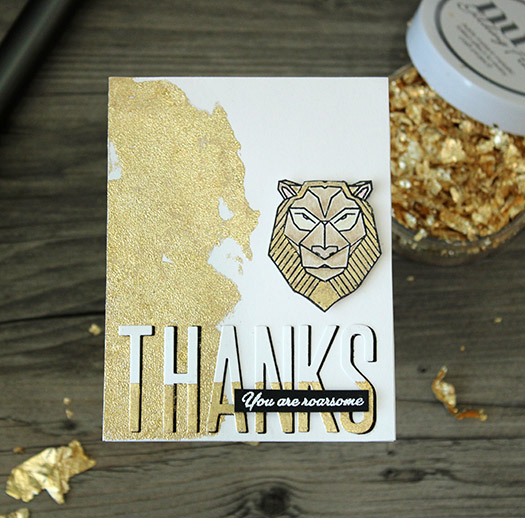
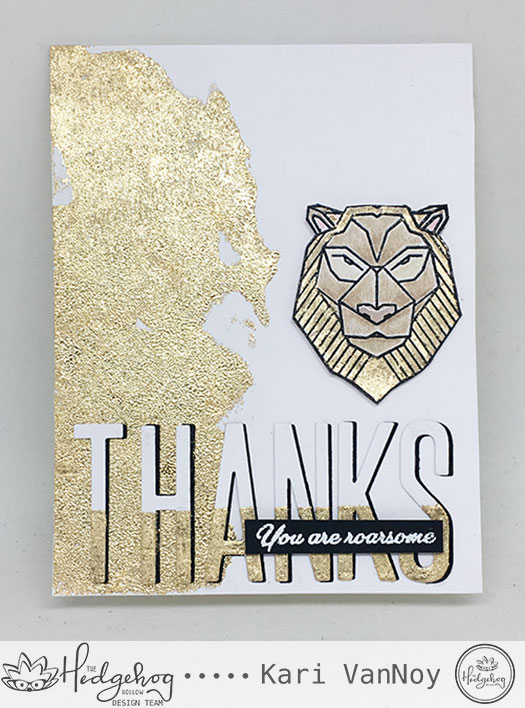
Here’s my card I’m sharing with that Geometric Lion. When I saw him, I just knew he needed a golden mane!

lion-card-gilding-flakes

When you are using Gilding Flakes, make sure you don’t have a fan on, OR you don’t sneeze, OR you don’t breathe! LOL….those lightweight little flakes will travel!

Watch my video below or on YouTube:

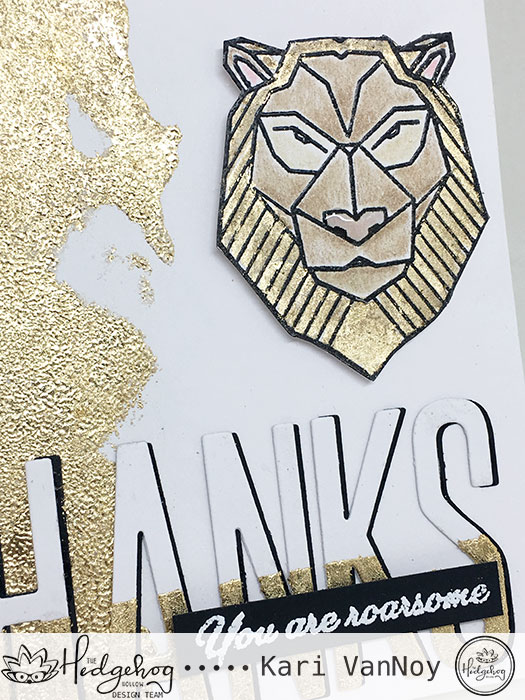
Here’s a little close up of that lion. I added some Glossy Accents to his nose to make it shine!

lion-close-up-1

These gilding flakes are so fun to use. Have you tried them? All the gold on this card is made with Gilding Flakes! Isn’t it interesting to see the different textures on the background, the letters, and the lion’s mane?

I just cannot wait to try my favorite technique I shared in the video (hint: it’s the last one that involves water…yes! WATER!)

I hope you enjoyed this project today. Be sure to watch the video for more ideas and tricks on gilding flakes! Thanks for stopping by.

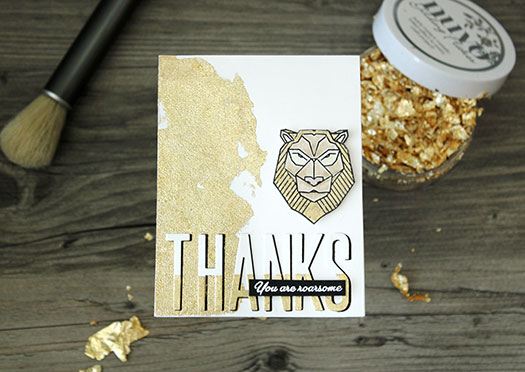
I’m taking a card photography class and here are some of my practice shots with my new camera. The background is darker than I’m used to and I have some learning to do still, but what do you think so far?
lion flatlay wooden background 3

lion-flatlay-wooden-background

Comments { 0 }
wolf-side-view

Watercolored Owl and Wolf

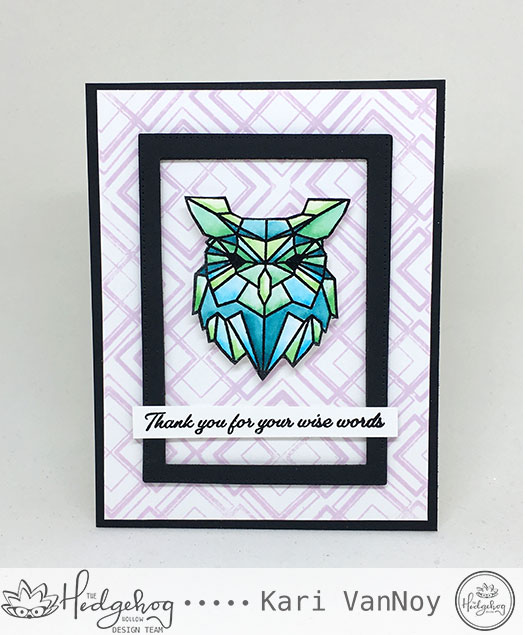
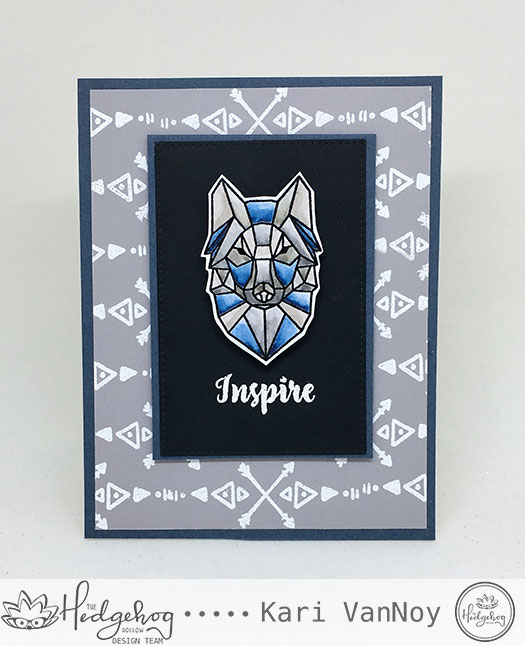
Hello everyone! I shared the new January Hedgehog Hollow kit with the geometric goodies, and today I have some cards using the OWL and WOLF to share.

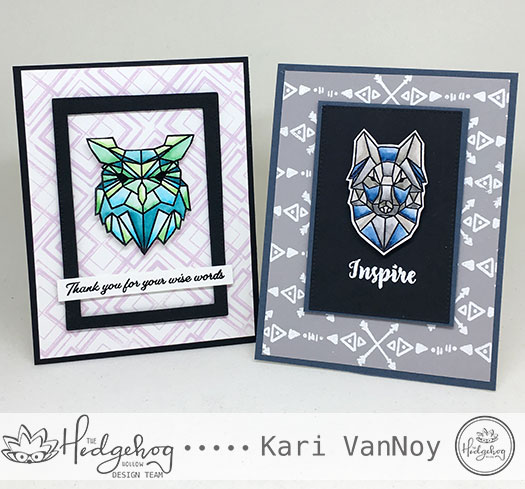
owl-and-wolf-card

I watercolored these up using Zig Clean Color Real brush markers using my favorite trick! Embossing powder! Yep…it keeps the colors in the lines!

Watch my video below or on YouTube:


I’m loving these geometric animals. There’s also a butterfly, a lion, and a unicorn. Oh just wait to see what else I have planned for cards coming soon!

I created the backgrounds of each of these cards using the geometric designs from the same kit.

owl-with-geometric-bckgrnd

This square geometric design is probably my favorite. I just stamped it repeatedly to create that background using Distress Oxide Ink!

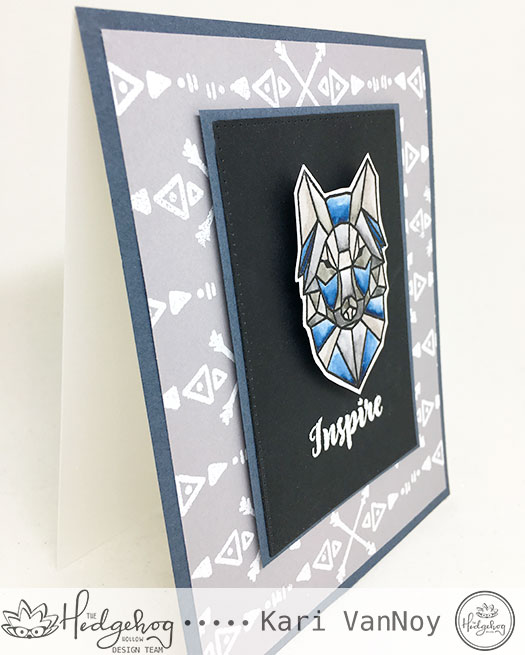
wolf-card

For the wolf card background, I used another geometric shape and white heat embossed it onto grey cardstock. I think it looks cool with this wolf!

wolf-side-view

To finish off these cards, I popped the images up using double layer of foam tape. These turned out so cool, don’t you think? And they look a bit masculine…which is not easy for me to create!

Love them and I hope this inspired you to try some geometric watercoloring yourself.

Thanks for stopping by!

Comments { 0 }
front-and-inside

Celebration on a Card

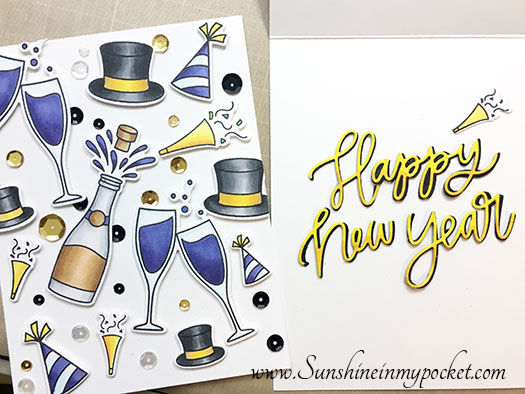
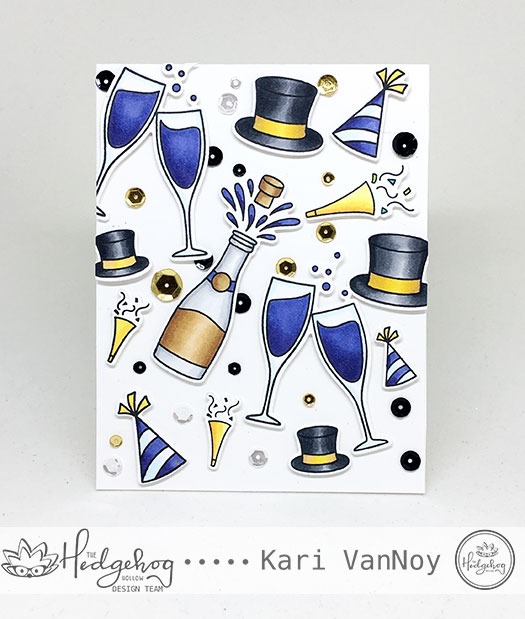
Hello! Today I’m sharing a fun dimensional celebration card using the Pretty Pink Posh New Year’s products! You can find all these products in the December 2018 Hedgehog Hollow Box. I LOVE it when the matching dies are included in the kit. It makes it so easy to make a dimensional card like this:

front-of-card

I stamped all the images in the stamp set with Gina K Amalgam ink (I’m loving this ink!), Colored them up with Copics, then die cut them all with the matching dies.

Then I popped them all up using foam tape for some fun dimension.

I added some of the sequins included in the kit to complete the celebration! Here’s a close up:

close-up

I hope you can see that dimension. This would be a very fun card to receive!

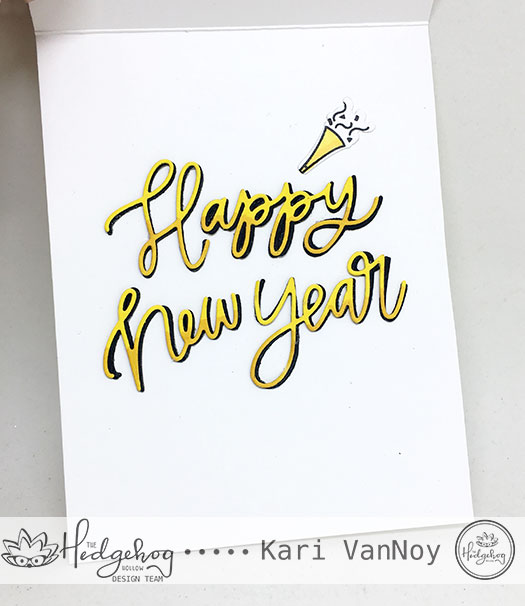
I originally planned on using the Happy New Year script die on the front, but I decided that it already had enough going on, so I added it to the inside of the card instead with a little noisemaker.

inside-of-card

In case you are curious about the copics I used on this card, here’s my color list:

Black/grey: N0, N1, N3, N5, N7
Yellow: Y35, Y15
Browns/Tan: E51, E53, E55, E57
Light Blue: B000
Purple: BV04, BV08

front-and-inside

I hope you had some inspiration on creating your own dimensional celebration on a card! Happy New Year and I’ll see you next time!

Comments { 1 }
happy-new-year-close-up

Say Hello to the December Kit!

You might already know how much I love my kits from The Hedgehog Hollow…and today I have the December unveiling for you AND a project using items from the kit!

If you haven’t already heard, this month is filled with beautiful products from Pretty Pink Posh! There’s also an exclusive stencil from the Hedgehog Hollow.

Here’s the unveiling video, watch it below or on YouTube:


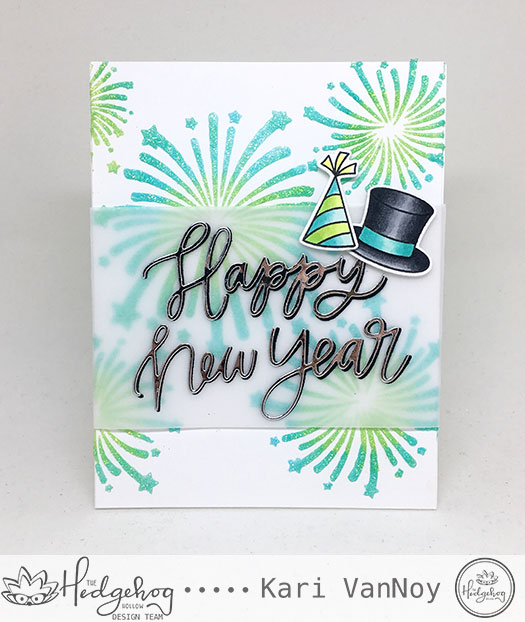
My first project with this kit uses that exclusive stencil, and I show you how to color your own Glimmer paste! Did you know you can make the clear glitter paste into any color you want? Be sure to watch the video below to see how it’s done.

happy-new-year-fireworks

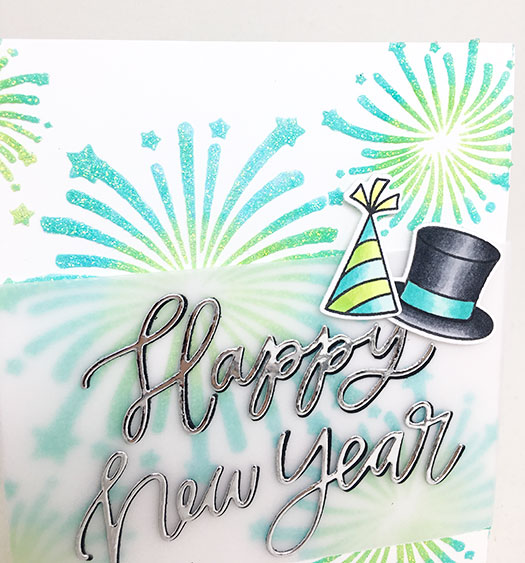
That glitter paste is just so fun! I hope you can tell that I die cut the Happy New Year sentiment from silver mirror cardstock. Oh how I love that mirror cardstock!

Here’s a close up for you:

happy-new-year-close-up

Watch the video below or on YouTube for more information on how to color glitter paste, and how to put this project together! YES…I have TWO videos today (what?!?)


Thanks for stopping by! Are you still making Christmas cards or are you onto New Years cards?

Comments { 0 }
both-cards

Gingerbread Hot Chocolate

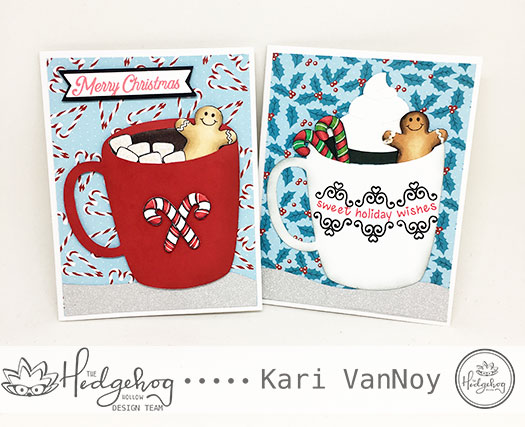
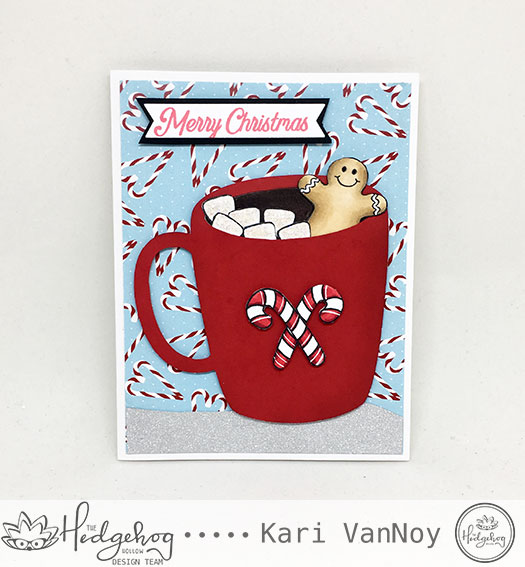
Did you know you can add gingerbread flavoring to your Hot Chocolate at Starbucks? I saw this the other day and I thought…well, that sounds interesting! I haven’t tried it yet, but these cards today are inspired by that idea.

Do you prefer whipped cream in your hot chocolate?

gingerbread-hot-cocoa-with-whipped-cream


Or do you prefer marshmallows?

gingerbread-hc-with-marshmallows

I used products from the November Hedgehog Hollow box to make these cards. But I cut the coffee cups from my Silhouette! The cute background paper is from the Limited Edition Christmas Box.

both-cards

For more information about these cards and the products, visit the Hedgehog Hollow blog here.

Linking up to the SSS Wednesday Anything Goes Challenge.

Thanks for stopping by!

Comments { 2 }