Tag Archives | Handmade card
both-cards

One card two ways…

Hello! Today I have a fun project with the new September Hedgehog Hollow box! I was inspired to create a card using the oval background stamp and then STEP IT UP a bit!

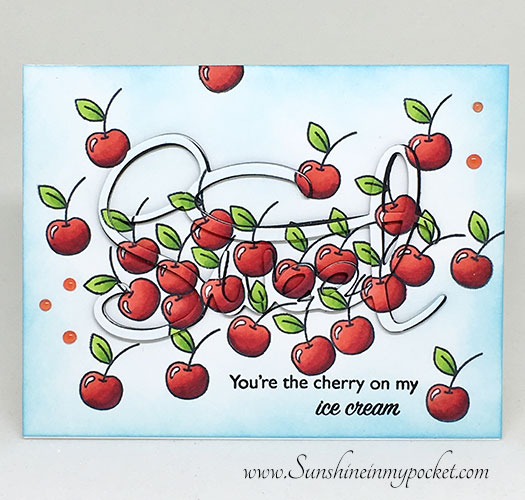
So I have two cards…the first one is the basic card using the background, then adding the floral stamp to the center of the oval.

blue-oval-background

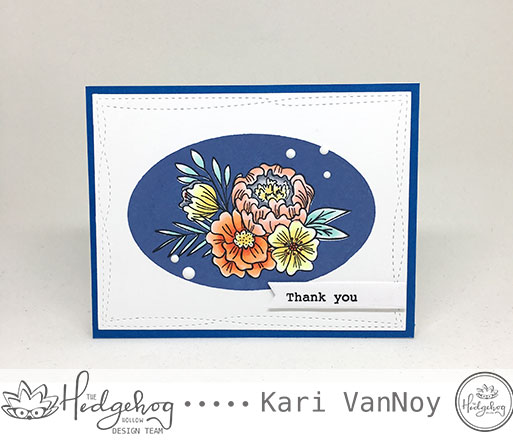
I used the oval stamp FIRST, in Distress Oxide ink in Faded Jeans color. Then I added the floral spray to the middle of that stamp and used Memento Tuxedo Black. I Copic colored those flowers and then added the sentiment, also from this September box. To finish it off, I used Nuvo Drops in white across the card.

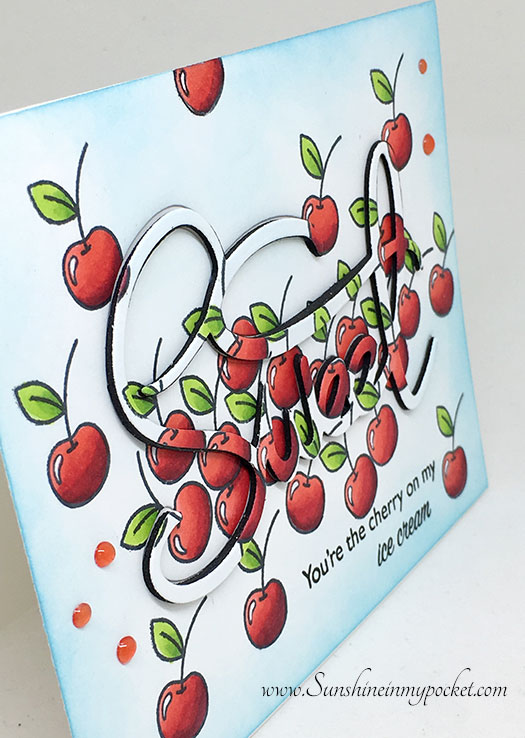
After I made this card, I wanted to make it again, but this time adding some EXTRA SHINE! So after I stamped the background, I added some glitter embossing powder to the top. Then I stamped the floral image in the center and colored it.

After it was colored, I put it back in my MISTI and stamped over the lines with Versamark ink and added SILVER EMBOSSING POWDER.

glitter-oval-background

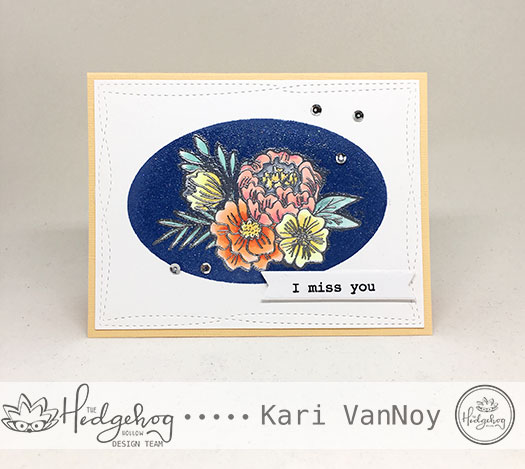
I hope you can see some of that glitter in the background and the silver embossing powder around the edges.

To see the process better, watch my video here or on YouTube:


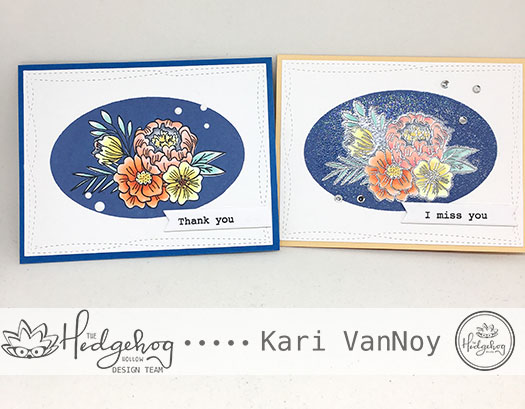
Which card do you like better? Here’s another view that shows a bit more of the sparkle:
I really do think it’s stunning in real life!

both-cards

Thanks for stopping by today! For more information about these fabulous subscription boxes, visit the Hedgehog Hollow here. **There is a special 30% off discount for the store until Friday, September 7th!! (some restrictions apply) So be sure to hop on over there quickly to get the discount.

Comments { 2 }
yippee-fairies-with-paintbrushes

The Little Helpers

Hello! Today was back to school for many here in Arizona. Since I don’t have any littles at home anymore, I was inspired to create a card for “Back to Creating!”

Affiliate links used when possible. When you purchase something using these links I receive a small commission, which help to pay for my blog so I can keep bringing you fun projects. Thank you for your support! I truly appreciate it.

Here I use some of my very favorite recent sets to create this fun scene:

yippee-fairies-with-paintbrushes

I used distress Oxides in the background and created some big water drops. I don’t usually add those water drops, but I felt like this card called for it!

The little fairies are from The Greeting Farm, and the paintbrushes are from Waffle Flower. Aren’t they the cutest? I do not have the dies for those fairies, so I just fussy cut them.  I colored all the images with Copic markers. The Yippee sentiment can be found here.

Comments { 0 }
cherry-tall-card-with-mouse-close-up

Creating a “Disappearing Die” Background

Hello! Today I have fun technique to share with you, using a small stamp to create a background for a “disappearing die” card! I used the May 2018 Hedgehog Hollow subscription box products, which include some great stamps & a beautiful “Sweet” die! I love this box and I cannot stop creating with these products. (You can see everything included and more information about this box here)

Affiliate links used in this post where possible, at no additional cost to you. Thank you for your support of my blog!

This is the FIRST card I made with this technique:

cherry-sweet-original

See how that die sort of disappears? But in real life you can read that it says “SWEET!” Here’s a close up:

cherry-sweet-original-close-up

Today I have  a video to share with you, making a variation of this card. I wanted to see if I could fit that sweet die on a vertical card…and YES! You can!

cherry-tall-card-with-mouse

I have a video on just how to make this card here, including a short clip on how I colored those sweet cherries! Watch it below or on YouTube:

I love how you can create this card using a small stamp!

I stamped those cherries first, as close together as I could without using a mask. Then I colored them up using copic markers in R89, R27, and R14. For the leaves I used YG17 and YG05. I added some blue ink around the edges using “Daydreaming” ink from Waffle Flower Crafts using a round ink blender. I added the sentiment from the “Sweet Sentiments” set from The Hedgehog Hollow using my Misti and my favorite black ink for sentiments. Then I cut out the Sweet die from the card panel and added it back in over black craft foam. I added all the inside pieces as well…that’s what creates the “Disappearing die” effect! I popped up that cute mouse from this Waffle Flower set using Scotch 3M Foam Tape.

cherry-tall-card-with-mouse-close-up

I hope you enjoyed this project today! For more information about the subscription boxes, visit The Hedgehog Hollow website here. (I am really enjoying these boxes!) And, if you didn’t know, Alexandra is the face behind the Hedgehog Hollow and she designed this “Sweet” die and “Sweet Sentiments” set as her VERY FIRST ones! So exciting! I am glad to have them and also to know that you can create a card either vertically or horizontally and that die will fit! Love it.

Comments { 0 }