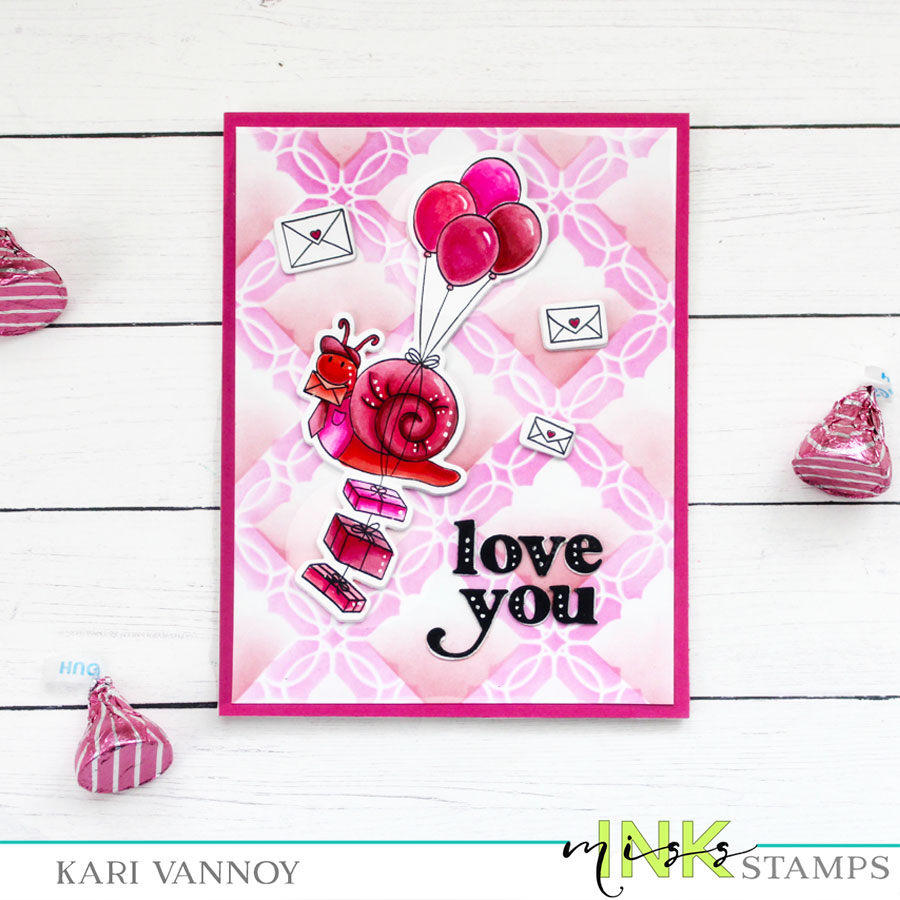
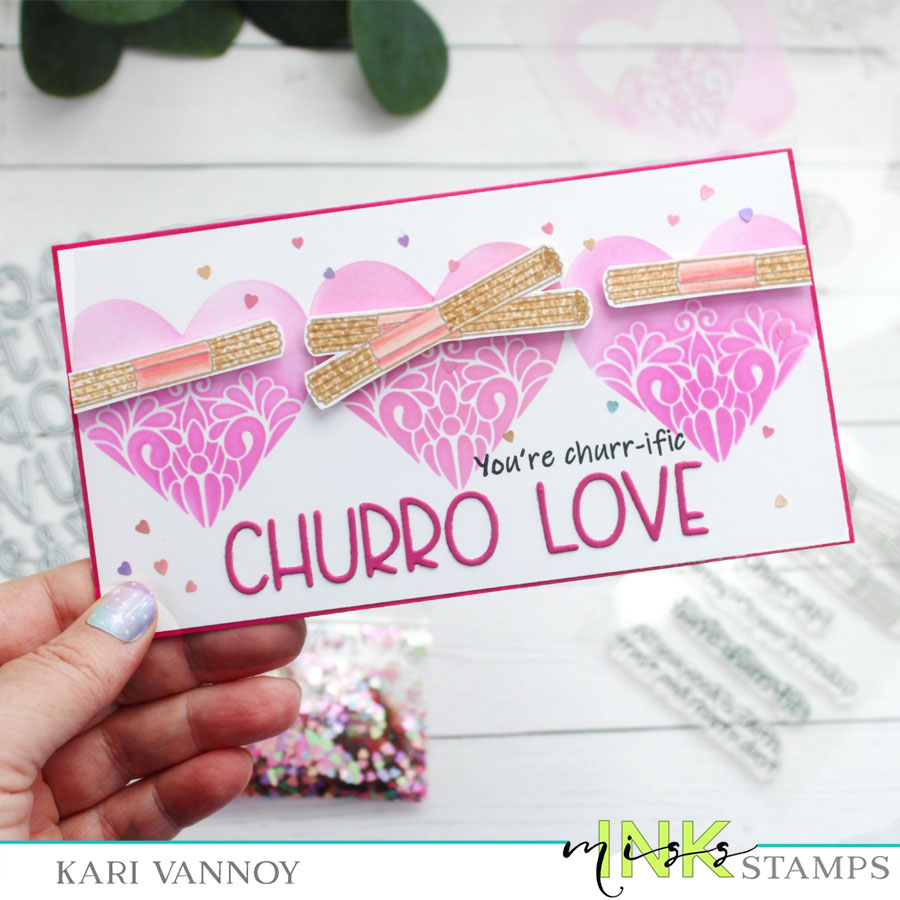
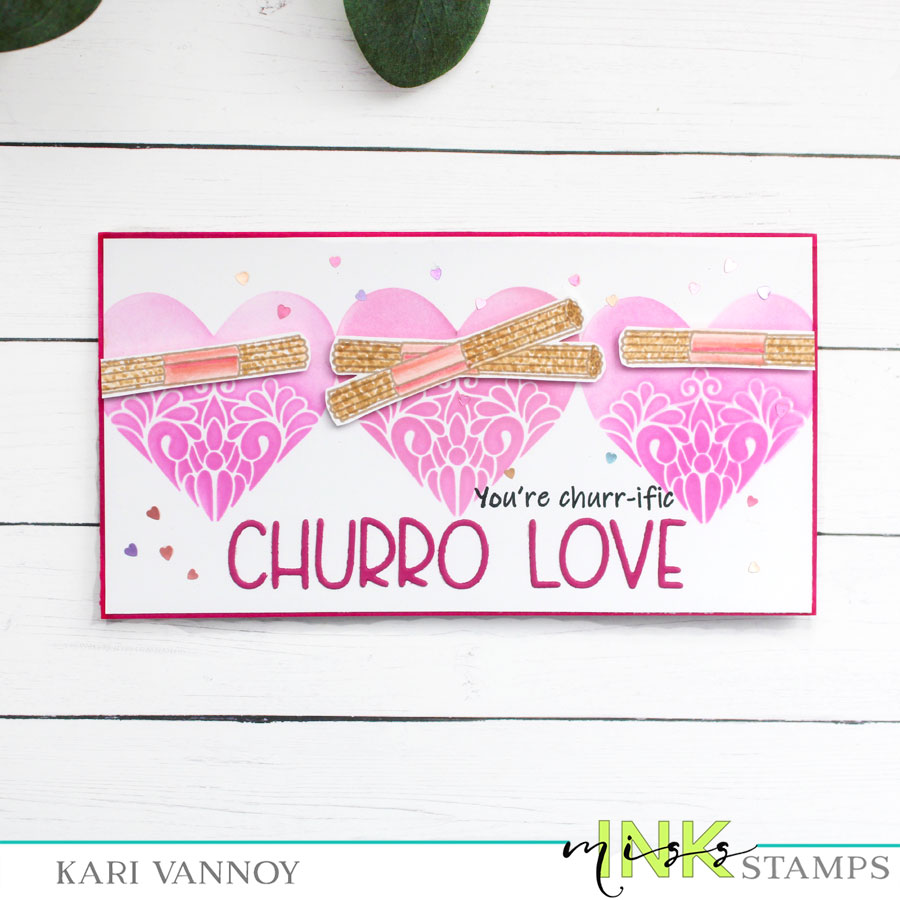
Hello! Today I have a very special Churro Love card and video to share! It’s a quick video, so I hope you will check it out below or on YouTube:
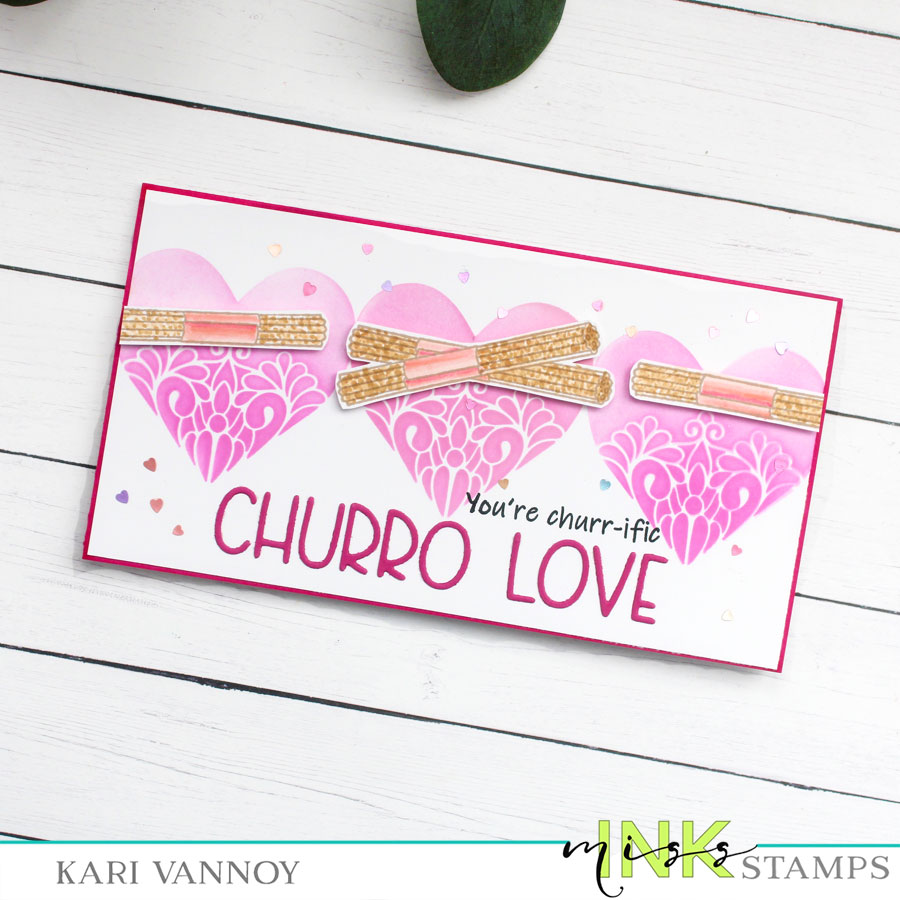
This is a sweet little new stamp set called “Churrific” and it makes me hungry for churros! Lol. Sadly, I just found out that my Costco is no longer serving churros at the snack bar. So I guess all my churros will be in CARD FORM! (which is better for my diet anyway…ha ha).
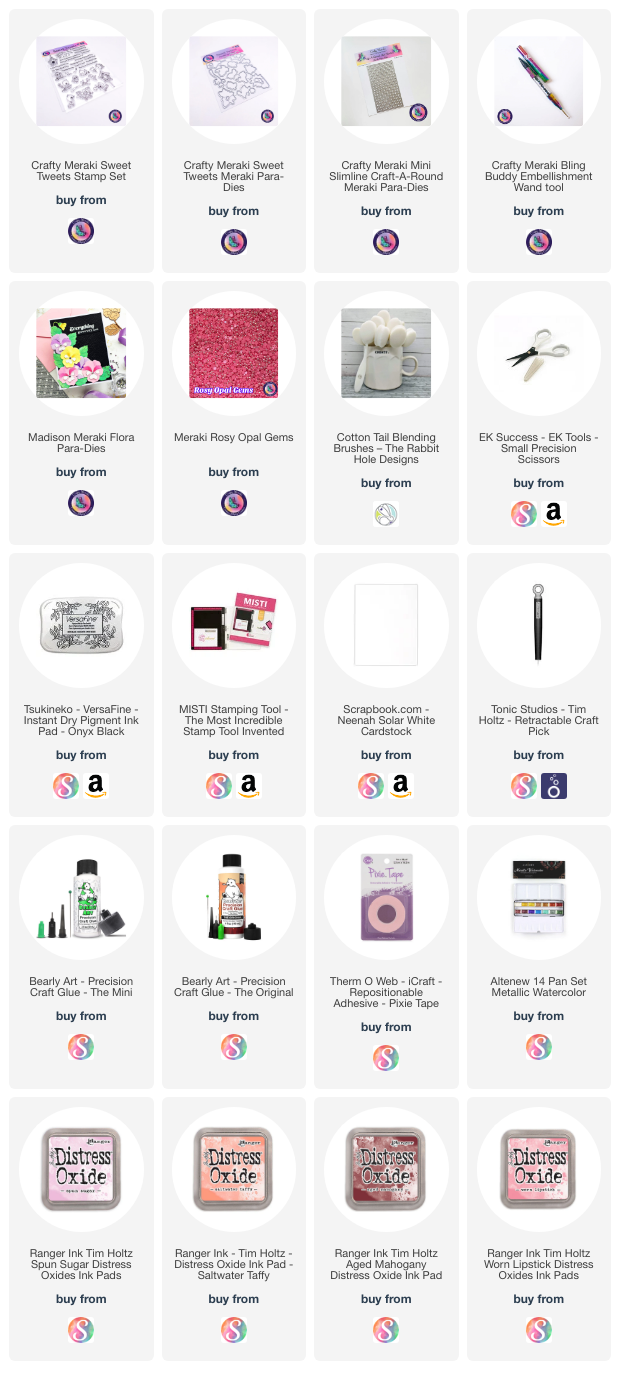
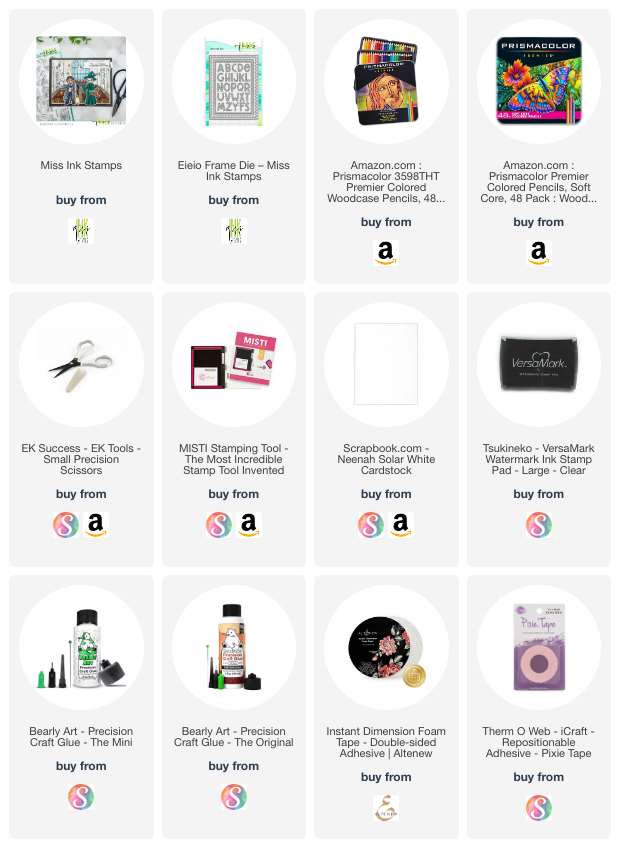
I’m often asked what supplies I use to make my cards and projects, so I’ve put together a list using affiliate links when possible. If you make a purchase with these links I may receive a small commission. These help me to keep up with blog costs and continue bringing you fun projects. Thank you so much for your support!
I hope you enjoyed this churro card today. Do you love churros like I do?
I’ll be back soon with more cards to share!