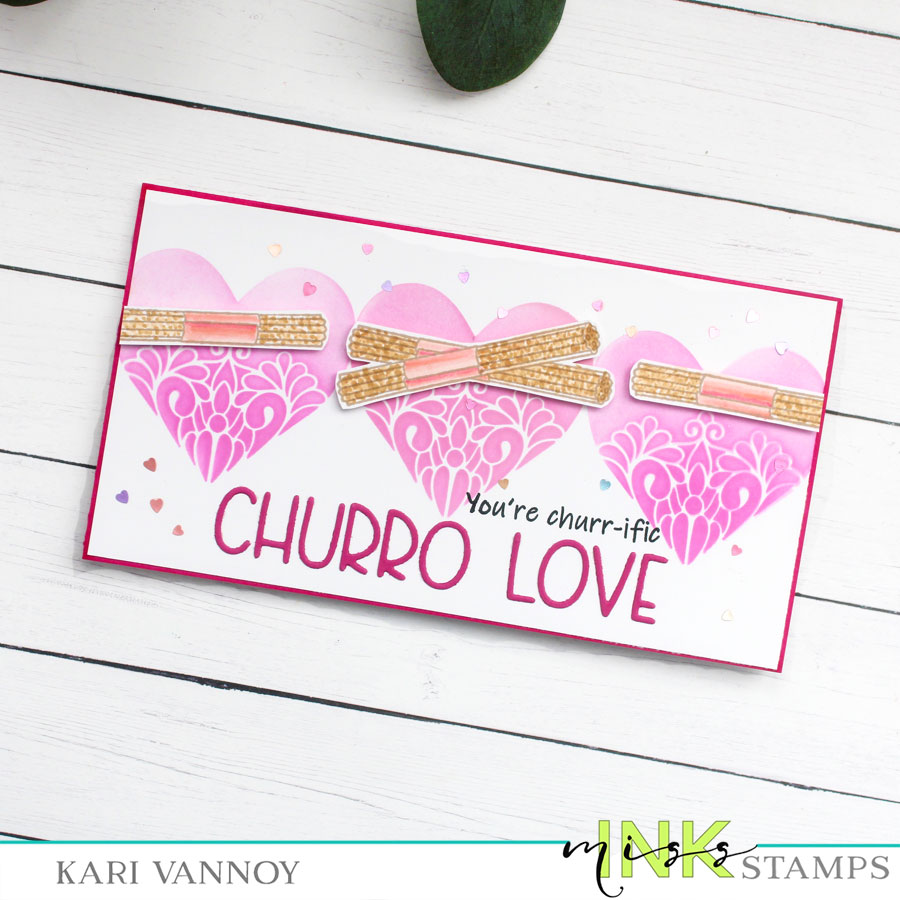
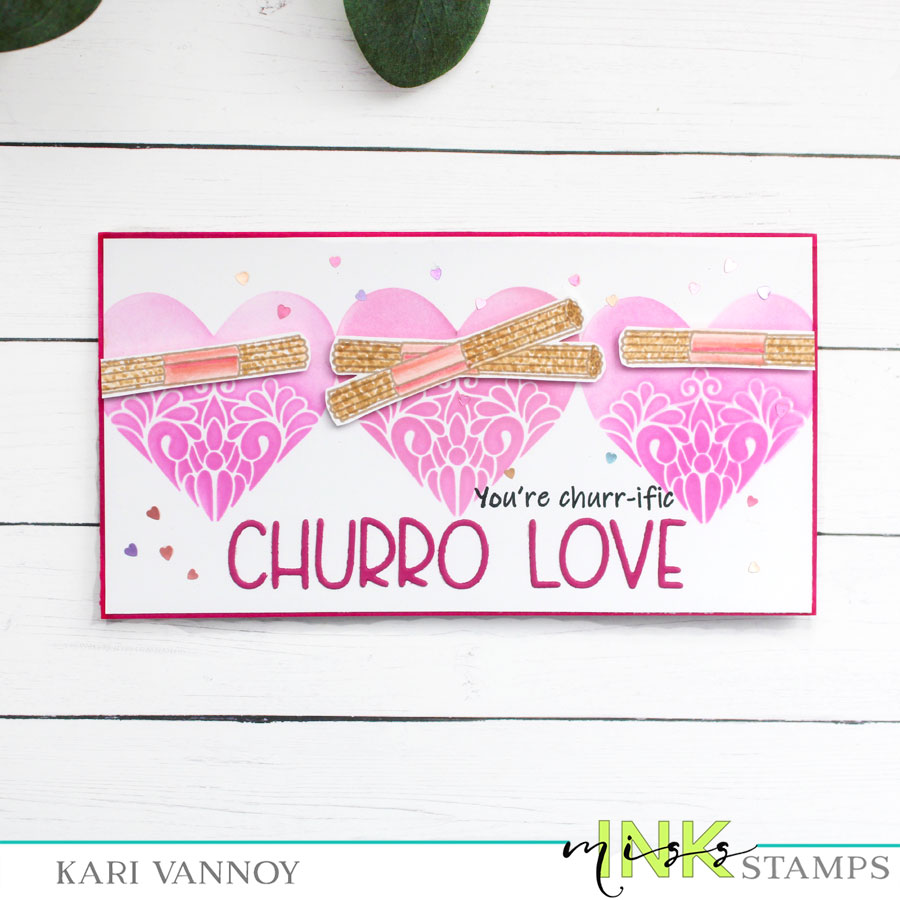
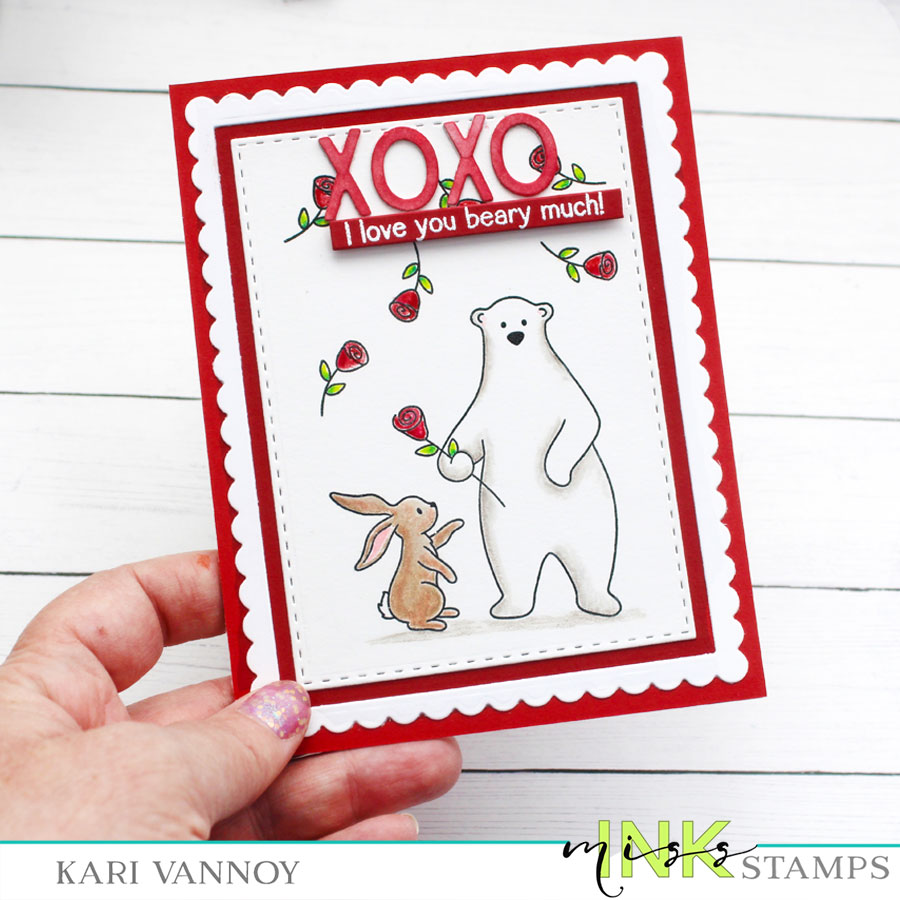
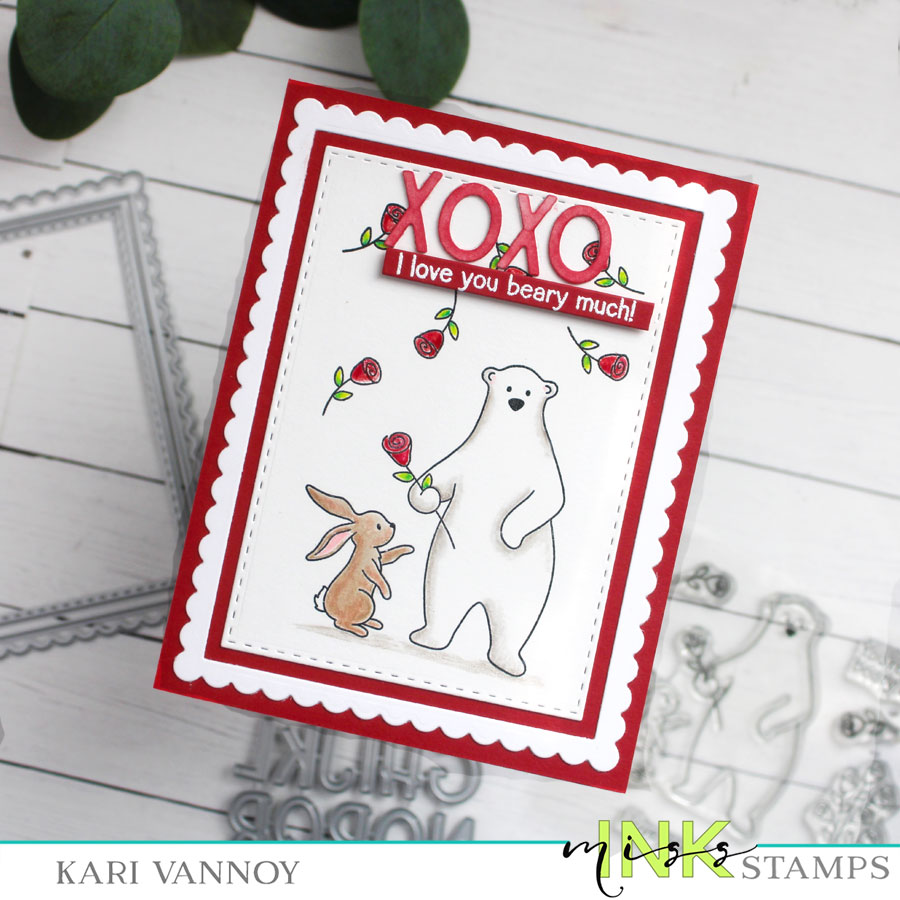
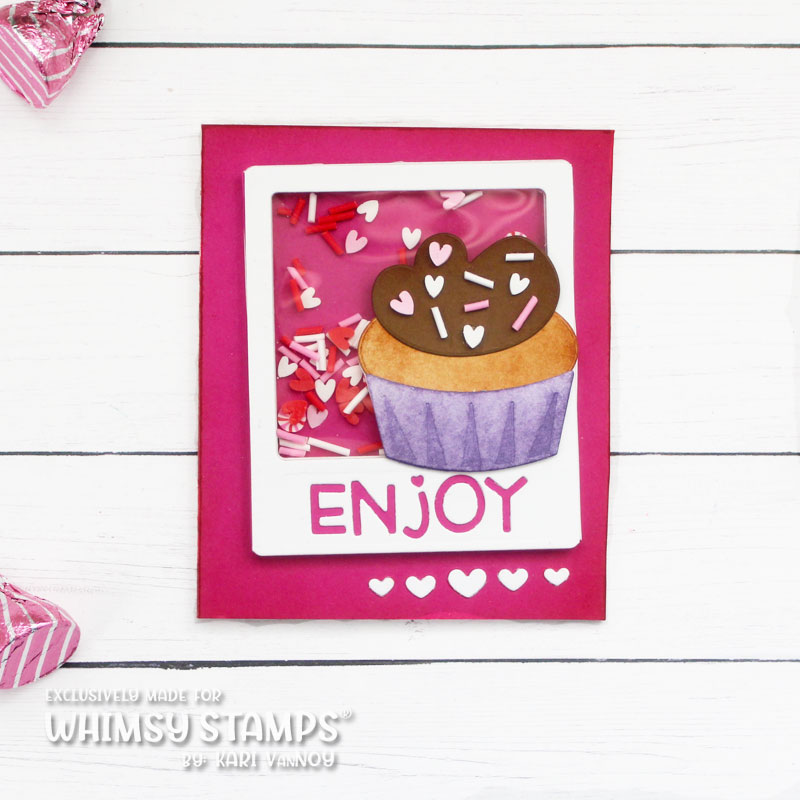
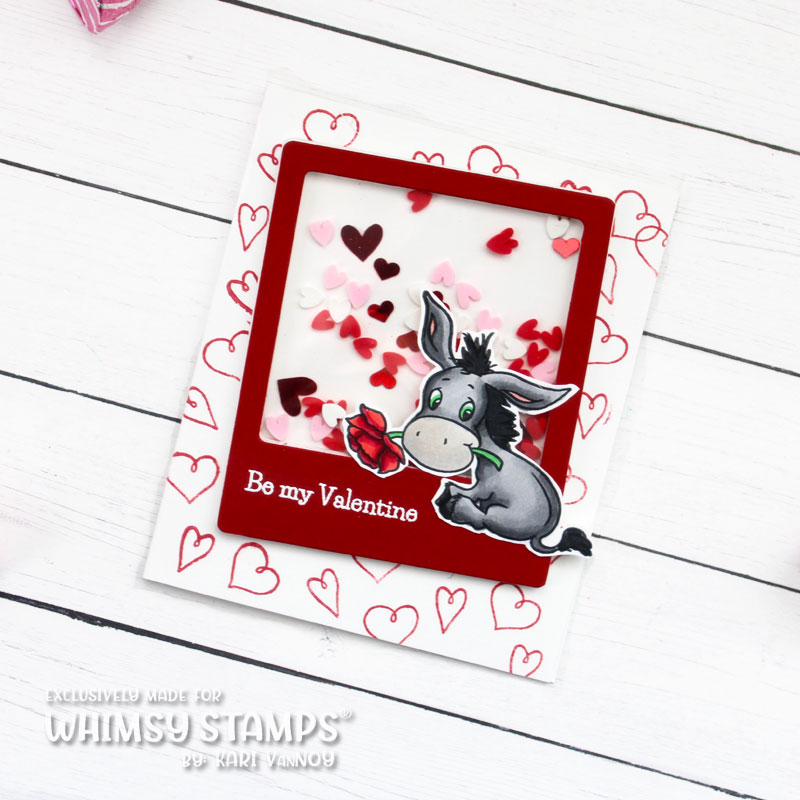
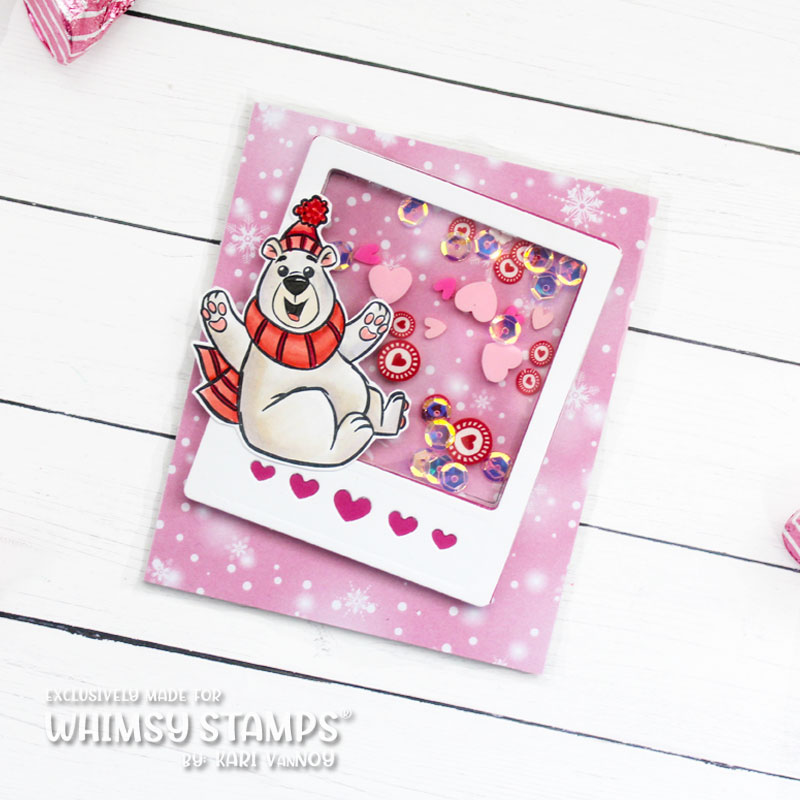
Hello! It’s an exciting day for me to share some Mini Valentine Shaker Notes…these are little note card sized shakers that are oh-so-sweet. I hope you enjoy!
Watch the video below or in HD on YouTube:
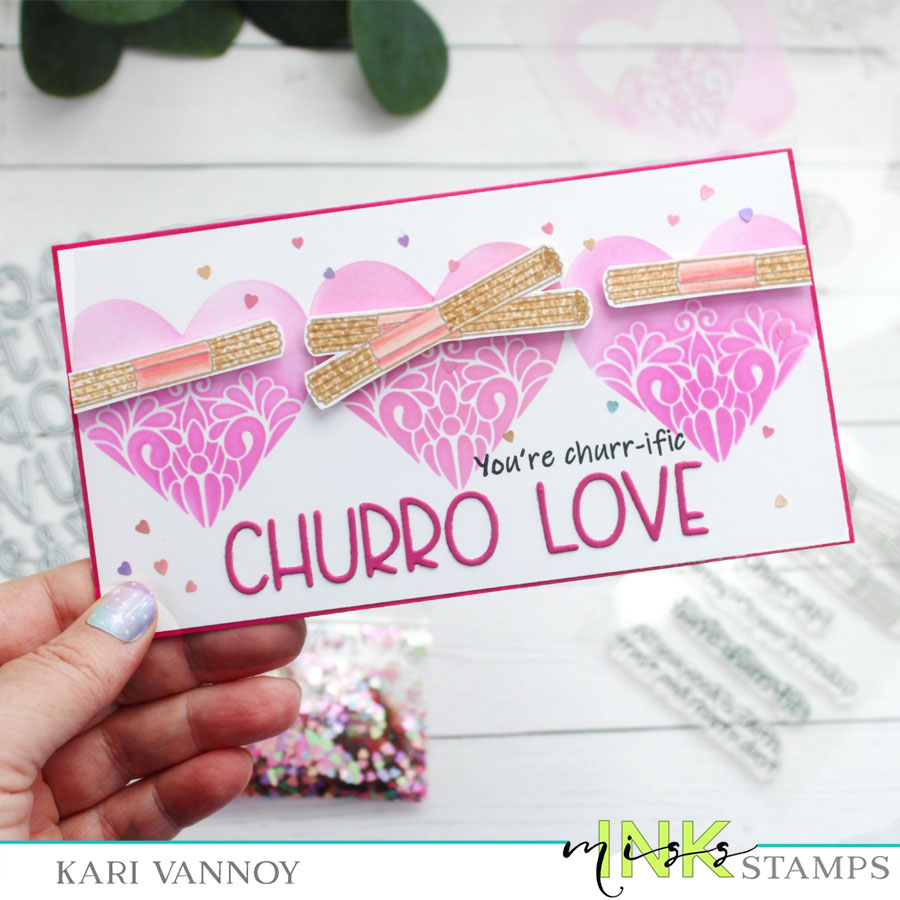
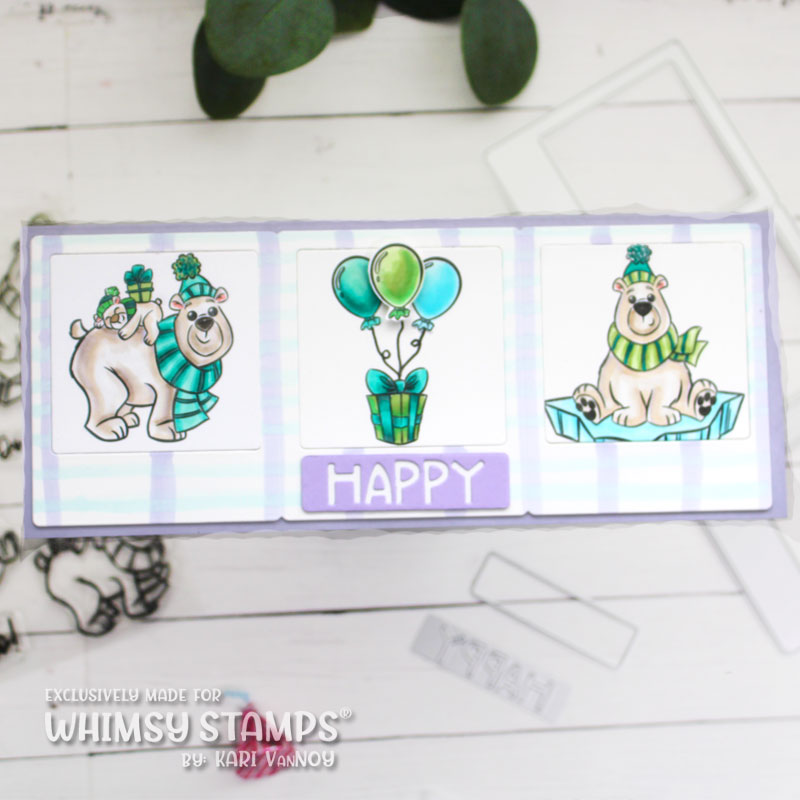
These note cards measure 3.5″ x 4.25″ so they are a nice little size to fit into a lunch bag or a briefcase! (Wink*) I love how easy they are to build up with the polaroid die from Whimsy Stamps. I will show you in the video how to make the “walls” to keep the shaker bits inside the shaker, and how to add the acetate topper.
I used a variety of stamps and dies to decorate the fronts of each card, all images that I LOVE!


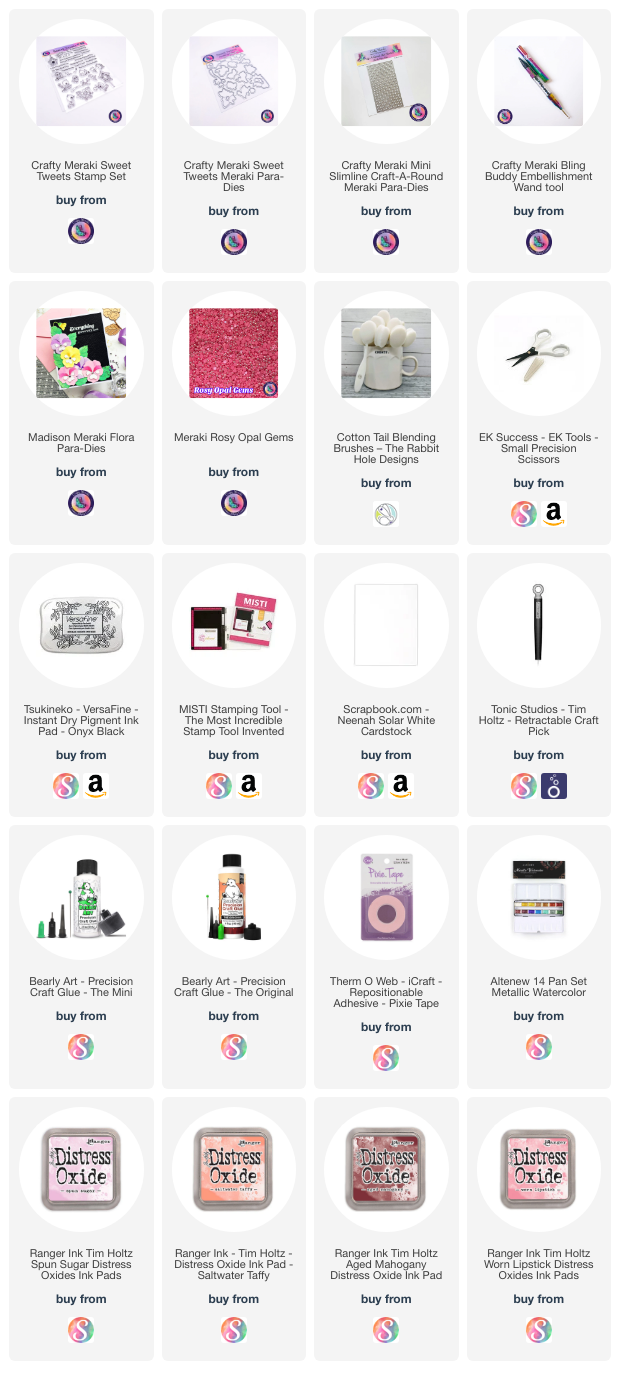
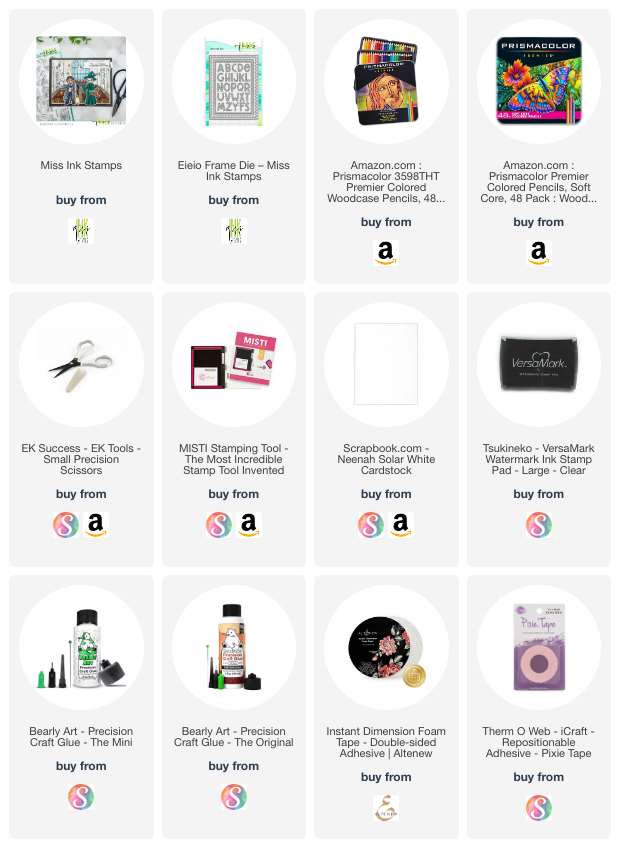
I’m often asked what supplies I use to make my cards and projects, so I’ve put together a list using affiliate links when possible. If you make a purchase with these links I may receive a small commission. These help me to keep up with blog costs and continue bringing you fun projects. Thank you so much for your support!
This Polaroid Die fits a slimline card, and for the mini cards I cut it apart to build up the shakers. It is also a cute design to make a slimline card, so I have included a sample of that here:
I hope you enjoyed these projects today! I wish you a very happy Valentine’s Day (aka Hugs Day!) filled with love. See you soon with more cards!