Archive | Paper Crafting RSS feed for this section
three-flowers-2

Altenew Artist Markers

Hello! Today I have some cards inspired by my latest class at Altenew Academy called Magical Marker Techniques.

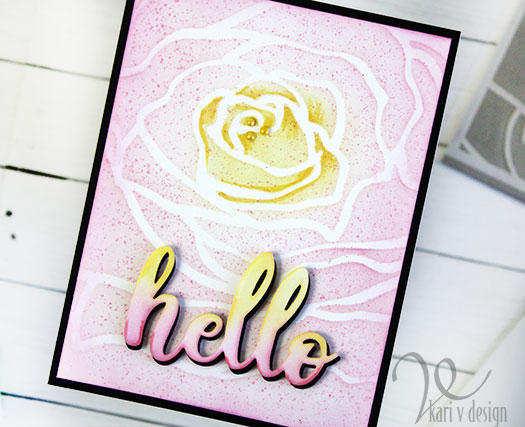
There were many techniques I wanted to try, so I actually made two cards! The first one features stenciling, with some marker accents. Then I splattered on the marker ink using alcohol to make it more liquid, and a stippling brush.
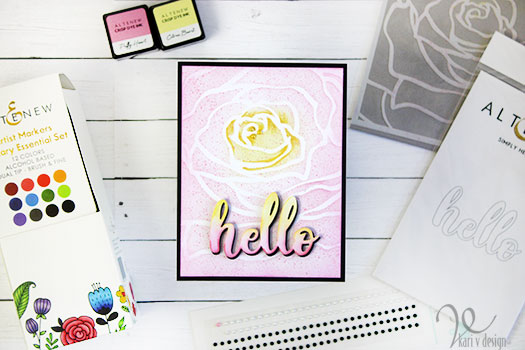
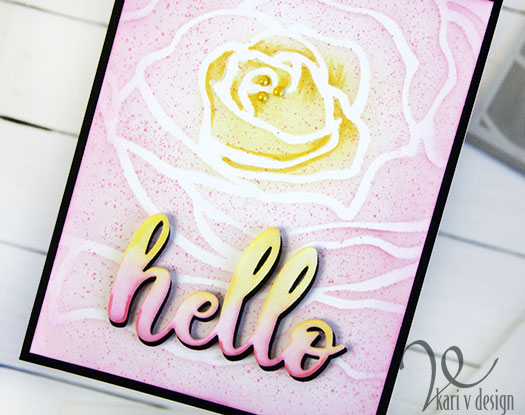
See the stippling?

I inked on the stencil first, then added some darkness with the markers. I also colored some pearls with the same artist marker to make them match.
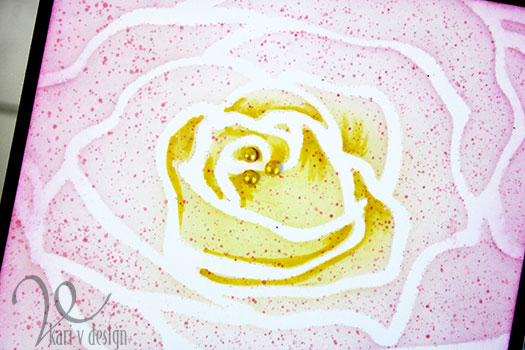
This stippling technique creates such small, dainty splatters! I love how this turned out.

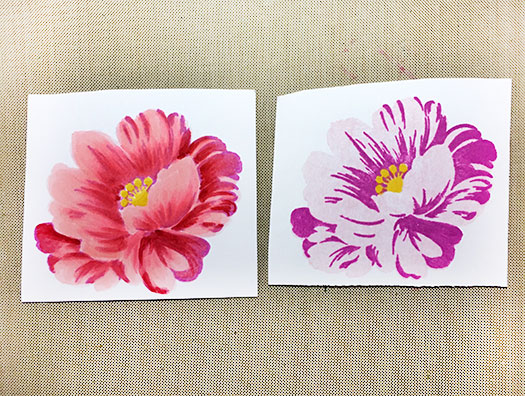
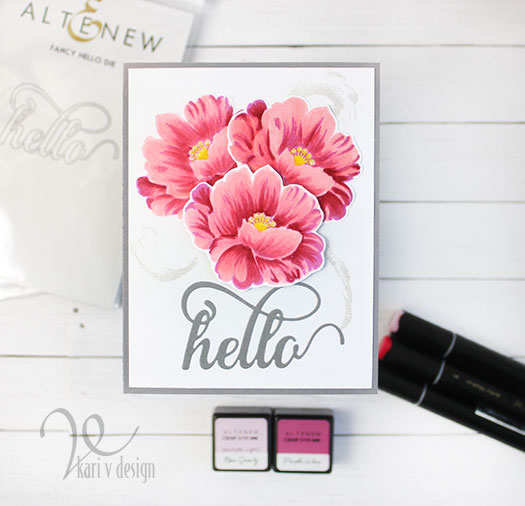
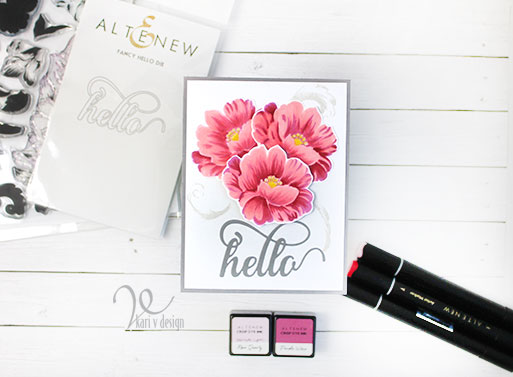
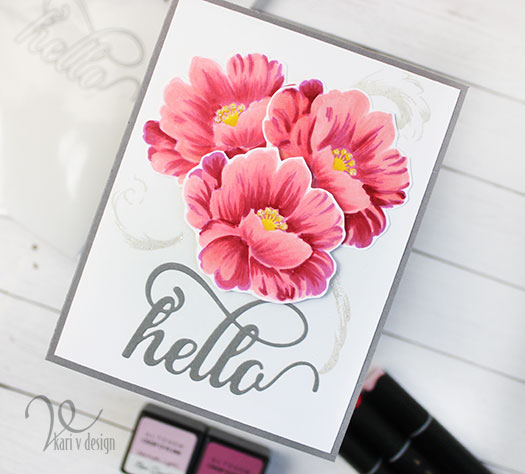
Then, I really wanted to use the markers to color an image. So, I first stamped the layers of this flower with ink, then I added to it using the artist markers.
Beautiful flowers
hello!

The artist markers really add such a beautiful dimension! The stamping (on the right) is beautiful on its own, but add the markers (on the left) and get a flower that really pops!
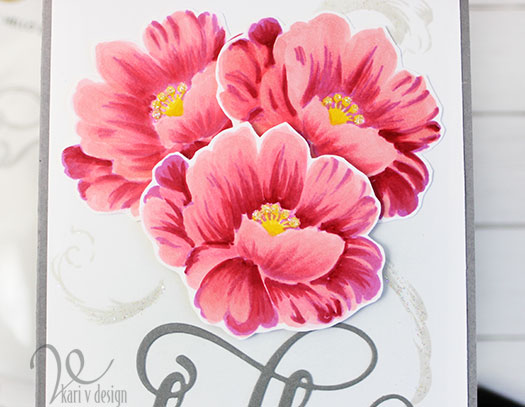
I added some soft gray stamping in the background using the leaves from the same stamp set. Then for a little sparkle, some stickles to the center of the flower, and painted onto the gray leaves. It’s subtle, but gorgeous!
I hope you enjoyed these projects today! This is my last project/class for my AECP Certification…now onto the Final! (wish me luck). Thanks for stopping by!
Comments { 1 }
SUNSHINE-swatching-wow-embossing-powders

Craft Studio Organization: Embossing Powders

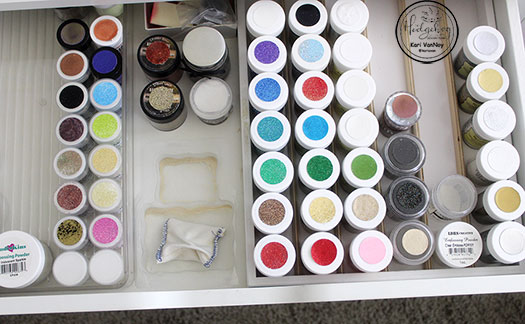
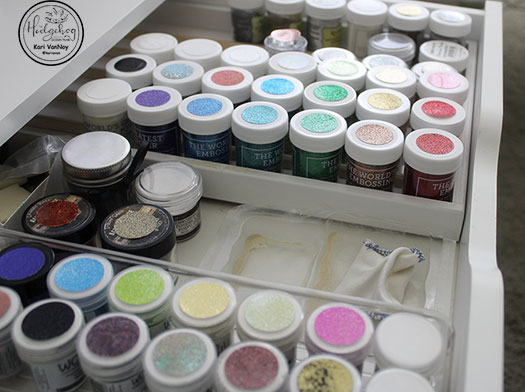
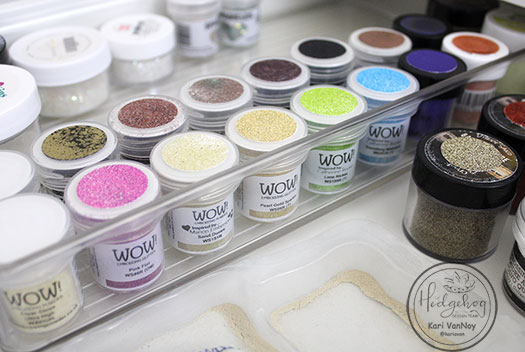
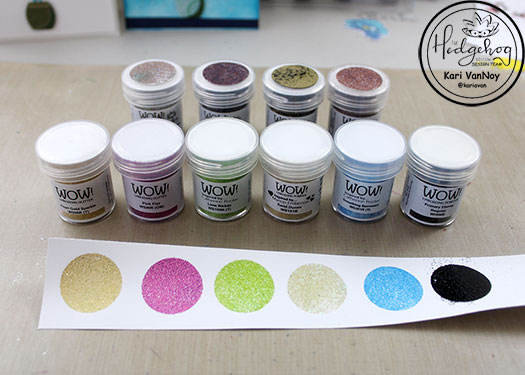
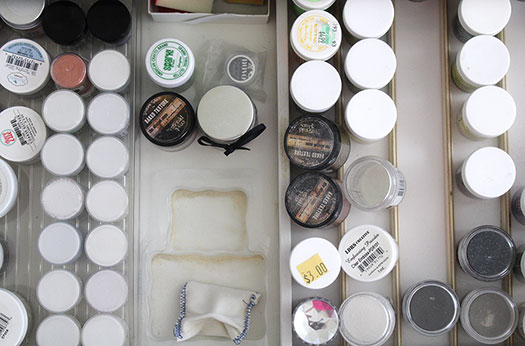
Hello! Today I have the second edition of Craft Studio Organization ideas with Embossing Powders. I’m up on The Hedgehog Hollow Blog today with all the details, but I’m going to share a ton of pictures here and a video.

I was excited to get this done, and I have to admit, once I finished this organization project, I left this drawer open just so I could look at it all day! Lol.

BEFORE
AFTER

I have a video showing you all the details and a few tricks I learned along the way, watch it below or in HD on YouTube:

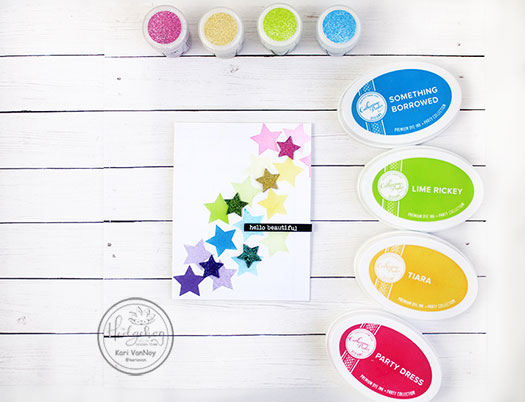
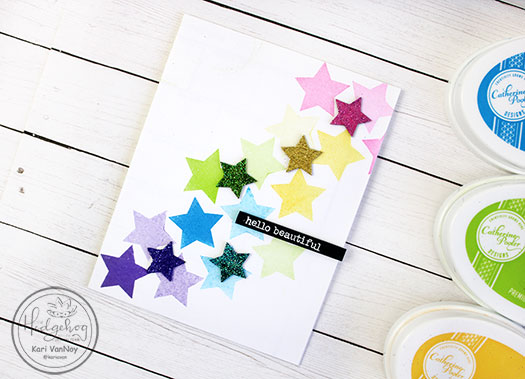
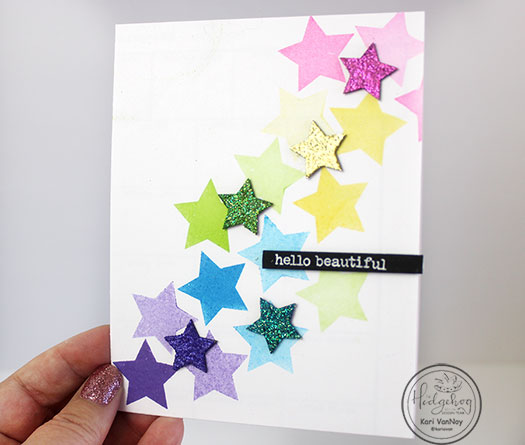
I also made a card using embossing powders and matching inks. It was so easy with the ink swatching I did last week!

I’m often asked what supplies I use to make my cards and projects, so I’ve put together a list using affiliate links when possible. If you make a purchase with these links I may receive a small commission. These help me to keep up with blog costs and continue bringing you fun projects. Thank you so much for your support!

I hope you enjoyed these projects today! I’lll be back soon with more organization ideas.

Comments { 0 }
white-card-close-up-1

Layered Masking Technique

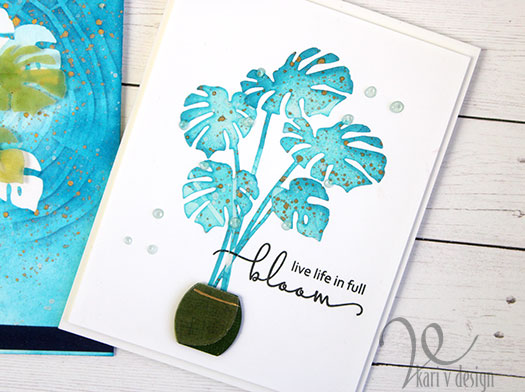
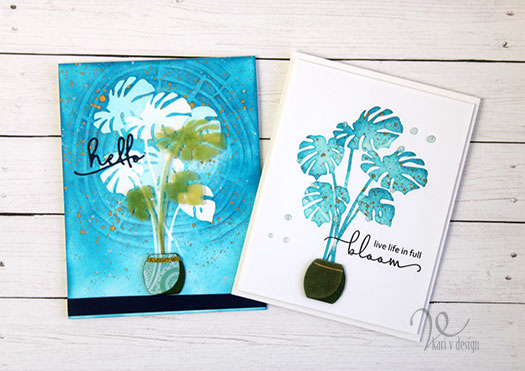
Hello! Today I have a Layered Masking Technique that is sure to make you happy: because it creates TWO cards!

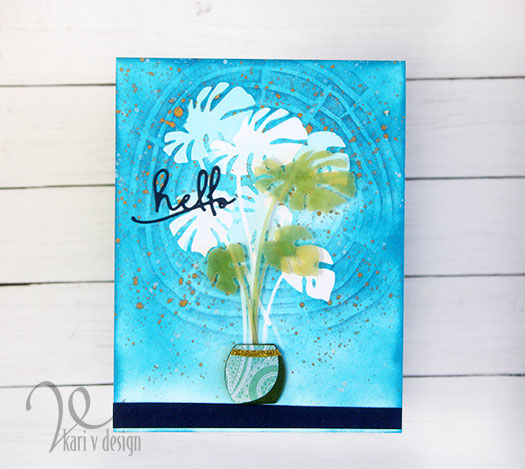
I was inspired by the class at Altenew Academy called Masking Unleashed. The technique I loved was layering the masking to created more depth in your card. I took it a little further by adding four layers!

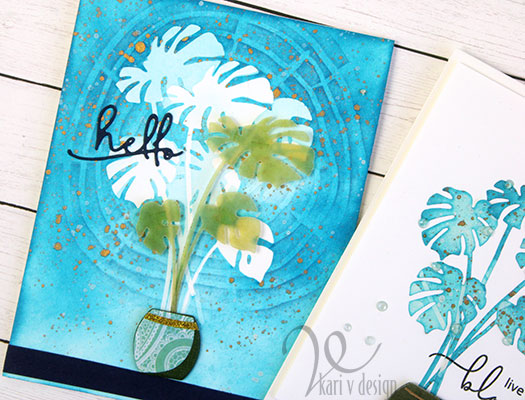
Can you count all four layers?
  1. I first masked off some leaves and inked the background (those are the whitest leaves)
  2. Then I masked more of the leaves and inked even more (those are the lighter blue leaves)
  3. I added a stencil layer with a darker blue ink to create a focal point that draws your eyes right to the plant
  4. Fourth, I added some vellum leaves (colored up with green copic marker)

For even more interest I added white and gold splatters and a “designer” vase.

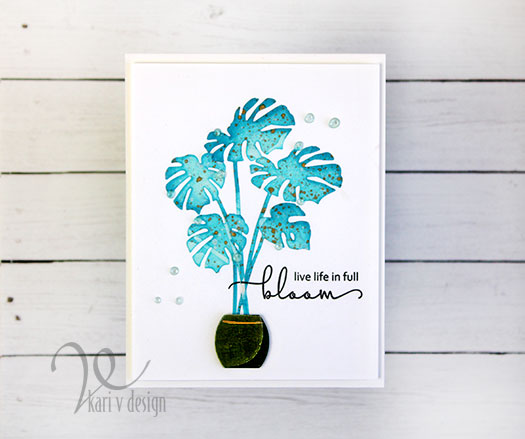
After I took off those masks from the first card, I saw the beautiful blue leaves splattered with the gold and white paint and I knew I needed to make another card…they were too beautiful to go to waist.

I made a video with all the details and tricks for keeping those masks adhered down to the card…after all, those masks had been put on and taken off a number of times! Watch the video below or in HD on YouTube:

I had a great time making these and I highly recommend this class!

I’m often asked what supplies I use to make my cards and projects, so I’ve put together a list using affiliate links when possible. If you make a purchase with these links I may receive a small commission. These help me to keep up with blog costs and continue bringing you fun projects. Thank you so much for your support!

Comments { 1 }
striped-mom-crd-close-up

For Mom

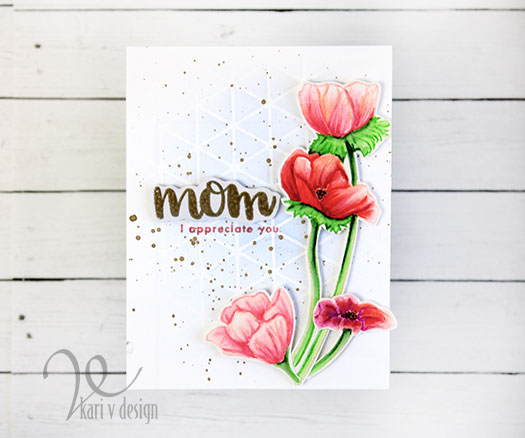
Hello! Today I’m sharing a project I’ve been working on for a while as a part of my AECP certification. I took a course from Nina Marie Trapini called “Polychromatic.” And, since mother’s day is coming right up, I thought I’d combine these ideas!

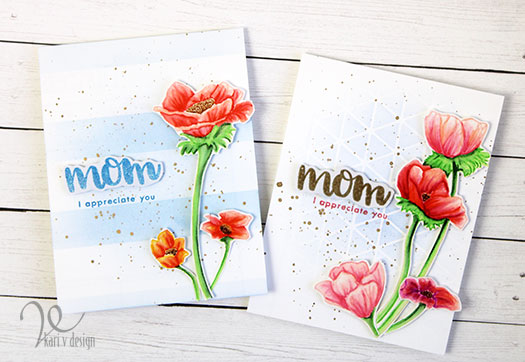
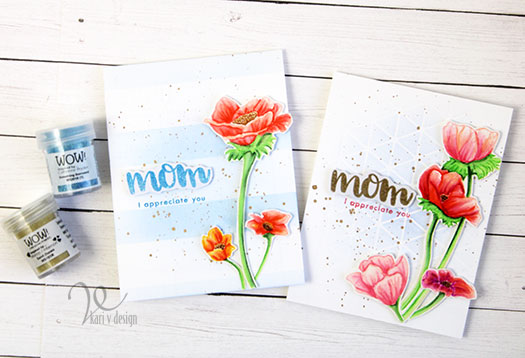
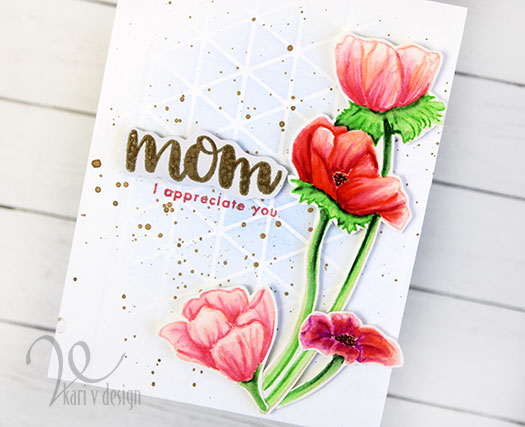
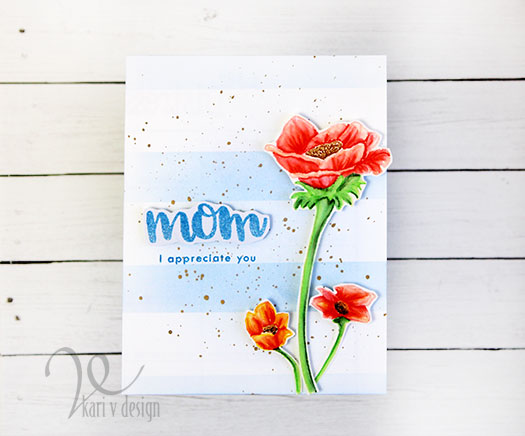
Part of the challenge was to color an image with a light or similar color ink to the image you are coloring. So I stamped out my images with a very light pink ink (rose blush from Altenew), then I colored them up with Zig Clean Color Real Brush Markers in pinks, reds, yellows and oranges.

It’s almost like no-line coloring! I think they turned out so nice. I used bristol smooth paper to stamp the images, then cut them out.

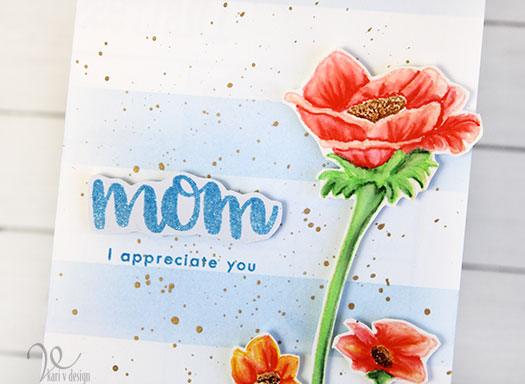
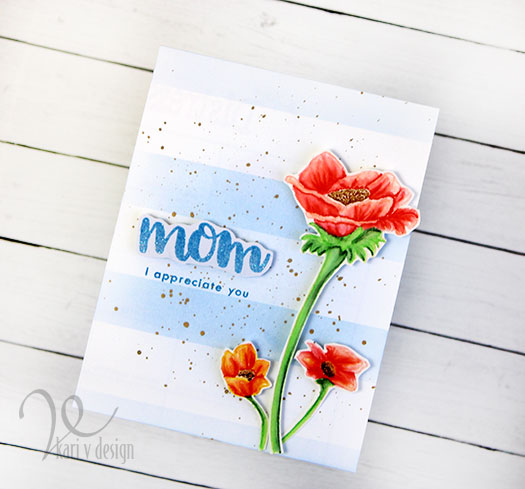
I had plenty of images to create two cards. I used the sentiment from the same set (masking off a portion so I only used “I appreciate you”) and added a mom sentiment that was heat embossed in gold and blue sparkle embossing powders.

Gold embossing powder with gold splatters

I inked up this background using a die cut as a stencil…this adds a bit of geometric to the floral card.

Flowers for Mom

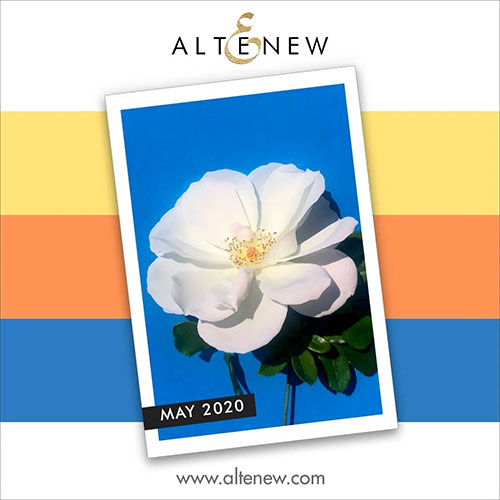
For this second card, I taped off the background using post-it tape and inked on a soft blue stripe. Gold splatters add a happy touch. I was inspired by the stripes and colors of the current Altenew Challenge so I will also enter this in the challenge for the month. See the beautiful blues, yellows and oranges?!

I’m often asked what supplies I use to make my cards and projects, so I’ve put together a list using affiliate links when possible. If you make a purchase with these links I may receive a small commission. These help me to keep up with blog costs and continue bringing you fun projects. Thank you so much for your support!

I hope you enjoyed these projects today! Have you made some mother’s day cards yet?

Comments { 2 }
SUNSHINE-red-swatch-page

Craft Room Organization: Ink Swatch Book

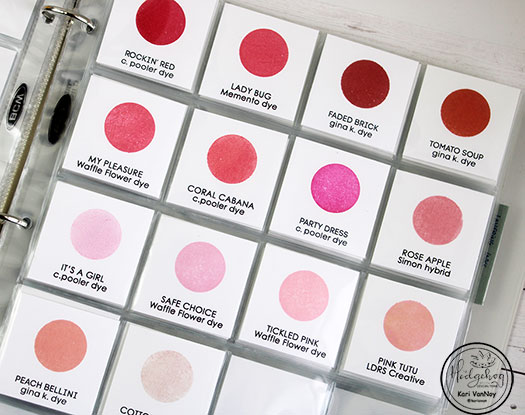
Hello again! I’m starting off May with some craft room organization using some products with the May 2020 Hedgehog Hollow kit. Today it’s an ink swatch book and I have lots of ideas for you!


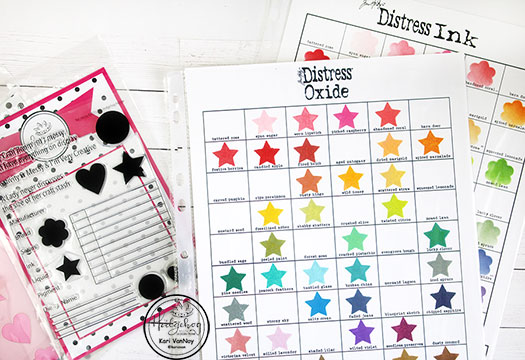
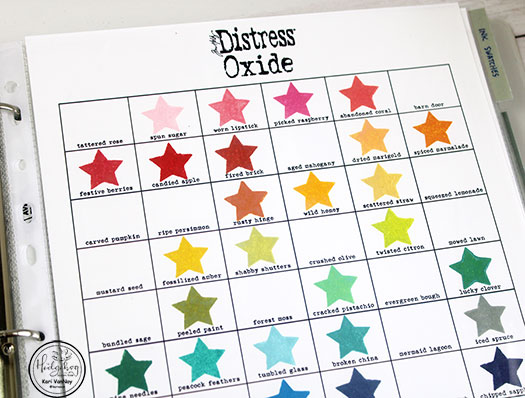
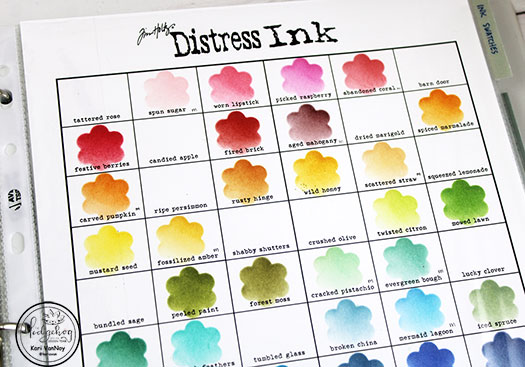
These colors have me feeling HAPPY! I used the smaller stars stamp from the stamp set included in the May 2020 Kit for the Distress Oxides. For the Distress Inks, I used the STENCIL to ink the colors on (since I normally don’t stamp with Distress Inks…I use them for techniques and stencils).

I have a video with some tools and tips for you, watch it below or in HD on YouTube:

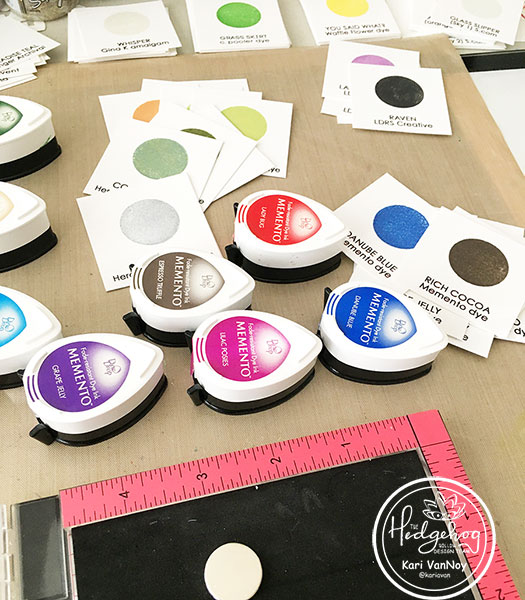
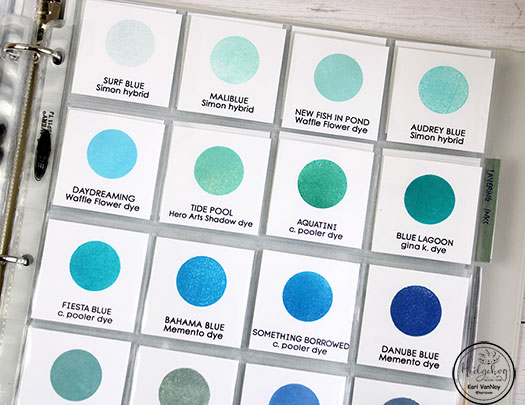
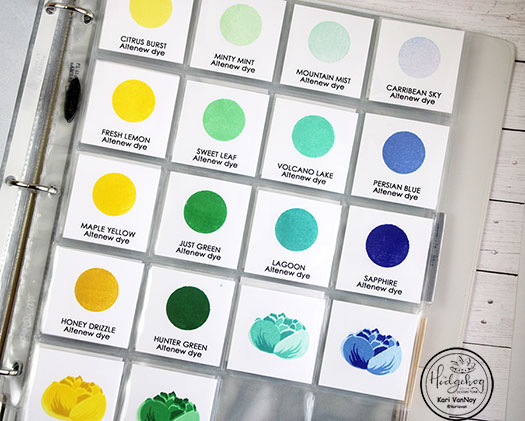
I love some good organization! I have to give a standing ovation to Jennifer McGuire for putting together all these 2×2 ink charts with LOTS of inks. She even includes a blank one so you can fill in your own inks, too!

I got the 3 colors charts from Ranger and Scrapbook.com and if you are interested you can find them here:

Jennifer McGuire Charts: https://bit.ly/3bTDNxb
Distress Ink & Oxide Charts: https://bit.ly/3d4ZoDb
Scrapbook.com Ink Chart: https://bit.ly/2KNJ6CB

For the Altenew inks, I stamped a flower with all the layering colors to see what they look like together.

Watch the video for all the details here.

I’m often asked what supplies I use to make my cards and projects, so I’ve put together a list using affiliate links when possible. If you make a purchase with these links I may receive a small commission. These help me to keep up with blog costs and continue bringing you fun projects. Thank you so much for your support!

I hope you enjoyed this today! I am so happy seeing all these colors together.

So have you done ink swatching in your craft room? I’ll be back real soon with more organizing ideas!

Comments { 0 }