Tag Archives | Video tutorial
!his-card-packaging

Gift Card Set (for HIM)

Hello! I have a fun post today filled with masculine cards and a handmade box for gifting. This is perfect for this time of year or anytime you want a sweet handmade gift! I also have a more feminine gift card set…find it here.

This is a part of my Altenew Level 1 FINAL project! I chose to highlight three techniques that I learned throughout all the Level 1 courses:
1) Ink Blending
2) Adding Sparkle & Shine
3) Stencil Techniques
I use one, two or all three techniques in different ways on each card. Here’s a look at all six cards:
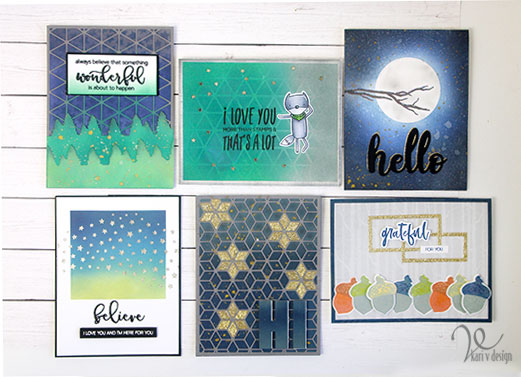
Here’s a look at all 6 cards!

I began choosing a color theme of Dark Blue, Green, and Gray and I started by ink blending some backgrounds and gathering some papers to support my theme. I have a video of all the cards, watch it here or on YouTube:

For my first card, I used the Altenew Layered Snowflakes Cover Die A cut with gray cardstock. I chose a dark blue and gray ink blended background I created and inlaid some of the snowflake stars with gold glitter paper (for the shine factor)! One of the tips in the ink blending course was to use a die cut sentiment in the same ink blended on the background. So I added the “HI” cut from the alpha dies in the same ink blended colors. I popped it up with white fun foam to set it apart.
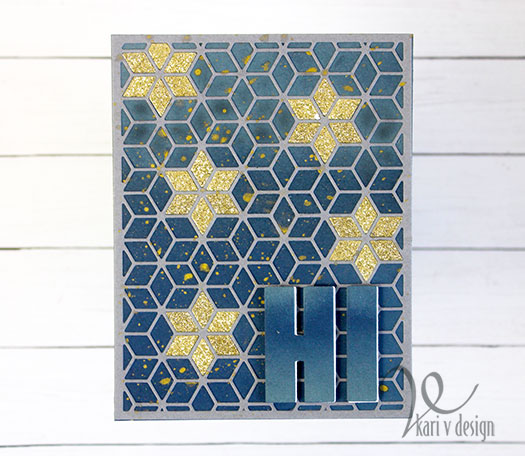
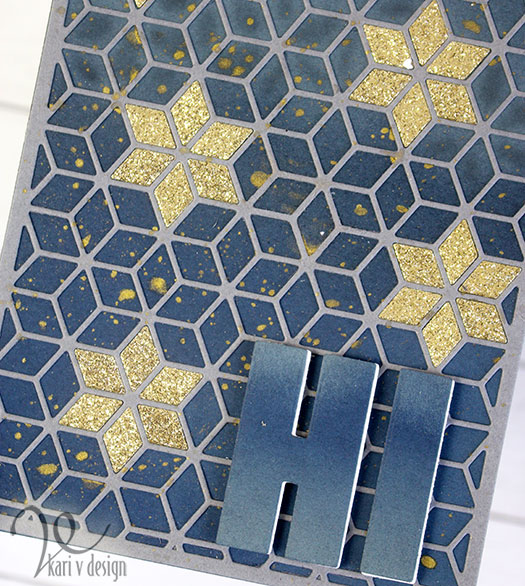
The gold watercolor ink splattered on the background creates another element of shine.

For my second card, I started by taping off a square onto my card that I could ink blend an evening dusk scene. Then I stamped the sentiment “believe” with black ink and clear heat embossed over it. (I did this so the black ink wouldn’t smear.) Then I used the new star stencil to add some Glacier Paste in the color Quicksilver.
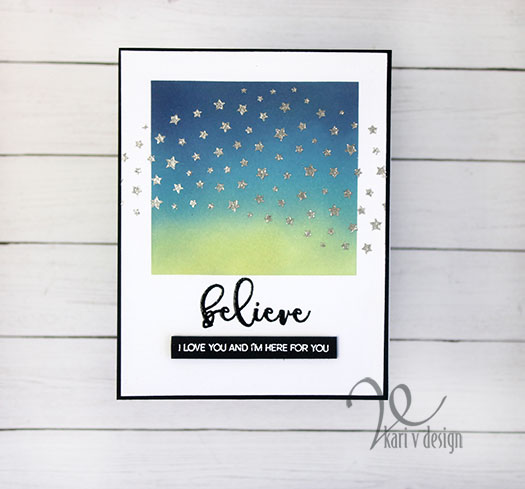
That Glacier Paste dries flat and shiny and really looks like foil! I added a sub-sentiment that I heat embossed in white on a black paper strip. I cut the panel down just a little to mat it all onto black paper and then onto the card base.

For the third card, I used a little trick taught by Carissa Wiley to create a frame using stacked die cut shapes. For this one, I cut glitter paper out of stacked rectangles to create a frame.
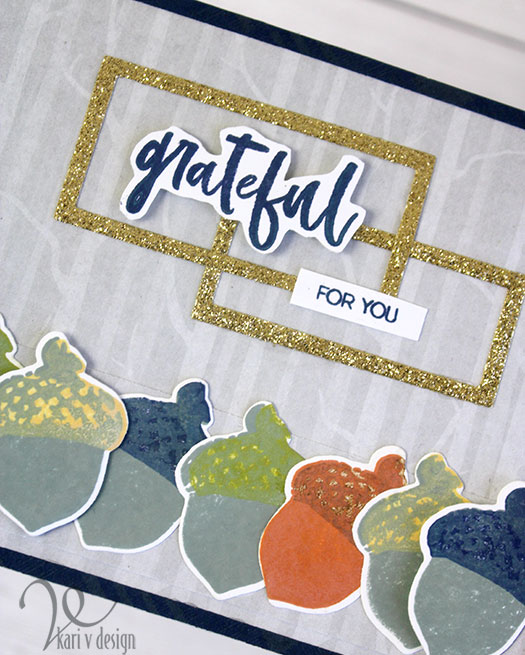
I stamped all the acorns using my color theme and stacked them onto some Altenew gray paper with birch trees. I fussy cut the grateful sentiment and popped it up with foam tape. I used a navy blue frame to finish it all off.

For the Fourth card, I used a die cut as a stencil…this is a great way to stretch your cover dies! This time I used the Snowflake Stars Cover die B as a stencil on this green inked background.
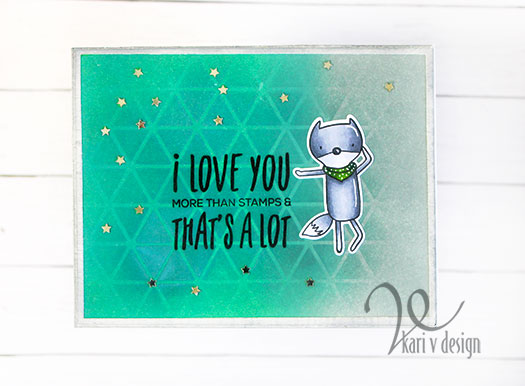
I added a sentiment, and a Copic colored Gray Fox. For the sparkle on this card, I sprinkled on some silver star sequins. This sentiment makes me smile!

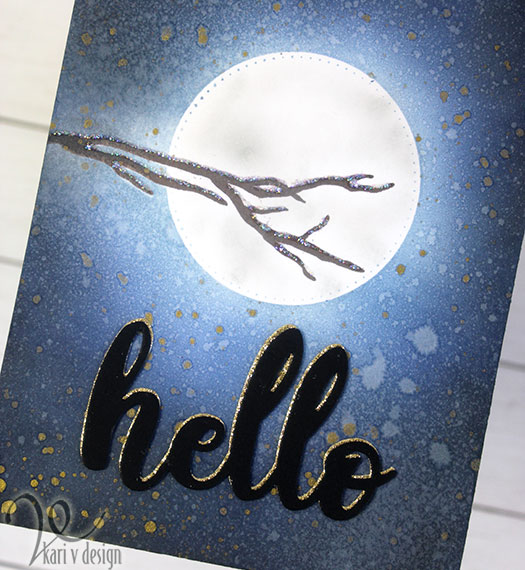
This next card is like a moonlight stroll! I masked off the branch (from the Winter Cardinal set) and a circle die before inking on some dark blue inks and black ink with makeup brushes. I continued to add light layers, building up the color each time.
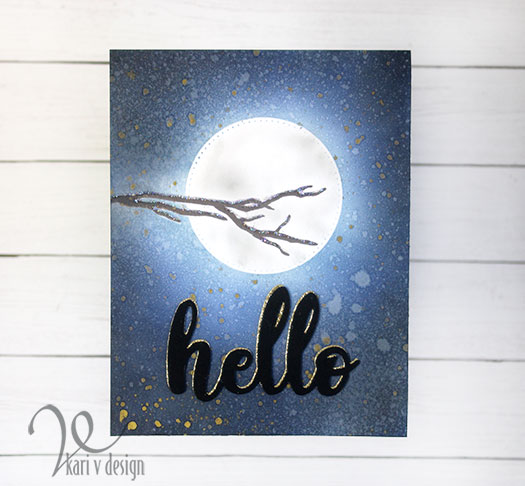
The moon has a glow around it!

Before I removed the masks, I added some splashes of water and gold watercolor. Once the masks were removed, I inked on some Weathered Wood Distress Oxide ink onto that moon to create the shadows. For extra shine, I used Stardust Stickles to add some ice to the branch…it sparkles in the moonlight!

The die cut Hello is cut in black and layered onto a gold die cut hello.
And finally…the last card features some die cut & layered evergreen trees, inked in green and splattered with metallic paint (both gold watercolor paint and Altenew metallic spray).
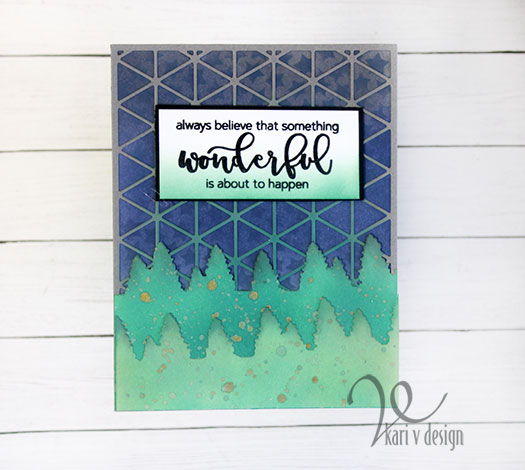
I used the cover plate die that I used earlier as a stencil! If you look closely, you might see the stars inked subtly on the background. I finished it off with a favorite sentiment of mine!

I have gathered together a list of all the supplies I used.

I’m often asked what supplies I use to make my cards and projects, so I’ve put together a list using affiliate links when possible. If you make a purchase with these links I may receive a small commission. These help me to keep up with blog costs and continue bringing you fun projects. Thank you so much for your support!

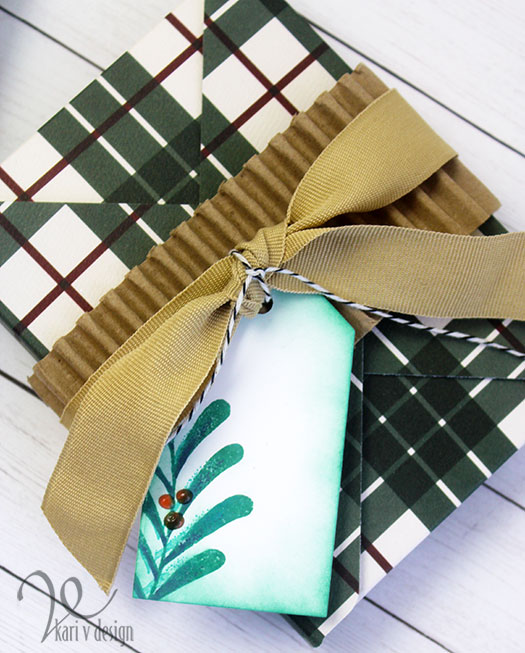
I hope you enjoyed this gift set of cards. I packaged it all up in this handmade card box:
I created the tag using the Majestic Mistletoe stamp set. The corregated cardboard is recycled from packaging (that I’ve been saving because I loved it!) and the ribbon is also recycled from packaging…it was tied around a blanket. All I had to do was iron that ribbon and it looks good as new!

If you are interesting in making a gift card box, the instructions for the card box is in the beginning of my video for the feminine card set here.

Thanks so much for stopping by today!
Comments { 2 }
sweater-weather-with-stamps-and-ink-tool

Sweater Weather

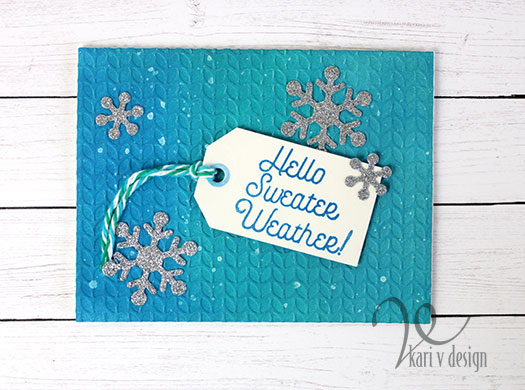
Hello! Well, it was almost sweater weather here in Arizona, and then….it warmed right up again! Lol. But I was inspired to make a few cards when I was still wearing a sweater! So I’m going to share them with you today.

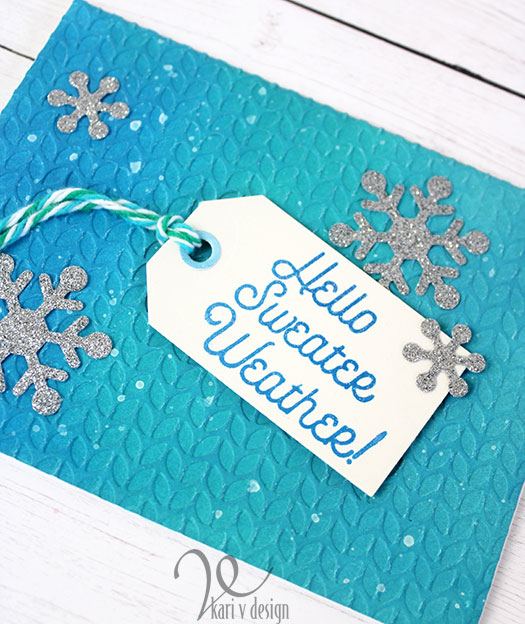
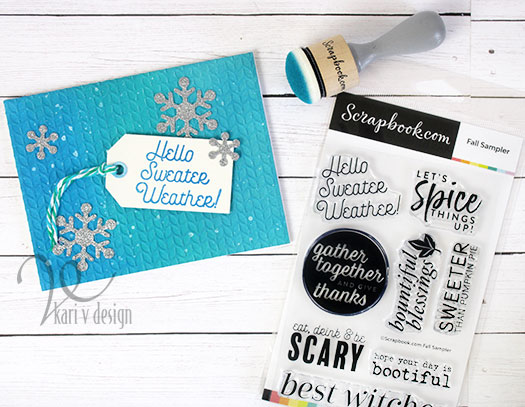
This first one features a sweater embossing folder that I love! I first inked up the background with my favorite domed ink blending tools. After it was dry, I ran it through the embossing folder and then splattered on some white paint for a bit of a snowflake effect.

Glitter embossing on the sentiment

I love a silver glitter snowflake, so I added some of those, too! I stamped the sentiment onto the tag, added some yarn and that’s the card. Does it look cold to you…as in cold weather?

I also used some glitter embossing powder on the sentiment (you can never have too much glitter, right?!) I have a video on this card, watch it below or on YouTube:

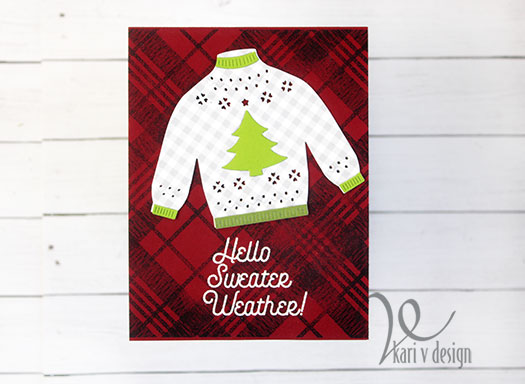
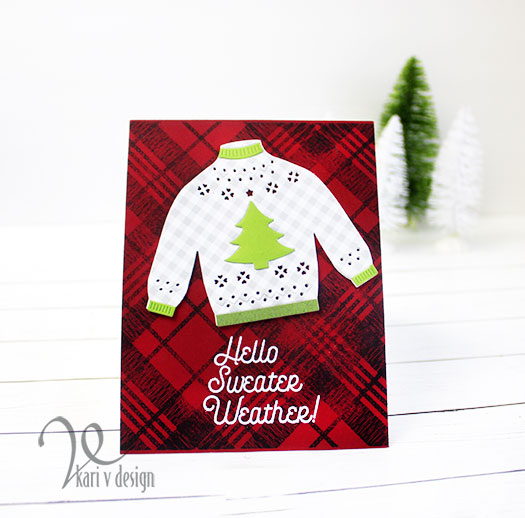
I couldn’t resist making another card with this fun sentiment. And, after all I had this cute sweater die that was begging to be on a card!

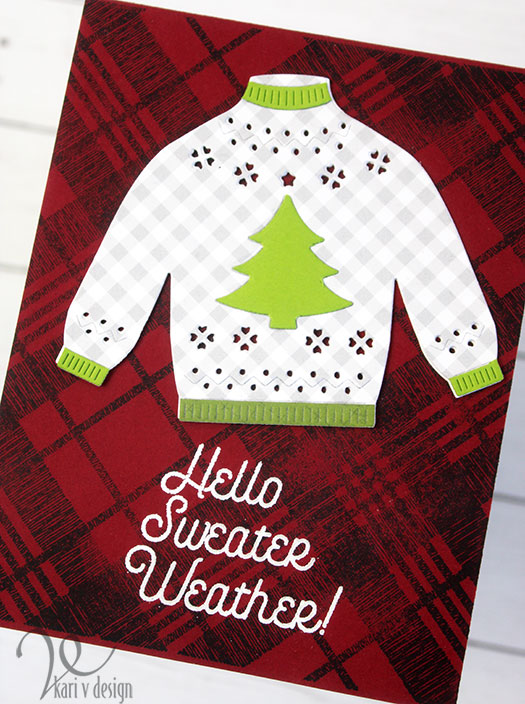
I had some plaid backgrounds I inked up earlier, and this cute sweater I put together earlier, too! So all I had to do was add the white embossed sentiment and this card was so quick!

I stacked 3 die cut sweaters on top of each other to get this raised sweater look. I think some Nuvo drops would be fun on that Christmas tree!

I’m often asked what supplies I use to make my cards and projects, so I’ve put together a list using affiliate links when possible. If you make a purchase with these links I may receive a small commission. These help me to keep up with blog costs and continue bringing you fun projects. Thank you so much for your support!

I love this Fall Sampler set!

I hope you enjoyed this project. If you have been following me for a while, you might have noticed that I’ve used this Fall Sampler set on many other projects (I’m really getting some good use out of it!!) I love a set that gives so much inspiration! Check out my other posts with this set here and here!

Thanks for stopping by!

Comments { 0 }
snowflake-cover-die-close-up

Snowflake Cover Dies

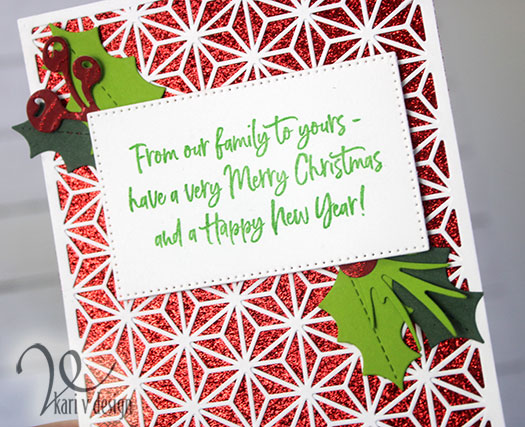
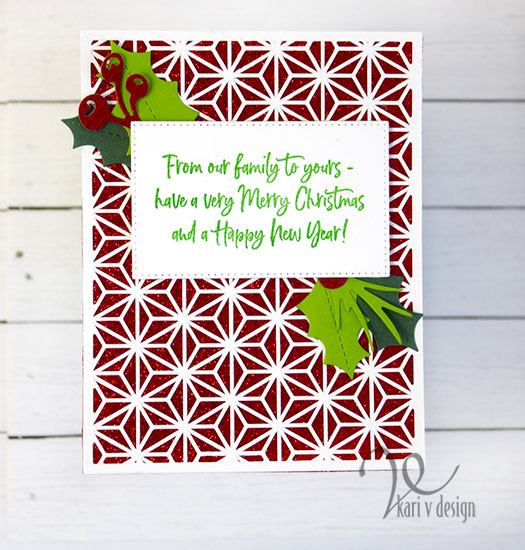
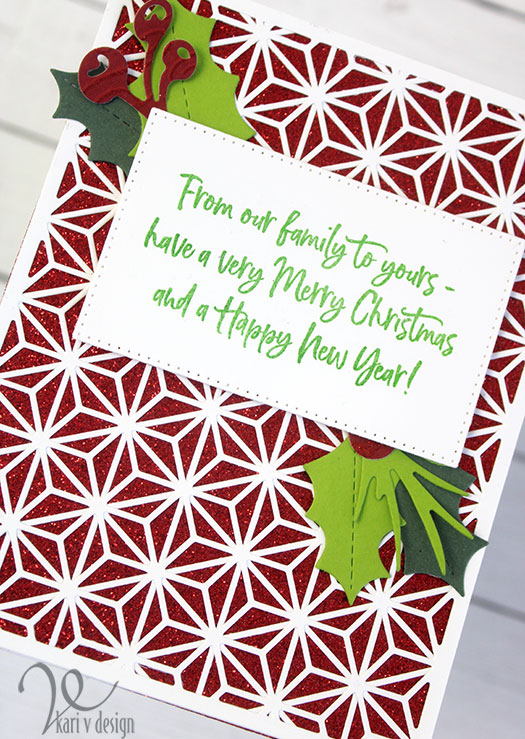
Hello there! Today I am showcasing the new Altenew Snowflake Cover Dies. I love these dies on their own, but when you layer them together: WOW! These make it easy to make a professional looking card!

This sentiment is a new holiday set from Scrapbook.com and I love all the fonts and sentiments for this time of year.

I layered up those cover dies (there are two of them and they make this beautiful snowflake design when layered!) and then adhered them to red glitter card. I added the sentiment that I stamped in Grass Skirt green ink and then attached some holly bundles.

I have a VERY quick video to show you how these cover dies work and how fast this card comes together. Watch it below or on YouTube:

These are some new favorites and I will have more ideas and examples for you coming up soon!

I’m often asked what supplies I use to make my cards and projects, so I’ve put together a list using affiliate links when possible. If you make a purchase with these links I may receive a small commission. These help me to keep up with blog costs and continue bringing you fun projects. Thank you so much for your support!

I hope you enjoyed this project today! Thanks for stopping by.
Comments { 0 }
both-santa-cards

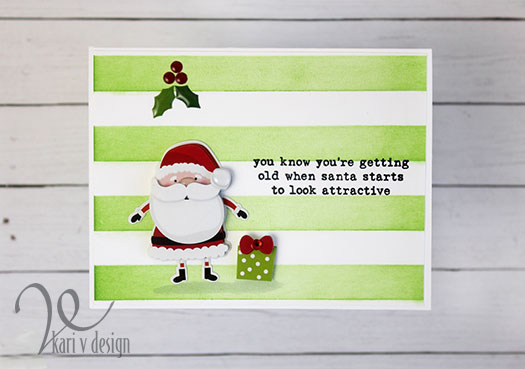
You Know You’re Getting Old…When Santa Looks Attractive

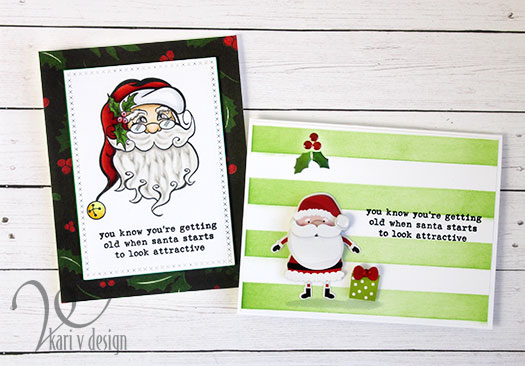
Hello! Today I could not stop giggling while making this card. This sentiment is so, so funny…and I couldn’t wait to show you a couple of card options for it.

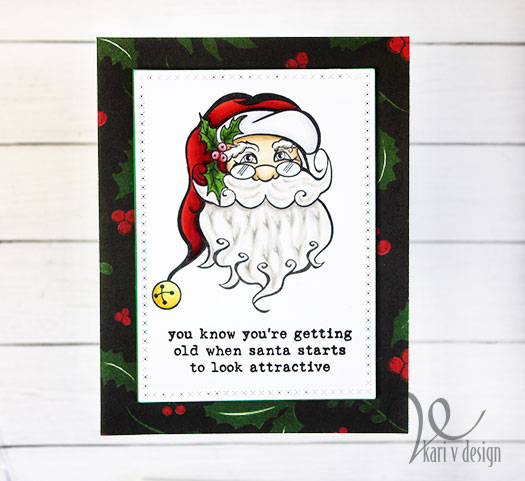
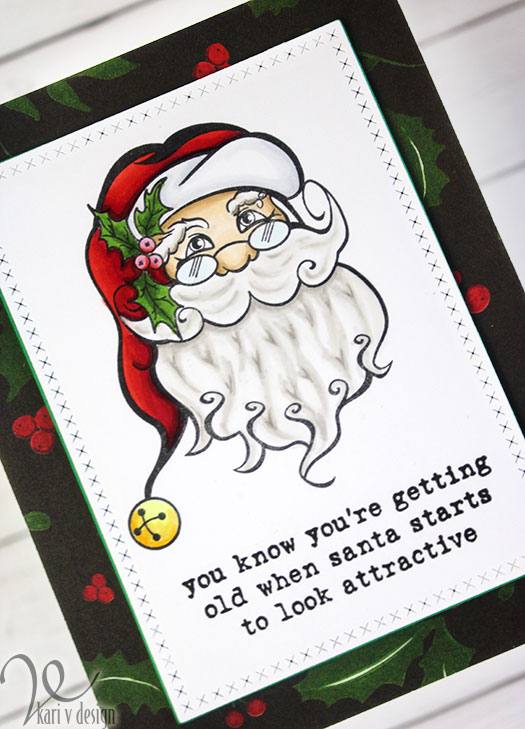
First, I have colored up Santa with Copics and added the sentiment below him. Then I die cut the panel with the Cross-Stitched Stackables and adhered it to fun foam. I added the entire panel to some Echo Park holly paper (that I love!)

The best sentiment!

Isn’t he cute? Would you even go as far to say that Santa is looking attractive?! Lol.

I’ve got a quick video tutorial, watch it below or on YouTube:

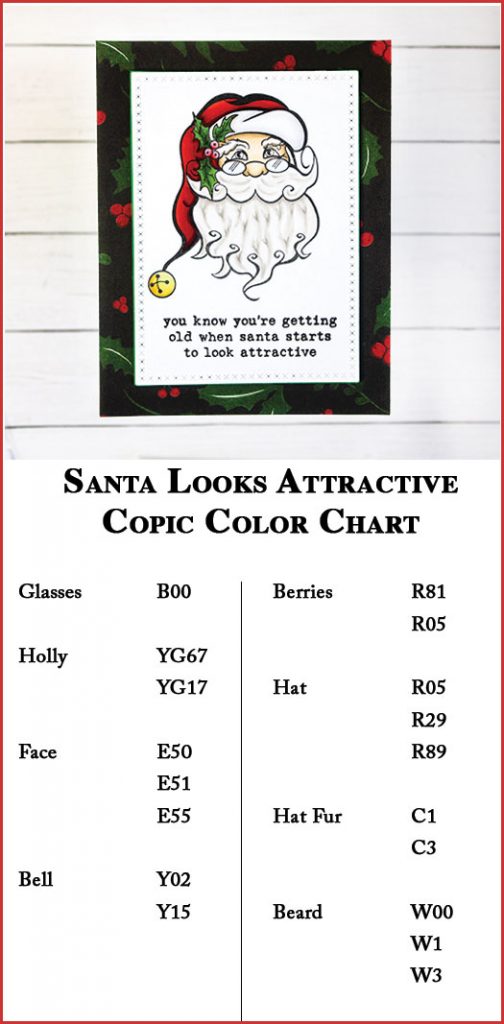
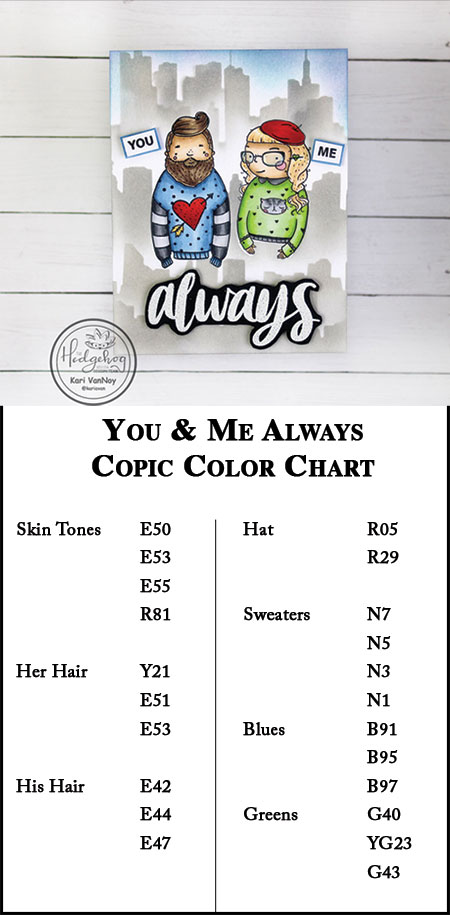
If you are a Copic Colorer, I have the Copic Color Chart for you here. Roll your cursor over the image below to PIN IT for later.

If you are NOT a Copic Colorer, I have one more card idea to share below! Keep on scrolling.

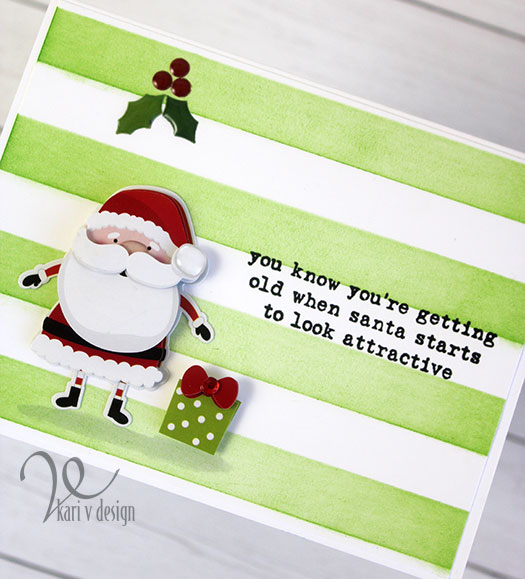
Now, if you want to use this sentiment on a quick card (with no Copic Coloring) I’ve got you covered! Try using a stencil to make some green lines, then use these Bella-Pops to make a fast and cute card.

I’m often asked what supplies I use to make my cards and projects, so I’ve put together a list using affiliate links when possible. If you make a purchase with these links I may receive a small commission. These help me to keep up with blog costs and continue bringing you fun projects. Thank you so much for your support!

I hope this post made you smile. Thanks for stopping by. I’m really looking forward to the holidays this year and sending out a few of these cards to my *older* friends. Lol.

Comments { 0 }
SUNSHINE-snowman-no-die-1

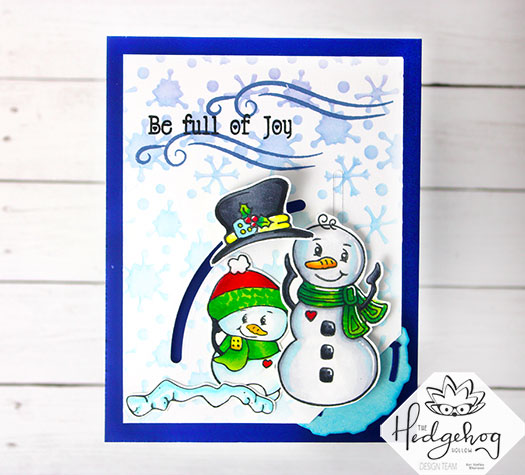
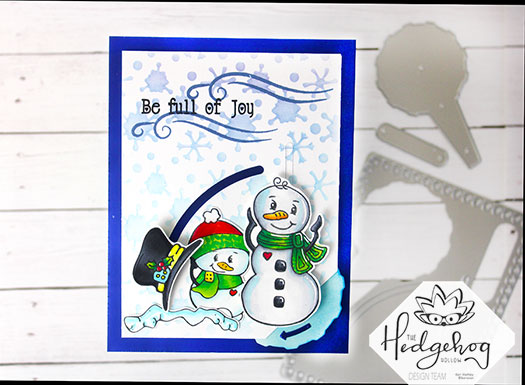
Snowman Loses His Hat

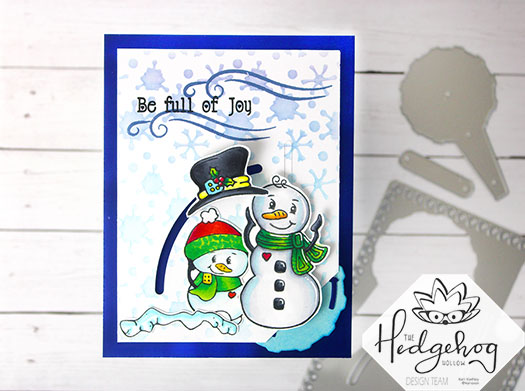
Hello! Today I have a new card to share with this cute Snowman image. I am using the October 2019 Hedgehog Hollow Kit in a new way…by altering the Interactive Die Cut to create a whole new look!

Watch as the wind takes his hat away!
This is a cute kit, and I have a video showing you just how I made it and how I changed up the look of that interactive die. Watch it below or on YouTube:

I love that you can change up this kit and die to make it what you want. I hope this inspired you to look at your dies in a whole new way!
Check out the other cards I’ve made using this same die: here and here.

I’m often asked what supplies I use to make my cards and projects, so I’ve put together a list using affiliate links when possible. If you make a purchase with these links I may receive a small commission. These help me to keep up with blog costs and continue bringing you fun projects. Thank you so much for your support!
Thanks for stopping by!

Comments { 0 }