Tag Archives | Stencil techniques
SUNSHINE-dog-stencil-card-2

Selective Stenciling

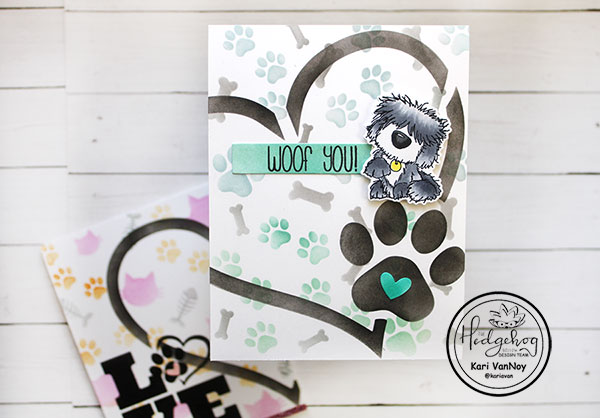
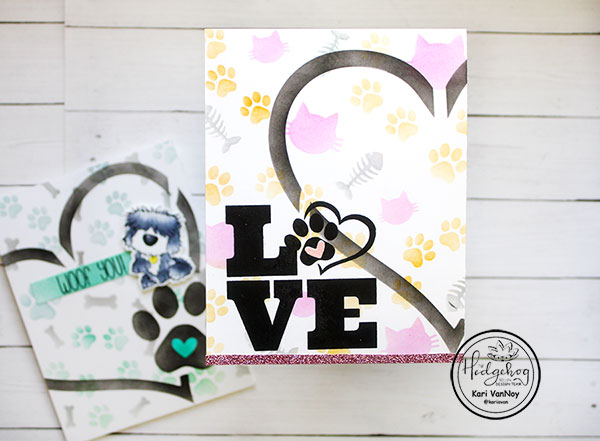
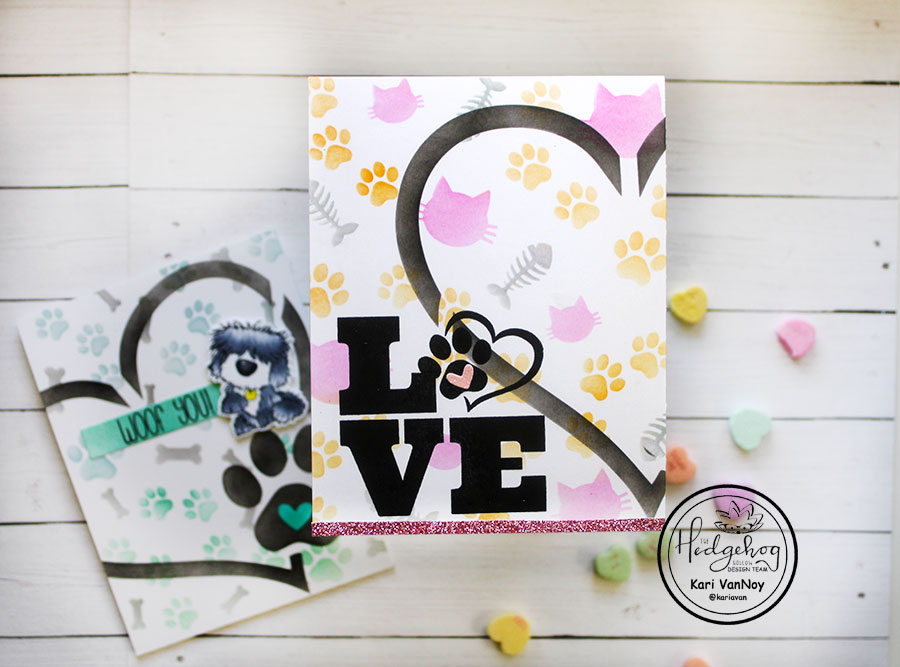
Hello! Today I’m sharing a project using stencils from the Hedgehog Hollow February Kit. This kit is all about pets, and today I am comparing the cat stencil and the dog stencil. I love the look of selective stenciling, and here are my projects.
CAT CARD

For the cat card, I chose to ink up the kitties in a soft pink, the paw prints in a soft orange, and the fish in a soft grey. This takes just a little more time, but I think the end results are worth it! To make sure I don’t get ink where I don’t want it, I simply tape around the kitty images first and ink them in pink. Then I tape around the fish and ink them in grey; and then tape around the paw prints and ink in orange.
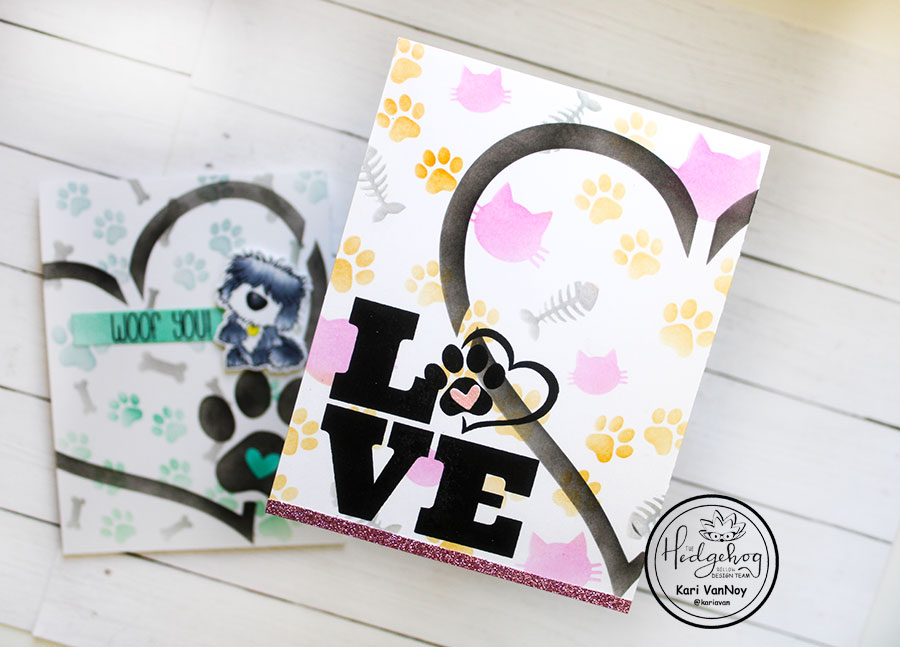
Once that was done, I took the heart stencil and put it over the top of the inked panel and inked it up in black. Since this stencil is much larger than an A2 size card, I offset it so only the left side of the heart was inked.

I stamped the “LOVE” stamp on the left lower portion of the panel in black ink, the added a glittery pink heart to the center of the paw print.
DOG CARD

For this card, I started off much the same way, taping off the images and inking. I inked the top portion of the paw prints with Speckled Egg Distress Ink, and the bottom portion of the paw prints with Evergreen Bough. Then I inked on the right side of the heart stencil. This side has a giant paw print that I love!
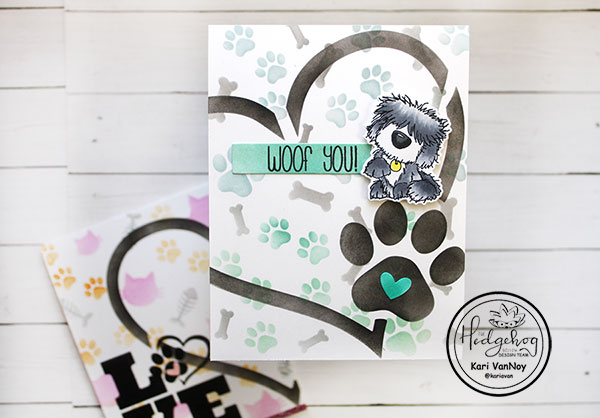
I added a green heart to the center of the paw prints, and inked up a sentiment strip with Evergreen Bough to match.

That shaggy dog and sentiment is from one of the first Hedgehog Hollow kits ever! Isn’t it cute? It’s no longer available, but I do love that dog image!
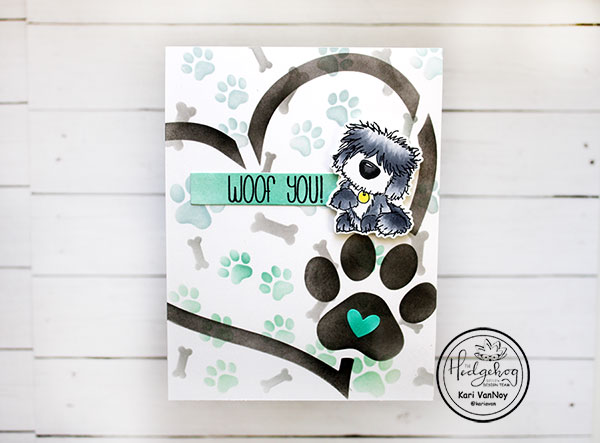
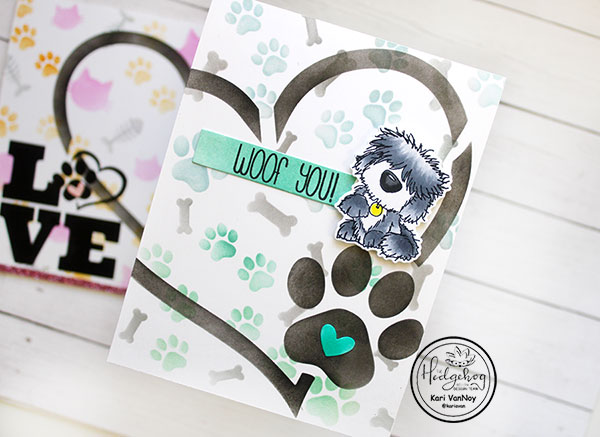
I hope you enjoyed these projects today! So which one are you: Team Cat or Team Dog?

Comments { 0 }
SUNSHINE-all-five-cards

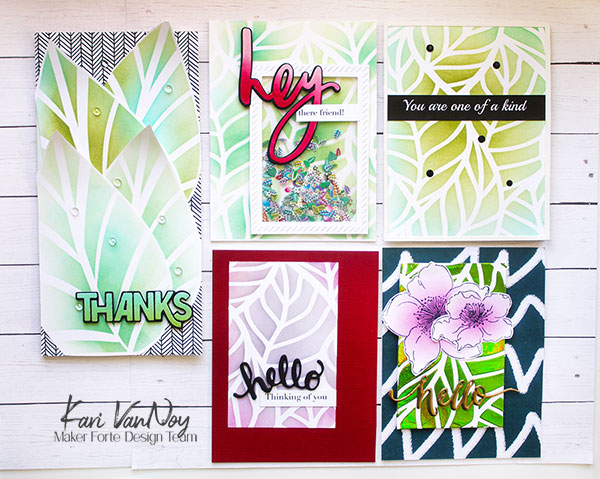
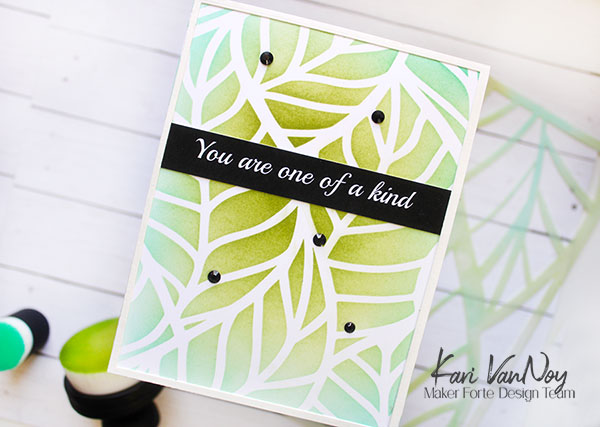
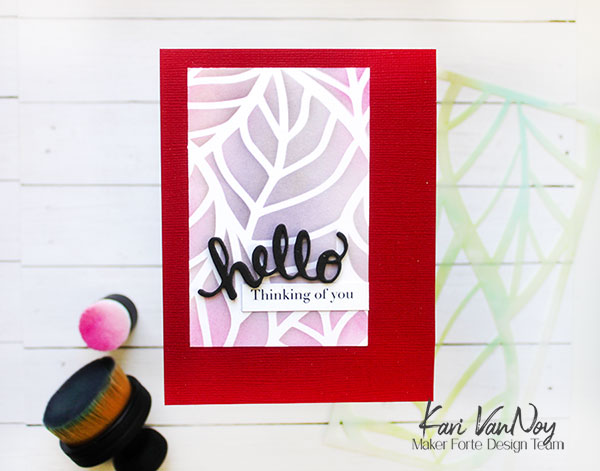
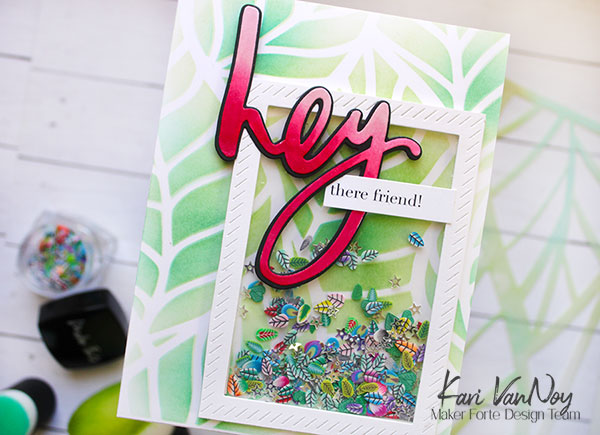
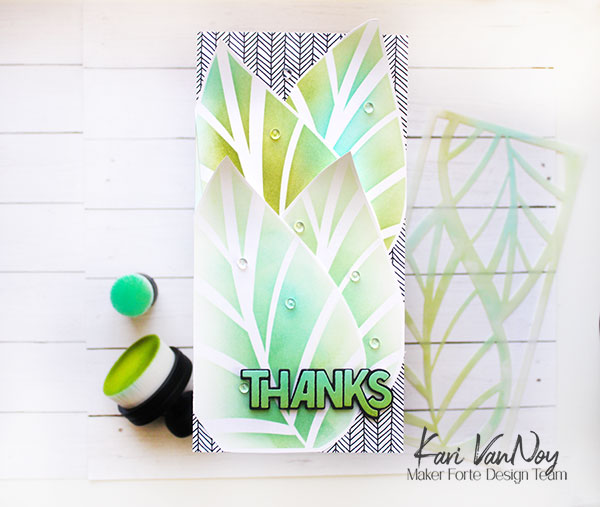
Five Ways to use Leaves Stencils

Hello! Today I’m popping in real quick to share my most recent video with Five ways to use Leaves stencils. These stencils are from Maker Forte, and there is a 6×6 stencil AND a slimline stencil.

Watch the video below or in HD on Youtube:

These are super fun stencils to play with! Watch the video to get all FIVE techniques for these stencils. And of course, you can apply these techniques to any stencils you may already have!

I’m often asked what supplies I use to make my cards and projects, so I’ve put together a list using affiliate links when possible. If you make a purchase with these links I may receive a small commission. These help me to keep up with blog costs and continue bringing you fun projects. Thank you so much for your support!


Thanks for stopping by today.

Comments { 0 }
SUNSHINE-gnome-card-ONLY-1

How to Stretch a Stencil for a Slimline Card

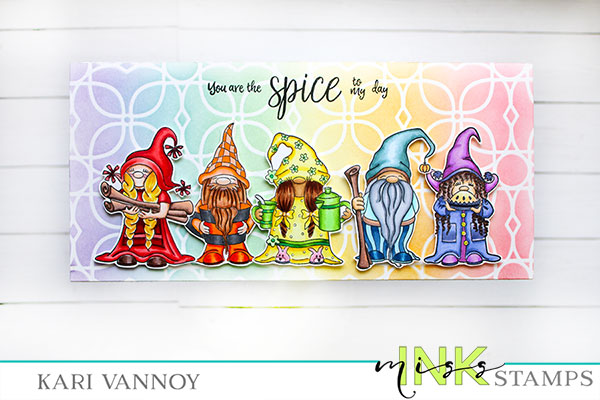
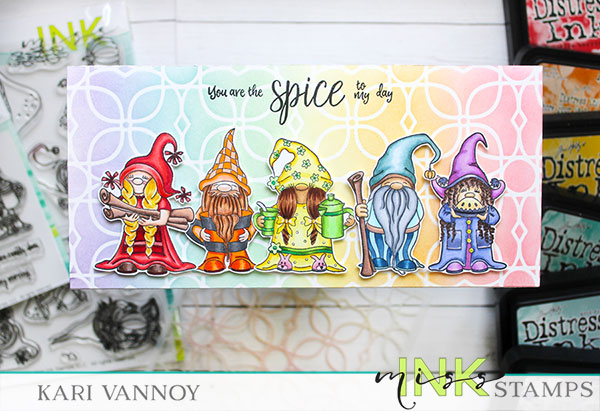
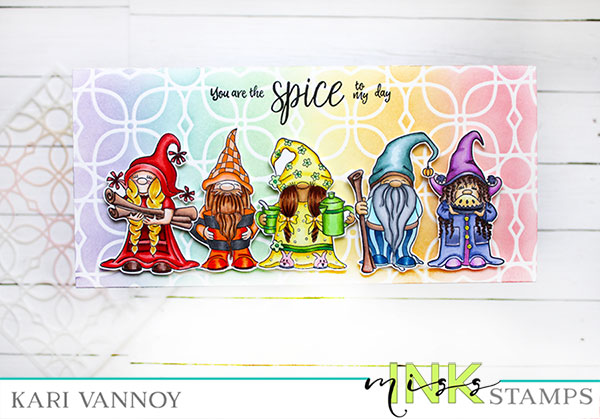
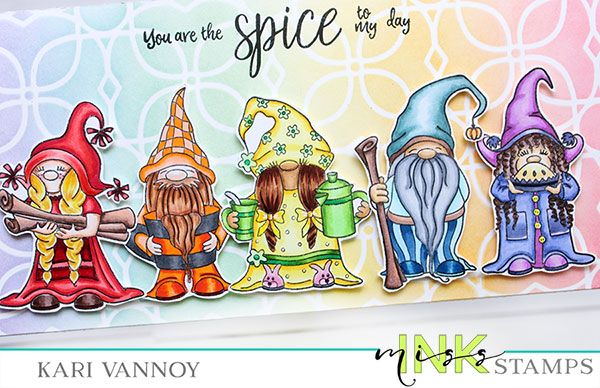
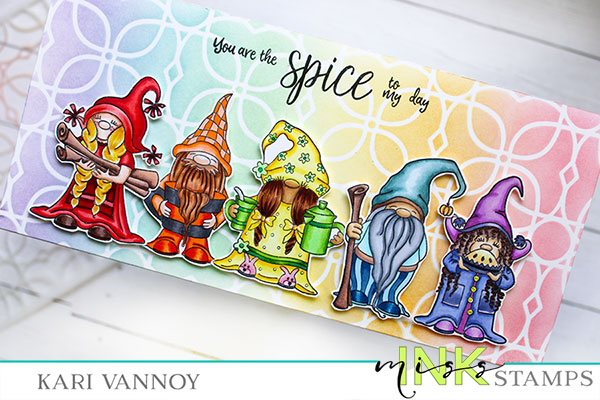
Hello! Today I have a fun project and video for you…I’m sharing how to “stretch” a stencil to fit on a Slimline card. This is a fun and easy process and you can use almost any stencil you have.

I’m using Miss Ink Stamps & stencils to show you how; watch the video below or in HD on YouTube:

https://youtu.be/1vxexb9qIbo

Aren’t these gnomes cute?!

For the background, I chose six Distress Inks to match my gnomes that I already colored with Copic Markers. The Inks I used are: Festive Berries, Spiced Marmalade, Mustard Seed, Evergreen Bough, Speckled Egg, and Dusty Concord.

If you like making slimline cards, keep this technique in your back pocket! Look for stencils you already own that have a repeating background and give it a try.

I’m often asked what supplies I use to make my cards and projects, so I’ve put together a list using affiliate links when possible. If you make a purchase with these links I may receive a small commission. These help me to keep up with blog costs and continue bringing you fun projects. Thank you so much for your support!

Thanks for stopping by today!

Comments { 0 }
SUNSHINE-merry-pinecone-card-with-stencil

Embossing with a Stencil and Foil Accents

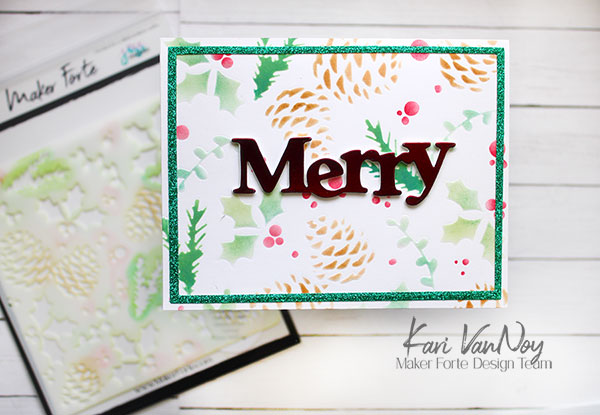
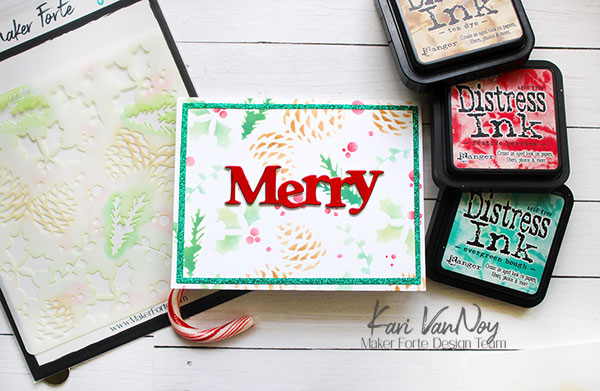
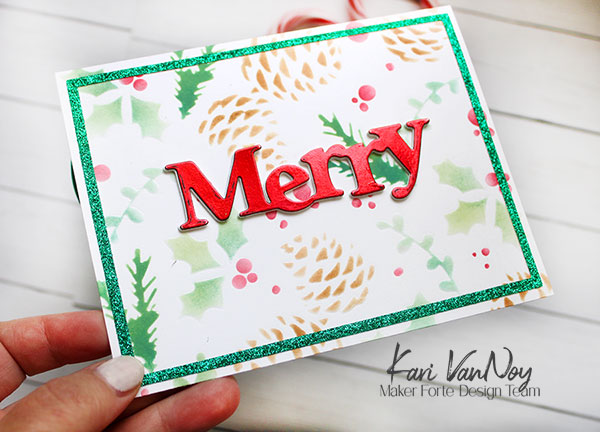
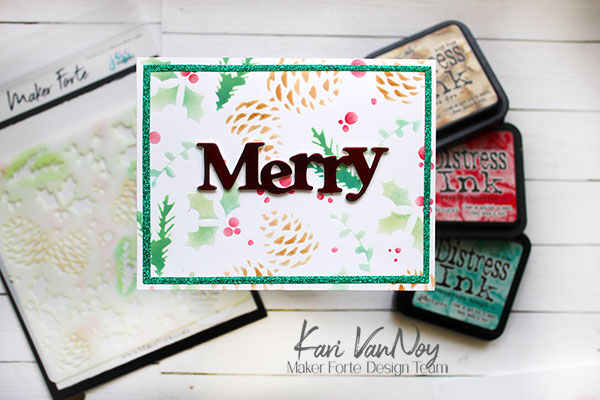
Hello! Kari here today using some new Maker Forte products. When I saw this new stencil designed by Jess Fransisco, I knew it had to be my first project!! I am sharing how to Emboss with a stencil and add some foiled sentiment accents with the *new Toner Paper.

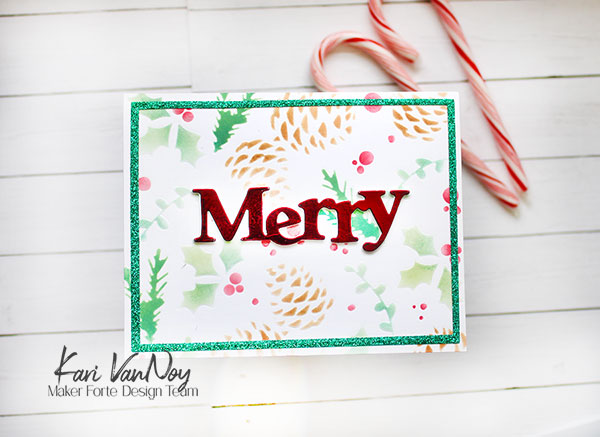
Here’s a look at my card:

I have a quick video so you can see the new products and some tips on using this stencil (with NO masking!!) I love a good stencil that you can use without masking. Watch the video below or in HD on YouTube:

This card actually came together very quickly and I think it would be fun to create a lot of these backgrounds in different colors. Today I’m keeping it traditional with the reds and greens, but imagine pinks and turquoise!! (I love it already!)

I started off taping the stencil to my panel with purple tape; then I ran it through my die cutting machine with the embossing pad. This created another element of dimension. I inked through the stencil with some Distress Inks in the following colors: Festive Berries, Evergreen Bough, Tea Dye, Vintage Photo, and Pine Needles.

I then die cut the Toner Sheets using a “merry” die from my stash. I cut some foil to cover the die cut word and ran it through my Minc machine on level #3. You can also use a lamintor for foiling.

To finish off the card, I die cut a frame out of glitter paper using two rectangle dies. Then I attached it all to a heavy weight card base.

I’m often asked what supplies I use to make my cards and projects, so I’ve put together a list using affiliate links when possible. If you make a purchase with these links I may receive a small commission. These help me to keep up with blog costs and continue bringing you fun projects. Thank you so much for your support!


Comments { 0 }
SUNSHINE-bonus-card-with-supplies

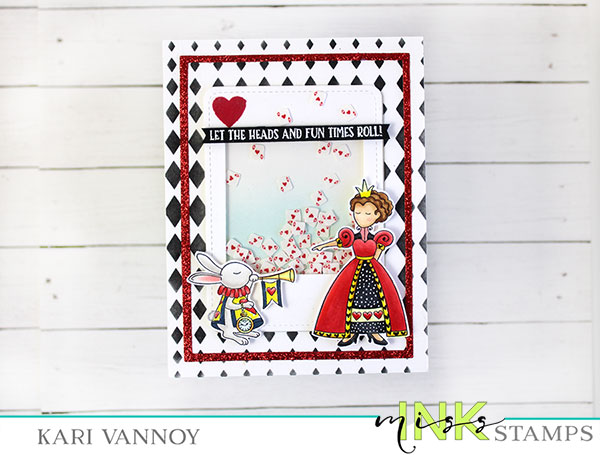
Queen of Hearts Shaker with Flock

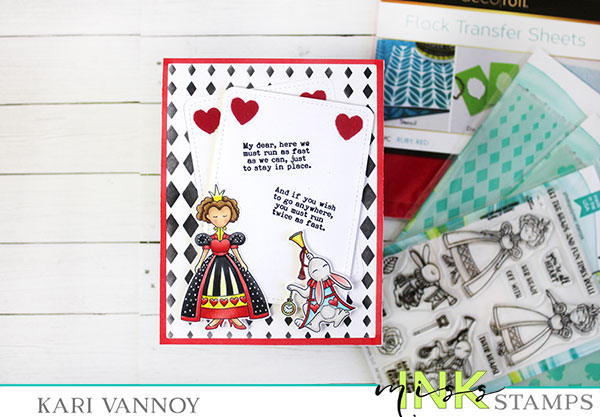
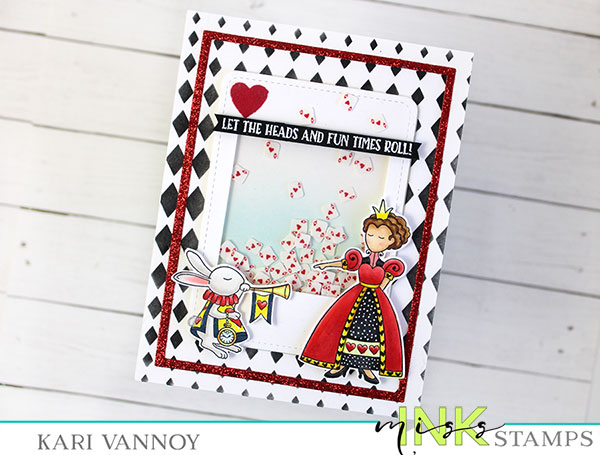
Hello! Today I have a Queen of Hearts Shaker card with Flock to share! This card has been in my head for a really long time and now it’s finally coming to life.

See that heart on the top? It’s made with Flock Transfer Sheets and Deco Transfer Gel…so it has a fuzzy feeling to it. Such a fun, tactile addition to add to your cards.

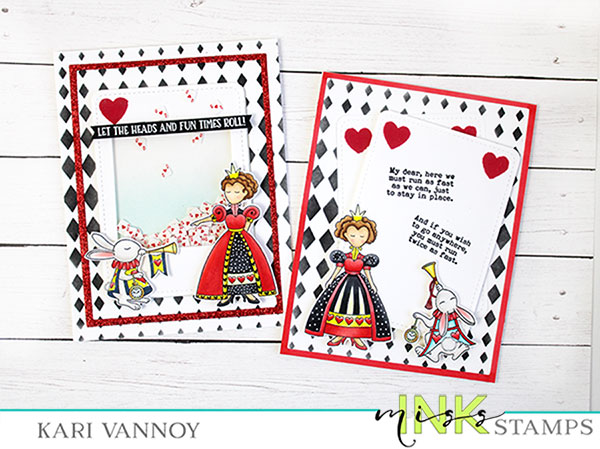
I show you how to do this and even show you a BONUS card in my video. Watch it below or in HD on YouTube:

I colored up more images than I needed this time, which is why I made an extra card. I love making more than one at a time when I have extras!

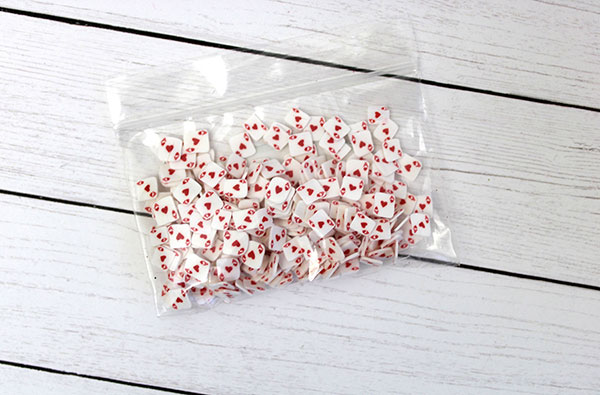
These Queen’s Guard small Embellishments from Miss Ink Stamps inspired the entire card:

I love that they look like mini playing cards!! Too cute.

I’m often asked what supplies I use to make my cards and projects, so I’ve put together a list using affiliate links when possible. If you make a purchase with these links I may receive a small commission. These help me to keep up with blog costs and continue bringing you fun projects. Thank you so much for your support!

I hope you enjoyed these cards today! I really LOVED creating them. See you soon!

Comments { 0 }