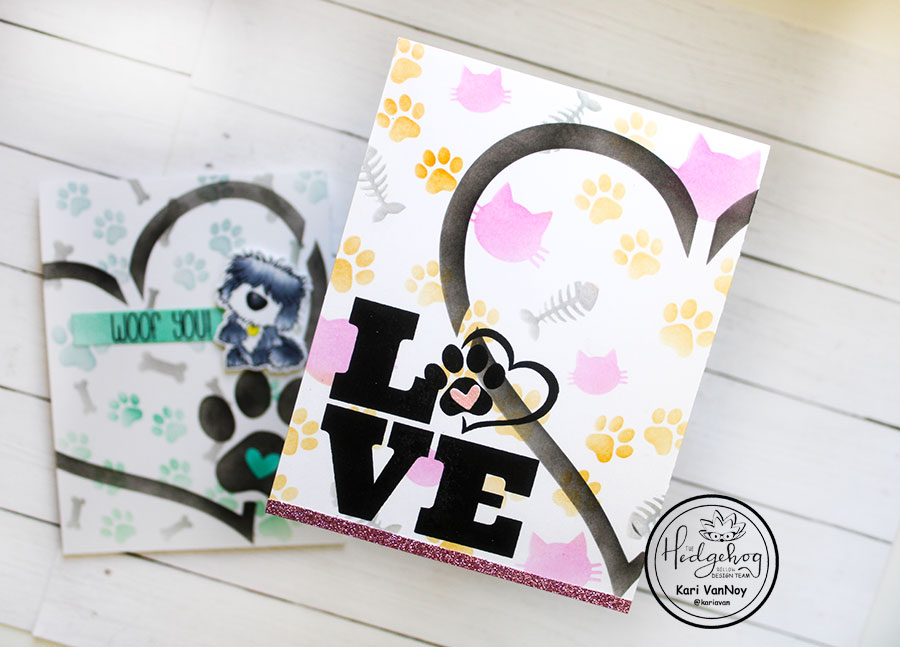
Hello! Today I’m sharing a project using stencils from the Hedgehog Hollow February Kit. This kit is all about pets, and today I am comparing the cat stencil and the dog stencil. I love the look of selective stenciling, and here are my projects.
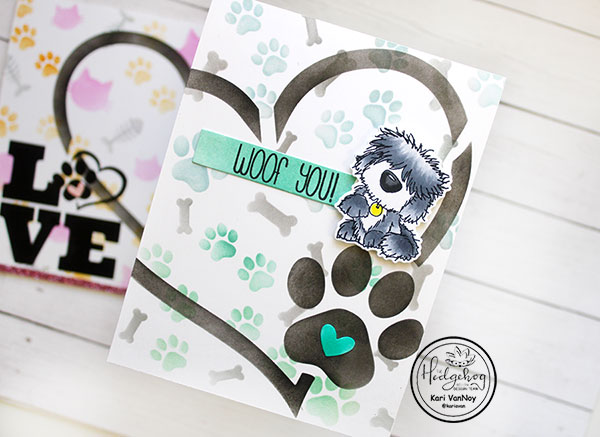
CAT CARD
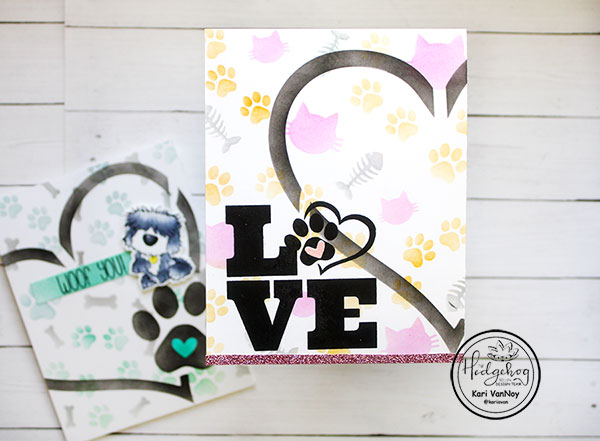
For the cat card, I chose to ink up the kitties in a soft pink, the paw prints in a soft orange, and the fish in a soft grey. This takes just a little more time, but I think the end results are worth it! To make sure I don’t get ink where I don’t want it, I simply tape around the kitty images first and ink them in pink. Then I tape around the fish and ink them in grey; and then tape around the paw prints and ink in orange.
Once that was done, I took the heart stencil and put it over the top of the inked panel and inked it up in black. Since this stencil is much larger than an A2 size card, I offset it so only the left side of the heart was inked.
I stamped the “LOVE” stamp on the left lower portion of the panel in black ink, the added a glittery pink heart to the center of the paw print.
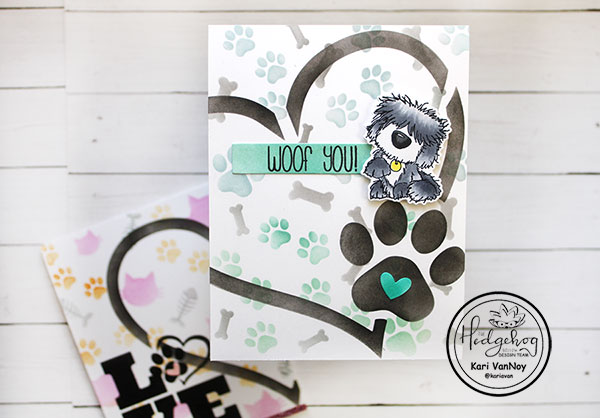
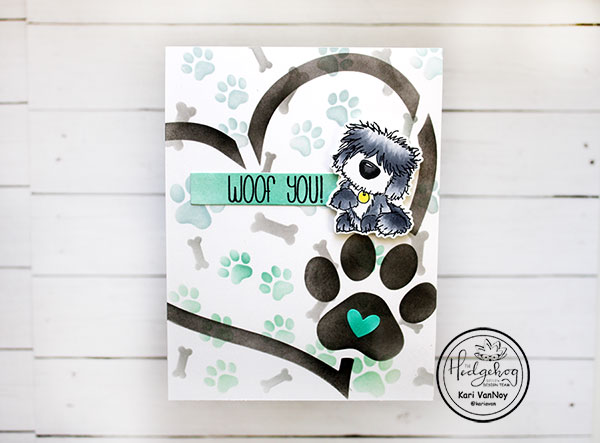
DOG CARD
For this card, I started off much the same way, taping off the images and inking. I inked the top portion of the paw prints with Speckled Egg Distress Ink, and the bottom portion of the paw prints with Evergreen Bough. Then I inked on the right side of the heart stencil. This side has a giant paw print that I love!

I added a green heart to the center of the paw prints, and inked up a sentiment strip with Evergreen Bough to match.
That shaggy dog and sentiment is from one of the first Hedgehog Hollow kits ever! Isn’t it cute? It’s no longer available, but I do love that dog image!
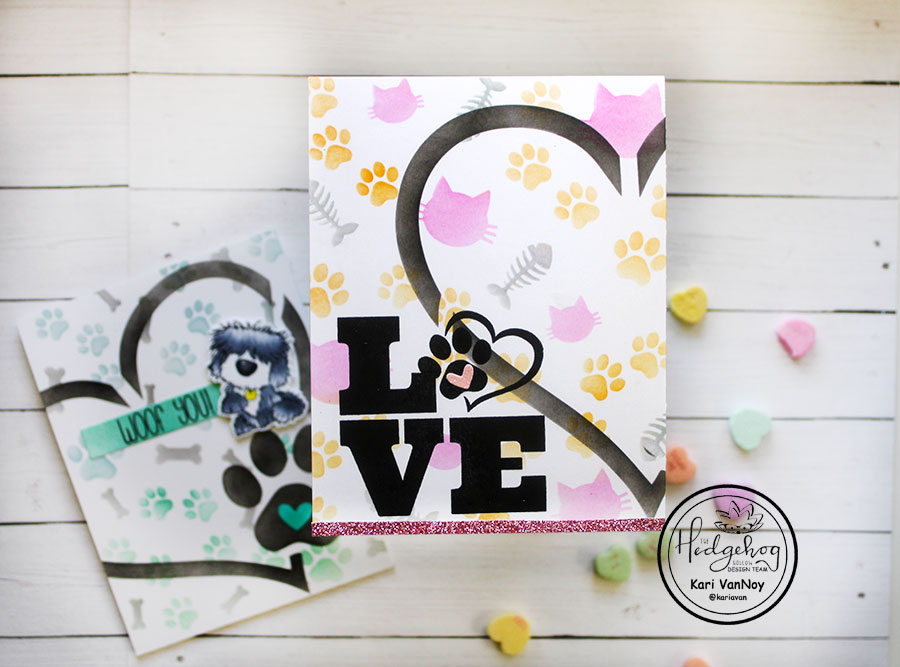
I hope you enjoyed these projects today! So which one are you: Team Cat or Team Dog?


Comments are closed.