Tag Archives | dog card
SUNSHINE-dog-under-hat-love-card-2

Pawprint Background

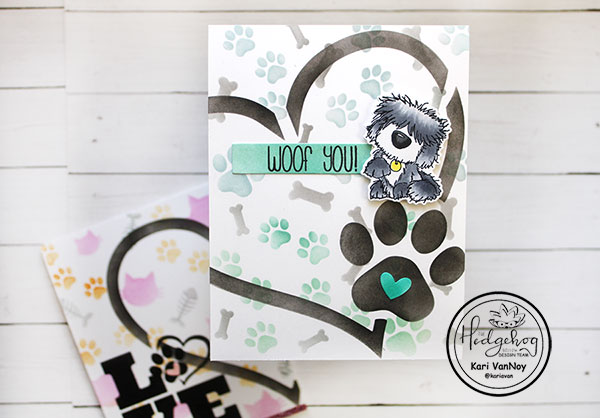
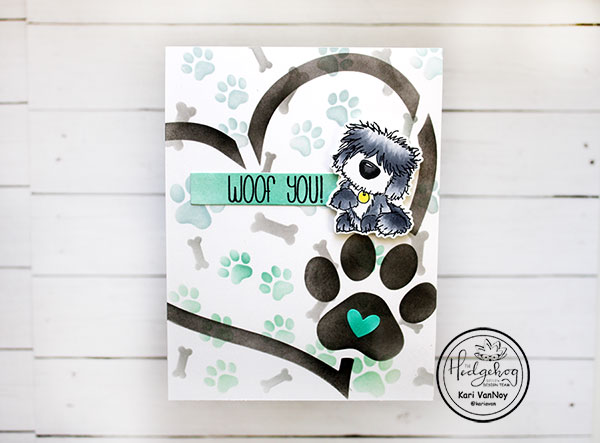
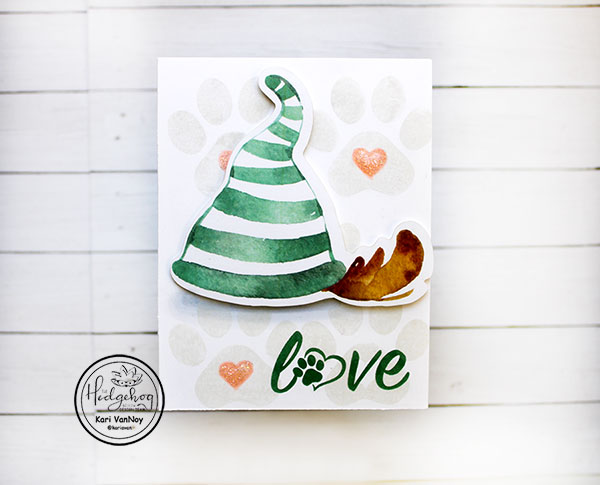
Hello! Today I’m so happy to be sharing another pet card using the Hedgehog Hollow February Kit. There are so many great stamps in this kit, and that large pawprint jumped out at me to make a background!

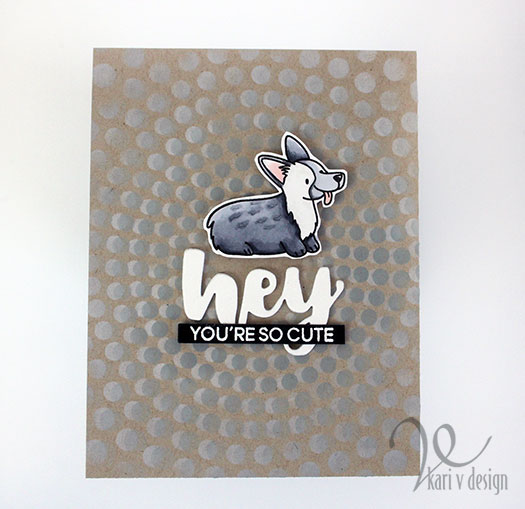
I started with the large pawprint with a heart in the middle and stamped it with a very light amalgam ink. I wanted a subtle background for this card, but it would also be fun in bright colors!

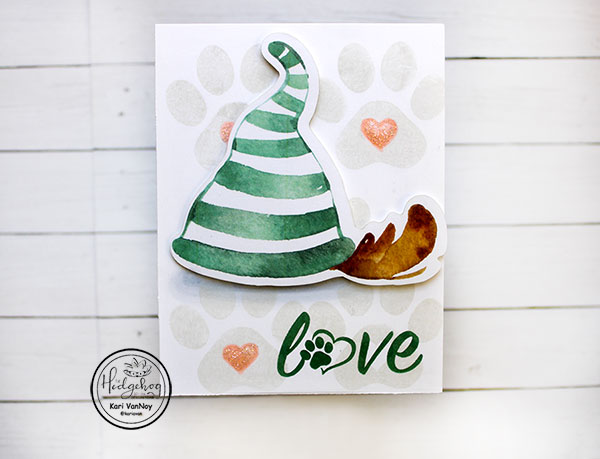
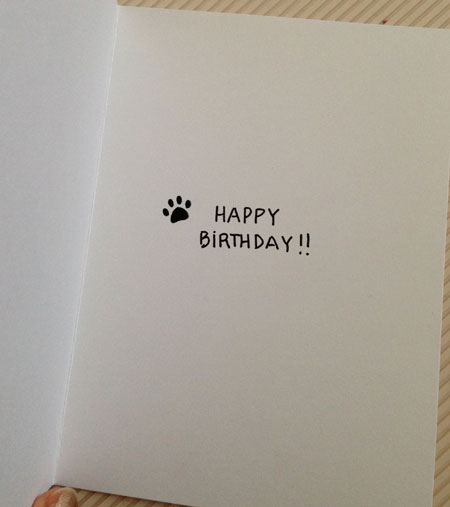
I colored in the heart in the center of the pawprint with a light pink Copic marker and covered it in my favorite Stardust Stickles for some sparkle! (I left the bottom right pawprint uncolored so I could stamp the sentiment).

For the sentiment, I chose a dark green ink to match the hat. I love how these play off each other.

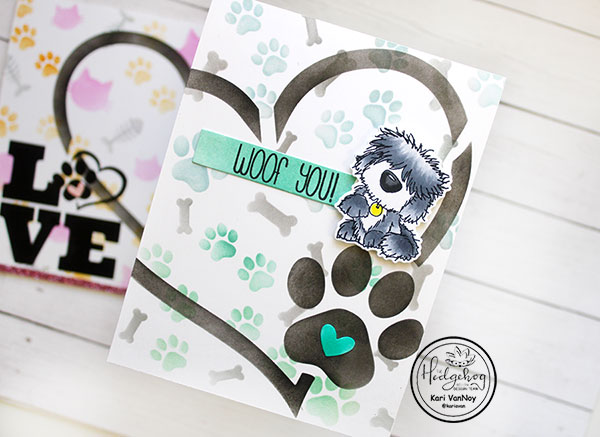
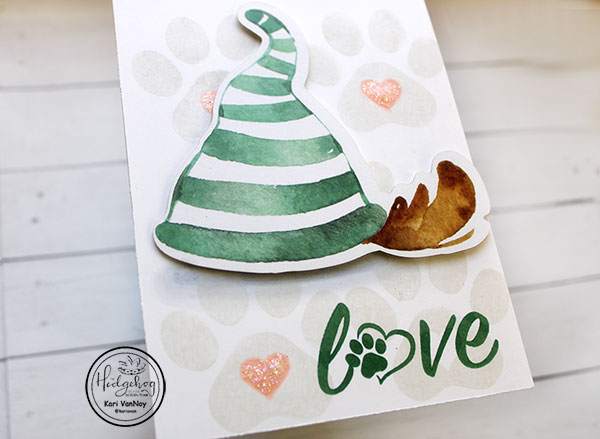
I positioned the dog under the hat and drew in some “SHADOWS” by using some cool grey Copic Markers in curves underneath. It may already look like there’s a shadow there, but I did draw some in!

Then I attached the dog under hat using some foam tape. I added it all to a heavy weight card base and VOILA! Done!


I loved creating this card. I hope you love it, too!

Comments { 0 }
SUNSHINE-dog-stencil-card-2

Selective Stenciling

Hello! Today I’m sharing a project using stencils from the Hedgehog Hollow February Kit. This kit is all about pets, and today I am comparing the cat stencil and the dog stencil. I love the look of selective stenciling, and here are my projects.

CAT CARD

For the cat card, I chose to ink up the kitties in a soft pink, the paw prints in a soft orange, and the fish in a soft grey. This takes just a little more time, but I think the end results are worth it! To make sure I don’t get ink where I don’t want it, I simply tape around the kitty images first and ink them in pink. Then I tape around the fish and ink them in grey; and then tape around the paw prints and ink in orange.

Once that was done, I took the heart stencil and put it over the top of the inked panel and inked it up in black. Since this stencil is much larger than an A2 size card, I offset it so only the left side of the heart was inked.

I stamped the “LOVE” stamp on the left lower portion of the panel in black ink, the added a glittery pink heart to the center of the paw print.

DOG CARD

For this card, I started off much the same way, taping off the images and inking. I inked the top portion of the paw prints with Speckled Egg Distress Ink, and the bottom portion of the paw prints with Evergreen Bough. Then I inked on the right side of the heart stencil. This side has a giant paw print that I love!

I added a green heart to the center of the paw prints, and inked up a sentiment strip with Evergreen Bough to match.

That shaggy dog and sentiment is from one of the first Hedgehog Hollow kits ever! Isn’t it cute? It’s no longer available, but I do love that dog image!

I hope you enjoyed these projects today! So which one are you: Team Cat or Team Dog?

Comments { 0 }
sunshine-hey-youre-so-cute

Corgi Love (with Heffy Doodle)

Hello! Today I’m excited to be guest posting over on the Heffy Doodle blog. I’m featuring the new “Oh Crumbs” stamp set with the cutest Corgis ever! Head on over to the Heffy Doodle Blog to see how I made these four cards:

I also have a bonus VIDEO for you today, showing you how to Mirror Image any stamp in your collection.

See those Corgi cards on the left? I used the mirror image technique to get one Corgi to face the other! Such a fun technique and great when you want to have additional options.

Watch the video below or on YouTube:

I hope you give this technique a try yourself. I remember when I first learned how to mirror image a stamp from my friend Suzy…I was mesmerized and did not think I would be able to remember how to do it. But once you try it, it’s easy!

Thanks for stopping by today! Be sure to head over to the Heffy Doodle blog to see all four cards and details on how to make them.

Comments { 0 }
dude-2

Dude, it’s your birthday card

My brother’s birthday required me to veer away from all girly-ness and focus on a making a more masculine card. This is good practice for me! I pulled out my Paper Smooches stamps and found just the right pup from a Christmas stamp set!

dude-1

I love this little dog and bird and I thought it would be fun to create a distress background on just a small portion of the card. So here’s the sequence: Stamp, mask, tape, distress, remove, color, emboss, adhere, VOILA!

I used inktense pencils on the little characters and a Kelly Purkey stamp set for the “Dude!”

inside

I am going to enter this into the Paper Smooches Anything Goes contest.

!papersmooches-banner

dude-2

So what do you think…more masculine card? I hope so. My brother liked it (right, Jon?!) Ha!

Well, I’m off to make a few more cards! See you next time.

Supplies Used:
Stamps: Paper Smooches “Santa Paws”; Kelly Purkey “Dude”; Simon Says Stamp “Happy”
Distress Inks: Peacock Feathers, Forest Moss, Mowed Lawn
Colored Pencils: Derwent Inktense Pencils
Paper: Neenah Solar White
Embossing Powder: White, Snow
Comments { 3 }
i-ruff-you-inside

“I ruff you” Card

If you know me at all, you know that I make mostly “girly” gifts, packages, tea parties, cards, etc. I LOVE all things ribbon and lace, pink and curly. So when it comes to making more “manly” things, I have challenges!

My nephew had a birthday recently (he just turned 8), and he came down for a visit. I knew this was my opportunity to make something that he would like. I know that he loves dogs and so I got the most adorable doggie stamp set from Lawn Fawn to try out! Here’s the card I made for Porter:

i-ruff-you

and here’s the inside:

i-ruff-you-inside

I tried some “masking” by cutting out a cloud from white paper and sticking it temporarily on the card front, then I used some distress ink on a cotton ball to rub on the sky color around those clouds. When I removed the cloud masks, I was left with a beautifully calm sky with the clouds left white!

I think this card turned out adorable (and not too girly). What do you think?

So guess who’s going to be using this set to make a nice Father’s Day card?! I think my Dad will smile.
Linking up to the Simon Says Stamp Challenge.

Comments { 2 }