Tag Archives | Miss Ink Stamps
Hello-flamingo-card-2

Stencil Foiling

Hello! Today I have some stencil foiling…with a stencil mask and through a stencil! It’s a fun technique and I hope you’ll stop by to watch my video:

I’m using products from Miss Ink stamps. I had a couple extra flamingos already colored up from a previous project so that inspired my card today!

I started out with the foiling process, using Decofoil Gel duo through my stencil (but adding that mask first!) You really need to see my video to see what I am talking about! Lol.

Once the gel was set aside to dry, I turned my attention to the magnolia flowers. These are gorgeous and easy to put together! (which I really appreciate in a flower die cut). I colored them up with Cool Grey Copic markers to add shadows and shading.

Once the gel was dry, I added pink foil and ran it through my mini minc machine. After the foil was done, I could add some ink to that quatrefoil design using the stencil once again! I love this set…so many possibilities. There is also a frame stencil in the set, which I didn’t use this time.

This is a super fun technique and I couldn’t resist making two panels… which turned into two completed cards!

The sentiments are from the Sunshine and Rainbows stamp set, another absolute FAVORITE set, because it has so many great sentiments. I reach for this one again and again.

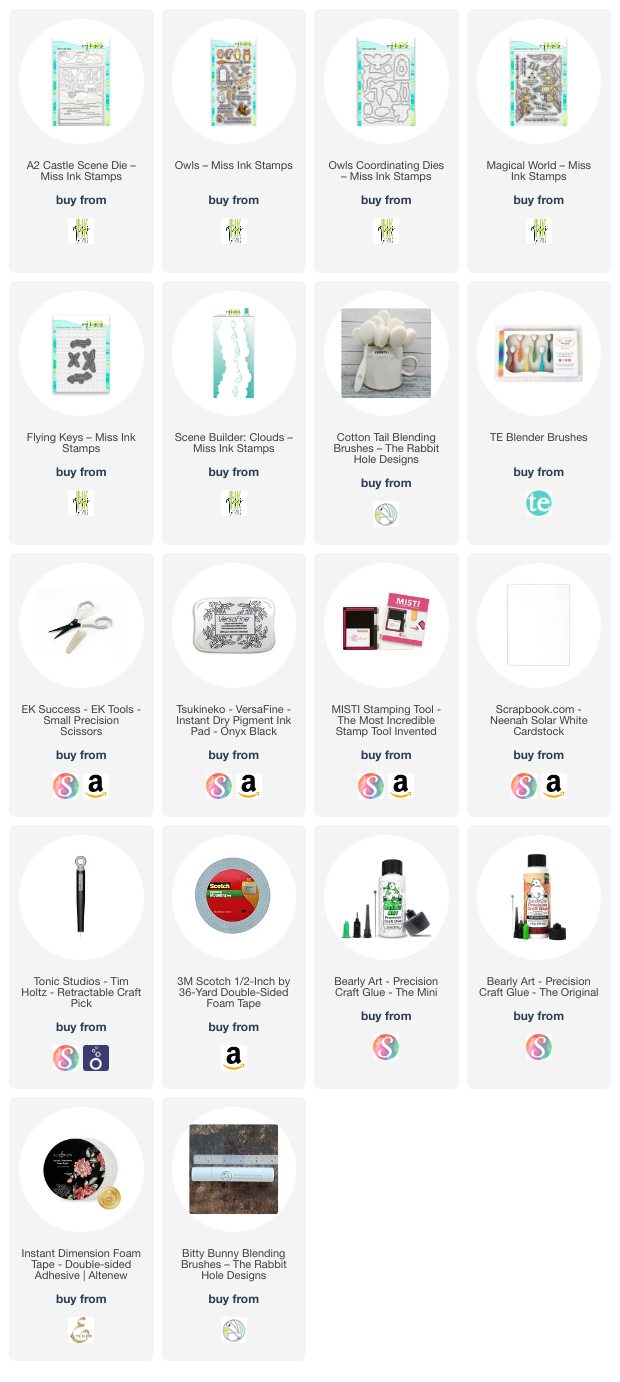
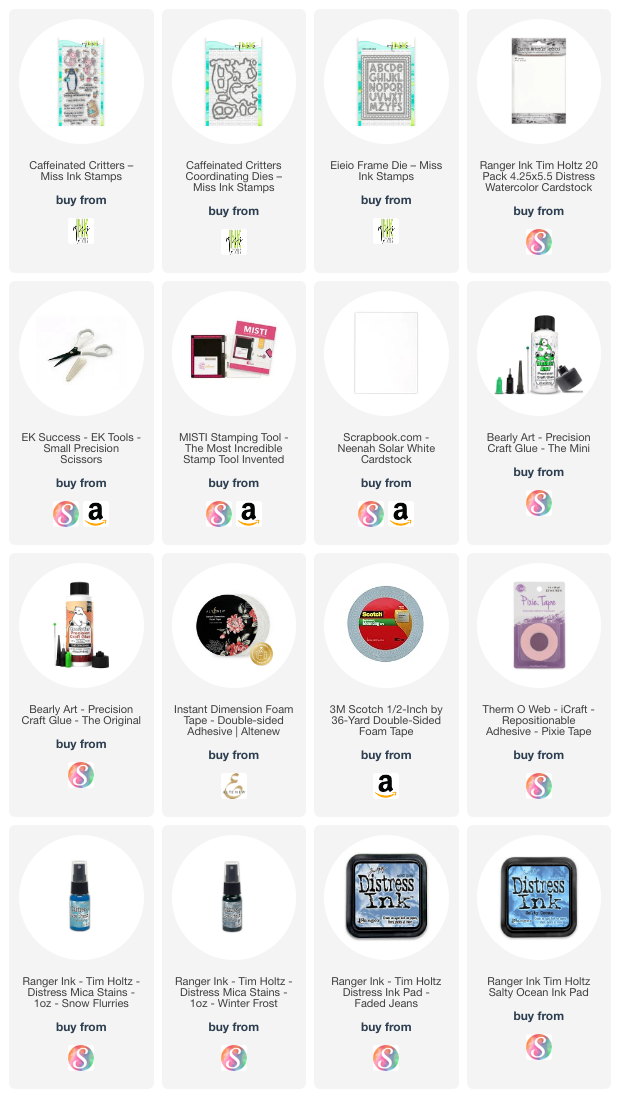
I’m often asked what supplies I use to make my cards and projects, so I’ve put together a list using affiliate links when possible. If you make a purchase with these links I may receive a small commission. These help me to keep up with blog costs and continue bringing you fun projects. Thank you so much for your support!


I always enjoy a little foiling and it’s been a while, so this was a fun one for me! Thanks for stopping by!

Comments { 0 }
fireworks-card-4

Fireworks Card

Hello, today I have a fun fireworks card to share with a video, too! I’m using more images from the Magical Collection from Miss Ink Stamps.

Watch the video below or on YouTube:

I start with a dark background and use some Mica and glittery embossing powder to make things really POP!

I have to admit, I’m really loving the Magical Collection for some fun cards…the images are fantastic! Here I colored up the characters a little darker than I normally might because it is night time, after all. I used Copic markers on them, and I share the colors in the video.

The Mica Sprays in the background are sprayed over the Arabian Nights stencil. I love how they shimmer in the background…I used Gold, Copper, and Silver for this and they combine together so nicely.

I popped up the images using a favorite trick: die cutting the shape multiple times and stacking it up. This makes it so sturdy and a significant embellishment on the card!

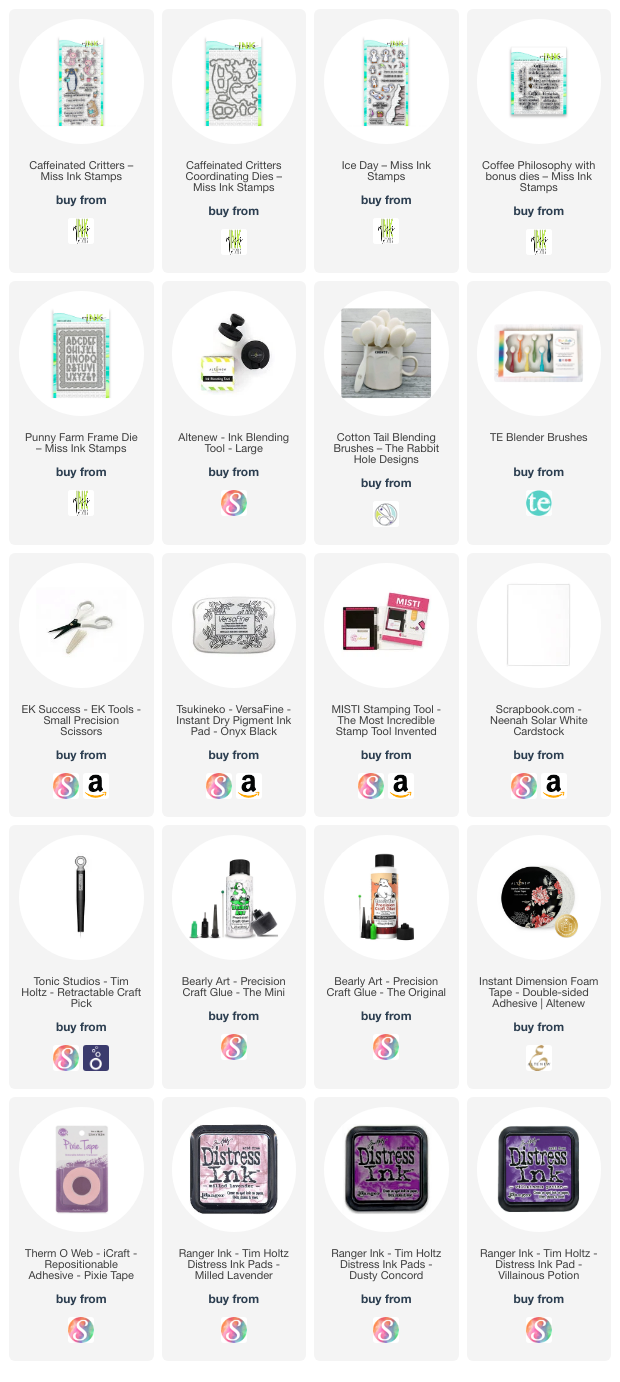
I’m often asked what supplies I use to make my cards and projects, so I’ve put together a list using affiliate links when possible. If you make a purchase with these links I may receive a small commission. These help me to keep up with blog costs and continue bringing you fun projects. Thank you so much for your support!


I hope you enjoyed! See you soon with more cards to share!
Comments { 0 }
wildflowers-z-fold-card-2

Surprise Z-Fold Card

Hello! Today I have a surprise Z-fold card to share using a new Wildflower Stencil that I love.

Watch the video below or in HD on YouTube:

The Wildflowers stencil is a layering stencil that turns out amazing every time. I share a few extra tricks for getting your flowers to really POP.

Do you see the eclipse sentiment? I share how to make that hidden sentiment on the video…along with what’s hiding behind those wildflowers!

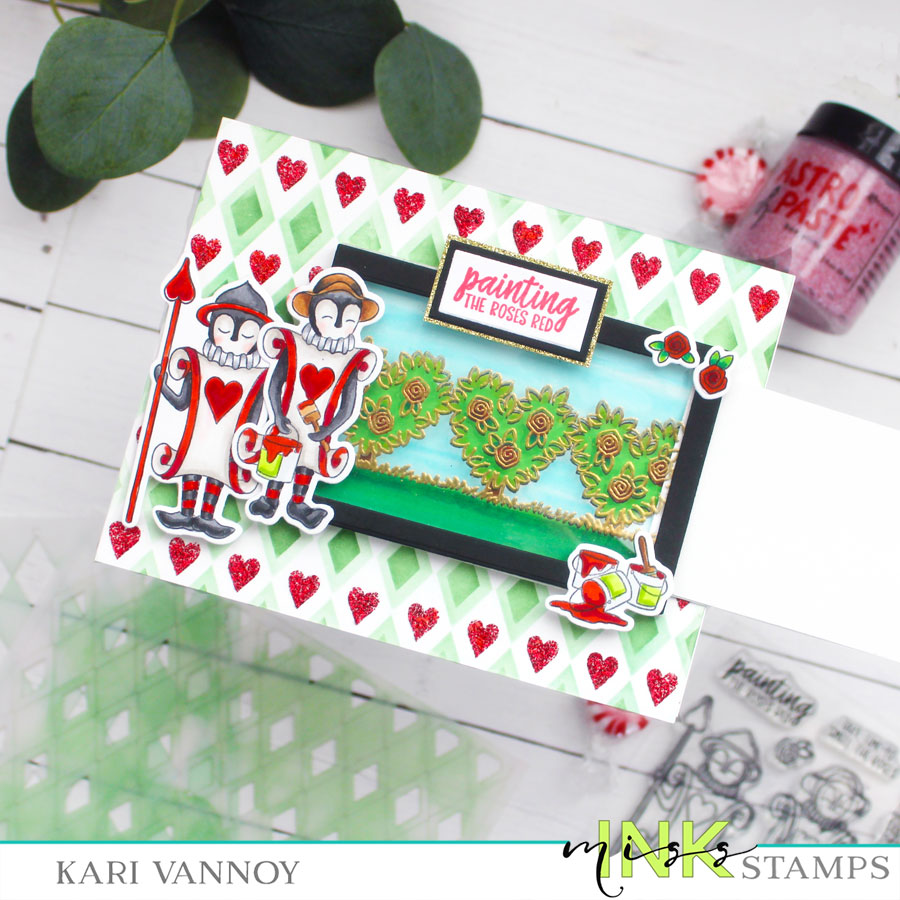
Did you guess it was Alice with some capybaras?! This card is such a fun surprise z-card. I hope you love this project too!

I’m often asked what supplies I use to make my cards and projects, so I’ve put together a list using affiliate links when possible. If you make a purchase with these links I may receive a small commission. These help me to keep up with blog costs and continue bringing you fun projects. Thank you so much for your support!


Thanks for stopping by today! I’ll share more cards soon.

Comments { 0 }
love-is-in-the-air-and-it-smells-like-coffee-card-4

Mixed Media Magnolia card

Hello! Today I have a new card and video sharing a Mixed Media Magnolia card. This is a fun one to make, I hope you enjoy the video!

Watch it here or in HD on YouTube:

I start with some watercolor cardstock and heat emboss the magnolia images on it using white embossing powder. Next, I brought out an oldie that I haven’t used in a while: Color Bursts! These really are a burst of color, so be judicious in using them. A little goes a long way! (Watch the video to see how to dot this).

I added some extra color inside the magnolias so they were darker when they dried.

Once the entire panel was dry, I stenciled some Distress Oxides over the top. I used the center piece of the Magnolia Frame die to stamp my focal image…the heart mug! See, it pays to keep all your extra pieces. WINK*

I used vellum for the sentiment today and that finished it all off! I hope you had as much fun as I did with this card. 🙂

I’m often asked what supplies I use to make my cards and projects, so I’ve put together a list using affiliate links when possible. If you make a purchase with these links I may receive a small commission. These help me to keep up with blog costs and continue bringing you fun projects. Thank you so much for your support!


Hope you enjoyed this one! Do you create many mixed media cards? See you soon with more cards to share.

Comments { 0 }
both-castle-cards-with-stained-glass

Stained Glass Cards

Hello! Today I have some Stained Glass Cards and a video to share! I have two different ways to create a stained glass look…and I love them both.

Watch the video below or in HD on YouTube:

The first card I made has a light up feature and a vellum “stained glass” window. I love the silver leading on this one, which matches the silver frame of this card.

I used the remainder of the silver cardstock to create the following card:

What?! You don’t see the silver? That’s because I treated it with some Distress Paint in Black Soot. I love how the effect turned out. See it even better in the video!

I’m often asked what supplies I use to make my cards and projects, so I’ve put together a list using affiliate links when possible. If you make a purchase with these links I may receive a small commission. These help me to keep up with blog costs and continue bringing you fun projects. Thank you so much for your support!


I hope you enjoyed the Stained Glass video and cards today. I’ll be back with more cards to share soon!

Comments { 0 }