Tag Archives | Hedgehog Hollow
both-cards-2

Using Zigs to Blend

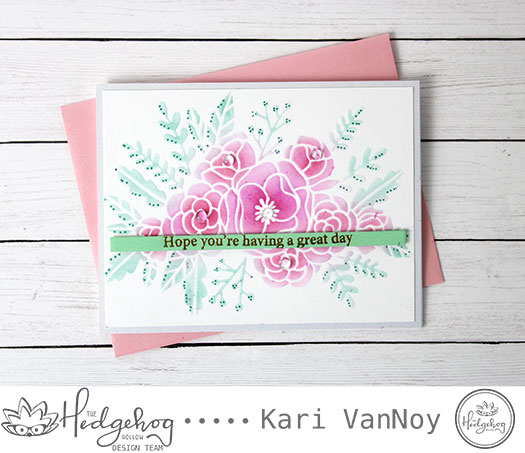
Hello! Today I’m excited to bring to you a couple cards using beautiful florals designed by Alex Syberia. These florals are exclusive to the Hedgehog Hollow August box and they are gorgeous! I have had a few requests to show how to blend with Zig Clean Color Real Brush Markers….and so I’m combining the two!

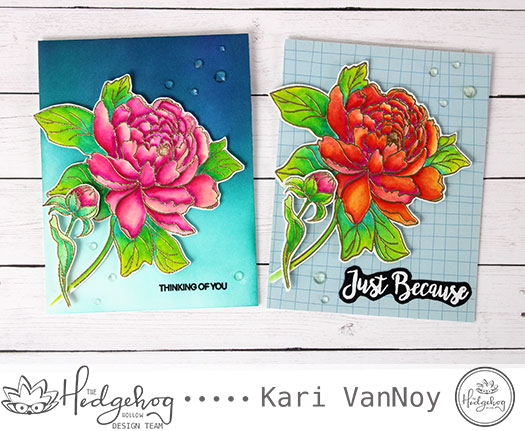
Here’s a look at my cards:
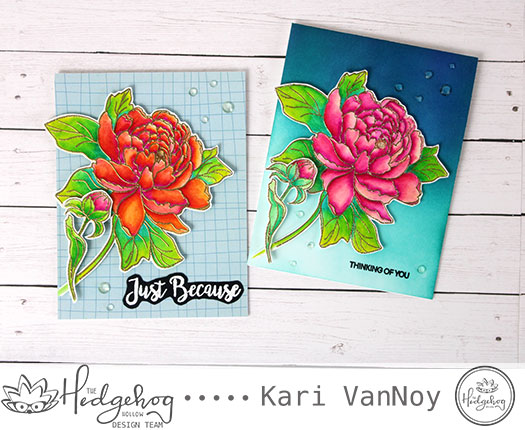
Vibrant Colors from these watercolor markers!

I have a video showing you the process and how to get such vibrant colors (hint: I don’t use water at all! Only the Zigs). Watch the video below or on YouTube:

This August box will sell out fast, so if you love beautiful florals that are so very fun to color, go check out this box soon!
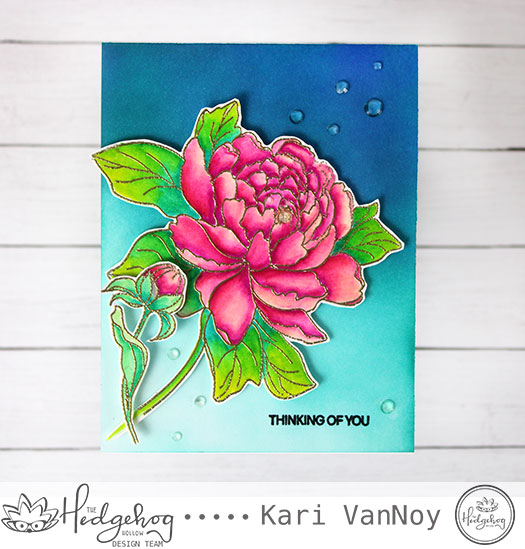
Ink blended background

I gold heat embossed the images first, then colored with the Zigs. For this first card, I ink blended a background using Distress Inks and makeup brushes. I love this look. I used the Zigs on the flowers and fussy cut them out. Then I popped them up using foam tape.
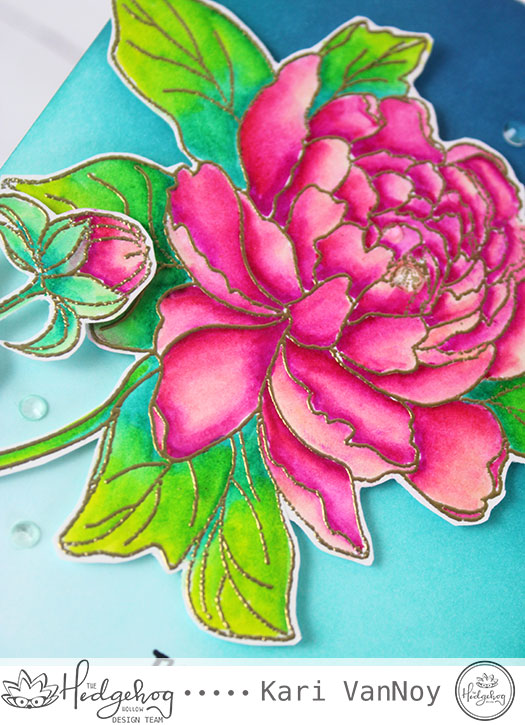
Three colors of green, Three colors of pink

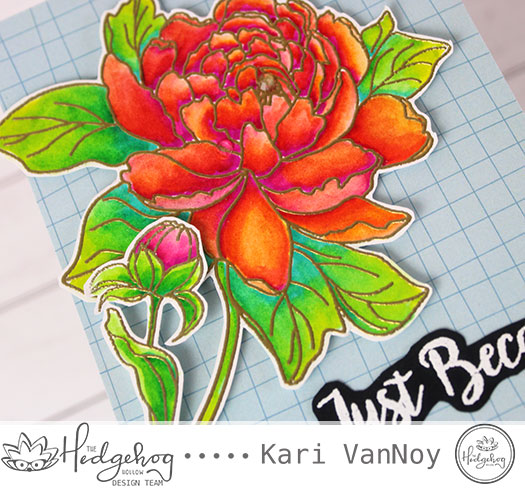
Now I know sometimes the ink blending on the background either takes too long, or maybe you don’t enjoy ink blending. This beautiful flower looks great on a patterned paper background, too!
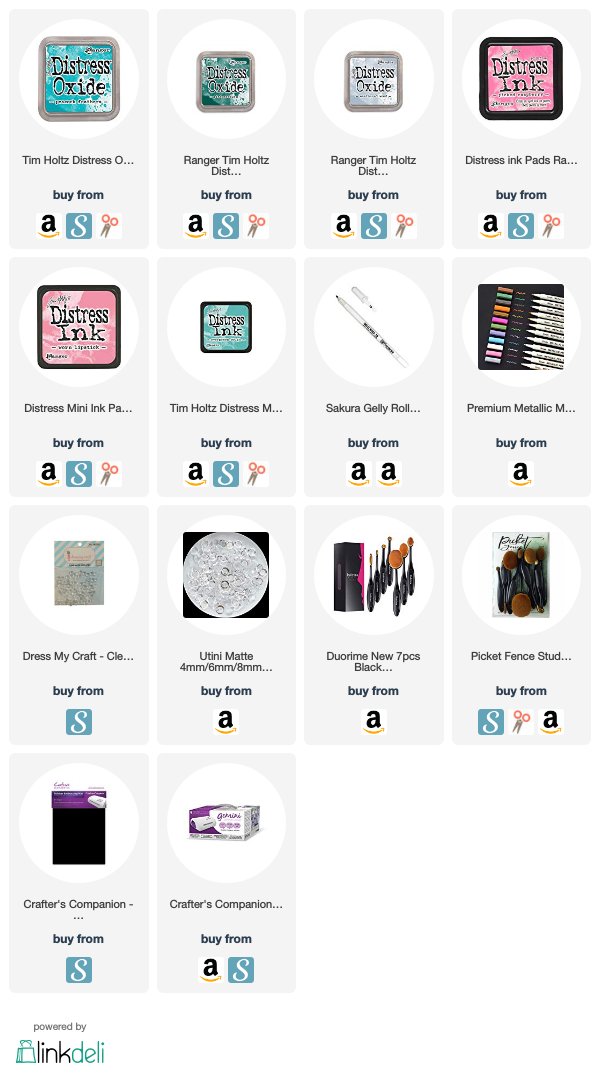
I’m often asked about the supplies I use to make my cards, so I’ve compiled a list for you here, using affiliate links when possible. When you purchase using these links, I may receive a small commission. These help me to keep up with my blog costs and continue to bring you fun projects. Thank you so very much!

I really hope you love these cards as much as I do. Sometimes a photograph just doesn’t do a card justice, and I think that might be the case with these! I love just how much they POP in real life! Thank you for stopping by.
Comments { 0 }
everything-glitter-but-rose-CARD

Heat embossing with Stencils

Hello! Today I have another favorite technique: heat embossing with stencils. It’s a fun one, so gather your best stencils and give it a try.

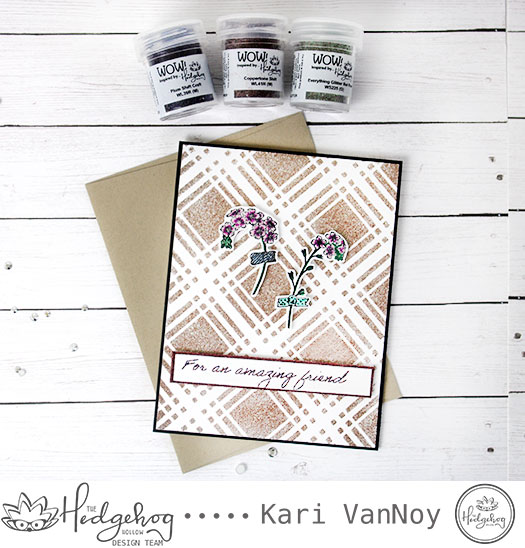
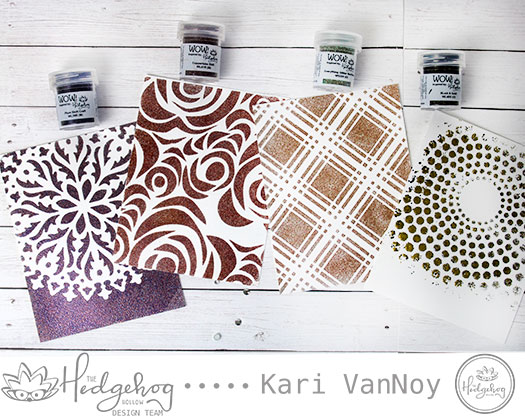
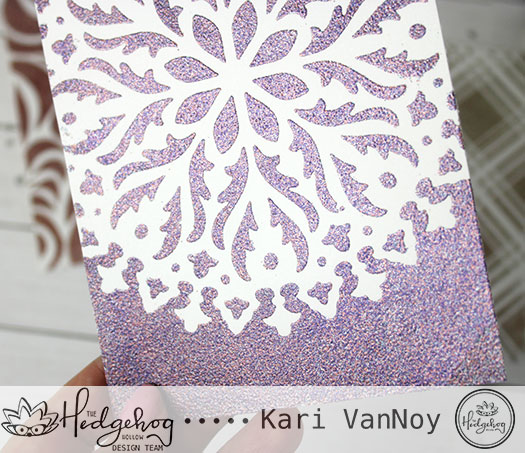
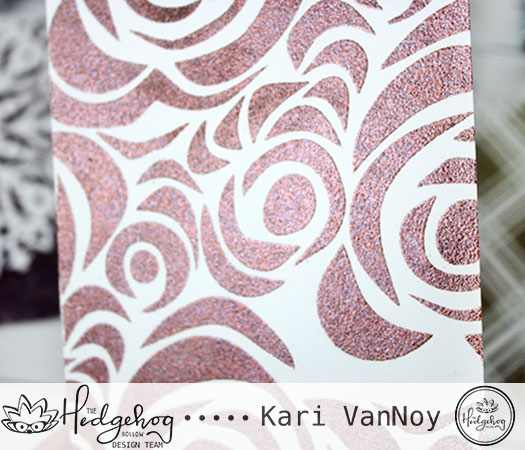
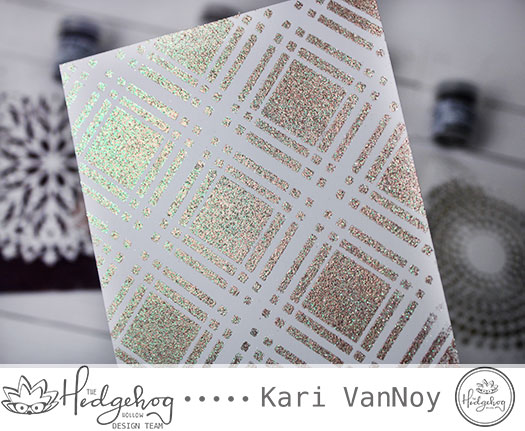
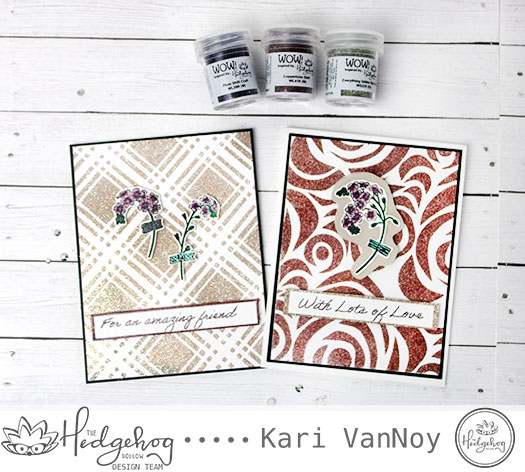
Today I’m using the embossing powders designed by the Hedgehog Hollow in collaboration with Wow! Embossing Powders. They are such beautiful colors…take a look:

Plum Shift Craft, Coppertone Shift, Everything Glitter but Rose, Black & Gold

To make these panels, first attach your stencil to a card panel. Use Versafine ink (or another sticky embossing ink) and smoosh it through the stencil onto the card panel. Remove the stencil. Add your embossing powder and heat set it with a heat gun.

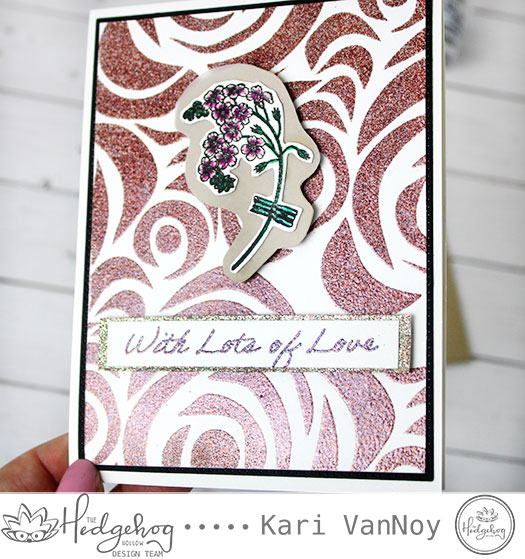
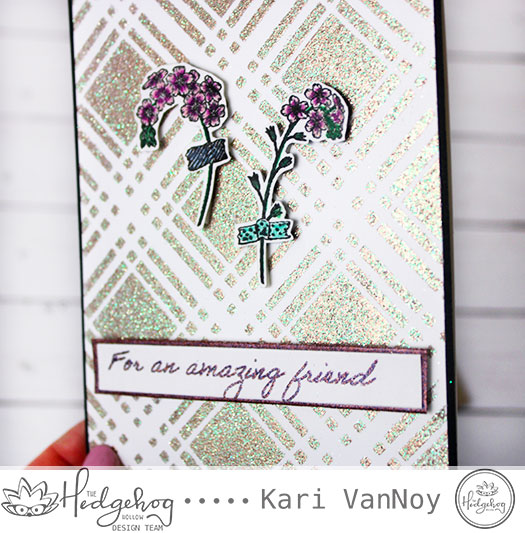
I think these embossing powders are certainly worthy of an entire card panel! I did create a couple of them into cards by cutting down the panel and layering with black cardstock. Then I added it all to a card base and attached the floral stems with foam tape.

I heat embossed the sentiments with the same embossing powders, and layer that onto a heat embossed strip of paper.

And that’s all it takes to create shiny embossed cards! These look great with the kraft envelopes included in the Hedgehog Hollow July Kit.

That’s all for today! I’ll see you next time.

Comments { 0 }
dad-card-with-supplies-in-bkgnd

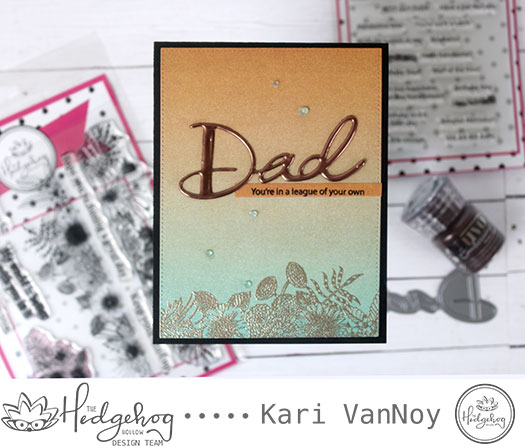
A Card for Dad

Hello! Today I have a fun card using a floral set to make a masculine card. Yep, you heard that right. You can use florals on your cards for men, too!

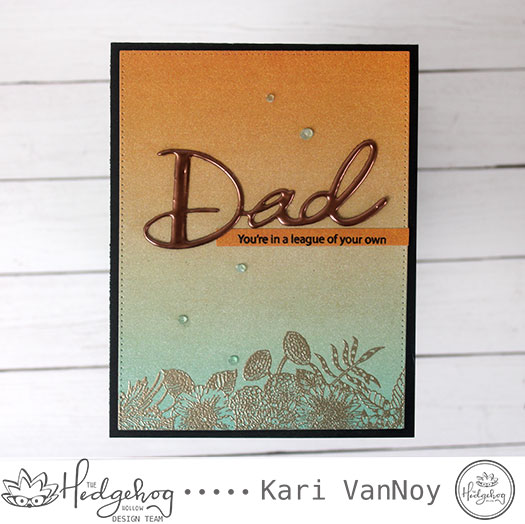
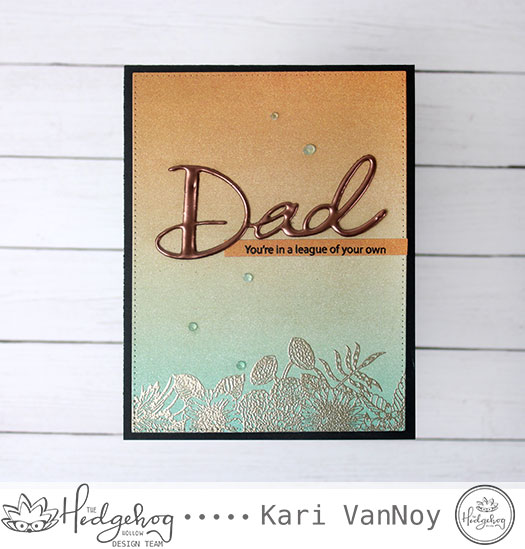
Dad, You’re in a league of your own

I used the Flowers from the May 2019 Hedgehog Hollow Kit (sold out) and paired it with a sentiment and a Dad die from the June 2018 Hedgehog Hollow Kit. This kit was a favorite of mine, packed with dies and stamps for masculine cards…including a “jeans pocket” stamp & die. There are currently only THREE left (at the time of writing this post). Check it out here.

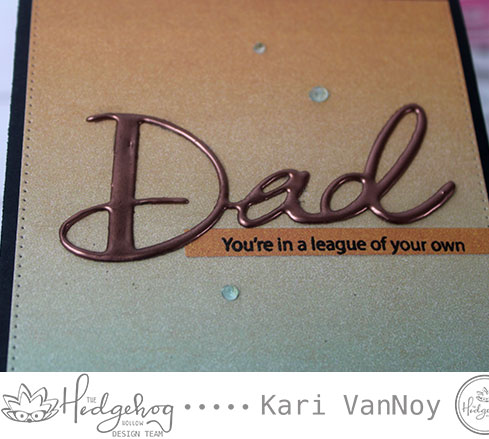
I used the Dad die cut to cut some chipboard and then I heat embossed it three times with Nuvo Copper Blush embossing powder. This is a beautiful coppery metallic color!

I chose a paper from my stash that had both teal and copper and looked a little bit like watercolor. You could also achieve this look yourself with a watercolor wash, but sometimes patterned paper is such an easy way to go!

Then I heat embossed the floral stripe on the bottom of the card using a softer embossing powder in Ranger metallic.

I finished it off with some Nuvo Jewel drops. Such a great card and I think it still looks masculine. Anyway, my Dad DOES like flowers! Lol.

Thanks for stopping by!

Comments { 0 }
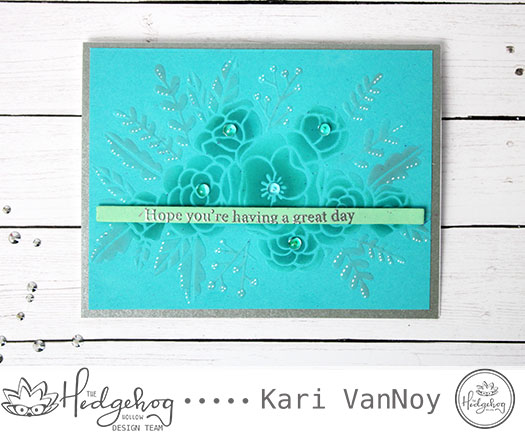
blue-card-only

Dry Embossing with a Stencil

Hello! Today I am going to encourage you to try this at home: a fun technique that adds such flair to a handmade card. That technique is using a stencil to dry emboss on your card panel.

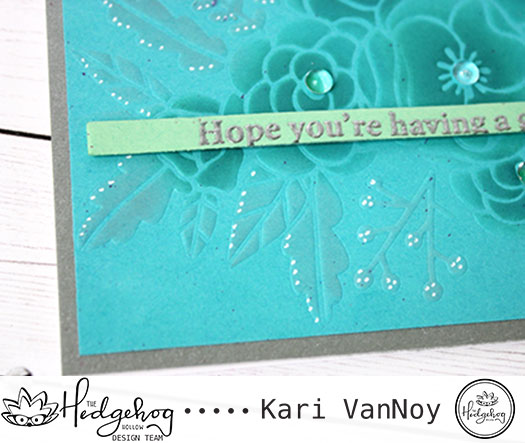
I must first say: it’s difficult to capture the embossed look on camera, so I’m going to show you some close up photos first.

See that embossed look…notice the lower leaves
Dots added for interest

Can you see the embossing? A photo is so tricky to capture that! But in real life, it adds another dimension and is oh-so-pretty!

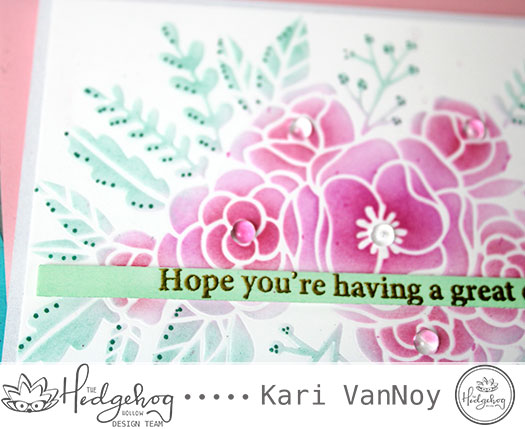
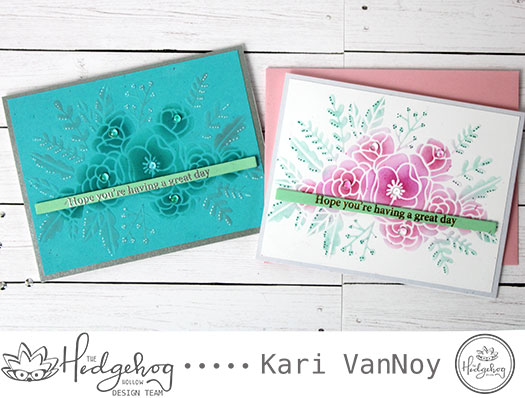
To finish off this card, I added some dots to the leaves, and bubble embellishments to the flowers.

I have a short video to show you how to do this, watch it below or on YouTube:

See, fun and easy…and pretty quick to add some flair to your card.

I hope you enjoyed this bonus technique about stencils. Did you see my first video on how to use a stencil 5 ways? See it here.

I’m often asked what supplies I’ve used on my projects, so I’ve added the list here. Affiliate links are used when available at no extra charge to you, if you purchase a product using these links I may receive a small commission. These help me to keep these projects coming and cover blog costs. Thanks for your support!


Hope you’re having a great day.

Comments { 0 }
poppies-with-copics-1

Poppy Cards 3 Ways

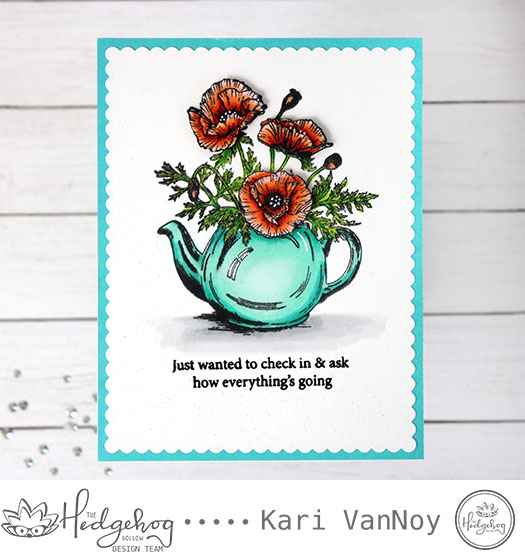
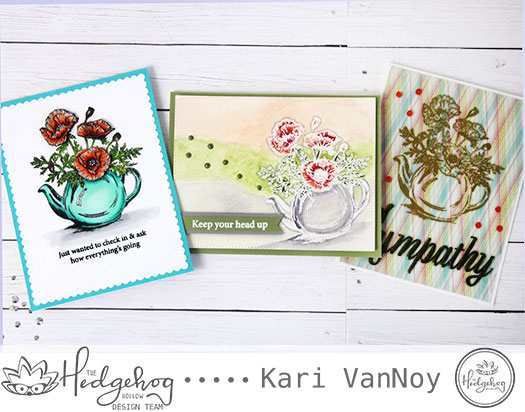
Hello! Today I’m sharing 3 different ways to use 1 poppy flower stamp. This stamp is one of my favorites from the beautiful May 2019 Hedgehog Hollow kit. I just couldn’t stop at one card!

Poppies 3 ways

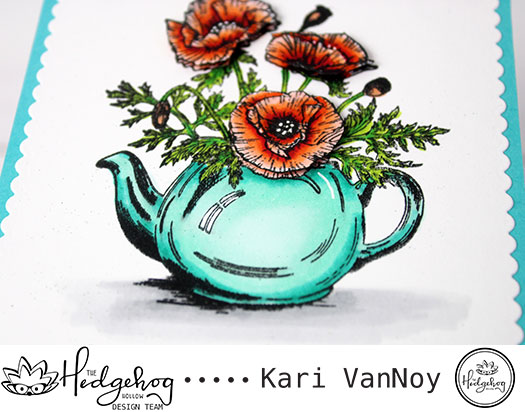
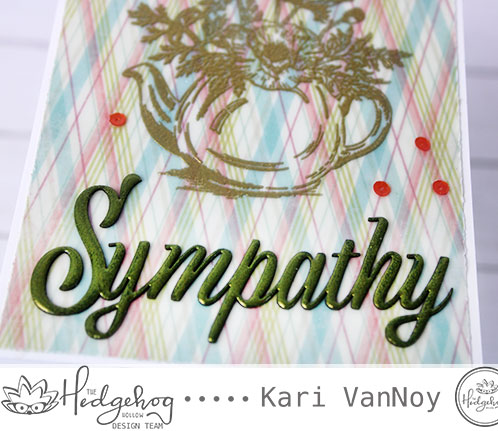
My first card features Copics and dimensional poppies. My second card in this picture features watercoloring layers. And the third card features heat embossing on vellum. I’m sharing some tips for hiding that adhesive on the vellum!

Watch my video for all the details below or on YouTube:

These poppies are so beautiful and they are illustrated by the talented Sophia Caldwell. I’m loving them so much.

Dimensional Poppies
Quick Watercoloring with White Heat embossing
Poppies with plaid

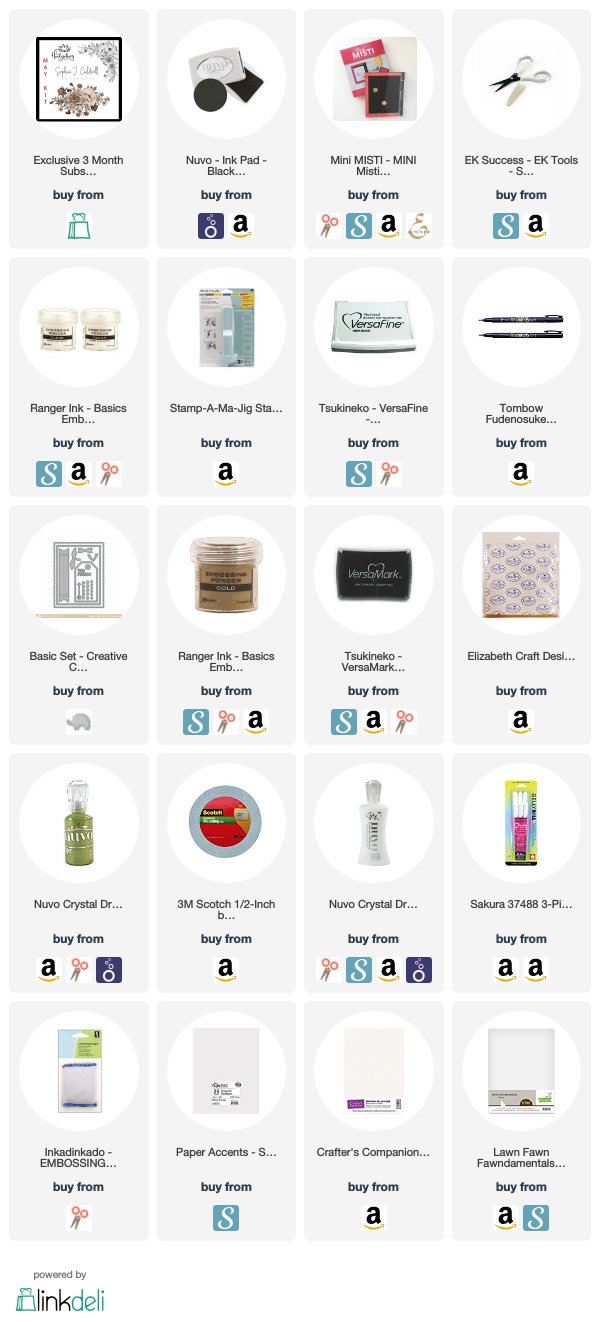
Thanks for stopping by! I often get asked what supplies I’ve used on my cards, so I’ve put together this list for you. Affiliate links are used when possible, so if you order through these links I may receive a small commission. These help to cover blog costs and also help to bring you more fun projects and cards. Thank you for your support!

I hope you enjoyed these projects today. See you next time!

Comments { 0 }