Tag Archives | Hedgehog Hollow
happy-new-year-close-up

Say Hello to the December Kit!

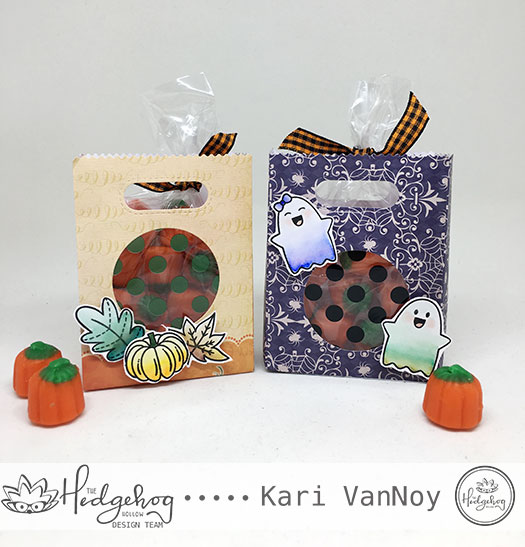
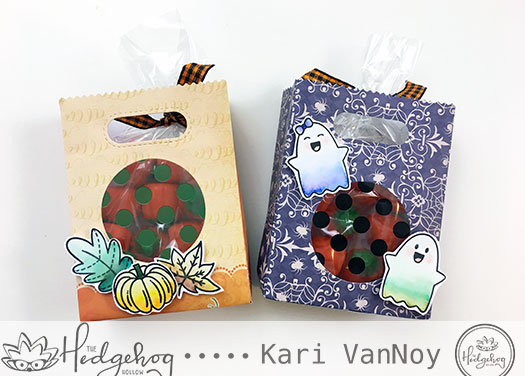
You might already know how much I love my kits from The Hedgehog Hollow…and today I have the December unveiling for you AND a project using items from the kit!

If you haven’t already heard, this month is filled with beautiful products from Pretty Pink Posh! There’s also an exclusive stencil from the Hedgehog Hollow.

Here’s the unveiling video, watch it below or on YouTube:


My first project with this kit uses that exclusive stencil, and I show you how to color your own Glimmer paste! Did you know you can make the clear glitter paste into any color you want? Be sure to watch the video below to see how it’s done.

happy-new-year-fireworks

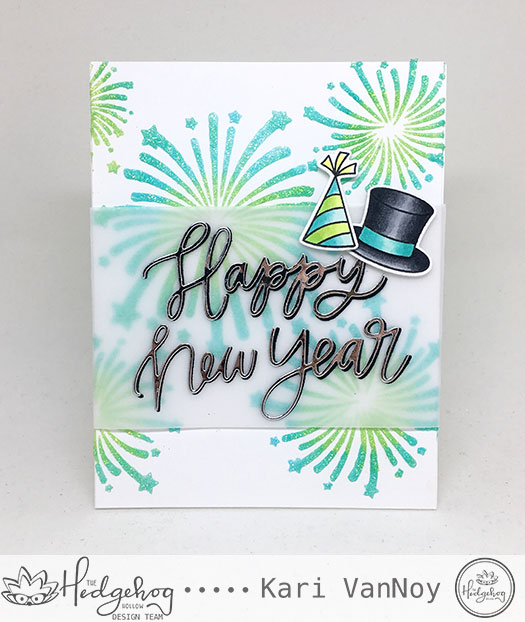
That glitter paste is just so fun! I hope you can tell that I die cut the Happy New Year sentiment from silver mirror cardstock. Oh how I love that mirror cardstock!

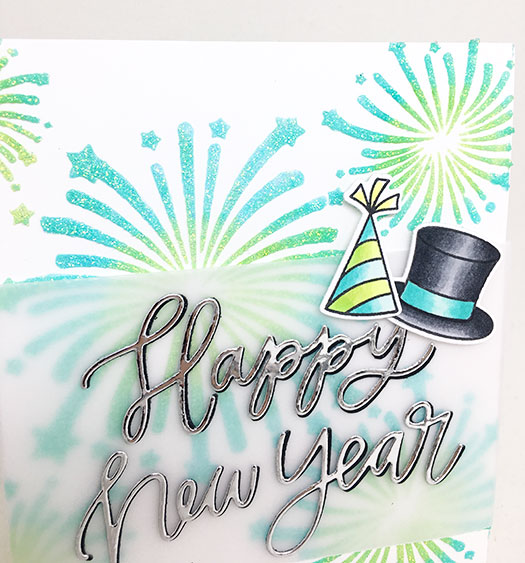
Here’s a close up for you:

happy-new-year-close-up

Watch the video below or on YouTube for more information on how to color glitter paste, and how to put this project together! YES…I have TWO videos today (what?!?)


Thanks for stopping by! Are you still making Christmas cards or are you onto New Years cards?

Comments { 0 }
both-bags-filled

Dip Dyed Ghosts! A technique for you to try…

Hi there! I’m so excited to be guesting on the Hedgehog Hollow blog today, sharing a fun technique for you to try. It’s a “Dip-Dye” technique using just a few watercolor markers. Just look at these cute ghosts:

both-bags-filled

I hope you will pop on over to the blog to check out the post AND video I have linked there!

two-bags-flat-lay-filled

To see just how you can easily try this dip-dye technique, visit the blog here.

Thanks for stopping by!

Comments { 0 }
both-cards

One card two ways…

Hello! Today I have a fun project with the new September Hedgehog Hollow box! I was inspired to create a card using the oval background stamp and then STEP IT UP a bit!

So I have two cards…the first one is the basic card using the background, then adding the floral stamp to the center of the oval.

blue-oval-background

I used the oval stamp FIRST, in Distress Oxide ink in Faded Jeans color. Then I added the floral spray to the middle of that stamp and used Memento Tuxedo Black. I Copic colored those flowers and then added the sentiment, also from this September box. To finish it off, I used Nuvo Drops in white across the card.

After I made this card, I wanted to make it again, but this time adding some EXTRA SHINE! So after I stamped the background, I added some glitter embossing powder to the top. Then I stamped the floral image in the center and colored it.

After it was colored, I put it back in my MISTI and stamped over the lines with Versamark ink and added SILVER EMBOSSING POWDER.

glitter-oval-background

I hope you can see some of that glitter in the background and the silver embossing powder around the edges.

To see the process better, watch my video here or on YouTube:


Which card do you like better? Here’s another view that shows a bit more of the sparkle:
I really do think it’s stunning in real life!

both-cards

Thanks for stopping by today! For more information about these fabulous subscription boxes, visit the Hedgehog Hollow here. **There is a special 30% off discount for the store until Friday, September 7th!! (some restrictions apply) So be sure to hop on over there quickly to get the discount.

Comments { 2 }