Tag Archives | Hedgehog Hollow
SUNSHINE-swatching-wow-embossing-powders

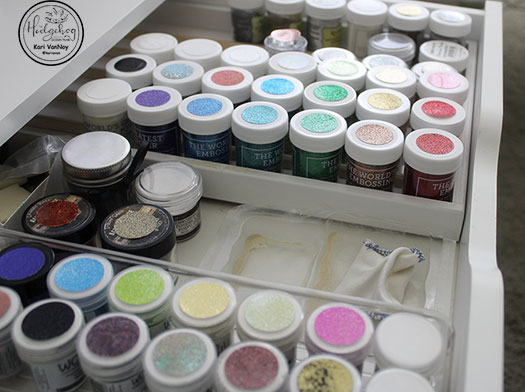
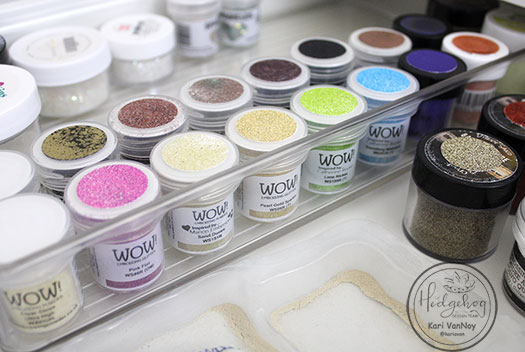
Craft Studio Organization: Embossing Powders

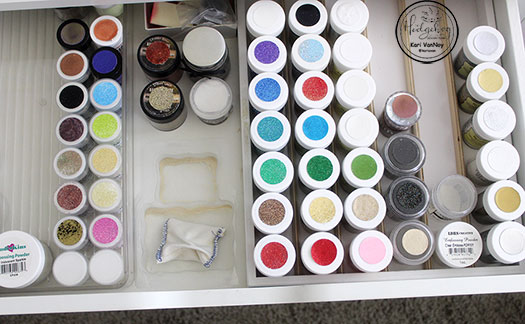
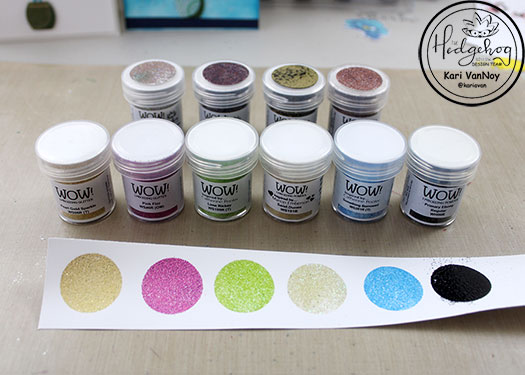
Hello! Today I have the second edition of Craft Studio Organization ideas with Embossing Powders. I’m up on The Hedgehog Hollow Blog today with all the details, but I’m going to share a ton of pictures here and a video.

I was excited to get this done, and I have to admit, once I finished this organization project, I left this drawer open just so I could look at it all day! Lol.
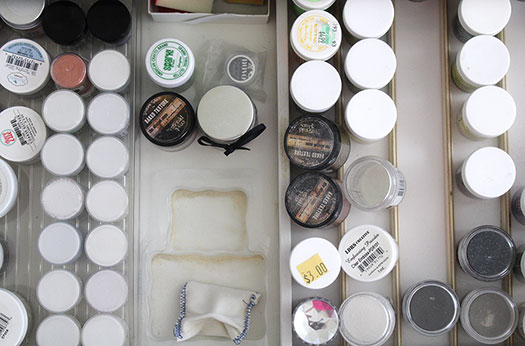
BEFORE
AFTER

I have a video showing you all the details and a few tricks I learned along the way, watch it below or in HD on YouTube:

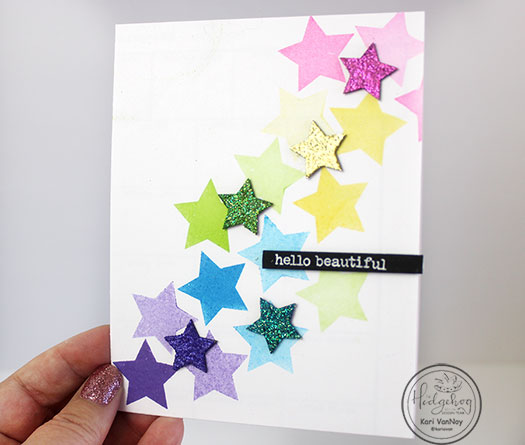
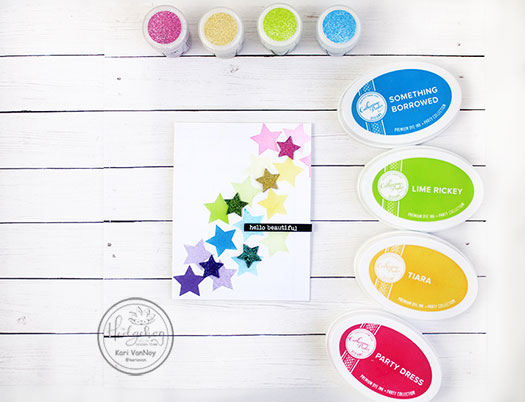
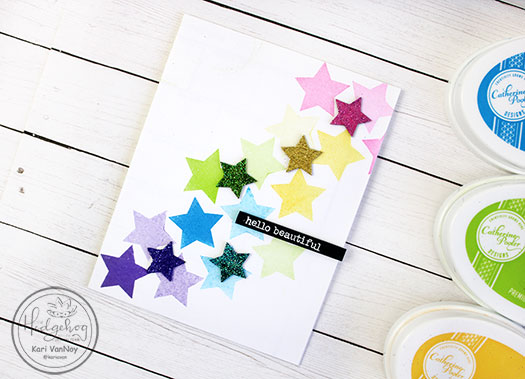
I also made a card using embossing powders and matching inks. It was so easy with the ink swatching I did last week!
I’m often asked what supplies I use to make my cards and projects, so I’ve put together a list using affiliate links when possible. If you make a purchase with these links I may receive a small commission. These help me to keep up with blog costs and continue bringing you fun projects. Thank you so much for your support!
I hope you enjoyed these projects today! I’lll be back soon with more organization ideas.

Comments { 0 }
SUNSHINE-silver-embossed-tools-only-2

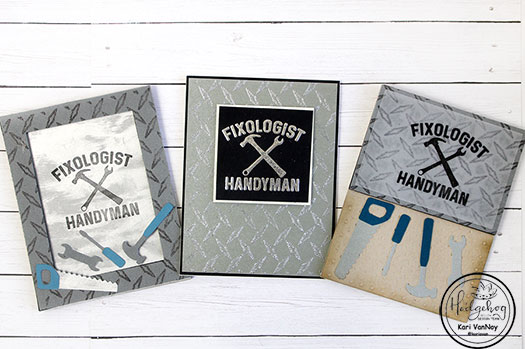
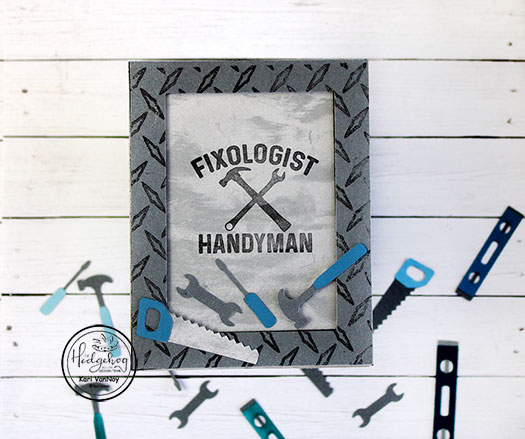
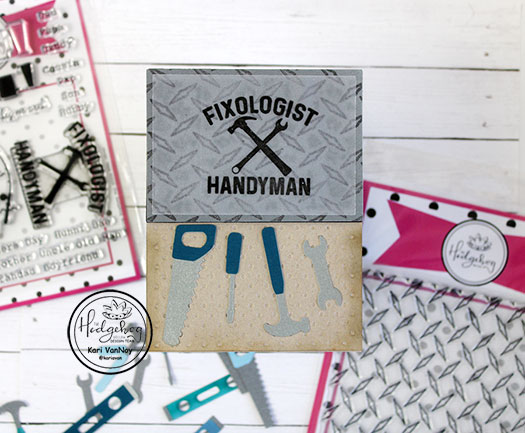
Masculine Tools – Cards for Men

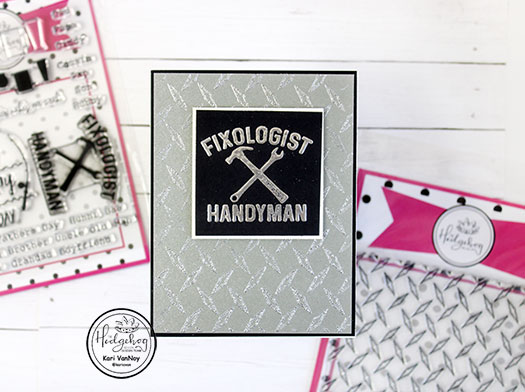
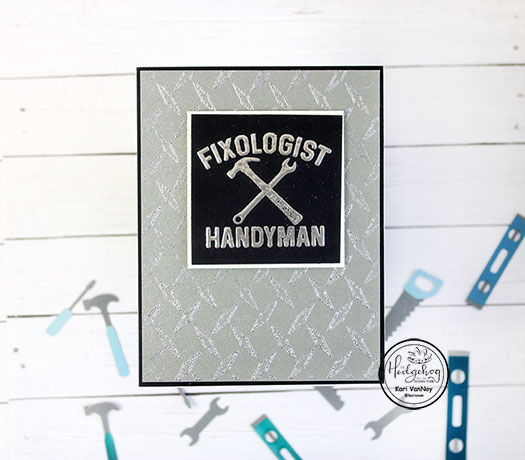
Hello! Today I have some masculine cards, with tools and all! I have three ideas for you using the April 2020 Hedgehog Hollow Kit.

Today I’m using some fun techniques in my video: like the ink pad direct to paper technique to create the fun silvery background.

Metallic silver ink pad creates a stunning background

I’m also sharing my FAVORITE way to adhere vellum without seeing any of that adhesive. And an embossing folder to create a peg board look.

Watch the video below or on YouTube:

I’m often asked what supplies I use to make my cards and projects, so I’ve put together a list using affiliate links when possible. If you make a purchase with these links I may receive a small commission. These help me to keep up with blog costs and continue bringing you fun projects. Thank you so much for your support!

Which one is your favorite? Thanks for stopping by today!

Comments { 0 }
SUNSHINE-mix-tape-crooked

Mixed Tape, Anyone?

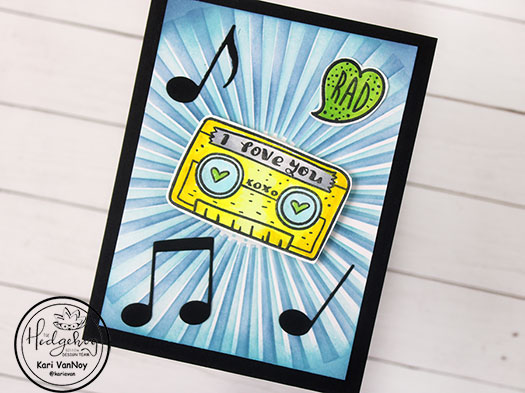
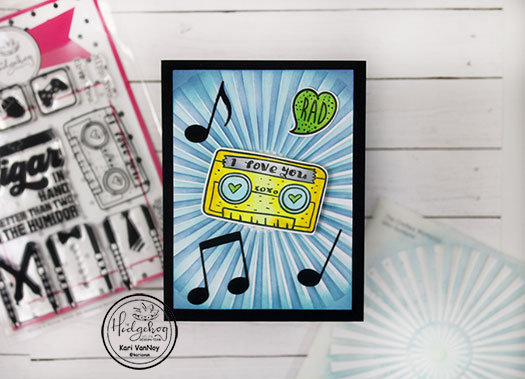
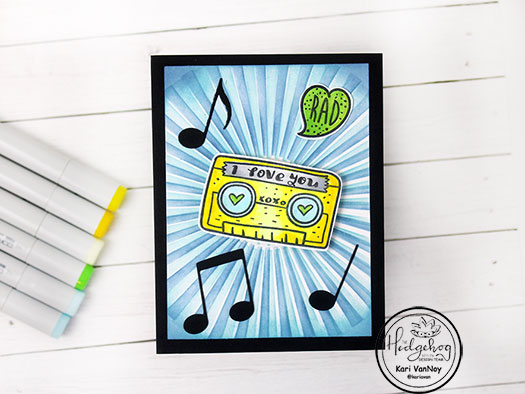
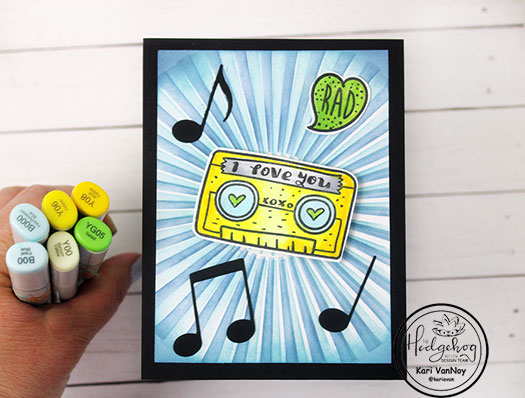
Hello, I have a fun card today using products from the April 2020 Hedgehog Hollow Kit. Ok, it’s time to admit it: do you remember when mixed tapes were a thing? I think I may still even have a mixed tape or two back from the 80s and 90s! Yep, I’m throwing it way back with this one!

This kit is filled with masculine stamps, so I tried to keep the colors on the more masculine side. I stenciled on that background using Distress inks. I used the lightest color blue first, then shifted the stencil and inked on the darker blue.

I only used a handful of Copics for coloring this one…greens and blues and yellows, with some cool grays for the label.

Then I fussy cut the tape and the “rad heart” out. I added the cassette tape with two layers of foam tape. The notes and the heart are adhered straight to the card with liquid adhesive.

A simple card, but so much fun!

I’m often asked what supplies I use to make my cards and projects, so I’ve put together a list using affiliate links when possible. If you make a purchase with these links I may receive a small commission. These help me to keep up with blog costs and continue bringing you fun projects. Thank you so much for your support!

So now I’m going to find the mixed cassette tapes I still own and listen to them! I’ll bet the sound quality is terrible…maybe it’s time to let them go? Lol. See you next time with more card inspiration!

Comments { 0 }
SUNSHINE-orange-thank-you

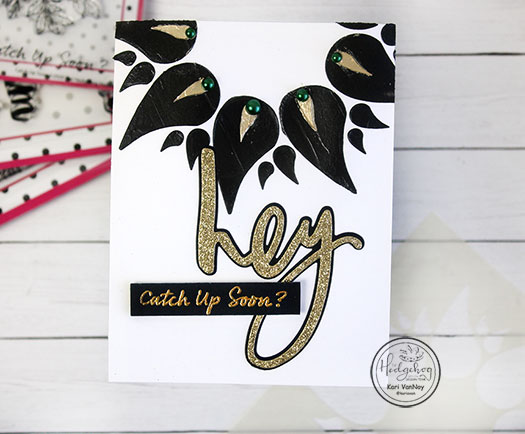
2 Layer Stencils

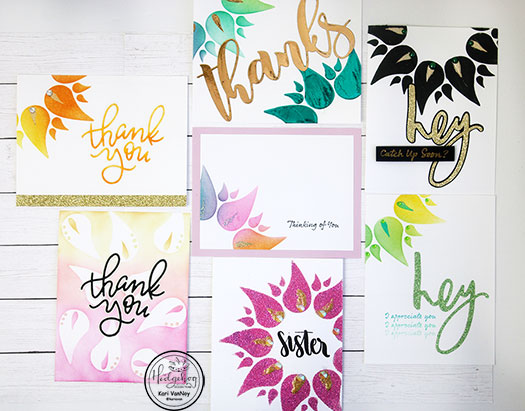
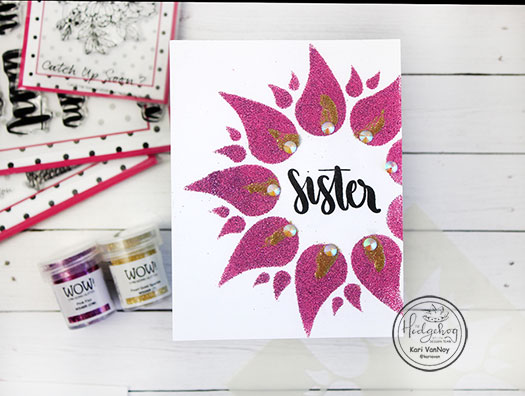
Hello, today I have even more ideas for using a 2-Layer stencil! Last week I promised extra ideas for using the layering stencil that came in the Hedgehog Hollow February 2020 kit…and here they are!

I’ve got five more (bonus) ideas and 7 cards to share with you! And I put it all in a video, watch it below or in HD on YouTube:

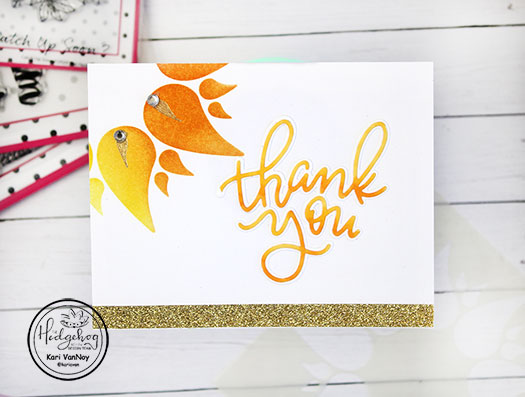
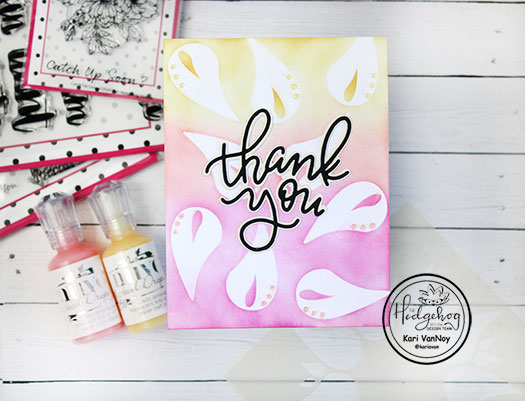
I think my favorite of the bunch is using just the second layer of the stencil to create a background, see my card below.

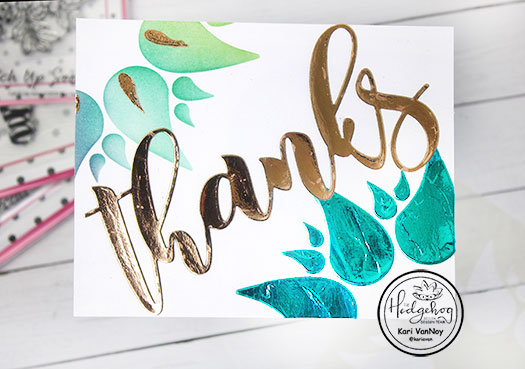
Although the foiled card is fun too…here I used foil on both the first layer AND the second layer of the stencil. Then I created a foiled sentiment die cut with toner paper. (I explain this more in the video!)

I’m sharing all my tips (and mistakes) with you in the video, too, so you can laugh at me (or with me…lol) and learn how to do things the best way.

I hope you’ll take a look and let me know which card is YOUR favorite! I’ll be back soon with more inspiration.

Disclosure: The links below are affiliate links. If you decide to use these links to shop, you are supporting today’s post writer – thank you! They may receive a small portion of the sale, at no extra cost to you. These products are endorsed by the author, and we hope you will love them too!

Comments { 0 }
SUNSHINE-hello-bestie-with-supplies-and-wow

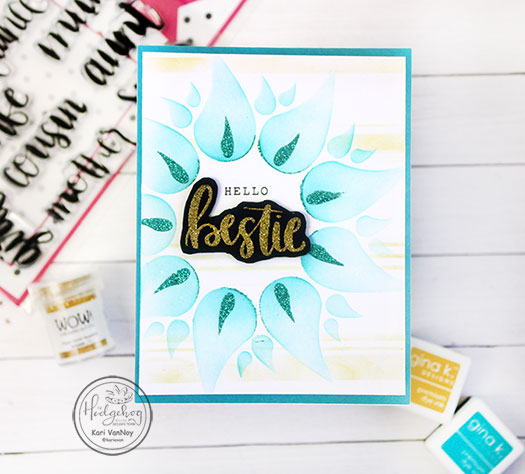
Hello Bestie with 2 Step Stencil

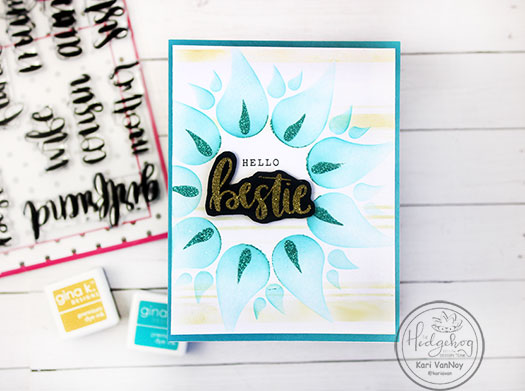
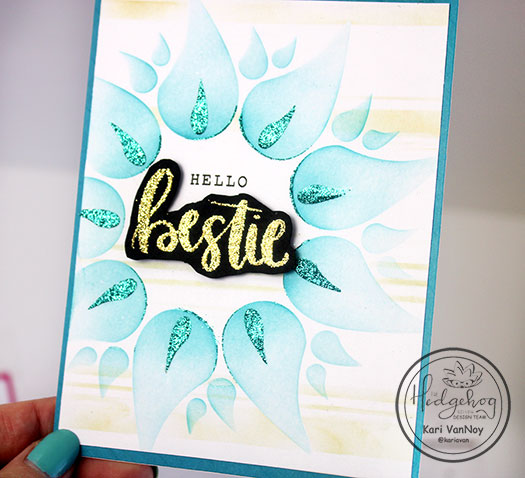
Hello! Today I’m excited to bring you a card using a 2 step stencil and a beautiful hand lettered stamp from the February 2020 Hedgehog Hollow Kit. This stencil is so fun to use and today I have a short video for you showing you how to use it!

Watch the video below or on YouTube:

If you want to see all the details in a write up, visit the Hedgehog Hollow blog for the instruction.

I’m often asked what supplies I use to make my cards and projects, so I’ve put together a list using affiliate links when possible. If you make a purchase with these links I may receive a small commission. These help me to keep up with blog costs and continue bringing you fun projects. Thank you so much for your support!

I hope you enjoyed this project today! I sure loved creating this card. See you soon with more card making inspiration!

Comments { 0 }