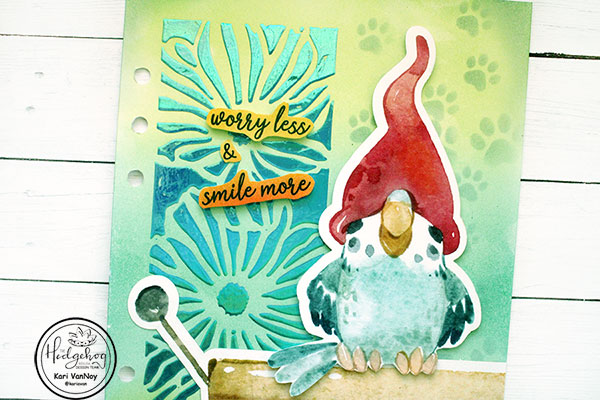
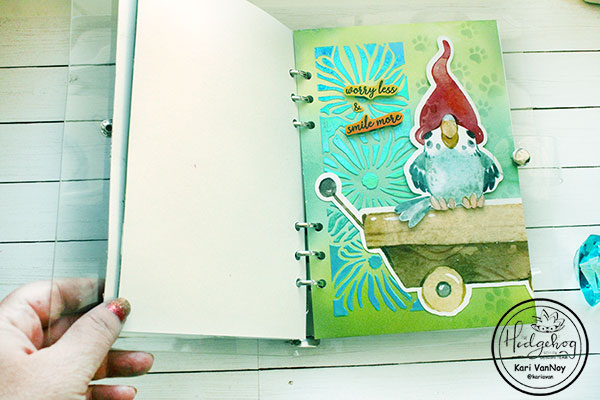
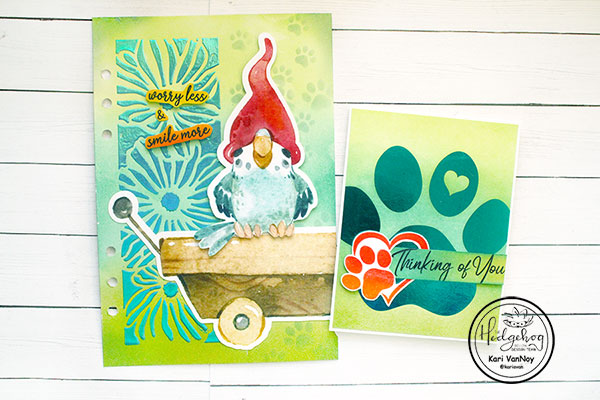
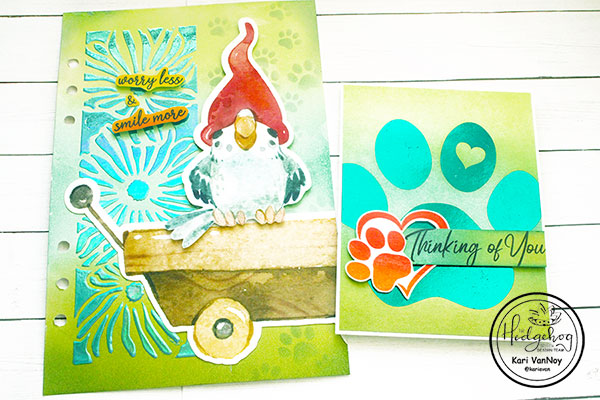
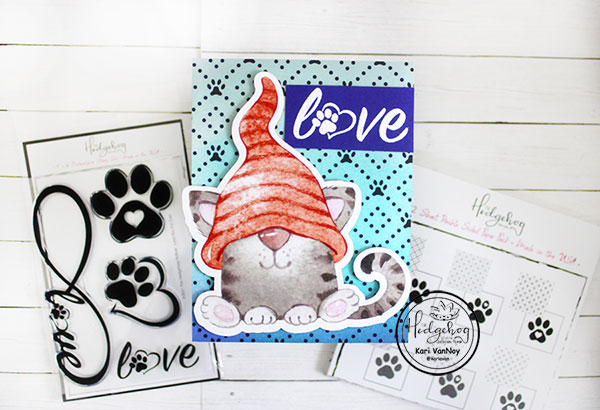
Hello! Today I’m up on the Hedgehog Hollow Blog sharing an Art Journal and card with foiling! I loved these projects, so I hope you’ll head over and take a look.
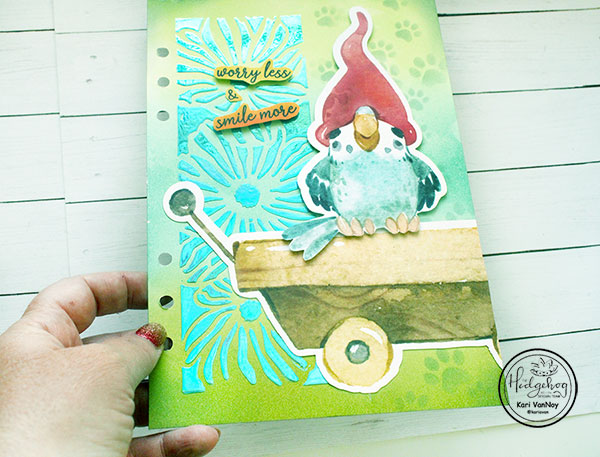
I also have a video for you sharing just how to do these projects, with foiling and ephemera. Watch it below or in HD on YouTube:
These are super fun projects, and all my Art Journals have a meaning for me. Growing up I always had a parakeet, so I LOVE this ephemera parakeet and just had to incorporate that into my journal.
I’m often asked what supplies I use to make my cards and projects, so I’ve put together a list using affiliate links when possible. If you make a purchase with these links I may receive a small commission. These help me to keep up with blog costs and continue bringing you fun projects. Thank you so much for your support!
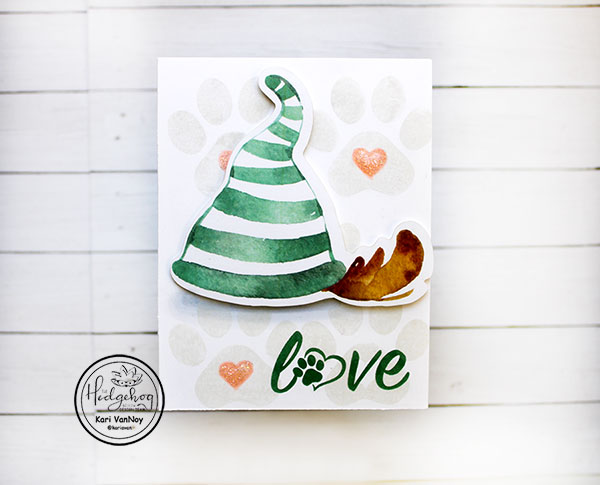
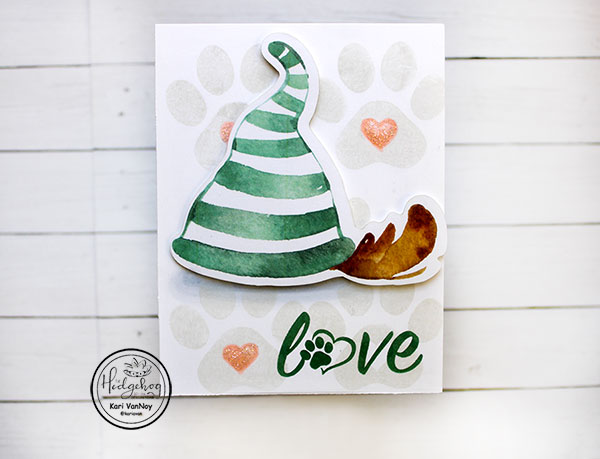
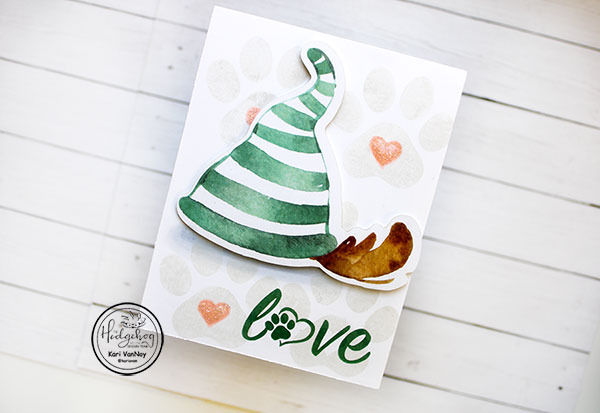
Hello! Today I’m so happy to be sharing another pet card using the Hedgehog Hollow February Kit. There are so many great stamps in this kit, and that large pawprint jumped out at me to make a background!
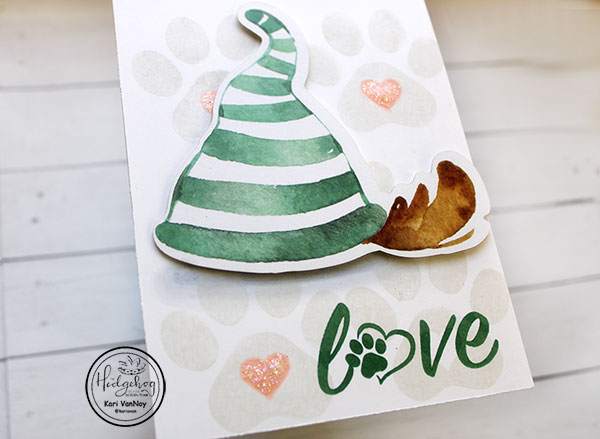
I started with the large pawprint with a heart in the middle and stamped it with a very light amalgam ink. I wanted a subtle background for this card, but it would also be fun in bright colors!
I colored in the heart in the center of the pawprint with a light pink Copic marker and covered it in my favorite Stardust Stickles for some sparkle! (I left the bottom right pawprint uncolored so I could stamp the sentiment).
For the sentiment, I chose a dark green ink to match the hat. I love how these play off each other.
I positioned the dog under the hat and drew in some “SHADOWS” by using some cool grey Copic Markers in curves underneath. It may already look like there’s a shadow there, but I did draw some in!
Then I attached the dog under hat using some foam tape. I added it all to a heavy weight card base and VOILA! Done!
I loved creating this card. I hope you love it, too!
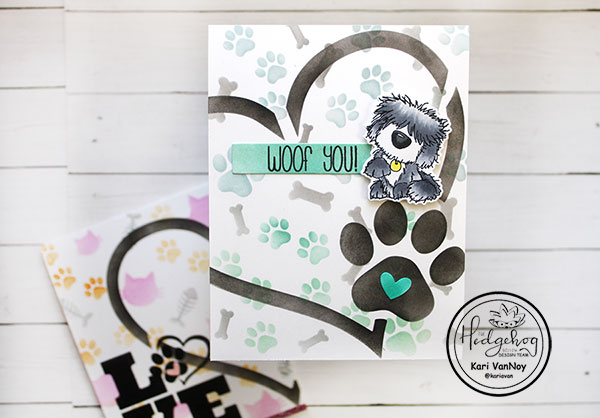
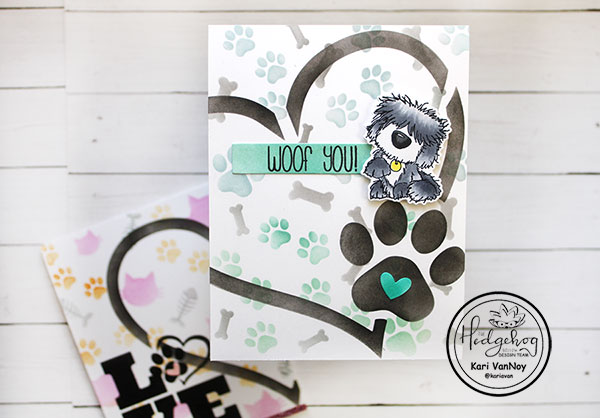
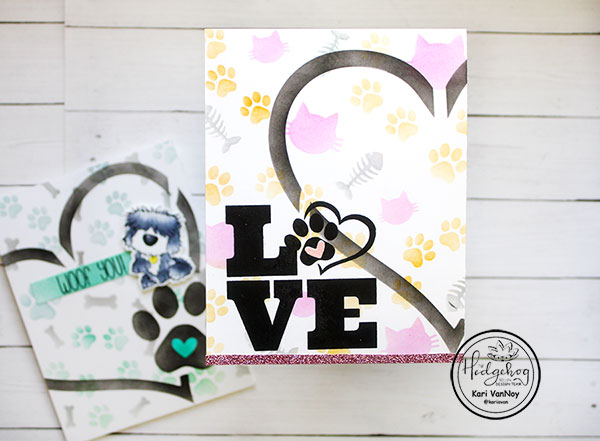
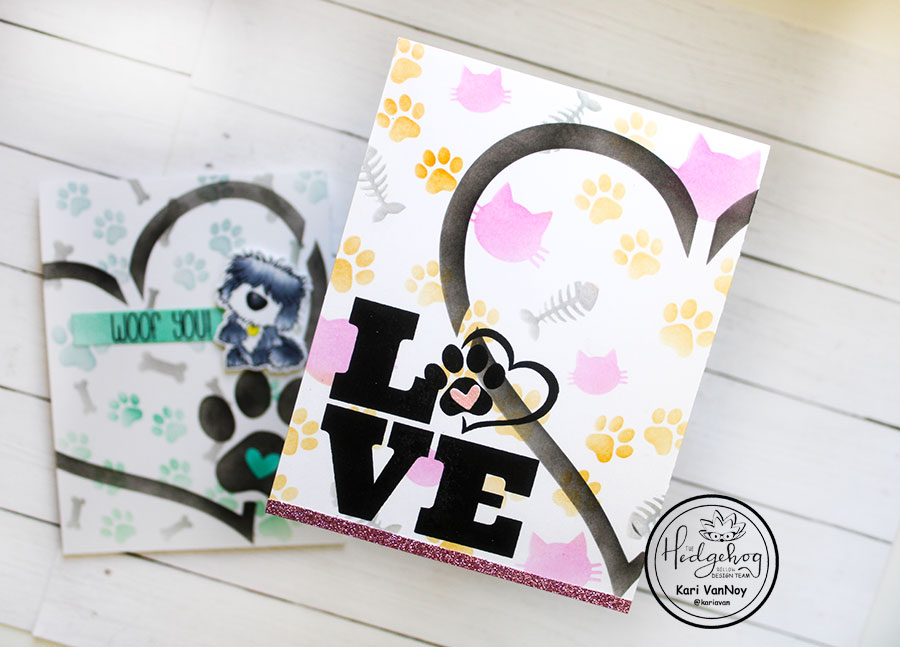
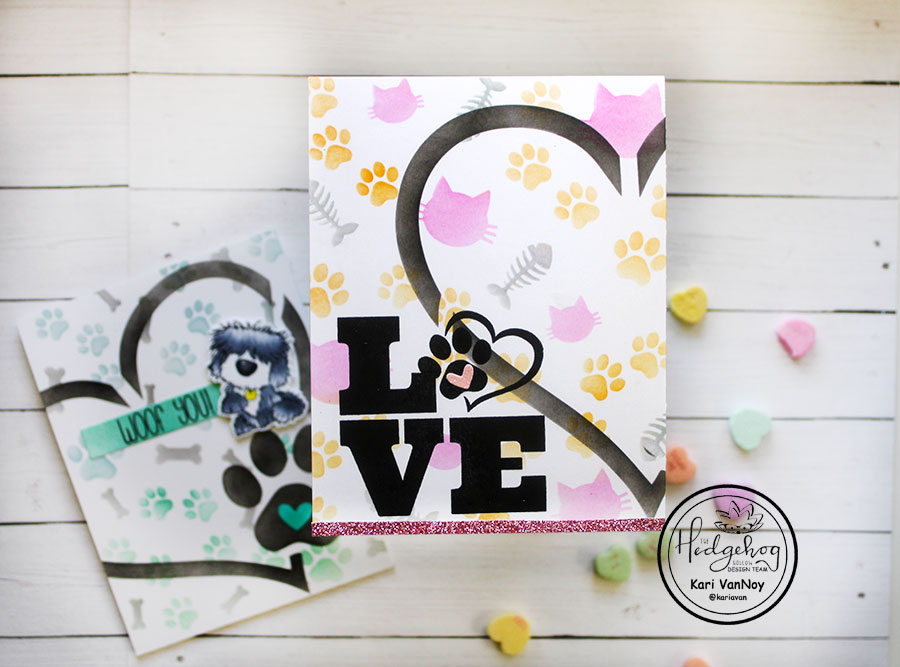
Hello! Today I’m sharing a project using stencils from the Hedgehog Hollow February Kit. This kit is all about pets, and today I am comparing the cat stencil and the dog stencil. I love the look of selective stenciling, and here are my projects.
CAT CARD
For the cat card, I chose to ink up the kitties in a soft pink, the paw prints in a soft orange, and the fish in a soft grey. This takes just a little more time, but I think the end results are worth it! To make sure I don’t get ink where I don’t want it, I simply tape around the kitty images first and ink them in pink. Then I tape around the fish and ink them in grey; and then tape around the paw prints and ink in orange.
Once that was done, I took the heart stencil and put it over the top of the inked panel and inked it up in black. Since this stencil is much larger than an A2 size card, I offset it so only the left side of the heart was inked.
I stamped the “LOVE” stamp on the left lower portion of the panel in black ink, the added a glittery pink heart to the center of the paw print.
DOG CARD
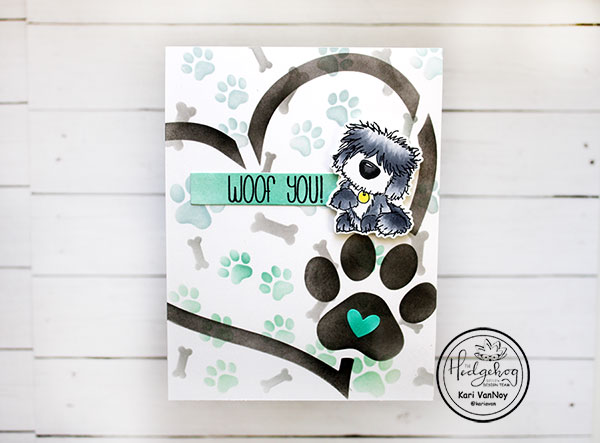
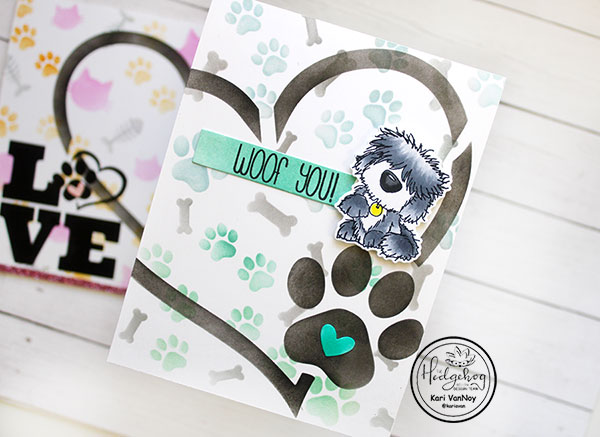
For this card, I started off much the same way, taping off the images and inking. I inked the top portion of the paw prints with Speckled Egg Distress Ink, and the bottom portion of the paw prints with Evergreen Bough. Then I inked on the right side of the heart stencil. This side has a giant paw print that I love!
I added a green heart to the center of the paw prints, and inked up a sentiment strip with Evergreen Bough to match.
That shaggy dog and sentiment is from one of the first Hedgehog Hollow kits ever! Isn’t it cute? It’s no longer available, but I do love that dog image!
I hope you enjoyed these projects today! So which one are you: Team Cat or Team Dog?
Hi I'm Kari. I'm a creator, a card maker, and a day maker! I am Lucky in love to a supportive husband, blessed to raise 3 kids (all moved away now!), and happy to be watched over by 2 dogs.
I originally started this blog to remind me to be happy amid adversity, and I hope it inspires you, too!