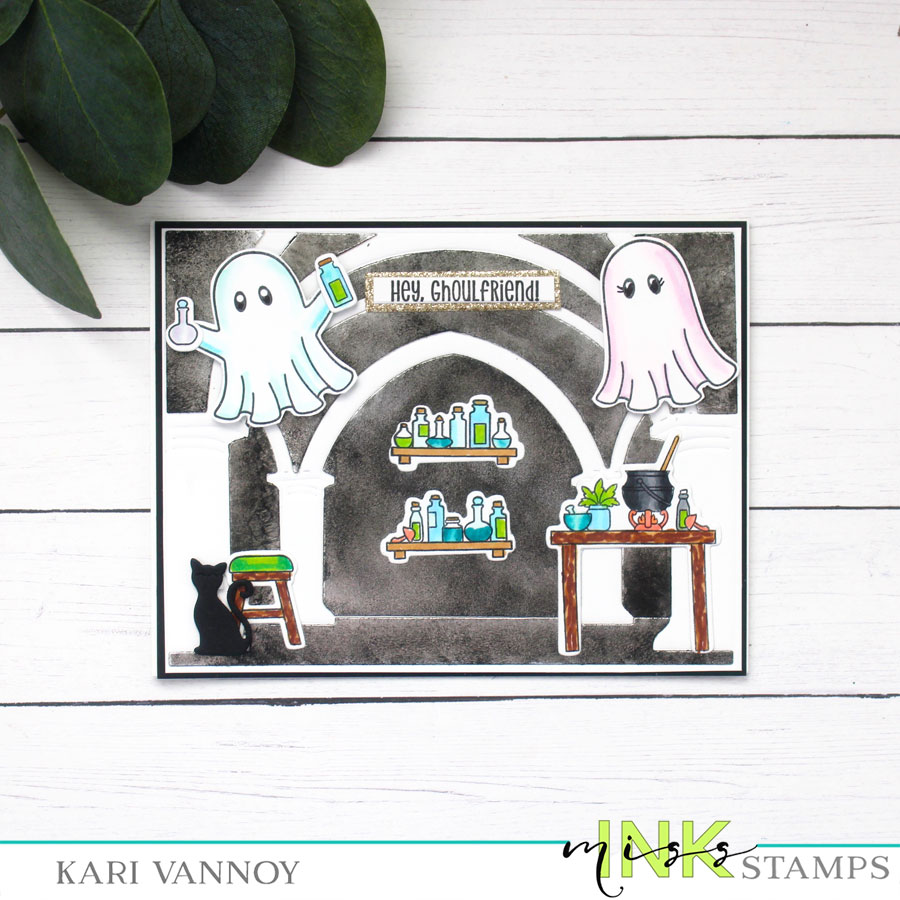
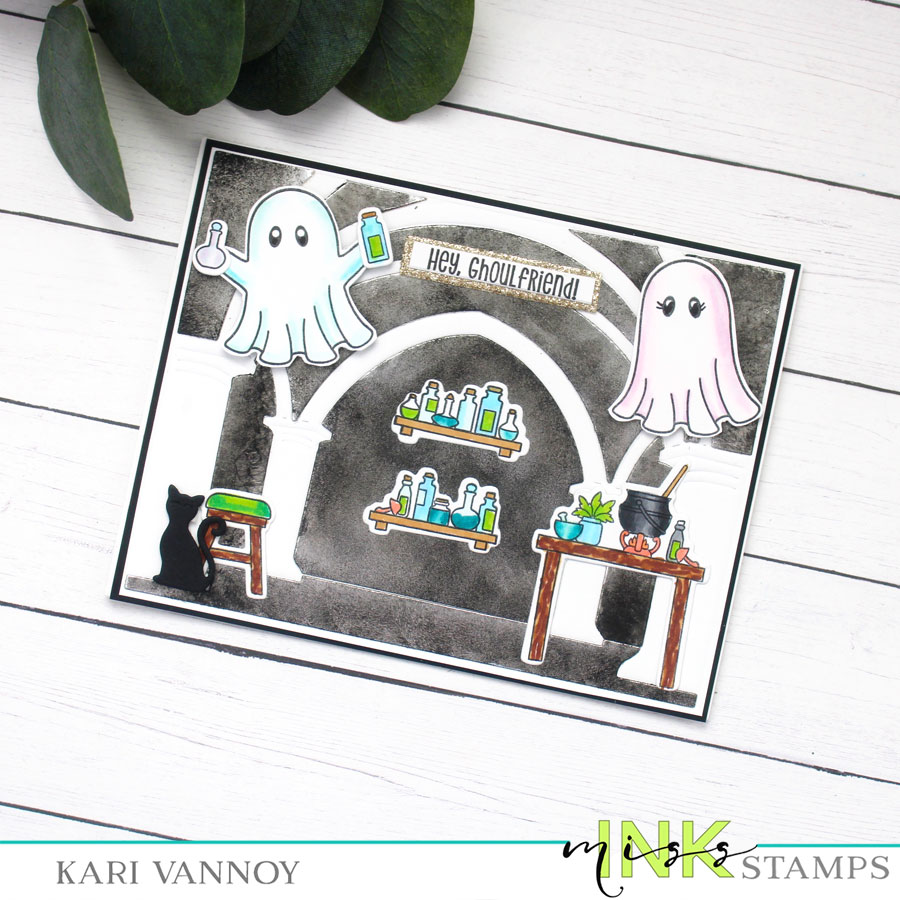
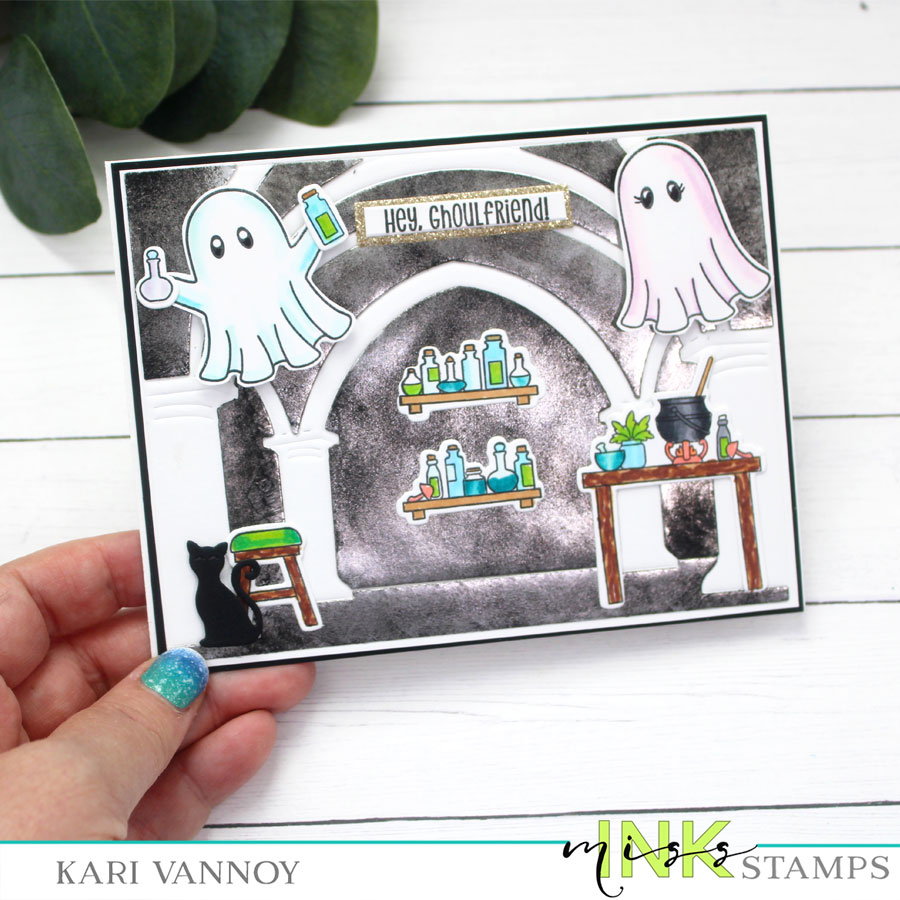
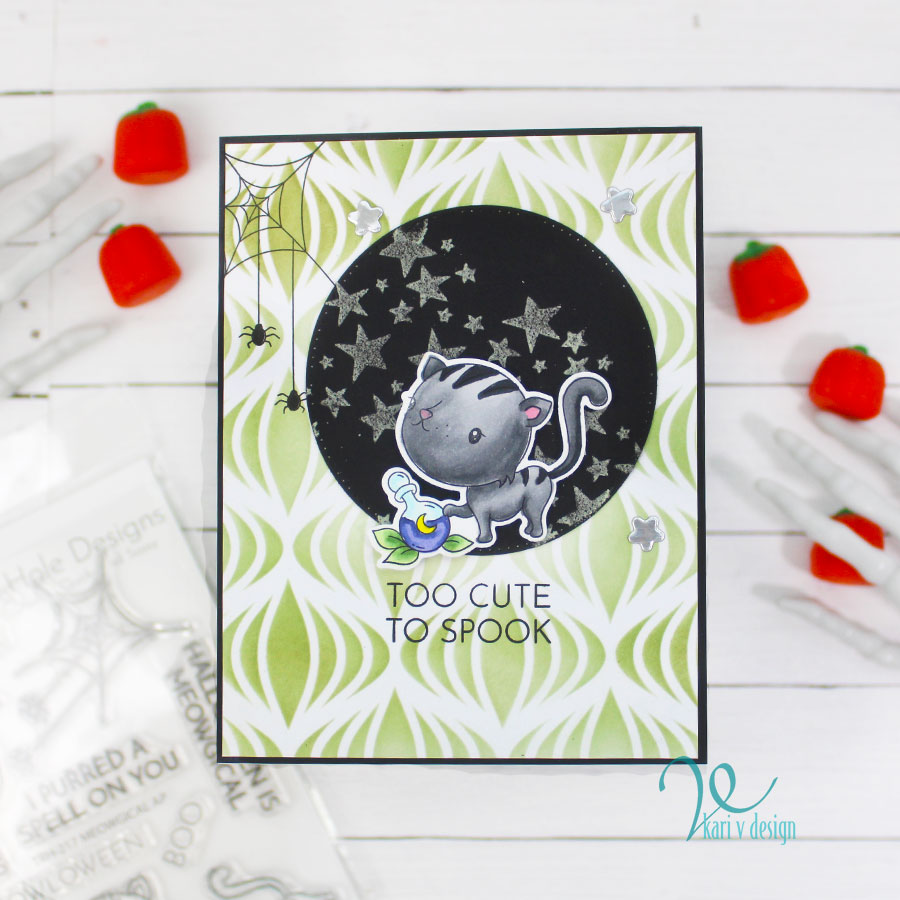
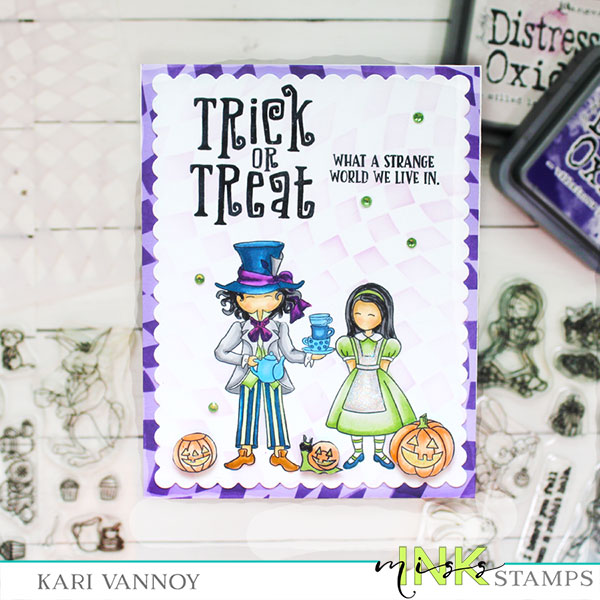
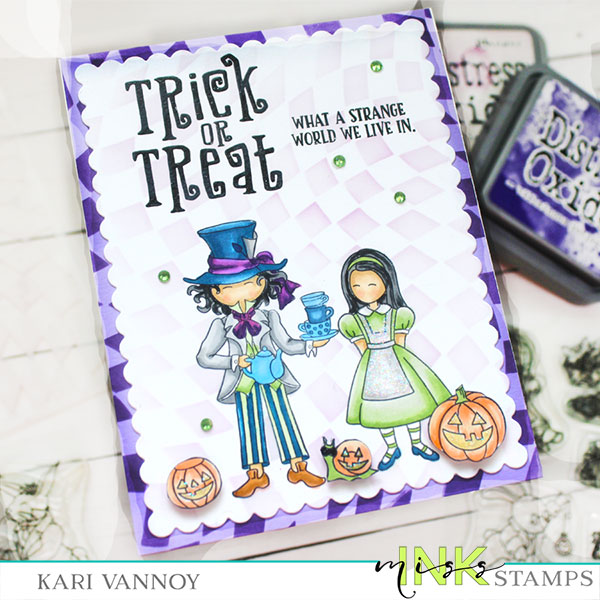
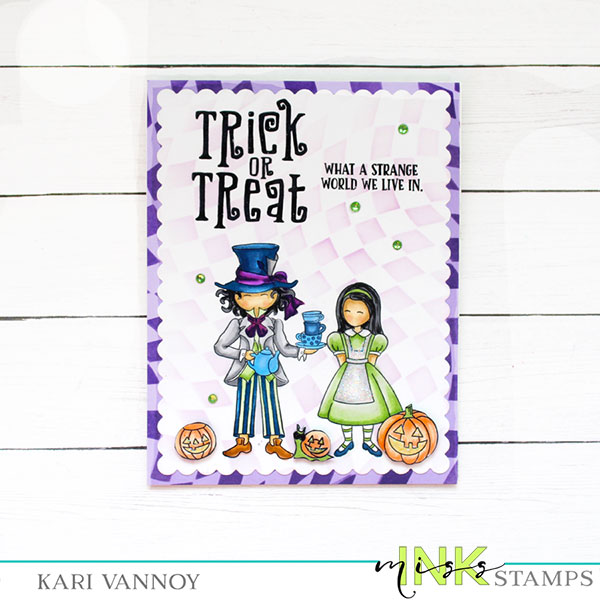
Hello! Today I have a Haunted Castle with a Nighttime Sky card and video! Watch the video below or in HD on YouTube:
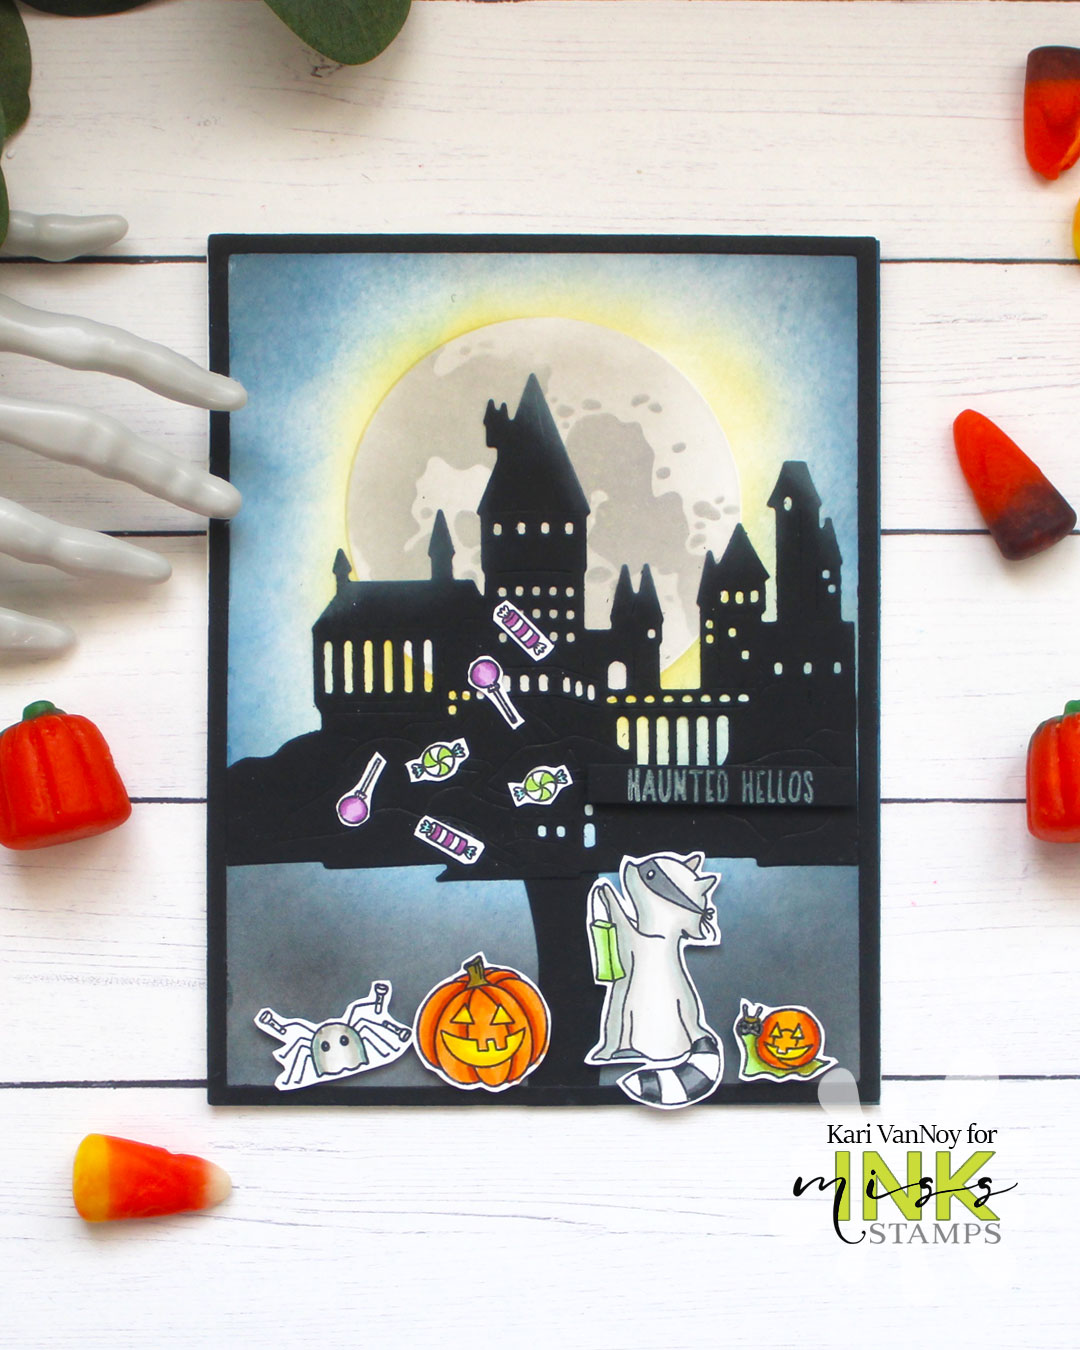
This was a fun one to make, and I started out creating that foggy Moon and sky using the Night Sky Scene stencil from Miss Ink Stamps. (I show you how in the video)
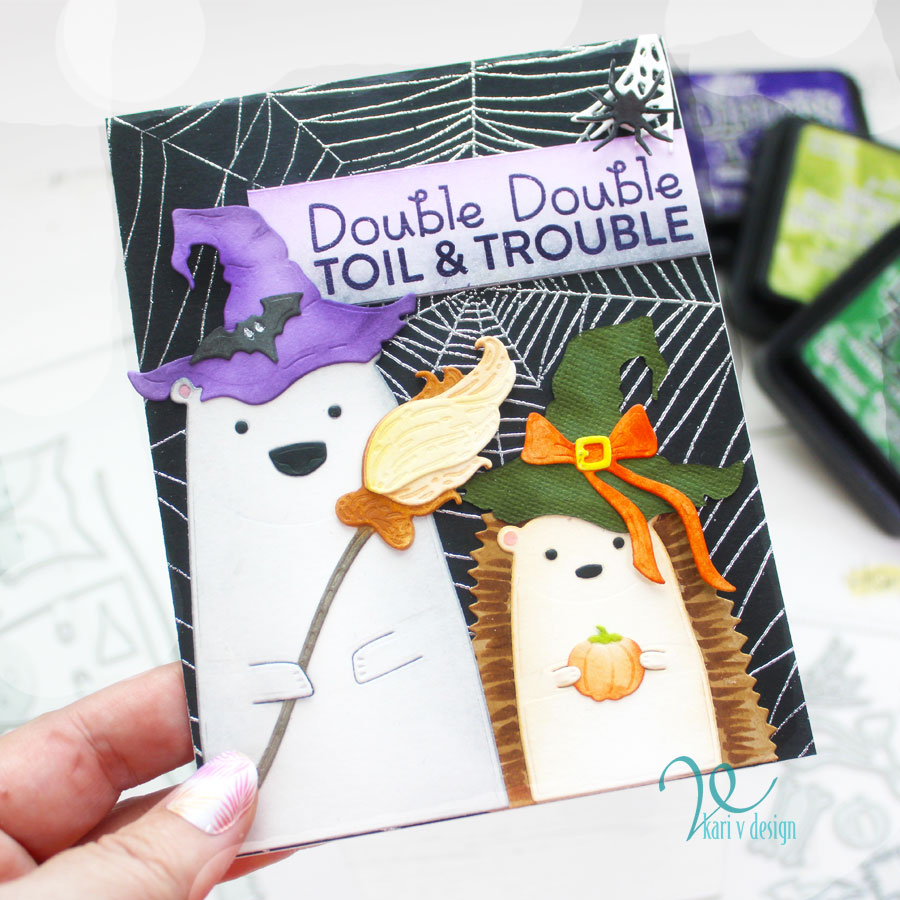
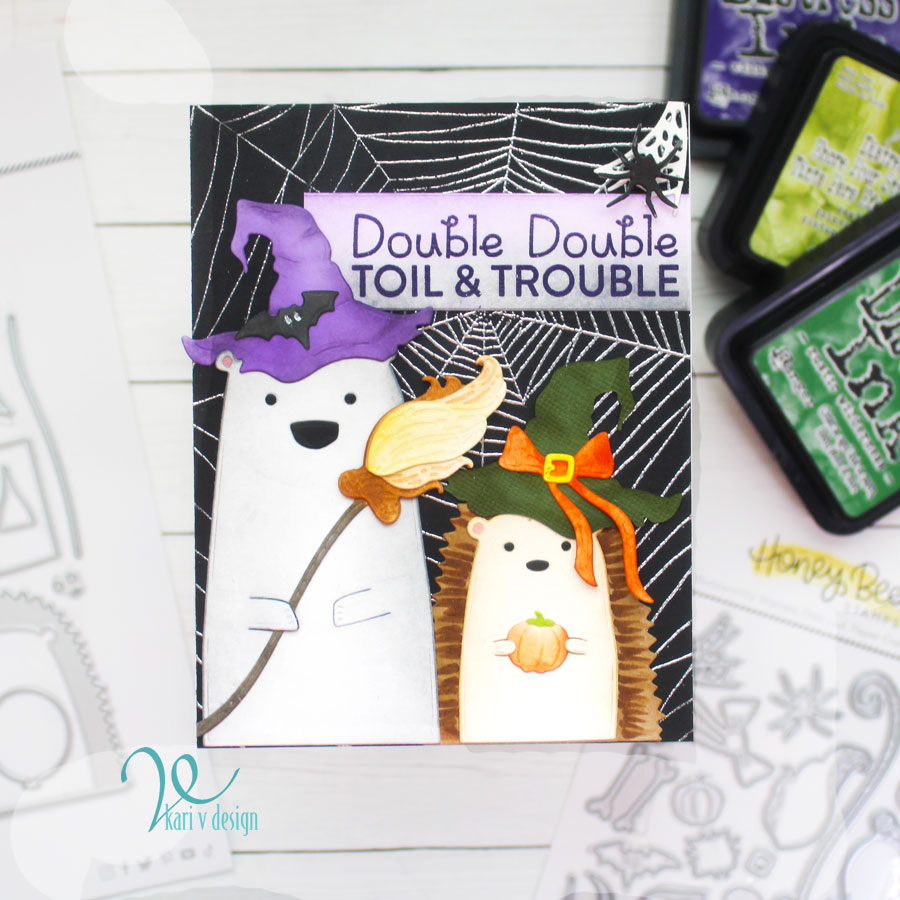
That castle die is so awesome and it looks great as a silhouette cut in black cardstock! Then I added some cute Halloween critters to finish the scene. I hope they can catch all that candy they are throwing from the castle windows!
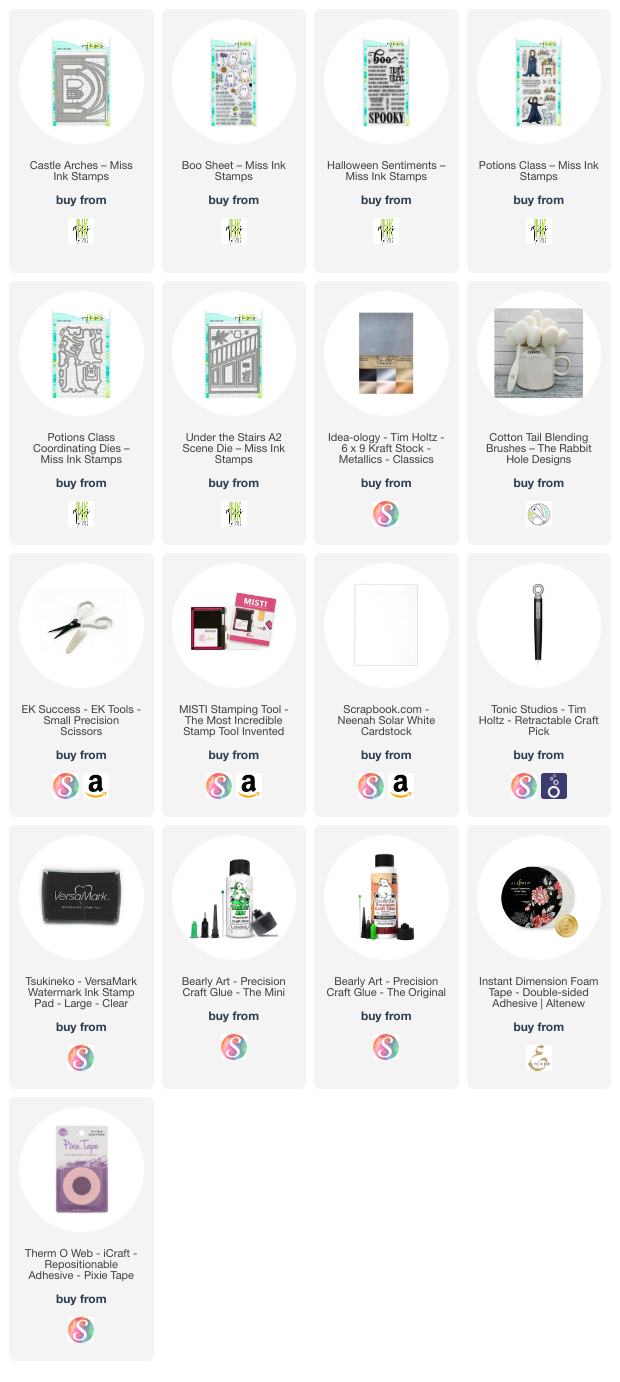
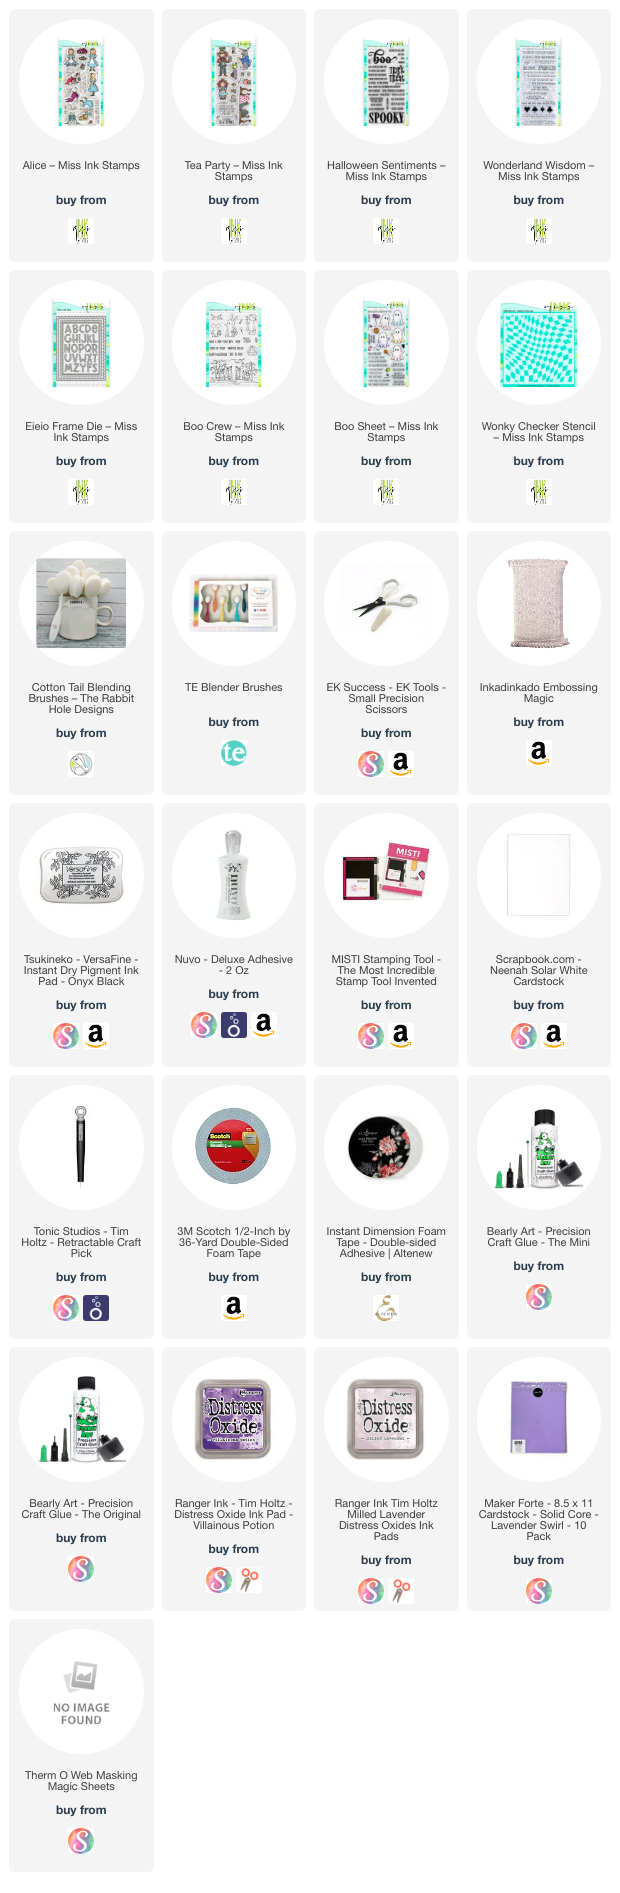
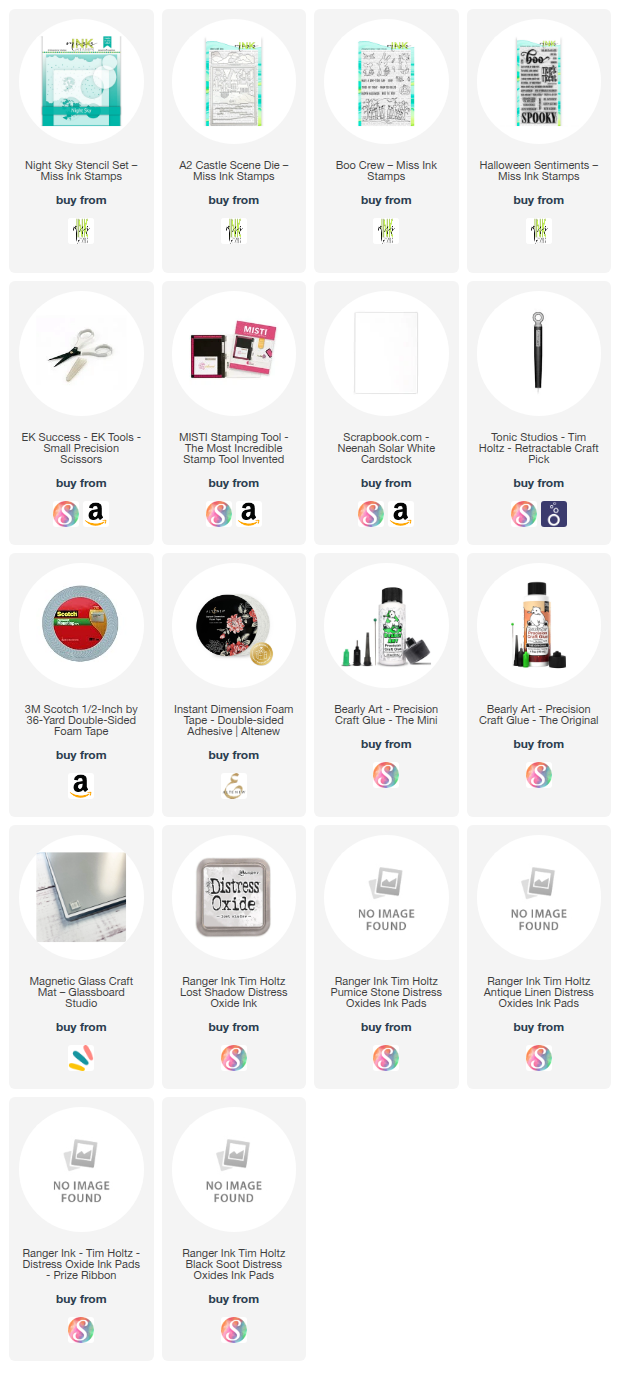
I’m often asked what supplies I use to make my cards and projects, so I’ve put together a list using affiliate links when possible. If you make a purchase with these links I may receive a small commission. These help me to keep up with blog costs and continue bringing you fun projects. Thank you so much for your support!

Thanks for stopping by. Haunted Hellos to you! See you next time,
Kari