Tag Archives | Distress Ink
three-snails-with-envelope

Valentine Snail Mail

Hello! Today I have the cutest Snail Mail to share….delivered by snails! This new set is from Trinity Stamps and I just adore this little guy.

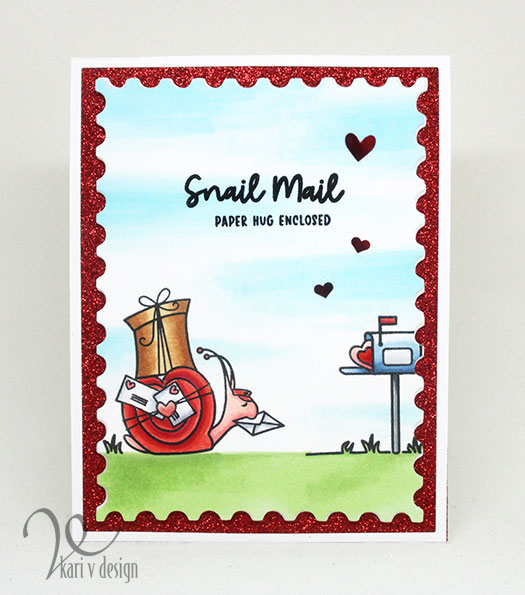
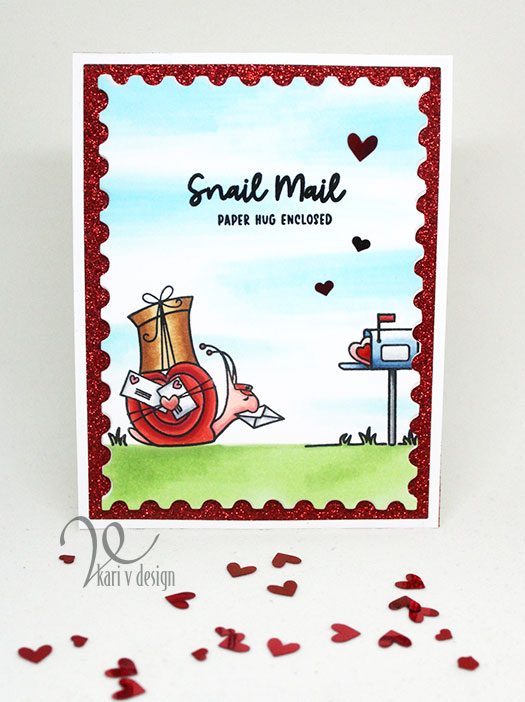
snail-mail-with-postage-and-confetti

He’s called Mr. Snailman and in this card I made him “Valentine snail”….notice his colors. 🙂 The heart confetti is called “Skip-A-Beat” (eep…that’s too cute!) and it’s also available today.

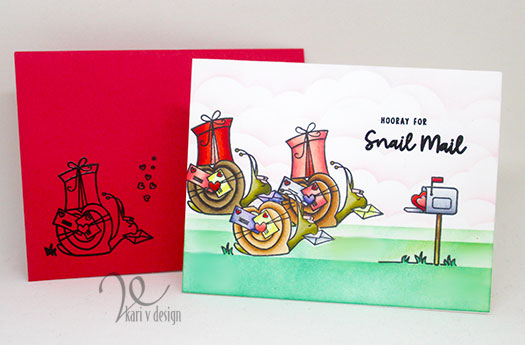
I was having way too much fun coloring him up, so I made another card using some creative masking. I couldn’t resist a matching envelope!

three-snails-with-envelope

TIP: for your envelope…if you want your stamp to stay crisp and not smear in the transit, heat emboss it with clear embossing powder! Here I used Versafine onyx black ink and embossed in clear. I did not color up the image because that envelope is already a nice red.

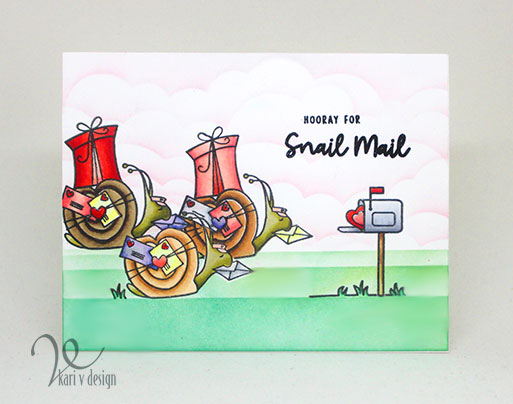
three-snails-pink-clouds

I love this Snail Crew! Delivering happy hugs, no doubt. I love the pink sky…it just feels like a hug.

Hooray for snail mail! Well, that’s it for me today. I hope you enjoyed these projects.
For more information, please visit the Trinity Stamp blog. Happy Day!

snail-mail-with-postage-border

Comments { 0 }
close-up-of-butterfly-with-gold-under

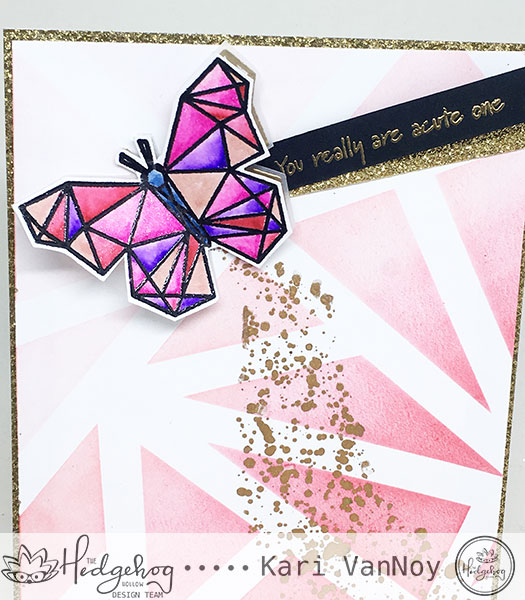
You are acute One

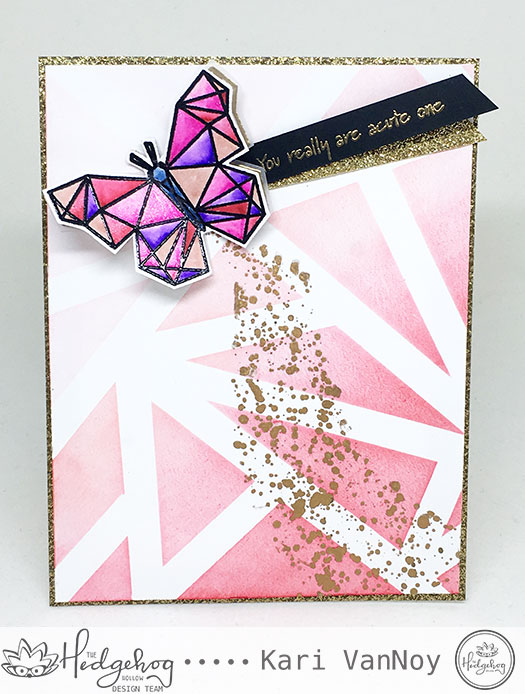
Hi again! Today I’m up on the Hedgehog Hollow blog with a cute Geometric Butterfly card. The sentiment on this card has me laughing…”You really are acute one.” It’s kinda a play on words about those triangles!

acute-one-full-card

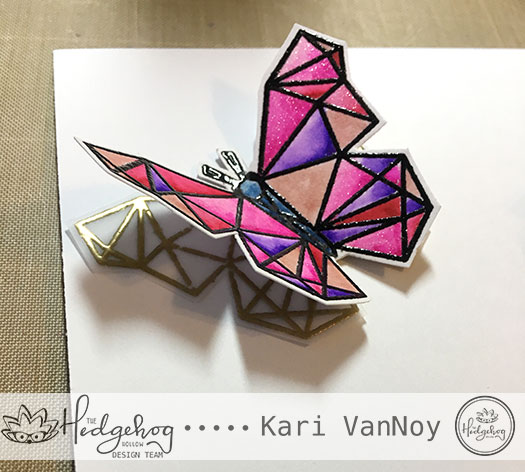
The butterfly is actually two layers:

close-up-of-butterfly-with-gold-under

And I created the background just using post-it tape and distress ink. With a few gold splatters. So easy!

To see the whole tutorial, visit the Hedgehog Hollow blog here.

close-up-butterfly-in-lightbox

Thanks so much for stopping by! I hope you enjoyed this “cute” project!

Comments { 0 }
gold-embossing-new

3 Ways to use a Silhouette Stamp – Sister cards

Hello! Today I am excited to share with you 3 Ways to Use a Silhouette Stamp using the set “Sister Time” by Our Daily Bread Designs.

I have my absolute favorite go-to for using silhouette stamps, and that is to Distress Ink the background, then stamp over it in black ink. But today I have THREE ways to show you!

Disclosure: Affililate links used when possible, at no extra cost to you. By clicking on these links you are supporting my blog just a little and I thank you very much!

  1. SISTER ADVICE

The first way is Distress Inking a panel, and then using a die to cut it out. I used the Flourishy Frame Die and Distress Oxide Inks in Picked Raspberry, Spiced Marmalade, and Fossilized Amber ink here.
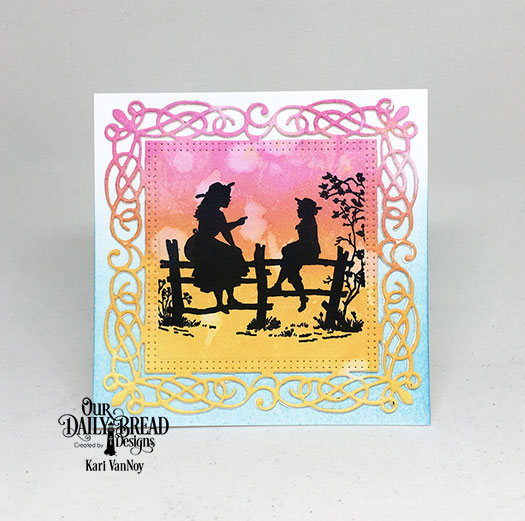
sunshine-sister-advice

I did splatter some water over that background, then I allowed it to try before I die cut the frame. I masked off the edges before adding the stamp from Sister Time in my favorite crisp black ink.

Doesn’t this just look like an older sister giving advice to the younger sister? I love that.

2. LAUGH SMILE LOVE GOLDEN ADVICE

Another way to get more out of your silhouette stamps is to GOLD emboss them. Here I used black paper to gold emboss, then I cut it out using the Double Stitched Square Dies. I added it onto black fun foam before attaching it to the Flourishy Frame Die. I love that die and have used it a lot this month. I used two layers of the frame to give it more dimension and pop!
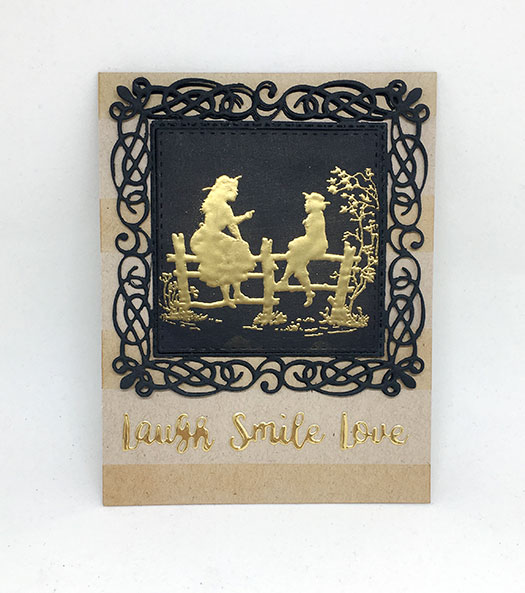
gold-embossing-new

I cut those words out of gold foil paper. But you could also heat emboss them using the same gold embossing powder to make them completely match. My gold colors were just close enough!

The stripes are made using a clarity brush and Tea Dye Distress Ink…I masked off the stripes using Post It tape!

3. OMBRE INKED SISTERS

The last way I have to share with you today is to ombre ink the stamp! Here I used different colors and a Misti. I inked up the first color, then stamped. Added the second color further down the stamp, then stamped. And then the third color at the bottom of the stamp, then stamped again. Having a MISTI really helped with this technique!
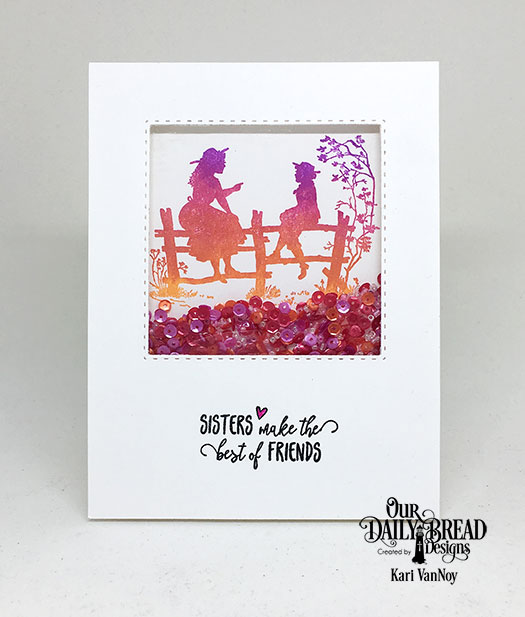
sunshine-sisters-make-the-best-of-friends

I could’t resist turning this into a shaker card using all the matching colors of sequins. I cut out the top layer with the Double Stitched Square Dies, then added two layers of foam tape. Be sure to add the sequins before you tape the panels together!

I can think of a few more ways to using silhouette stamps, but those will have to wait for another day! (How about a watercolored background or Sponge inking inside a shape?) Lol…I could go on.

If you have any other suggestions for a different way to use your Silhouette stamps, please let me know in the comments below. Thanks for stopping by!
Comments { 0 }
Sunshine-flip-flop-lever-card-inside

Cards for Brother

Hello! Today I am featuring the new “Brother In Christ” stamp set from Our Daily Bread Designs. If you have been following me, you know that I don’t make a lot of masculine cards and so this was a fun challenge for me.

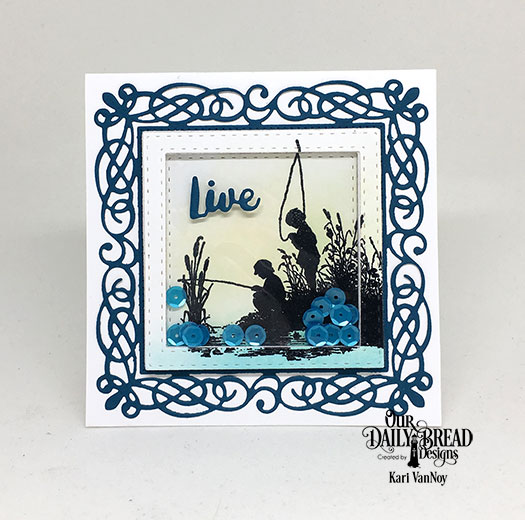
The first card was one I knew I wanted to make just as soon as I saw this new set! It’s a beautiful square card with a shaker element! I wanted the sequins to mimic the look of the water.

LIVE FOR FISHING!

Sunshine-Live-for-fishing

I used the Flourishy Frame Die to create the frame around my scene, but also used the Double Stitched Square Dies for the shaker portion. The stamp of the fishermen fit perfectly inside…and then when I cut the frame with the square dies, added a fun layer of dimension with a portion of the picture outside of the shaker! I’m not sure if I explained that correctly, but I really liked the way it turned out!

The “live” sentiment is from the Inspiration Words Dies.

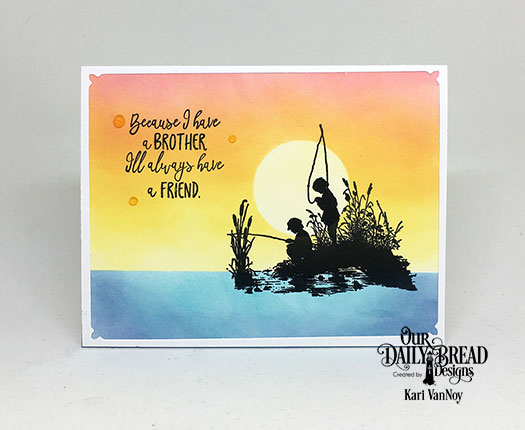
SUNSET FISHING

Then, I knew I had to make a sunset fishing card. We used to love to walk around the vacation lake at sunset and I thought sunset fishing would be fun. After he saw this card, my husband said…”no, you need to go fishing in the morning!” Well, what do I know about fishing? Not much. But I know a sunset fishing CARD was a really pretty idea! Lol.

Sunshine-sunset-fishing

I masked off a circle for the “sun” and strategically placed it on the card just where I knew those fellas would be stamped. Then I sponged on Distress Oxide inks in some of my favorite colors: Abandoned Coral, Orange Marmalade, Squeezed Lemonade and Antique Linen for the sky; Faded Jeans and Peacock Feathers for the water. Then I stamped the image in my favorite crisp black ink.

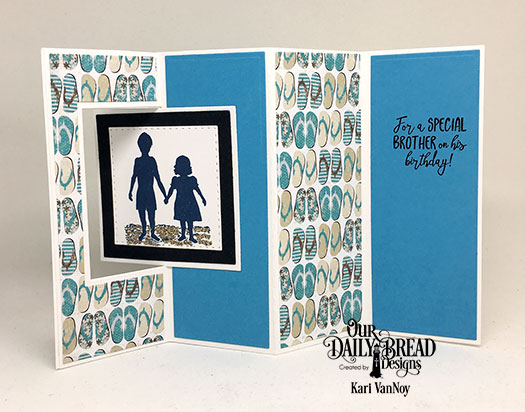
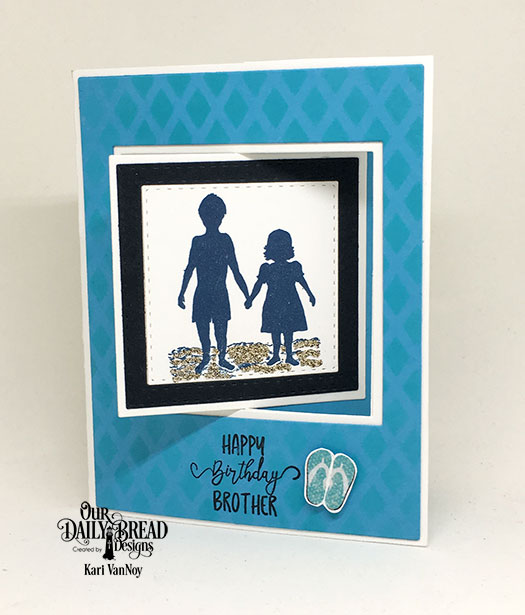
For my last card today using this set, I tried my hand at a Lever Card:

sunshine-flip-flop-lever-card-front-new

Sunshine-flip-flop-lever-card-inside

My brother is definitely a beach kinda guy and he almost ALWAYS wears flip flops, so this card was just a natural. I really love the mix of fonts on these sentiments! I used the Lattice Background Die to ink on a interesting pattern on the front, and then used the By The Shore Collection Paper for the fun flip flops!

I hope you enjoyed a look at the new Brother In Christ stamp set. For more information and details, visit the Our Daily Bread Designs website here. Thanks for stopping by!
Comments { 0 }
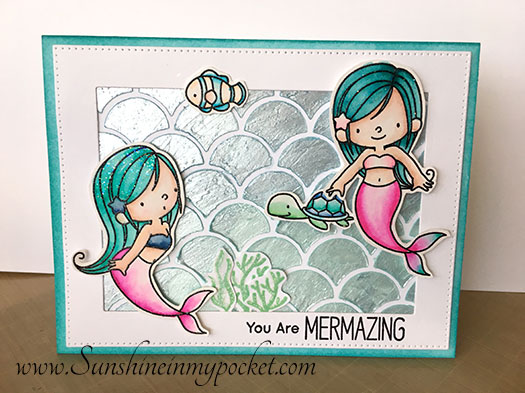
8-17-you-are-mermaizing

You Are Mermazing

Oh, how I love mermaids. My sister & I used to watch the Little Mermaid all the time when we were kids. But we would watch an animated version of the movie, Marina was the mermaid’s name and the little fish’s name was Fritz, instead of Flounder. I think it is the one based on the Hans Christian Anderson story. It had a very sad ending (she turned into the foam on the waves of the ocean), but we loved it!! Have you ever seen this version?

Anyway, I was so happy to win the Mermazing Stamp Set from My Favorite Things! Here is the first card I have made with this set:

8-17-you-are-mermaizing

I used Modeling paste in pearl white, and colored it with Distress Inks for the background. Then I colored the mermaids with Zig Clean Color Real Brush Markers. There is so much shine on this card! Notice the glittery mermaid hair. My mermaids would all have glittery hair, of course!

Entering the MFT Color Challenge here.

Comments { 0 }