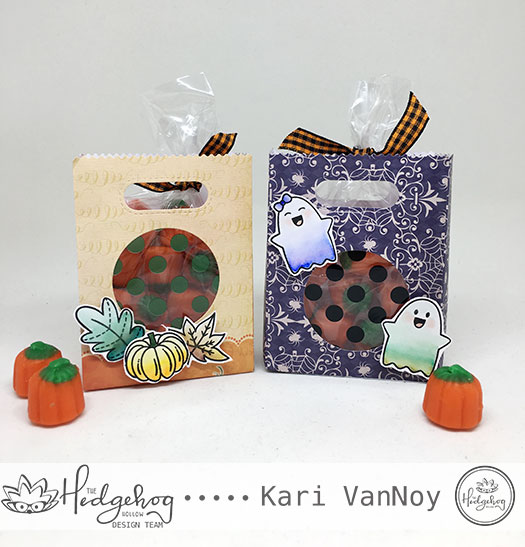
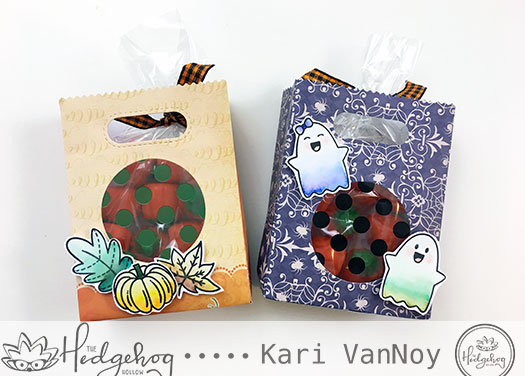
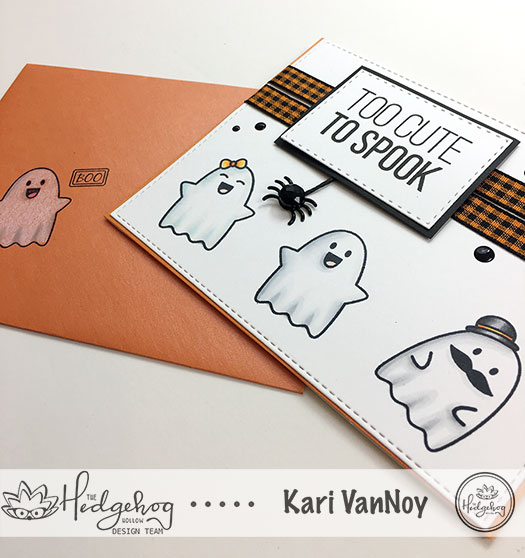
Hi there! I’m so excited to be guesting on the Hedgehog Hollow blog today, sharing a fun technique for you to try. It’s a “Dip-Dye” technique using just a few watercolor markers. Just look at these cute ghosts:
I hope you will pop on over to the blog to check out the post AND video I have linked there!
To see just how you can easily try this dip-dye technique, visit the blog here.
Hello! When you think of coloring ghosts, do they rank right up there with panda bears, penguins and polar bears?! Right…they are white (or clear) so they should be so easy to color!
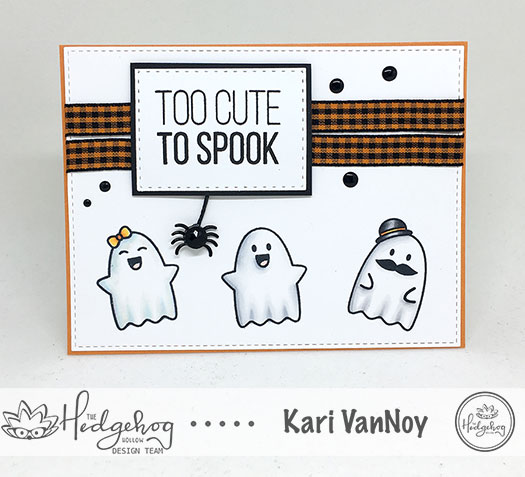
Today I am going to share with you my very favorite…and easy….color combinations for coloring ghosts!
All the products I use today are from the October 2018 Hedgehog Hollow box, and those ghost images are an exclusive set created by the Ink Road Stamps! The ribbon, Nuvo drops, and little spider brad also come in the box!
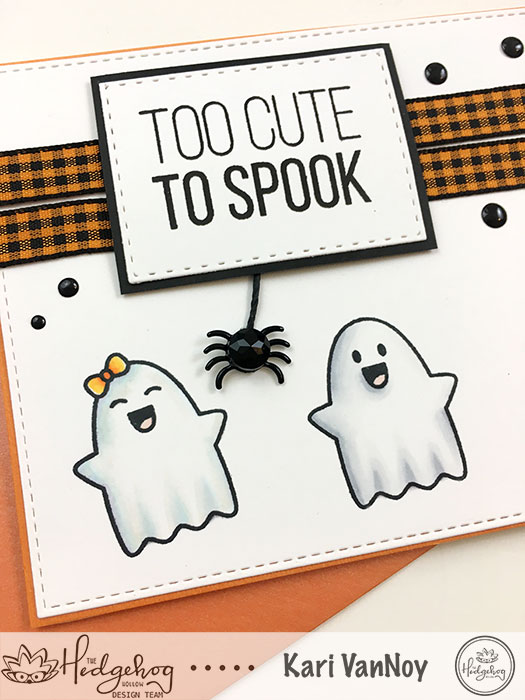
Can you see a difference in the way they are colored? I used a different combination for each so they would each have their own look. Subtle, yes…but in real life so effective!
For that first little ghost I used these Copic colors in this order: B0000, BV00, B000. These add a slight purple/blue undertone. Then I went over all of those colors with E40.
For the ghost in the middle, I used Cool Grays in C00, C1, C3. I first went over the ghost with the C00 where I thought the shadows would be. Then I used the darkest C3 over that, blended out with the C1 and back to the C00 to smooth it all out.
The last ghost is colored up with Warm Grays: W00, W1, W3. I used the same method as above for this cutie with a mustache!
For the envelope, I simply stamped one of the ghosts and the “boo” (using Staz On ink…this envelope is a little slick so I didn’t want that ink to smear!)
I colored it using prismacolored pencils and burnished it a little with a blending stump to smooth it out.
If you are interested in seeing everything included in this box, check out my video here or on YouTube:
I hope you love these little ghosts as much as I do!! For more information or to get your very own box with exclusive stamps, visit The Hedgehog Hollow here.
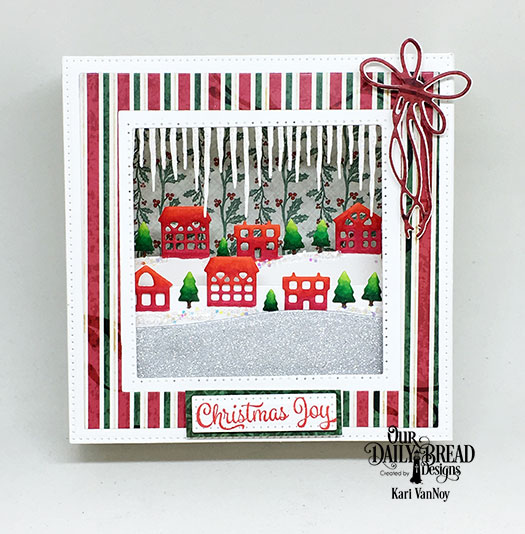
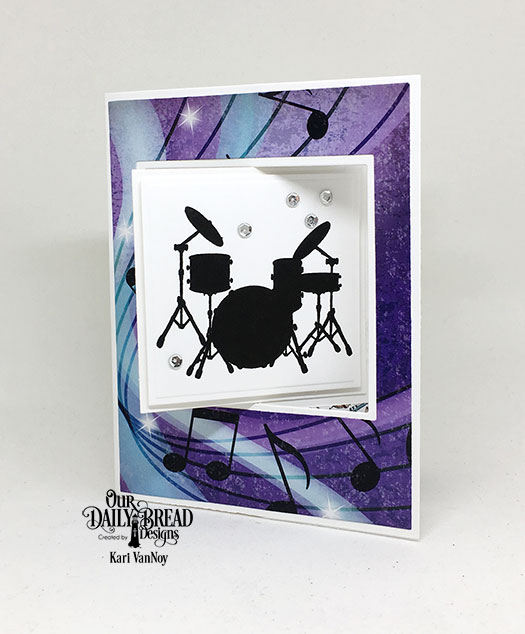
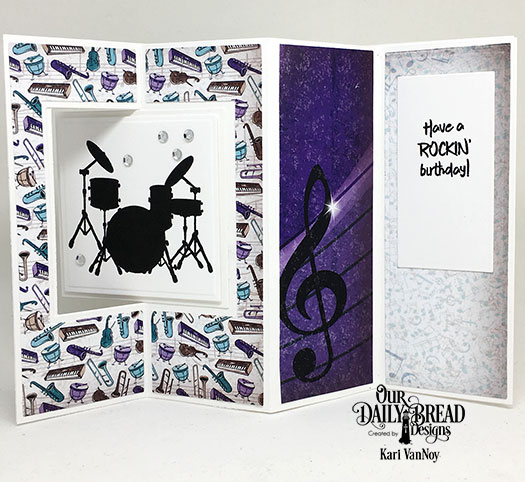
Hello! I’m so excited to show you some of the October new release products from Our Daily Bread Designs! This month brings some fun Christmas themed products and a fantastic Diorama Die! Have you ever made a Diorama card? They are so much fun to build scenes with lots of dimensional layers.
Here are are few of the Diorama Cards I made:
I used these new products on this diorama card: Diorama with Layers, Neighborhood border die, Icicle border die. And this is kind of like a box card, where you can fold it down to fit into an A6 size envelope for mailing! So cool!
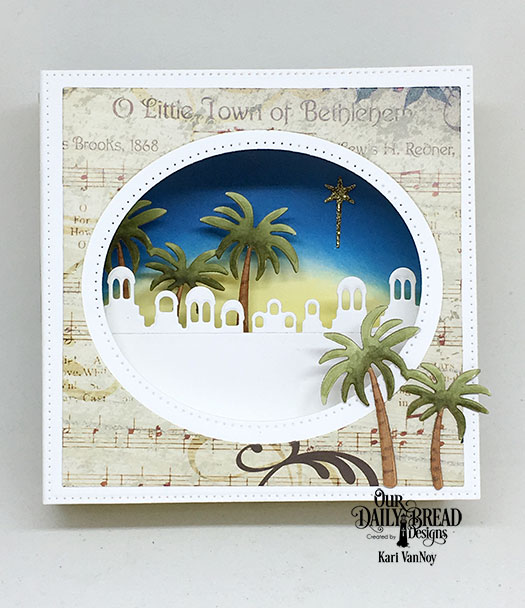
This card uses the Diorama Card and Bethlehem dies (the Bethlehem dies include the buildings and the palm trees! I love those palm trees). I used Distress Oxide ink to add color to the very back of the diorama, and I used paper from this pack to add to the front.
I love that the Diorama with Layers die includes an option to cut an OVAL front OR a SQUARE front! Did you notice that the fronts on each of these two cards was a different shaped opening?! What a brilliant design for this die.
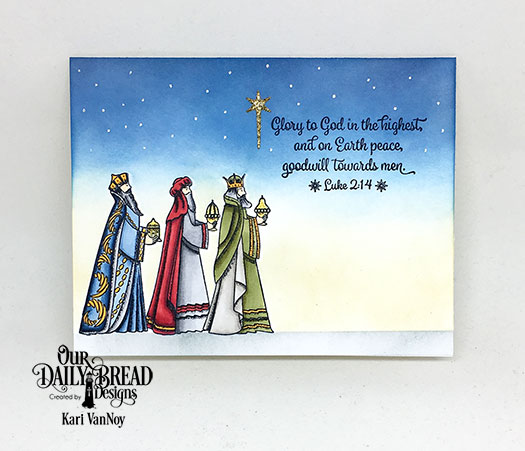
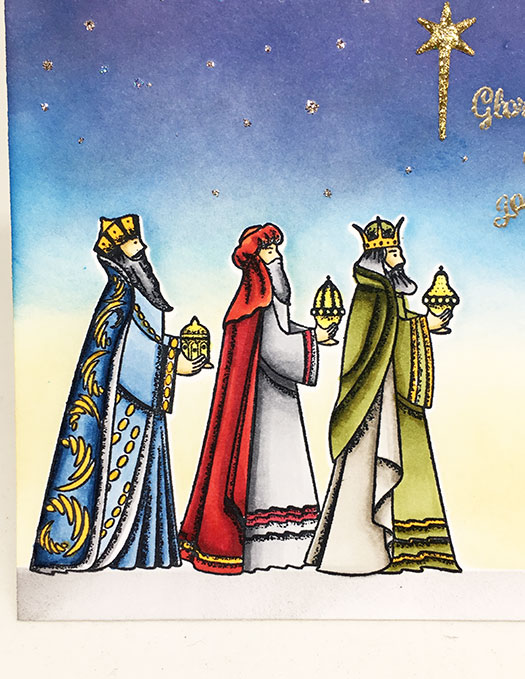
And here are the Three Wisemen with the Bethlehem border in the background. These wisemen are so beautifully detailed. The star is from a previous release called Holy Night die.
But these products can also be used to create a regular card:
Here I colored up those Wisemen with Copic markers and added an inked background with a sentiment from the Christmas Verses set. Here’s a close up of those wisemen with their wonderful robes:
Such a fun release! There are a lot more products in this release…so don’t stop here!
For more inspiration and to see all the new products, visit the Our Daily Bread Designs blog here.
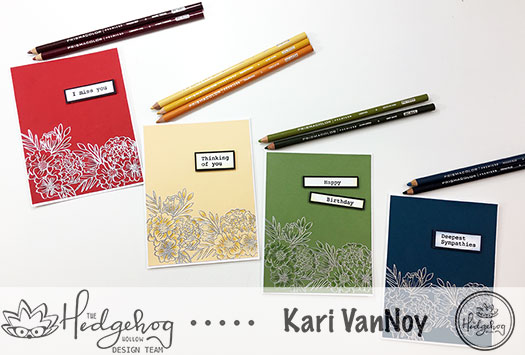
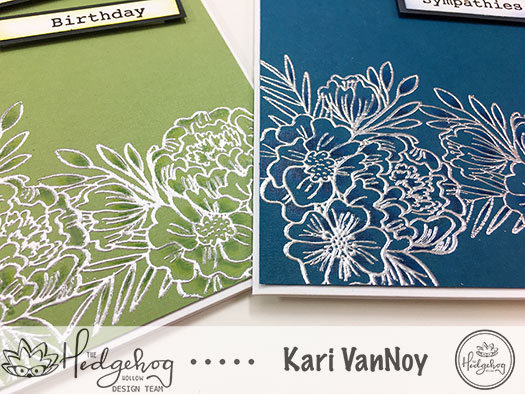
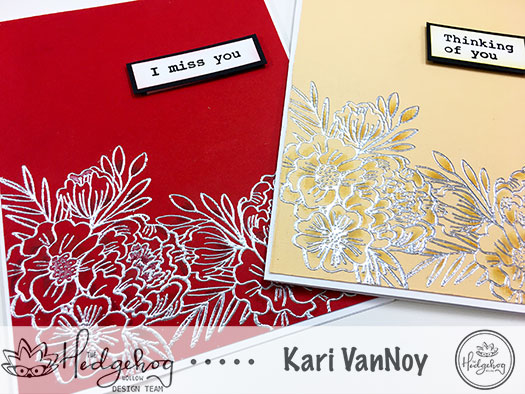
Hello! Today I’m up on the Hedgehog Hollow blog to share with you some easy and beautiful monochromatic cards.
I used silver embossing powder and colored pencils to get this fun look:
Head on over to The Hedgehog Hollow here to get all the details! Thanks for stopping by. 🙂
Hi I'm Kari. I'm a creator, a card maker, and a day maker! I am Lucky in love to a supportive husband, blessed to raise 3 kids (all moved away now!), and happy to be watched over by 2 dogs.
I originally started this blog to remind me to be happy amid adversity, and I hope it inspires you, too!