sunshine-foiled-blue-poinsettia

Foiled Ornaments with ODBD

Hello again! Today we are taking a look back at the November release from Our Daily Bread Designs and I have some foiled ornament cards to share!

This November release was amazing, with poinsettias and ornament dies that I absolutely love. I have three projects to share with you today, all using foil!

sunshine-red-foil-ornaments

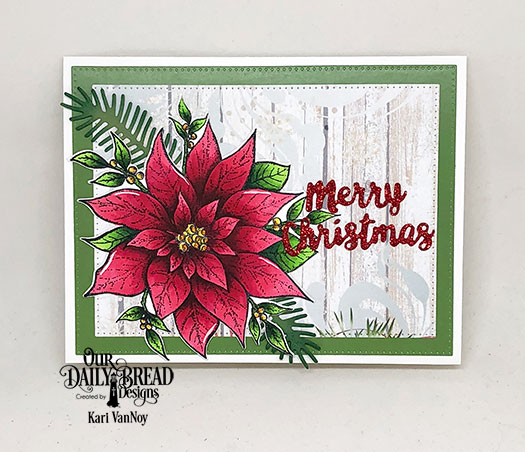
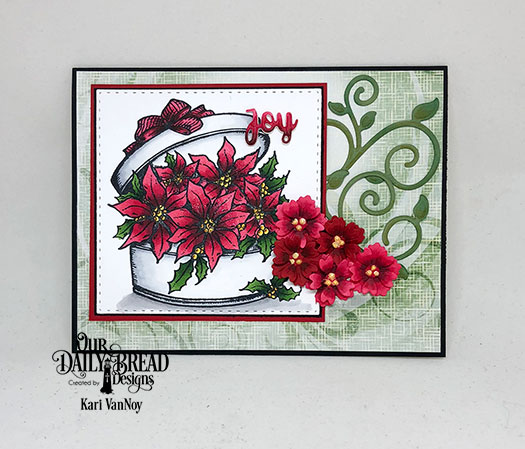
For this one, I cut the Retro Ornament dies using red foil paper. Aren’t those ornament designs just dreamy? I used paper from the Christmas Collection 2018 paper pad. The holly leaves are from the new Christmas Bells set. The JOY sentiment comes from the new Holiday Words dies.

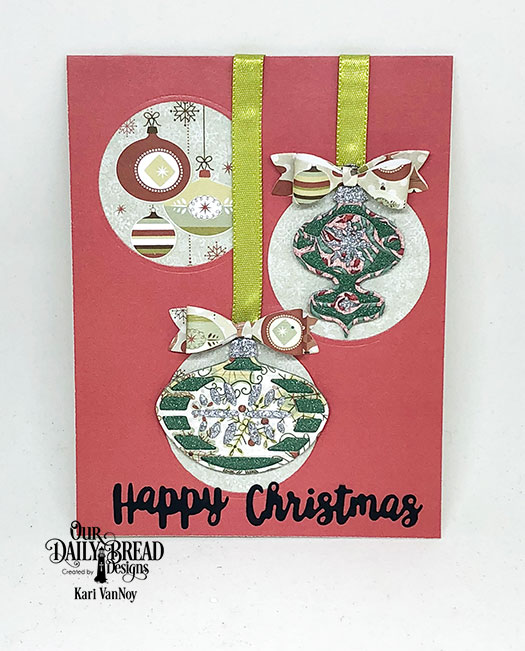
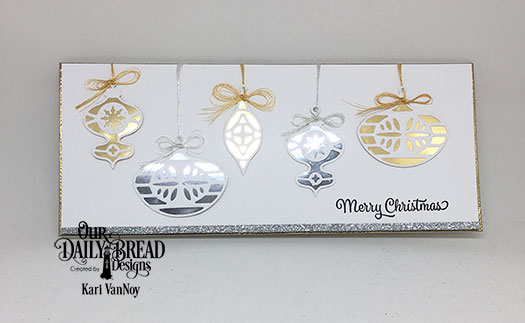
This next card is a larger size card that fits into a #10 business envelope. It measures 9″ x 3 3/4″ and really works well for all these ornaments! I cut two with silver foil paper as the inside, and three with gold foil paper as the inside. I then used thread in both silver and gold to use as the hangers for these ornaments.

Foiled cards are notoriously difficult to photograph, so you will have to remember they are silver and gold! In real life this is just stunning! Around the edges, I used gold embossing powder. To finish it all off, silver glitter tape along the bottom and the Merry Christmas sentiment (from this set here).

sunshine-silver-and-gold-ornaments-2

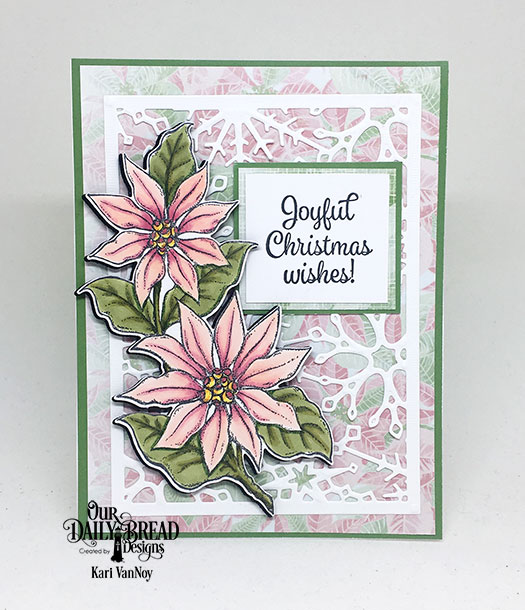
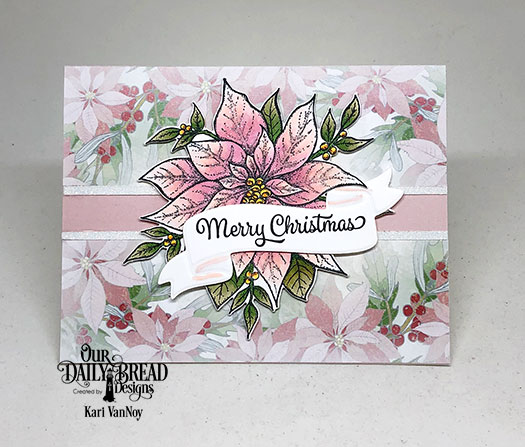
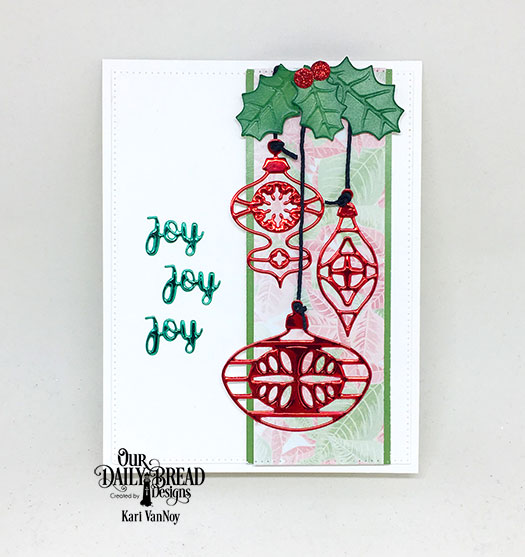
The last card I have today, is a poinsettia from the Merry Christmas set that has been foiled in teal foil, using a Minc Machine to add the foil. It is so fun to add some fun foil touches to cards! For this card, I stamped the poinsettia image, colored it with copics, then restamped it using clear embossing powder. (To re-stamp it in exactly the same place, I used the MISTI.) Then I heat set that embossing powder with my heat gun, added teal foil to the top, and ran it through my Minc. You could also use a laminator.

sunshine-foiled-blue-poinsettia

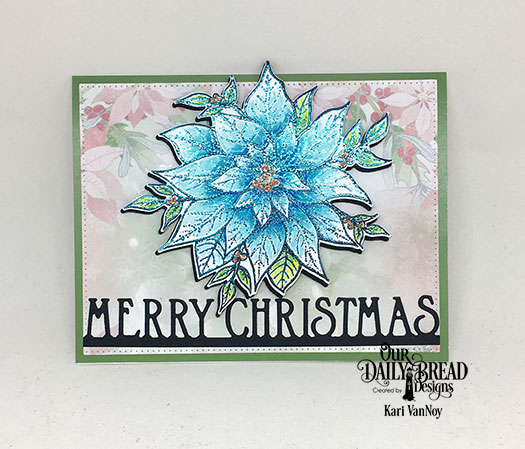
I found that in order to have the foil stay nice and thin on the lines, I changed the setting to a “1” on the Minc and added a piece of cardstock to the top of the foil before running it through.

I hope you enjoyed these projects today! I really love the look of foil, especially this time of year!

For more inspiration using the November Release and to see the other designers projects, be sure to visit the ODBD Blog here.

Comments { 0 }
gingerbread-wishes-shaker

Gingerbread Wishes Shaker Card

Hello! Today I’m up on The Hedgehog Hollow blog showing you just how easy it is to make a shaker card using the sweet images from the November box. These stamps from Kindred Stamps are too cute and I have so many ideas for cards. Today, here’s a sneak peek of my project:

gingerbread-wishes-shaker close-up-gingerbread

Aren’t those gingerbread men so cute! Hint: I stamped them on brown cardstock and used white colored pencil to add the details. 🙂

So head on over to the blog here to get all the details. And while you are at it, please leave me a sweet comment to match these sweet gingerbread people! Thanks for stopping by.

Comments { 0 }
sunshine-poinsettia-trellis

Poinsettia Love

Hello! Today I’m sharing some of my favorite POINSETTIA stamp (and die) sets! These are so beautiful and I couldn’t resist making a bunch of cards using the new November 2018 release from Our Daily Bread Designs.

sunshine-pink-poinsettia-spray

I colored this up in some pink Copics in the colors E50, R81, R83, and R85 so I could match that beautiful new Christmas Collection 2018 Paper from Our Daily Bread Designs. I used the Snowflake Sky die to cut out the white snowflake background, and attached the poinsettia spray to some black fun foam to add dimension.

This next one shows the large poinsettia stamp set. It also comes with it’s own die to cut out the image! I love that it is included! The size of this stamp is perfect to fill an A2 size card.

sunshine-red-poinsettia-large

I added some Pine branches from this die, and that beautiful paper with the woodgrain is also from the new paper pack. The Merry Christmas sentiment is red glitter paper cut out with the Holiday Words dies.

The last card features the same poinsettia die as the first card, and this time I added two of the poinsettia sprays over the Lattice Background Die.

sunshine-poinsettia-trellis

I love that you can mix it up a bit by just adding another spray of flowers. I also love how the leaves turned out! I used a classic Copic green color combo in YG17, YG67, and YG03.

I hope you enjoyed these beautiful poinsettia projects today! Have you started on your Christmas cards yet? If you are looking for poinsettias to add to your holiday cards, they are on sale as a bundle, which you can check out here. The bundle includes the paper pack I featured here, as well as the Poinsettia Box stamp set…which is also so beautiful! So go ahead and check it out.

Thanks for stopping by!

Comments { 0 }
gingerbread-house-close-up

Gingerbread Scene with The Hedgehog Hollow

Hello! Today I am up on The Hedgehog Hollow blog sharing my first project with the November 2018 box. This box comes chock full of awesome supplies and sweet gingerbread stamps from Kindred Stamps!

Here is a sneak peek of my project:

gingerbread-house-card gingerbread-house-close-up

Head on over to the Hedgehog Hollow Blog for all the details!

And if you haven’t seen all the goodies in the new November box, click below to watch my unboxing video, or watch it on YouTube:


Thanks for stopping by! Have a sweet day.

Comments { 0 }
sunshine-retro-ornaments

November Release for Our Daily Bread Designs

Hello again! I’m sharing some cards using the November 2018 release from Our Daily Bread Designs. This month is filled with poinsettias and ornaments and it is beautiful!

First up is this large poinsettia stamp and die set called “Merry Christmas.” This is my new favorite poinsettia of all time. It is so detailed and large enough to fill an A2 size card!

I love that this set includes the die to cut out that beautiful poinsettia.

sunshine-pink-poinsettia-with-banner

The background paper is a part of the new Christmas Paper Pack 2018. I had to create a pink poinsettia just so I could use this dreamy paper featuring the blush colored florals. The banner die is from a previously released set here.

Next is the fun Poinsettia Box stamp. This one is so different from anything I’ve seen. Here I’ve paired it with some die cut florals and a sentiment “Joy” from the new Merry Messages die set.

sunshine-new-poinsettia-box

I hope it makes you think of overflowing joy, like it does me! I love the look of the flowers falling out of the box 🙂

The last card I’m sharing today features the new Retro Ornaments set. I’ve already made a sneak peek card with this set using Copic markers to color them (find it here); and today I’m using the new Retro Ornaments Paper Pack with these fun ornaments.

sunshine-retro-ornaments

Don’t these just scream RETRO? Lol. I have so many projects I have in mind with these fun dies.

I hope you enjoyed these projects today. For more inspiration using the November Release and to see the other designers projects, be sure to visit the ODBD Blog here.

Thanks for stopping by!

Comments { 2 }