Archive | Recipes RSS feed for this section
SUNSHINE-all-three-cards-different-layers

Sushi Cards!

Hello! Today I am here to share some fun sushi cards with a few favorite stenciling techniques. Have you ever struggled to create a scene card? Well, here are some easy techniques to make your cards shine!
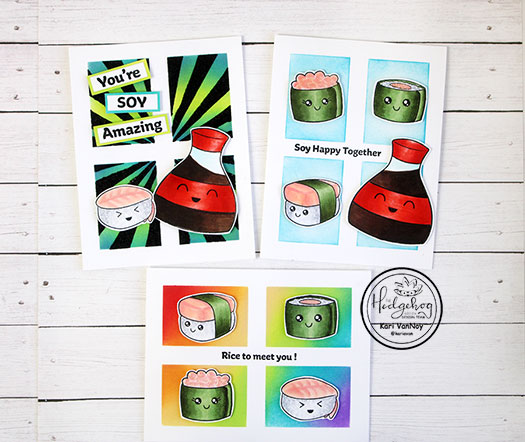
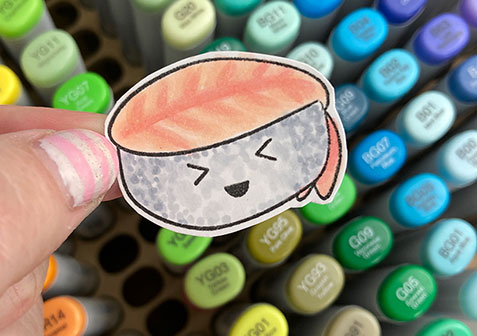
I had so much fun coloring up these images. I added some extra details where I thought it was needed: like the lines on the shrimp, and the lines on the salmon wrap (which turned out a little looking like a pink eraser! Lol). But these details are fun and give so much extra interest.

For the rice, I used Cool Greys to dot the color on…to give it a feeling of rice granules.
Watch the video below or in HD on YouTube:

I’m using a simple window stencil on all three cards, then on the black glitter rays I used a DOUBLE stencil technique. (It’s sooooo easy, and yet it’s still one of my favorites!)
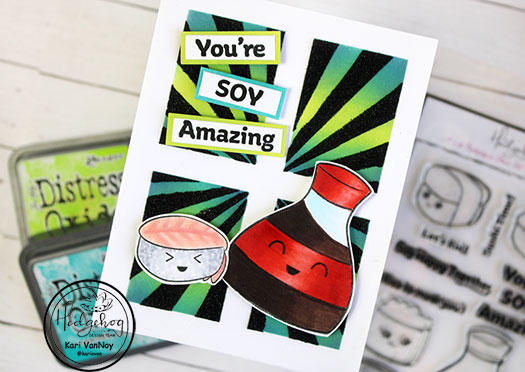
You may have noticed that for the way I positioned my soy sauce, I colored the liquid in the wrong direction! But most people won’t notice, and so I say JUST HAVE FUN with your coloring and don’t worry about the way it lands or the light source. You have plenty of time to worry about that later on…
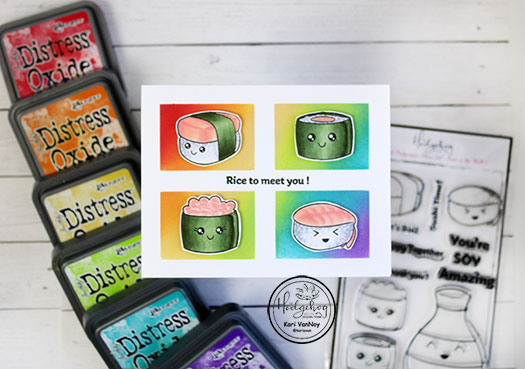
I love the rainbow inking in a diagonal direction on this one. I think any way you ink the background will look adorable with these sushi characters. I mean, they are just so cute!

I’m often asked what supplies I use to make my cards and projects, so I’ve put together a list using affiliate links when possible. If you make a purchase with these links I may receive a small commission. These help me to keep up with blog costs and continue bringing you fun projects. Thank you so much for your support!
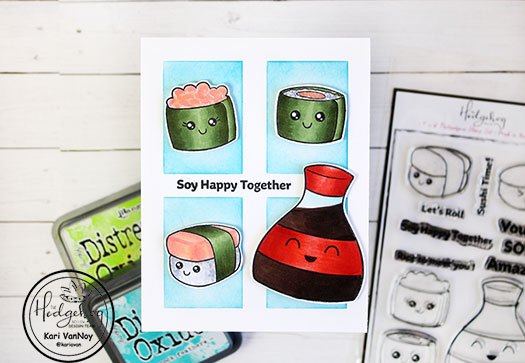
I added glossy accents to the caviar and the California roll (or is it a Vegas Roll? Who knows….) and it catches the light and adds another element of fun.
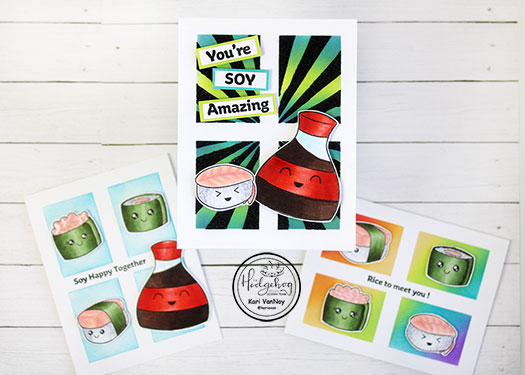
I hope you enjoyed these sushi cards today! I don’t normally enjoy sushi, but I do LOVE them on a card! Lol. See you soon!

Comments { 0 }
pecan-tassies-2

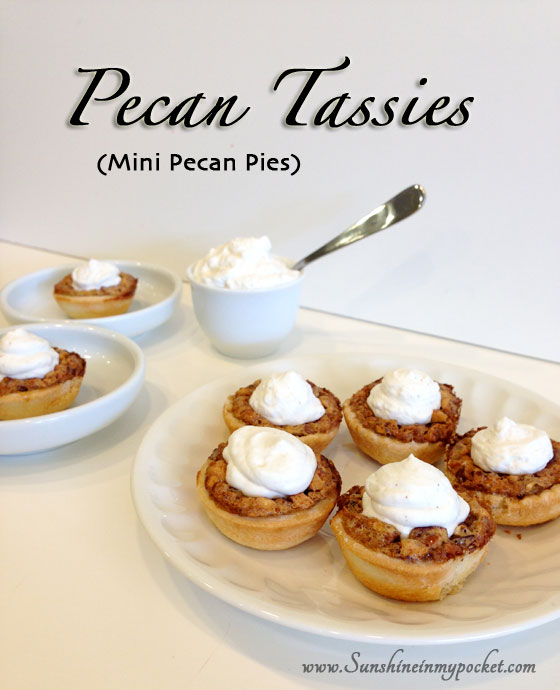
Dose of Sunshine Monday — Pecan Tassies

Happy Monday! I’m SO excited for Thanksgiving this year. My very favorite day of the year is the day BEFORE Thanksgiving, because that’s the day my Mom & I spend the entire day baking, cooking and getting ready for Turkey Day. One of the things we make is homemade pecan pie. And my grandmother has a nice twist on pecan pie that I just love.

Announcing: a much requested recipe…my grandmother’s Pecan Tassies.

pecan-tassies-2

I’m over at Mom Endeavors with the full recipe and instructions; go check it out here.

Have you ever had a mini dessert bar for Thanksgiving? I think this would make a great addition to a mini dessert table spread, along with these Mini Pumpkin Pies. What else would you add?

Comments { 0 }
individual-fresh-peach-cobbler

Peach Week Wrap Up

If you missed any of the great peach recipes, here’s a quick wrap-up! Mmmmm….I LOVE all these peach treats!

individual-fresh-peach-cobbler

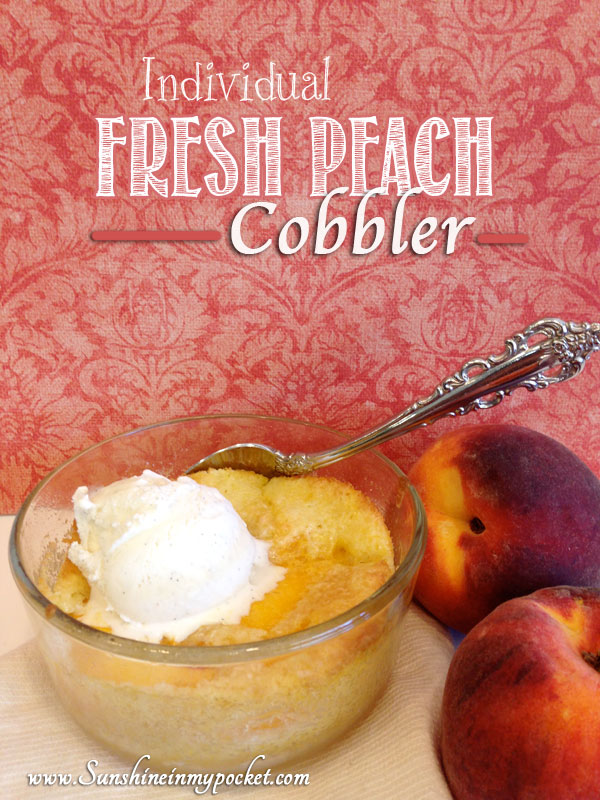
Fresh Peach Cobbler

peach-mango-salsa

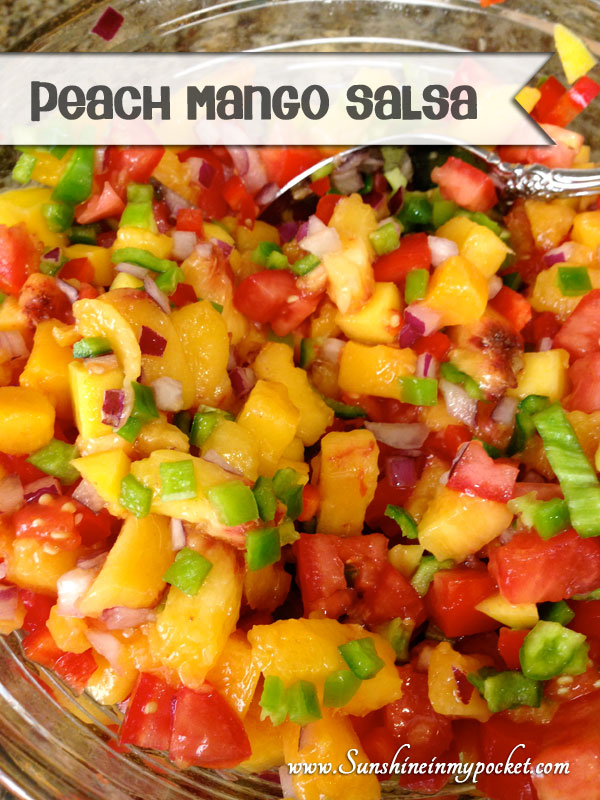
Peach Mango Salsa (for salad or chicken or tacos!)

fresh-peach-muffins

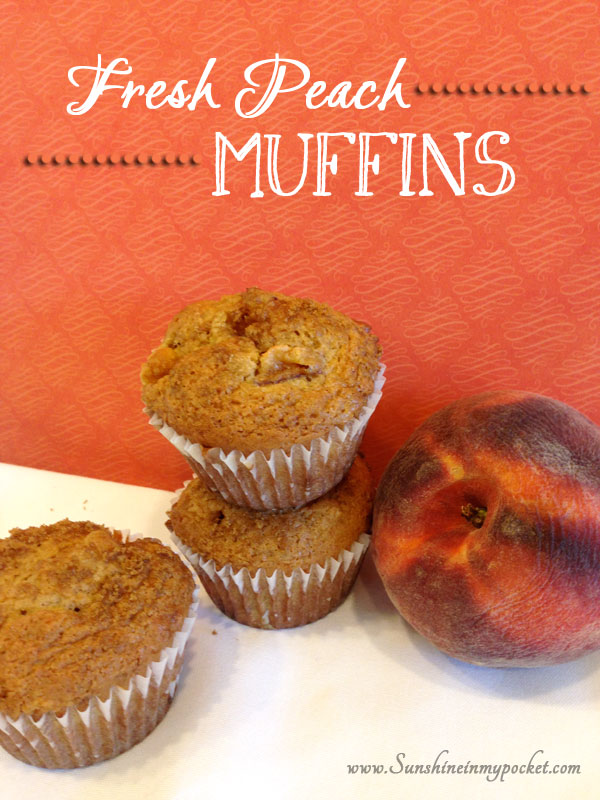
Fresh Peach Muffins (with Brown Sugar Streusel)

homemade-peach-jam-halloween-style

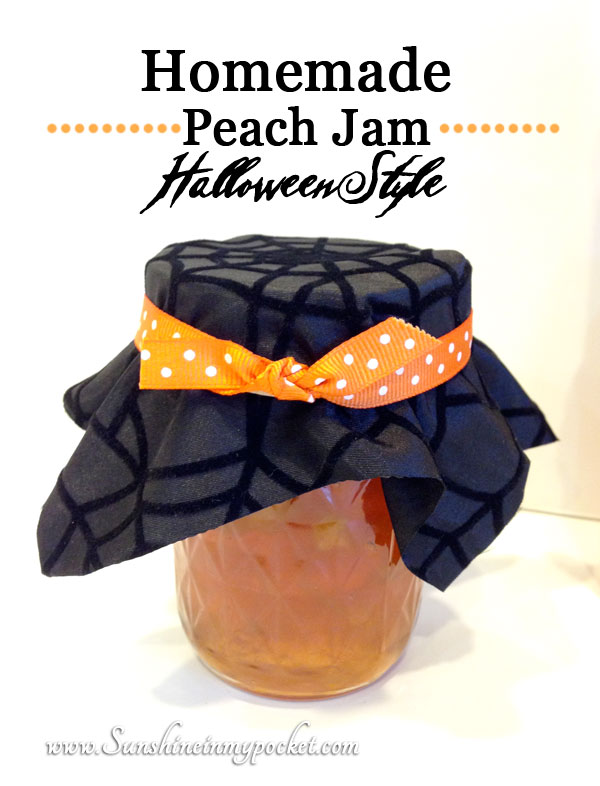
Homemade Peach Jam

peach-freezing-tips

Peach Freezing Tips

grilled-peach-salad

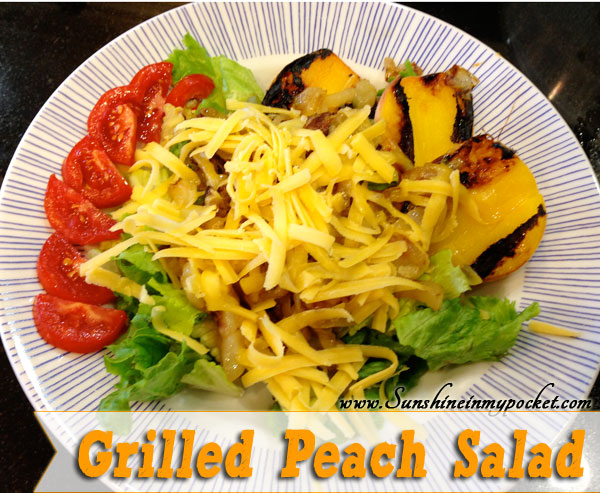
Grilled Peach Salad

I loved having Peach Week! I think we’ll do this again next year….do you have some peach recipes you’d share?

Comments { 0 }
peeling-peach-skin

Tricks to freezing peaches

We are ending the week full of peaches, but I have some tips for freezing peaches!

peach-freezing-tips

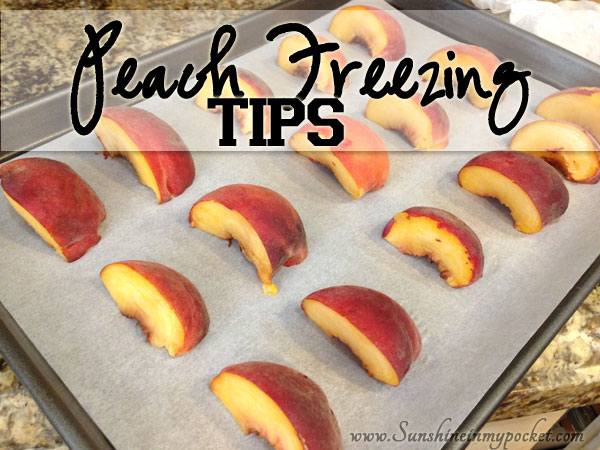
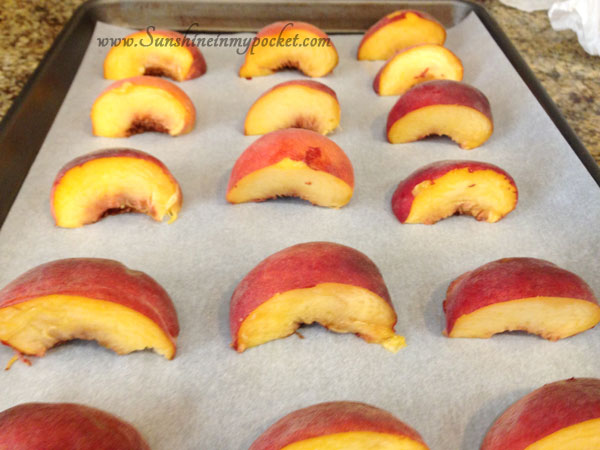
When you have lots of extra peaches, it’s great to freeze them and then use them for  smoothies or even peach syrup. Cut them in half, remove the pit, and cut the halves in half. Don’t take the skin off. I know what you’re saying “But I don’t want those fuzzy peach skins!

I know, but wait…here’s an awesome trick I learned from my grandma!

Before we get to the trick, put your cut peaches on a baking sheet, and freeze them this way.

peaches-on-baking-sheet

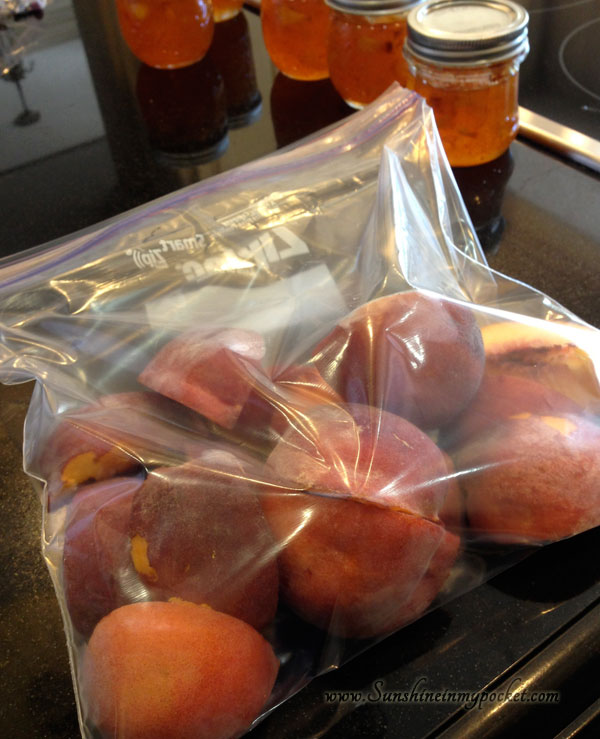
Once frozen, remove them from the tray and put them in a freezer baggie. If you freeze them on the cookie sheet first, they won’t stick together in the bag.

in-ziploc-bag

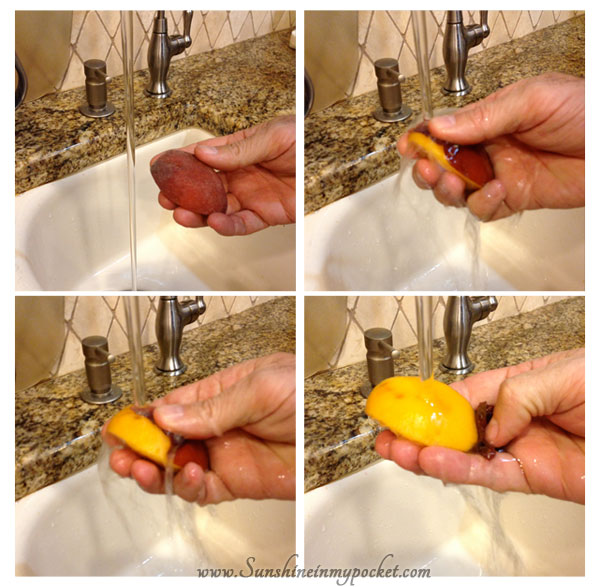
Now here’s the trick: when you are ready to use them, take a peach piece and RUN IT UNDER WATER….the fuzzy peach skin will slide right off!!

Awesome, huh?! I know, I wasn’t sure if I should believe my grandma, but we tried it and it works! Only the skins slide off, so you use more of the peach, which is fantastic. (this is my husband’s hand…demonstrating the trick for you)

peeling-peach-skin

Simple. And ready for a smoothie. 🙂 So try this trick and let me know what you think!

Comments { 0 }
last-peach-jam-pict

Peach Jam (Halloween Style)

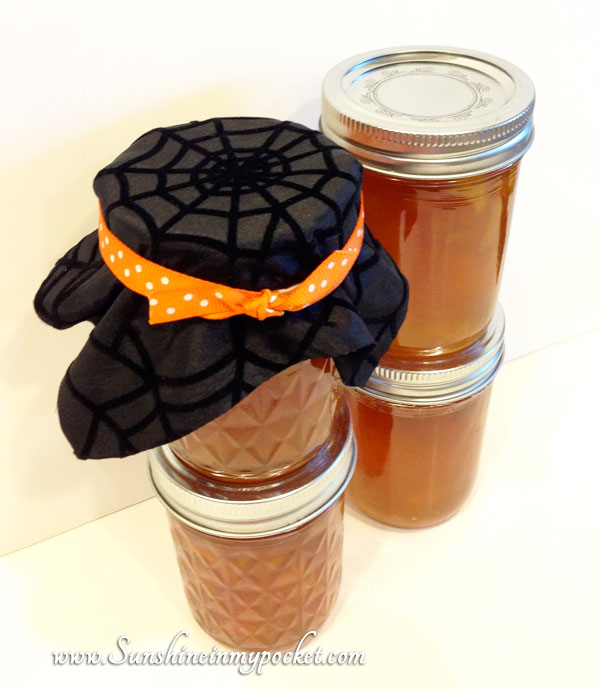
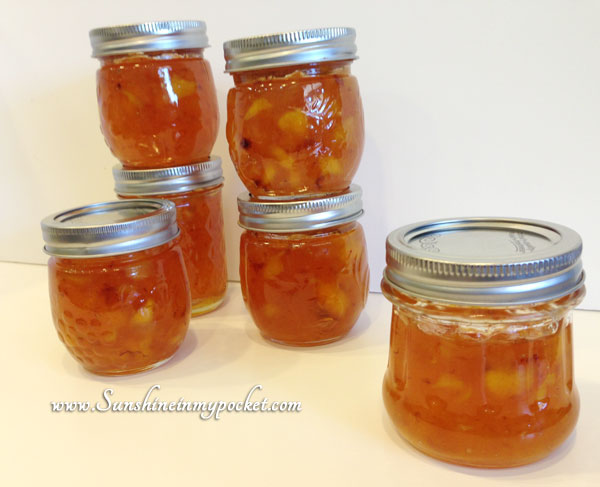
Homemade Peach jam is one of life’s best! And it lends itself well to this time of year…with that beautiful orange/peach color! In honor of Peach Week and Halloween…how about some Peach Jam Halloween Style?!

homemade-peach-jam-halloween-style

I’ve made a lot of peach jam in my life. And the BEST jam that always turns out is the one using SureJell. My recipe I share today is the one I love the most using that pectin, which can be found at most grocery stores.

Start out getting all your ingredients together:

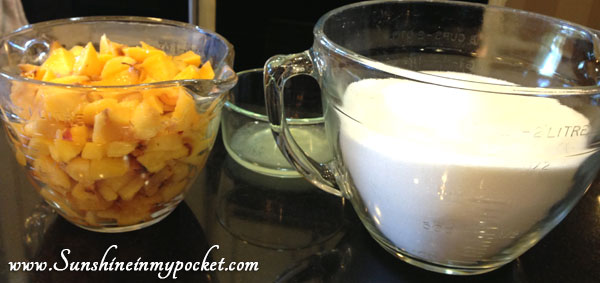
the-ingredients-gathered

4 cups Diced peaches (I used about 5 large peaches), 2 T. lemon juice, 5 1/2 c. sugar, 1 box Sure Jell pectin (not pictured).

I like to dice my peaches in a large dice…I find that the peaches cook down enough to make delicious jam, but still leave a few fresh peach bits in the jam. That’s the way I like it. But you can cut your peaches smaller if you prefer a smoother jam.

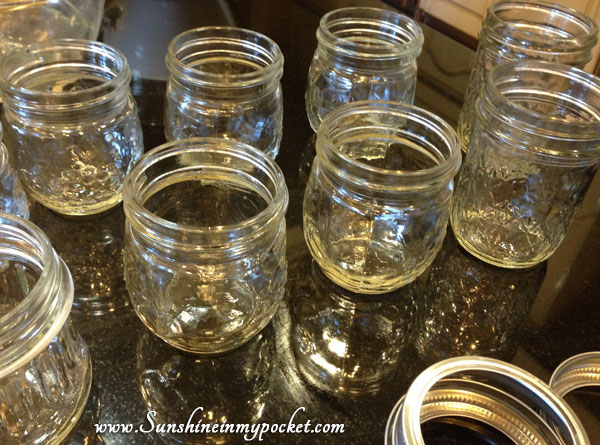
get-the-jars-ready

Have your jars ready to go. I sterilized mine the day before in the dishwasher…here they are clean and dry and ready to go.

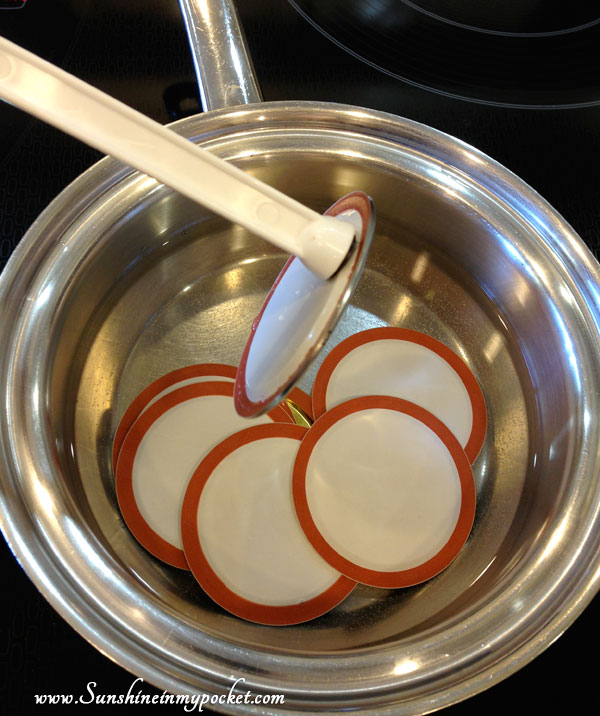
Also get your lids ready by boiling some water, then put the lids in and turn the heat to warm. Keep them warm while you are making the jam.

getting-the-lids-ready

See that magnet that I’m getting the lid out of the hot water with? That little tool is SO valuable and I got it years ago in a canning kit. It makes getting those lids out so much easier!

start-with-peaches-and-sure-jell

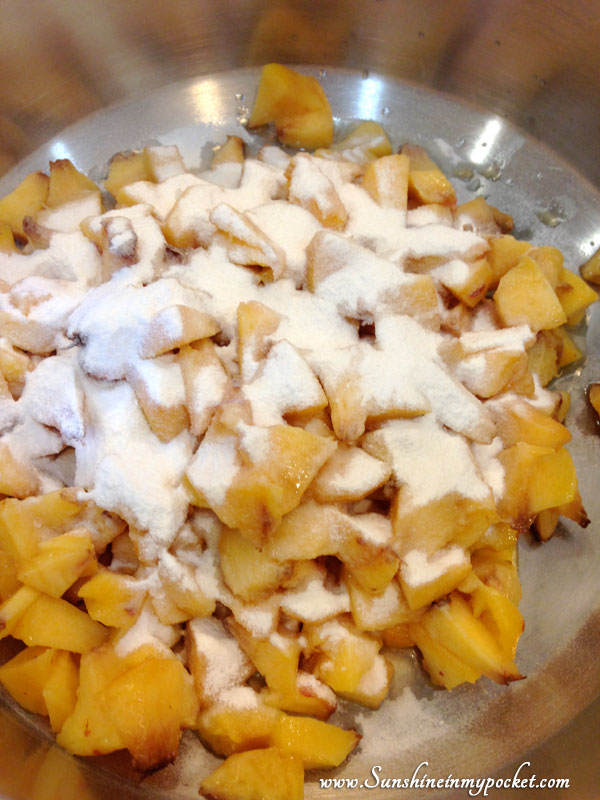
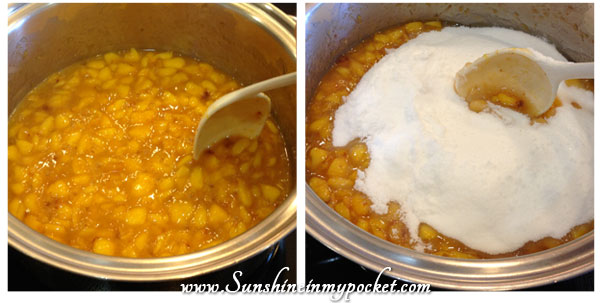
Now, let’s get that jam cooking! Put the diced peaches, lemon juice, and Sure Jell pectin in a large pan. Stir continually until it comes to a full rolling boil (it still bubbles even when you are stirring). This will take a few minutes. You will see that the peaches start breaking down during this process.

cooked-peaches-add-sugar

After it reaches that full boil, add the sugar quickly and stir. Cook until it comes to a full boil again…then cook at this boil for a full minute. I set the timer to make sure it’s fully cooked.

jarring-the-jam

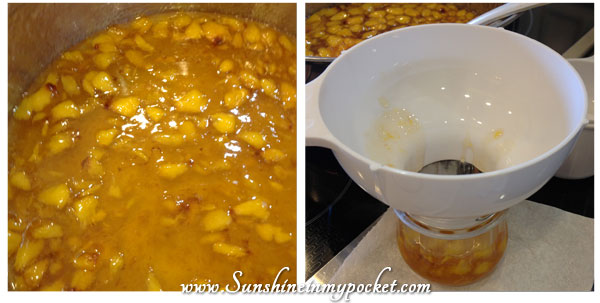
Now it’s ready to jar! Spoon it into your jars using a wide-mouth funnel. Fill the jars up all the way to the top (leaving about 1/8″). Get a lid out from the hot water, dry it off and place it on the filled jar. Add the bands. And process them according to the instructions in the pectin box. (This depends upon your altitude, etc.)

jam-ready-to-go

Isn’t it beautiful?!

last-peach-jam-pict

There’s nothing better than homemade peach jam served on homemade bread! And wrapping them up with some orange ribbon and Halloween spiderweb fabric (from JoAnn’s) is the perfect neighbor/friend gift! Have you ever made homemade peach jam before?

Comments { 2 }