Archive | Paper Crafting RSS feed for this section
!blog header blog hop

Four Cards with Scrapping For Less

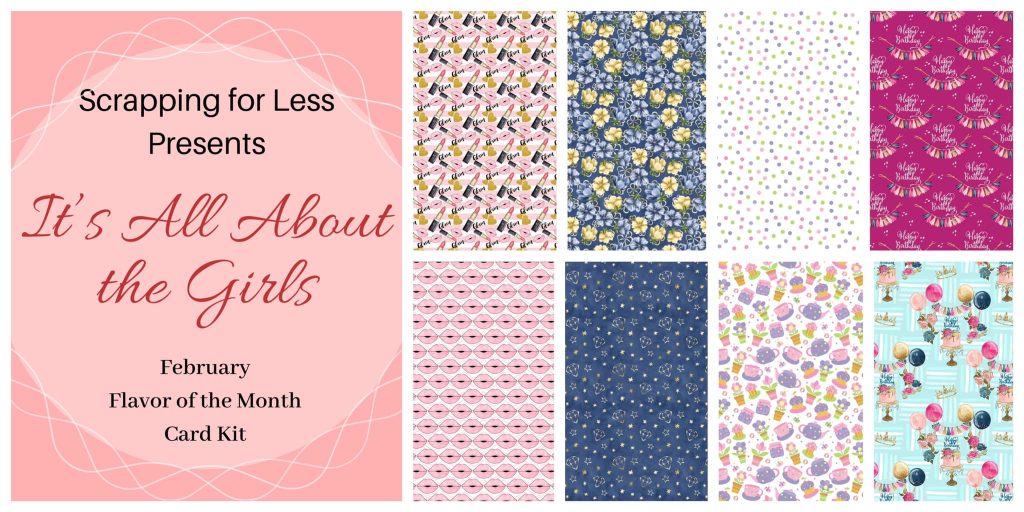
Hello! Today I’m participating in a blog hop with Scrapping For Less featuring the February card Kit! It’s All About the Girls this month and you know that’s right up my alley. There’s a giveaway, so stay tuned for instructions on how to enter, below!
I made four cards using each of the collections that came in the kit, and I followed the sketches that also came in the kit. It is so fun to have sketch challenges to follow that spark creativity.
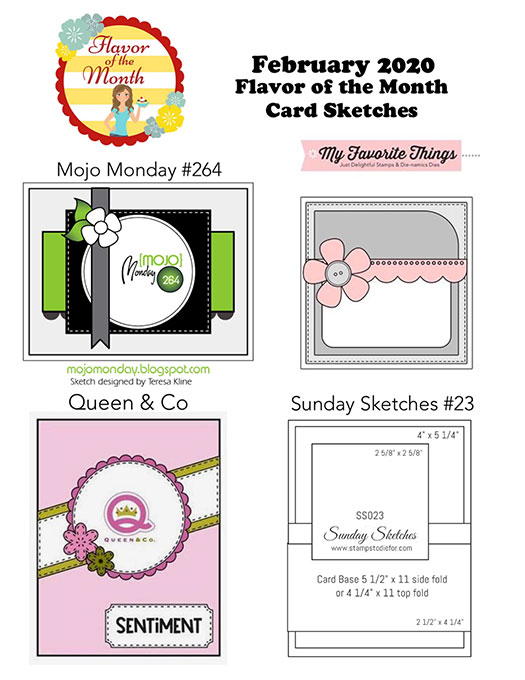
If you are not familiar with these card kits, I have a video where I show you everything that came in the kit AND all four cards I made. Watch it below or on YouTube:

Let’s get to the cards! For my first card, I used the last sketch. I chose two of the patterned papers as well as the pink cardstock from the kit to create this one.
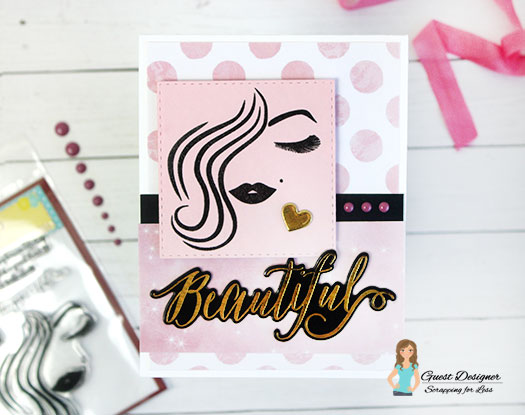
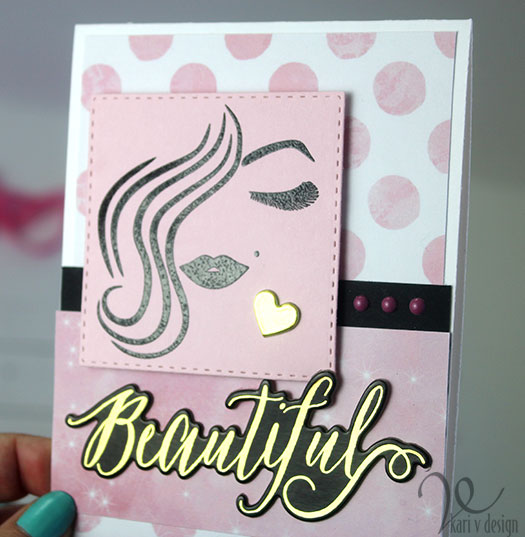
That beautiful sticker in the kit has got to be a FAVORITE of mine! After I made this card, I had many more ideas…and there’s still A LOT of product to make plenty of cards! I love that you get paper and stickers/ephemera as well as enamel dots.

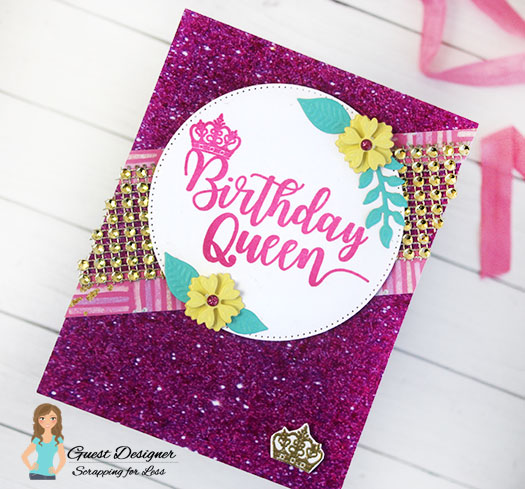
For my second card, I used the third sketch with Collection Two.
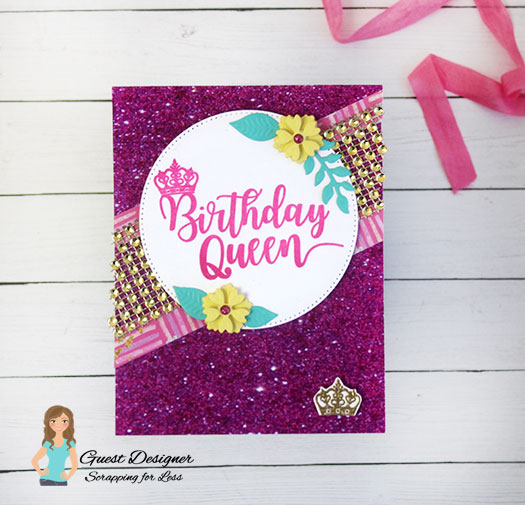
I couldn’t resist that glitter paper!! It’s actually flat paper PRINTED to look like glitter. Love it. Here I added a few die cut flowers from my stash to complete the look. This is my first time adding Gold Rhinestone Mesh to a card EVER…I think it’s a fun touch. Doesn’t this remind you of a beauty queen sash?

For Collection Three, I followed along with the second sketch and used the key ephemera popped up on foam tape. I colored those glass slippers with Cool Gray Copics (with a touch of light blue).
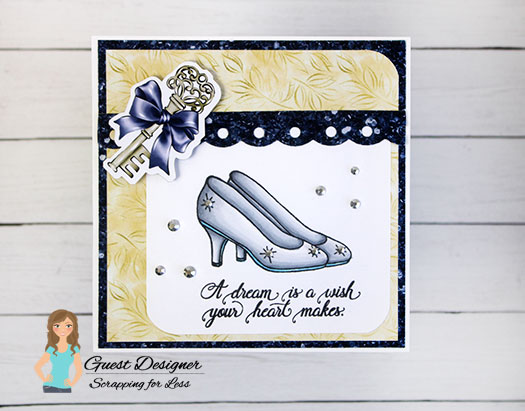
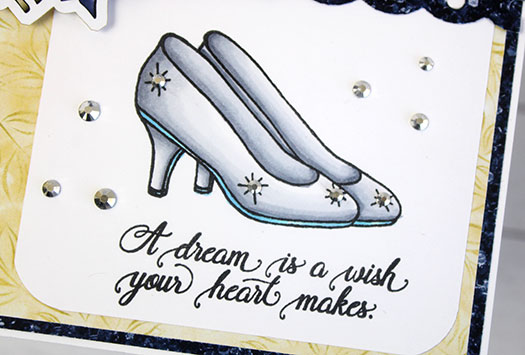
I added some silver gemstones to this one to finish it off. I used my new favorite embellishment wand (that I learned of at Creativation) for this…and it worked like a charm! I love this sentiment from the stamp set…”A dream is a wish your heart makes.”

And for Collection Four, I made a Tea Party card inspired by Sketch 1. I used the stencil in the kit to create a design on the tea kettle, then I drew on a design. Not my typical style, but I sure had a lot of fun with this!
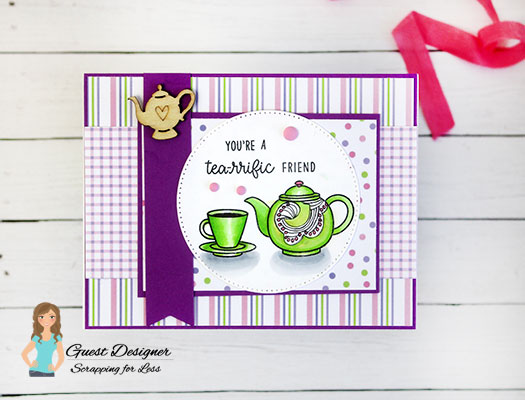
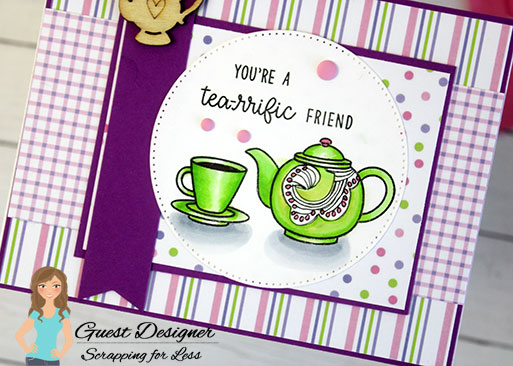
Be sure to watch my video for a process of how these cards all came together. I really enjoyed this kit and all the papers, ephemera, extras, and inspiration that came with it!

I’m often asked what supplies I use to make my cards and projects, so I’ve put together a list using affiliate links when possible. If you make a purchase with these links I may receive a small commission. These help me to keep up with blog costs and continue bringing you fun projects. Thank you so much for your support!

NEXT ON THE HOP!
I hope you enjoyed these projects. Don’t forget to continue on the hop for even more inspiration with the February Kit! Your next person on the hop is the talented Stacy, visit her HERE.

GIVEAWAY!
Make sure to check out the Subscription page for the links to order your kit or to subscribe! Also for your chance to win, make sure to enter the Rafflecopter on the Scrapping For Less page (click here)!

No photo description available.

And if you’d like to follow along with more of my creations, you can also find me here:

Instagram * YouTube

Thanks for stopping by!
Comments { 6 }
SUNSHINE-hello-bestie-with-supplies-and-wow

Hello Bestie with 2 Step Stencil

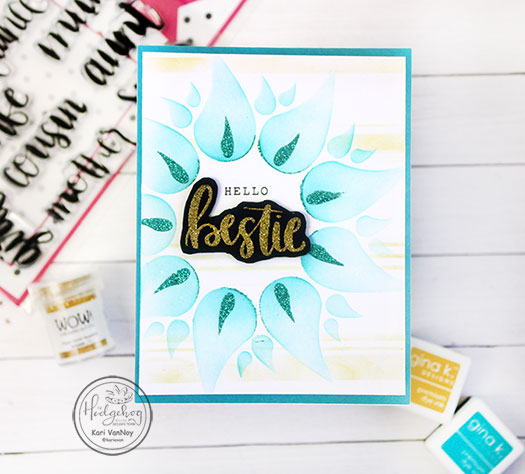
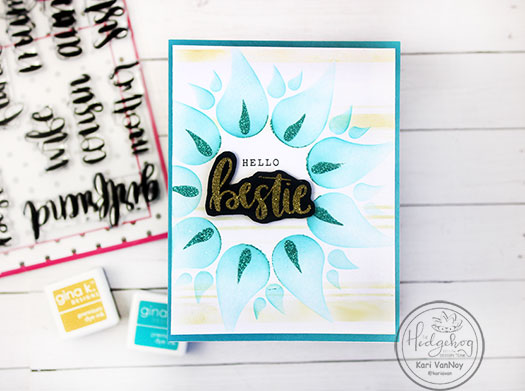
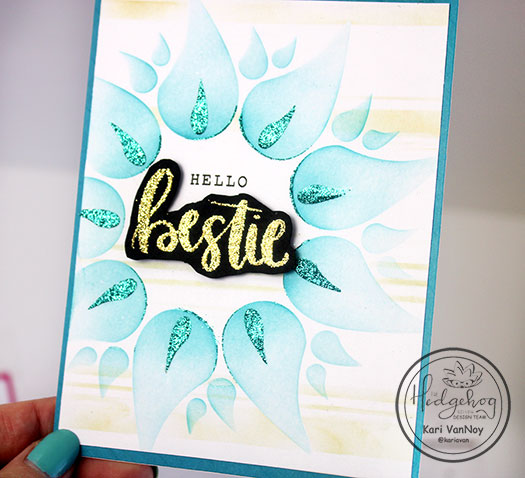
Hello! Today I’m excited to bring you a card using a 2 step stencil and a beautiful hand lettered stamp from the February 2020 Hedgehog Hollow Kit. This stencil is so fun to use and today I have a short video for you showing you how to use it!

Watch the video below or on YouTube:

If you want to see all the details in a write up, visit the Hedgehog Hollow blog for the instruction.

I’m often asked what supplies I use to make my cards and projects, so I’ve put together a list using affiliate links when possible. If you make a purchase with these links I may receive a small commission. These help me to keep up with blog costs and continue bringing you fun projects. Thank you so much for your support!

I hope you enjoyed this project today! I sure loved creating this card. See you soon with more card making inspiration!

Comments { 0 }
beautiful-details-crooked

Beautiful Anemone

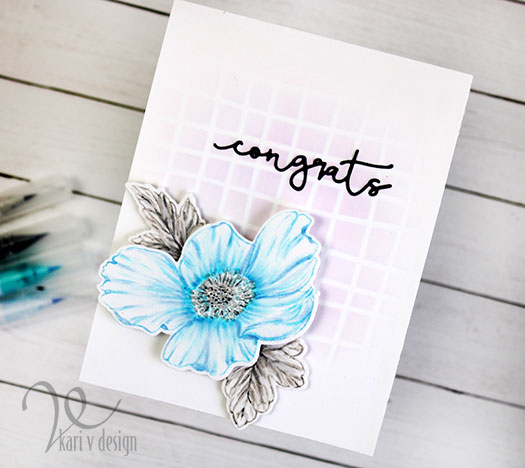
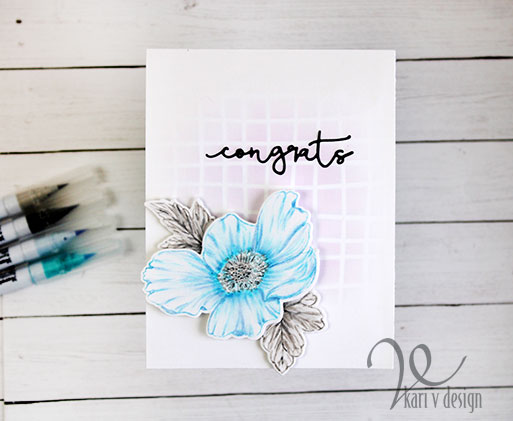
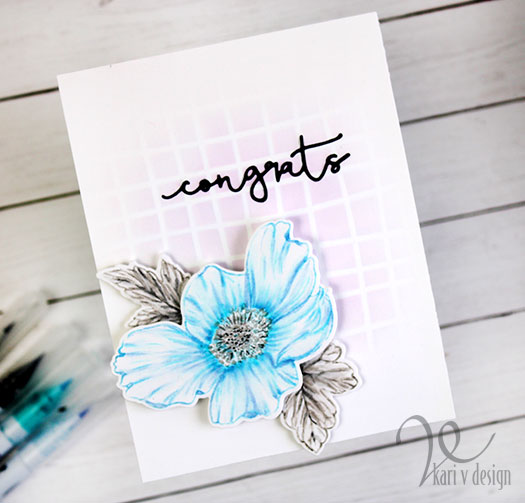
Hello, friends! Today I’m sharing a project that I have wanted to try for a while and I finally did! This card was inspired by the “Beautiful Details” class at Altenew Academy. This class is taught by Marika Rahtu and she is an inspiration! In one of the lessons, she stamped with Zigs on watercolor paper and added details with the same Zigs.

I was so in love that I wanted to try it myself. I love the way it turned out! Now, I know I need more practice, but I did take my time and spent quite a bit of effort….what do you think?

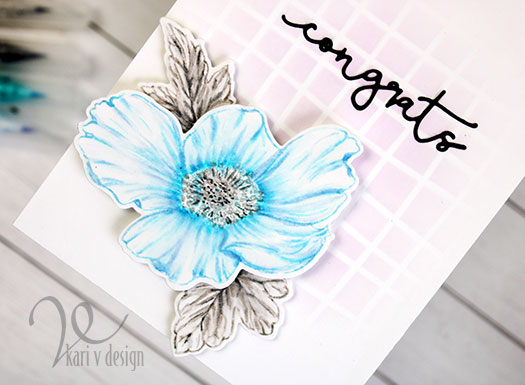
I only used four colors of Zigs for this project: Gray Tint, Gray Brown, Light Blue, and Shadow Mauve. I stamped the flower using the Shadow Mauve (I colored directly onto the stamp, then stamped it down using the Misti). Then I added details with the same color and then the light blue color.

For the center and the leaves, I used the Gray Tint and the Gray Brown. This took me some time as I kept adding layers and blending them out with my water brush.

I used the Wavy Grid stencil to add a subtle design to the background of the card. Then I popped up the flower with two layers of 3M foam tape, and the leaves with one layer of foam tape.

The last step was adding the congrats die cut sentiment to this card. I think the spacing on this die is perfect for this card.

I’m often asked what supplies I use to make my cards and projects, so I’ve put together a list using affiliate links when possible. If you make a purchase with these links I may receive a small commission. These help me to keep up with blog costs and continue bringing you fun projects. Thank you so much for your support!

I hope you enjoyed this project today! Thanks for stopping by.

Comments { 1 }
Pinterest card

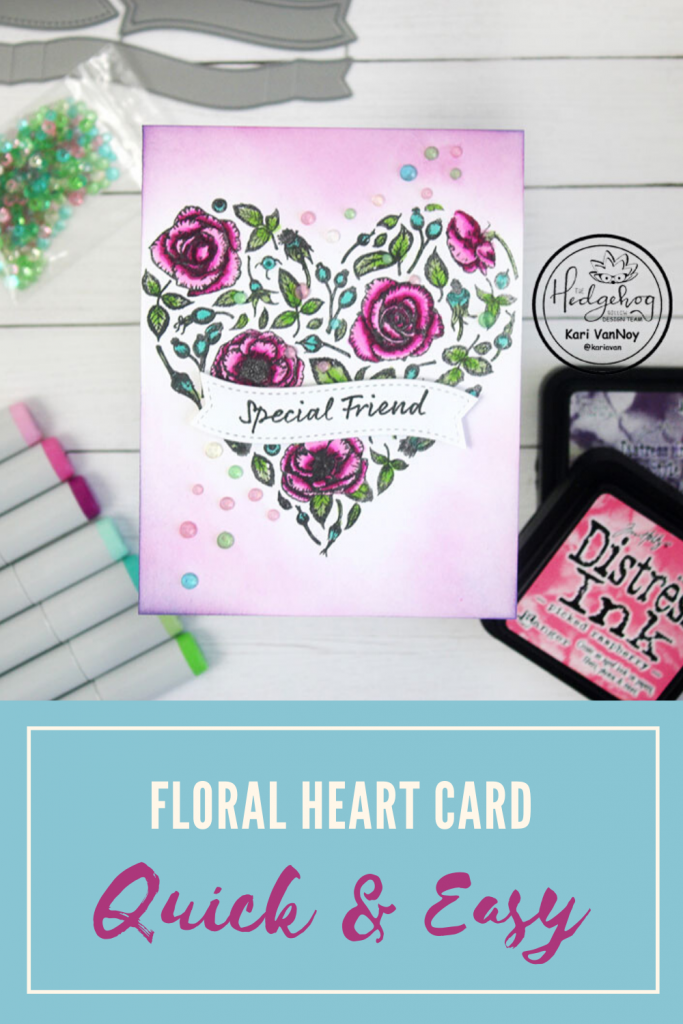
Floral Heart with Gemstones

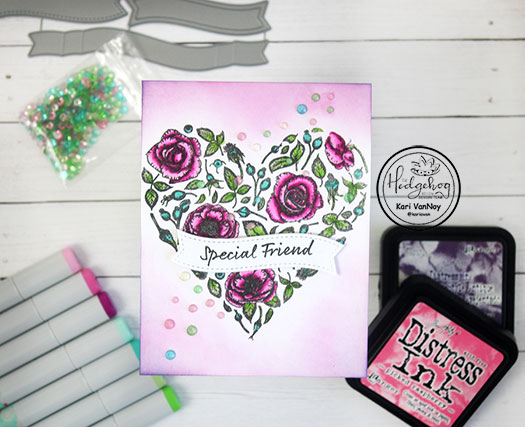
Hello! I’m back with a new card using the Hedgehog Hollow February 2020 Kit. I saw that floral heart stamp in the kit and I fell in LOVE!! So of course I had to create with that first AND add some beautiful gemstones. Yes!

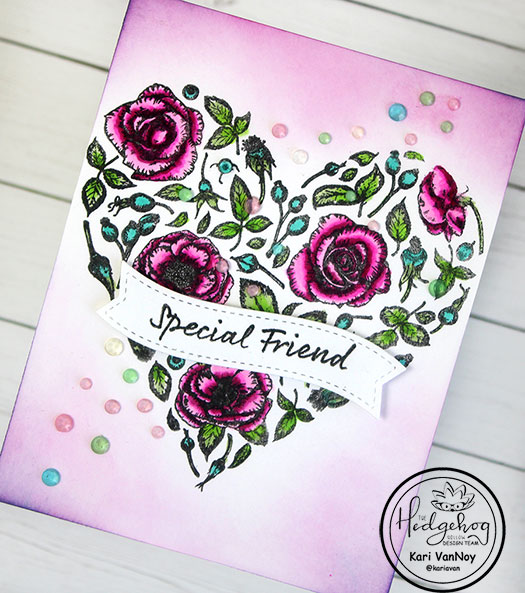
This floral heart was designed by Sophia Caldwell, and you already know I’m a BIG FAN of hers! So I stamped it first with amalgam ink (perfect for coloring with Copic markers because it doesn’t smear).

Flowers: RV19, RV06, RV02
Leaves: YG05, G43
Small flowers & berries: BG13, BG11

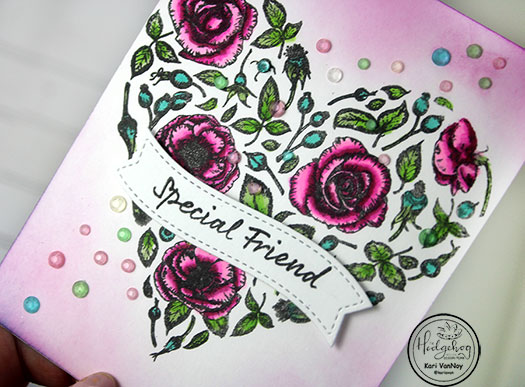
I cut the banner and added the Special Friend Sentiment on using the original Misti. I used some acetate over the banner so I could bend that stamp to fit just right on that banner. The stamp will stick to the acetate so then you can pick it up with the Misti lid. Perfect.

I added that stamped banner with 1/4″ foam tape. Then I inked up around the card using 2 colors of Distress Ink.

I added the gemstones in a sort of diagonal line across the card front using my favorite new embellishment tool! (see the supplies listed below to check it out!)

I’m often asked what supplies I use to make my cards and projects, so I’ve put together a list using affiliate links when possible. If you make a purchase with these links I may receive a small commission. These help me to keep up with blog costs and continue bringing you fun projects. Thank you so much for your support!

I hope you enjoyed this floral card with gemstones today…you know those are two of my favorite things! Lol. See you next time!

Comments { 0 }
pink-card-with-supplies

Your Existence Makes the World Better

Yes it does! Hello again. Today I have the sweetest cards to share using a stamp set I’m completely in love with! I had the opportunity to meet the artist of this particular stamp and she is the greatest, too. You know how when you meet someone and you can just tell they are going to be a friend? Well, that’s how I feel about her.

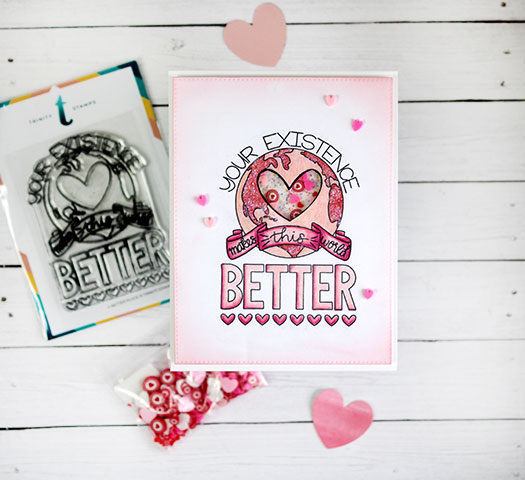
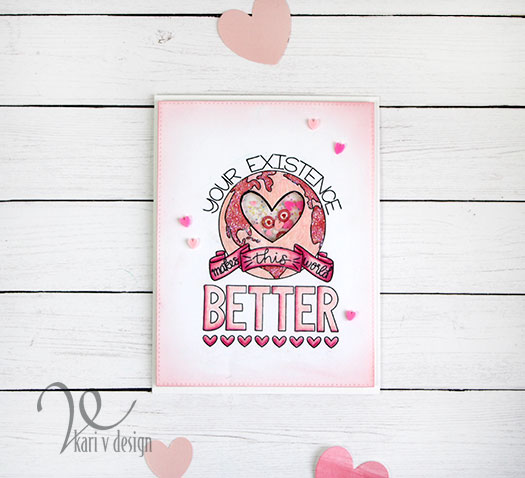
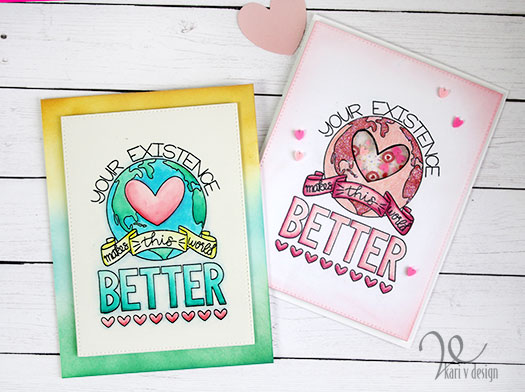
When I saw this stamp I knew immediately what I wanted to create. First, a watercolor card. Then, a red/pink shaker card! So here’s what I made:

One watercolor, and one shaker card!

I’m loving these cards! I can already think of many, many people who I can send one of these to. Guess I need to make a few more cards with this one, right?!

I created a video to show you some tricks for pulling these cards together. Watch it below or on YouTube:

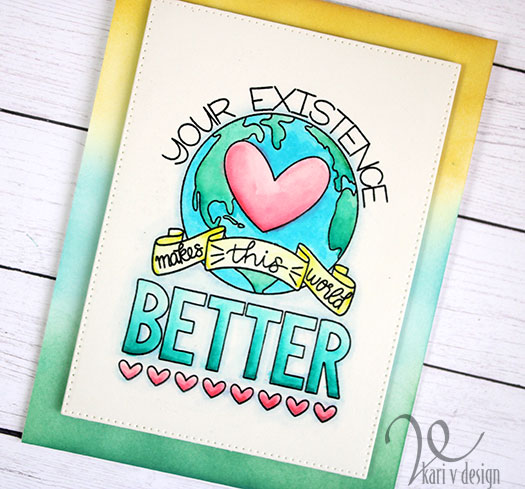
The first card is created using Zig clean color real brush markers. I used Bristol paper for this one because it seems to allow the watercolor to blend a little better. I can keep adding color and blending to add some darker areas, too. For some areas I used a waterbrush along with the Zigs, and for some I colored the Zigs on straight.

For the background on this one, I did some ink blending with Distress Oxides in matching colors. It really makes the panel pop, doesn’t it?!

I think these colors are so happy. I used a rectangle pierced die to cut out the panel before adding it to the background with fun foam.

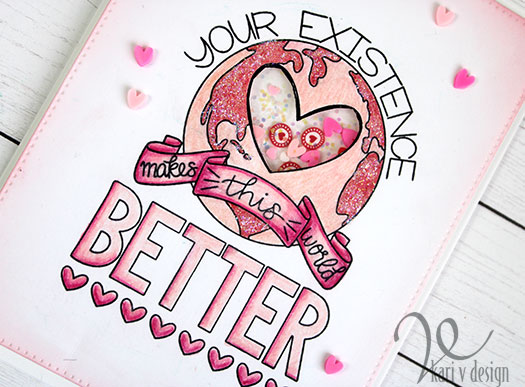
The second card is colored with only pink and red Prismacolor pencils. I’m pretty sure I was inspired by Valentine’s day!

I cut the heart out on the center heart to create a shaker element to this card. And of course I had to add some glittery Stickles to all the lands in this world. That’s probably how my world would be, lol.

I’m often asked what supplies I use to make my cards and projects, so I’ve put together a list using affiliate links when possible. If you make a purchase with these links I may receive a small commission. These help me to keep up with blog costs and continue bringing you fun projects. Thank you so much for your support!

I hope you enjoyed these projects today! This stamp set is brand new from Trinity stamps, so be sure to head over to get one for yourself before they are all gone!

Thanks for stopping by! Your Existence Makes this World Better! (and a big thanks to Dani for creating this perfect stamp…I love it). See you soon!
Comments { 0 }