Archive | Paper Crafting RSS feed for this section
SUNSHINE-embellish-crooked

Add a Little Embellishment

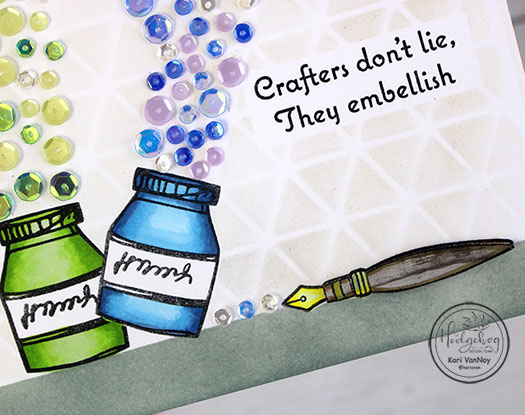
I love a little embellishment….on a card. So when I saw the sentiment “Crafters don’t lie, they embellish” I couldn’t stop laughing. And laughter is a great medicine! So today I have a card using plenty of embellishment.
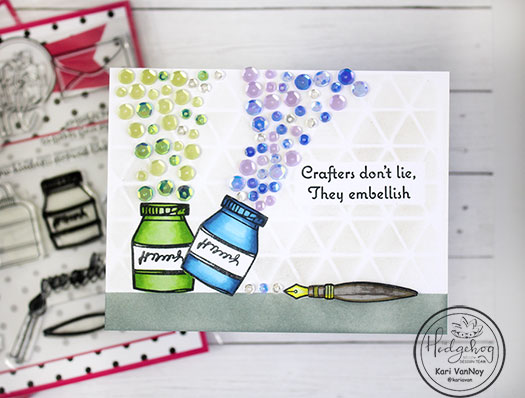
I love the look of sequins on a card…these ones are extra sparkly! To start, I first stamped on one ink bottle, masked it off and stamped another ink bottle behind it. I stamped and masked off both the sentiment and the fountain pen, as well.

The background was inked over a die cut panel (I used the Altenew cover plate to cut out a panel, then inked over it). And I taped of the “table” to ink that on with Distress Oxide in Gray.
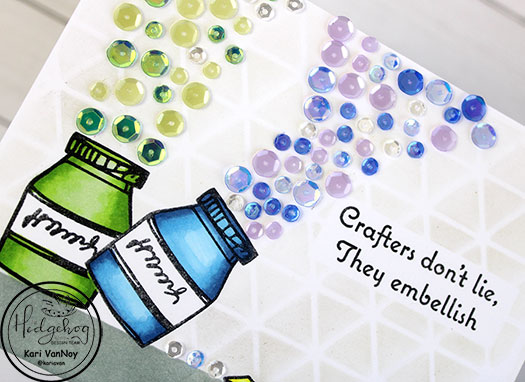
Then I colored all the images and added PLENTY of sequins. Lol. This was fun to do using my new embellishment wand! 🙂

For the fountain pen, I stamped it again onto some wood-grained paper from my stash, then fussy cut it. I added it to the card using foam adhesive.
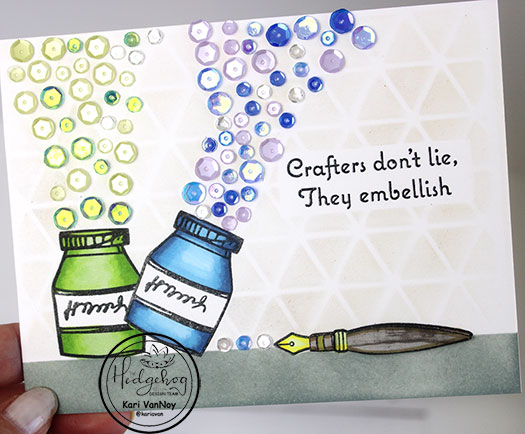
If I didn’t mention it before, all the stamps are from the March 2020 Hedgehog Hollow Kit. It’s a fun crafty kit this month!
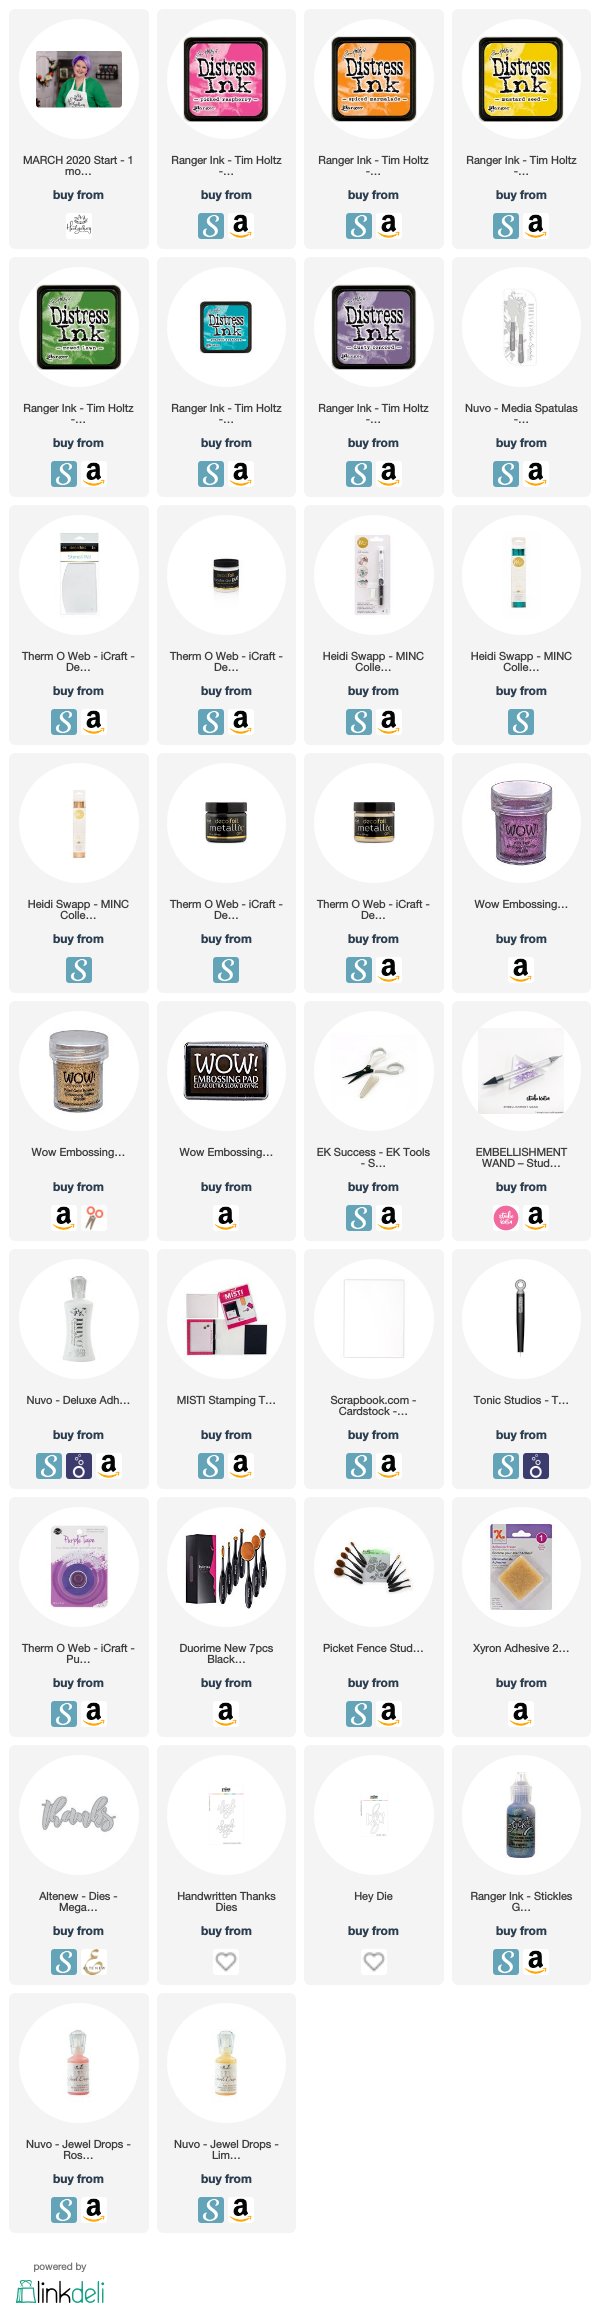
I’m often asked what supplies I use to make my cards and projects, so I’ve put together a list using affiliate links when possible. If you make a purchase with these links I may receive a small commission. These help me to keep up with blog costs and continue bringing you fun projects. Thank you so much for your support!

Thanks for stopping by today!
Comments { 0 }
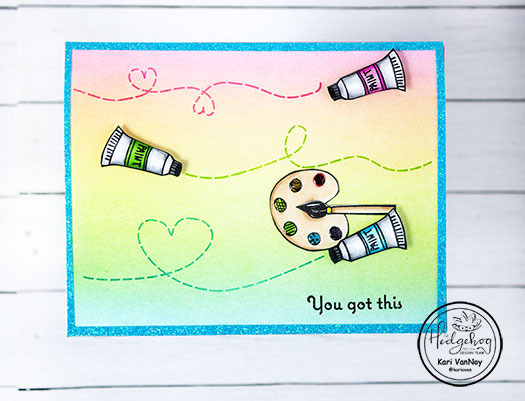
SUNSHINE-you-got-this-no-supplies

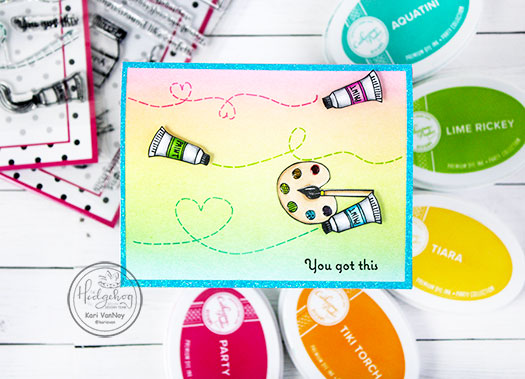
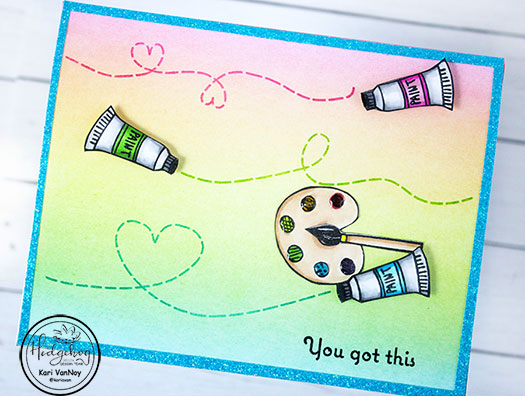
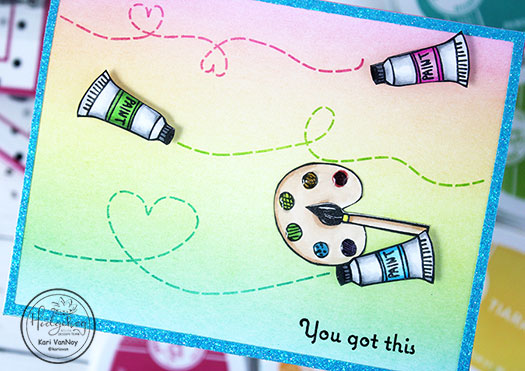
Airbrushed Look

Hello! Today I have a fun airbrushed looking background…but you don’t need a machine for this one!

I’ve got all the details on a short video…watch it here or in HD on YouTube:

For the written instruction, visit the Hedgehog Hollow blog here.

I’m often asked what supplies I use to make my cards and projects, so I’ve put together a list using affiliate links when possible. If you make a purchase with these links I may receive a small commission. These help me to keep up with blog costs and continue bringing you fun projects. Thank you so much for your support!

I hope you enjoyed this fun project. This background is such a soft blend..and it’s so easy! Thanks for stopping by!

Comments { 0 }
geometric-thanks-sideways

Unusual Color Combinations

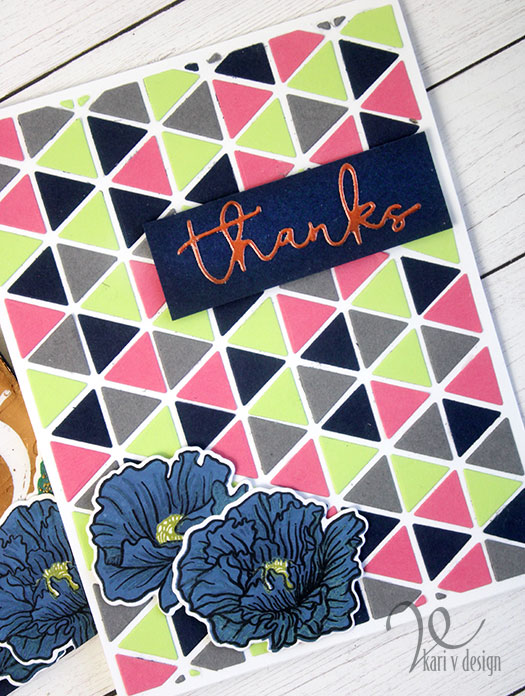
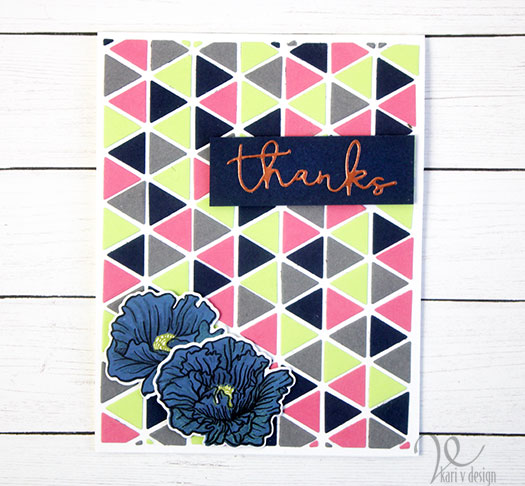
Hello! Today I have an unusual color combination to share. I was inspired by the Altenew class “With a Twist” taught by Therese Calvird. She challenged us to try a color combination that we don’t usually use.

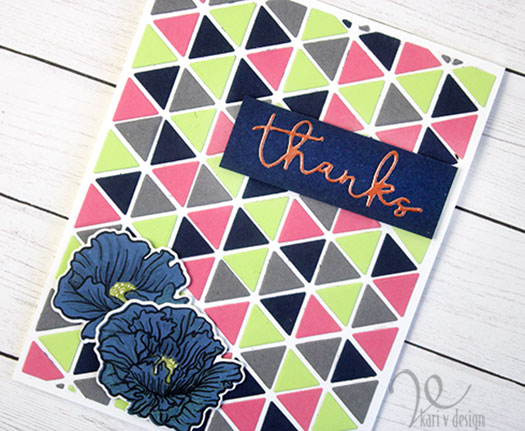
So today I have a card using Navy, Stone, Peony, and Lime! This is a color combo I have NEVER used before. Oh, and I threw in some Rose Gold foil just for fun. It is so difficult to photograph foil, but the sentiments is made of Rose Gold.

For the background of this card, I pieced in the four colors of cardstock into the Layered Snowflake Stars Cover die B; then I removed the frame so it revealed the white cardstock underneath.

I put the colors in completely randomly. I think I like navy, peony, stone and lime together!

For the flowers, I used 2 darker navy Distress Oxides for the layers and Black ink as the outline layer. Then I used a lime ink for the center of the flowers.

I die cut the thanks from rose gold foil and adhered it onto navy paper. I popped up the sentiment strip and flowers with foam tape. I really love how these colors worked together. Grateful for AECP and this class for really pushing me to try some new things!

I’m often asked what supplies I use to make my cards and projects, so I’ve put together a list using affiliate links when possible. If you make a purchase with these links I may receive a small commission. These help me to keep up with blog costs and continue bringing you fun projects. Thank you so much for your support!

Thanks for stopping by today!
Comments { 1 }
SUNSHINE-orange-thank-you

2 Layer Stencils

Hello, today I have even more ideas for using a 2-Layer stencil! Last week I promised extra ideas for using the layering stencil that came in the Hedgehog Hollow February 2020 kit…and here they are!

I’ve got five more (bonus) ideas and 7 cards to share with you! And I put it all in a video, watch it below or in HD on YouTube:

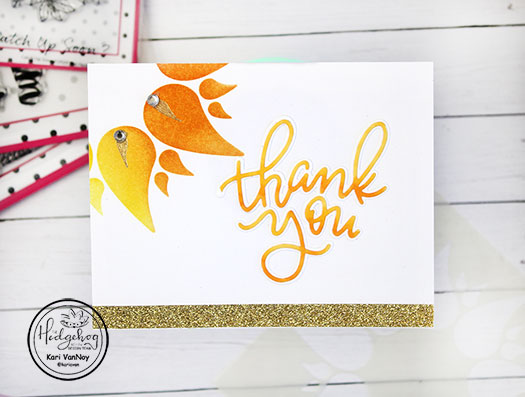
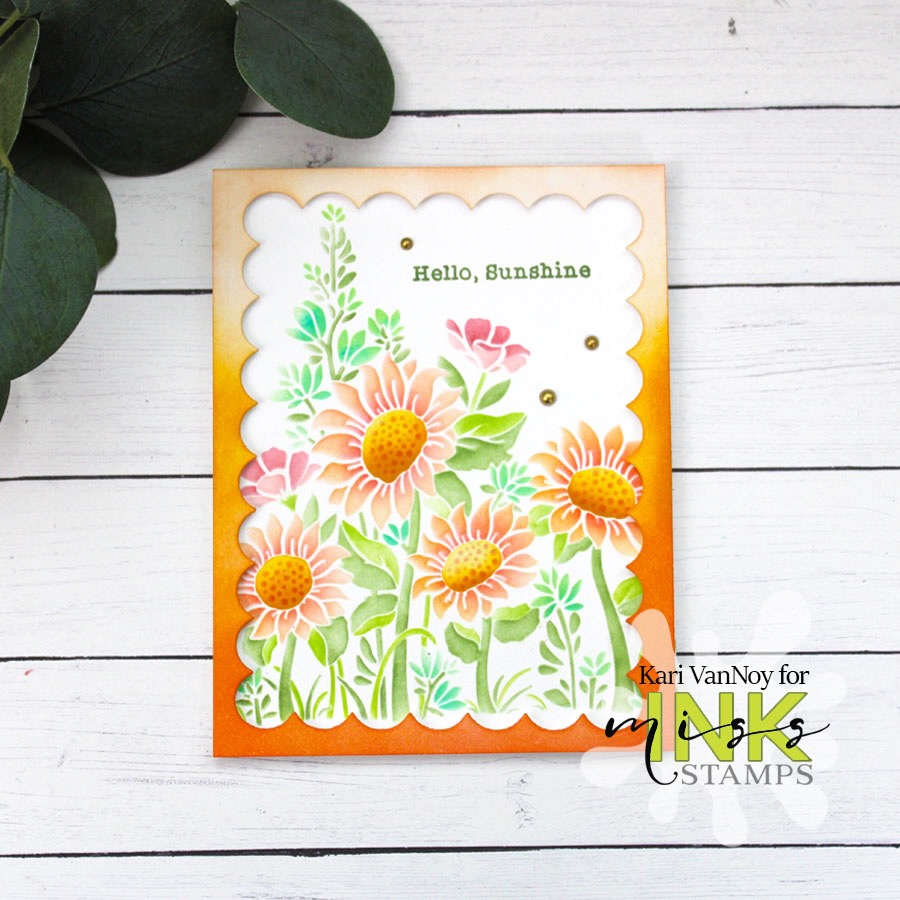
I think my favorite of the bunch is using just the second layer of the stencil to create a background, see my card below.

Although the foiled card is fun too…here I used foil on both the first layer AND the second layer of the stencil. Then I created a foiled sentiment die cut with toner paper. (I explain this more in the video!)

I’m sharing all my tips (and mistakes) with you in the video, too, so you can laugh at me (or with me…lol) and learn how to do things the best way.

I hope you’ll take a look and let me know which card is YOUR favorite! I’ll be back soon with more inspiration.

Disclosure: The links below are affiliate links. If you decide to use these links to shop, you are supporting today’s post writer – thank you! They may receive a small portion of the sale, at no extra cost to you. These products are endorsed by the author, and we hope you will love them too!

Comments { 0 }
Woodland Whimsy Pinterest Graphic

Cheerful Cards with Woodland Whimsy

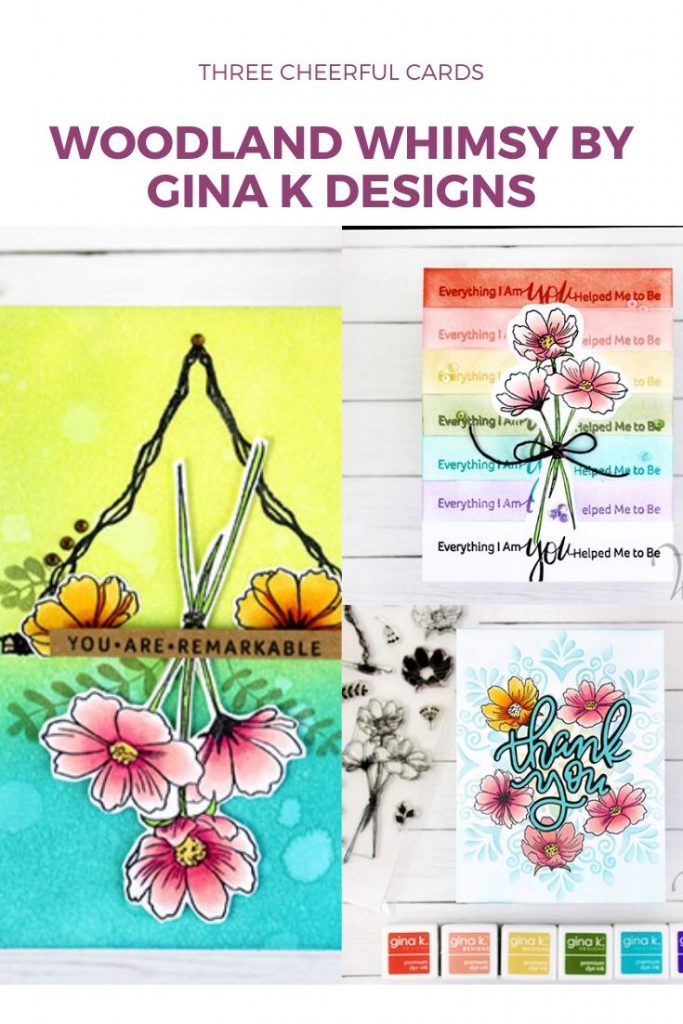
Hello! Today I’m excited to share three cards using the same stamp set. This set is from Gina K Designs and it’s called Woodland Whimsy. It’s a charming set filled with beautiful flowers and a hanging rod…so many possibilities!

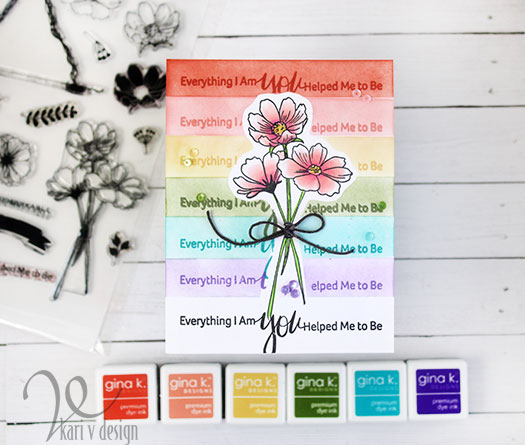
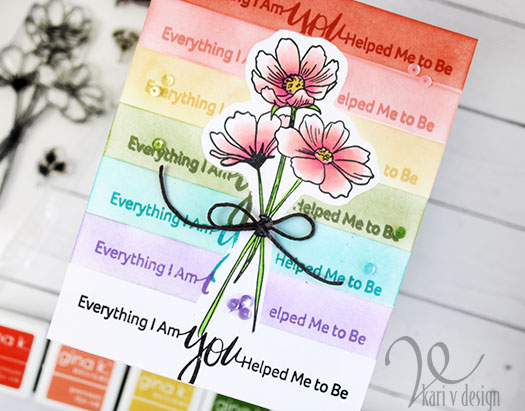
The first card I made uses a beautiful sentiment from the set that says “Everything I am, You helped me to be.” I first wanted a rainbow of sentiments down the card, and it turned into this happy card:

The most important thing for this card, is to mask those flowers and leave a good sized white border. Then the inking is the easy part! I have a video showing you all the cards I made today.

Watch how they all came together in the video below, or in HD on YouTube:

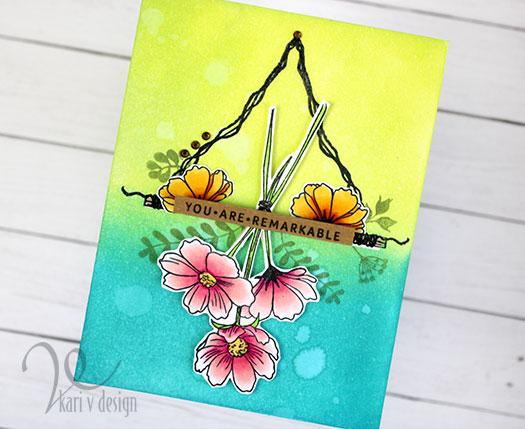
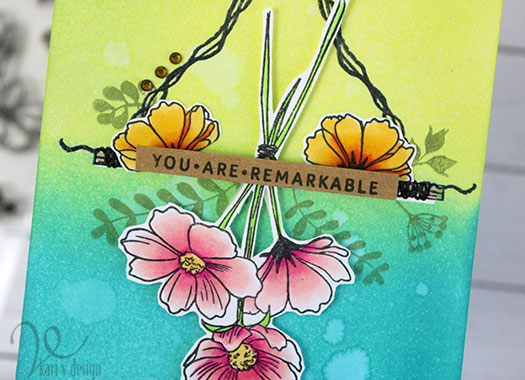
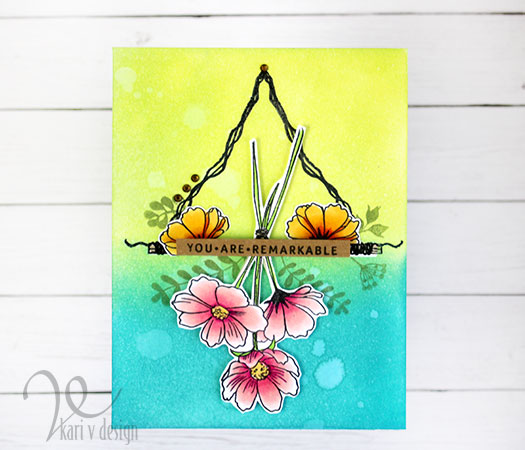
For my second card, I was excited to use that hanging dowel. It made me think of when I used to dry flowers by hanging them upside down, and that is how this card was inspired!

You are remarkable!

I inked the background with that hanging dowel masked off. Then I added some green leaves to the background. The flowers and sentiment are popped up with foam tape to give this a 3D look. I added those topaz gem stones for some fun glamour!

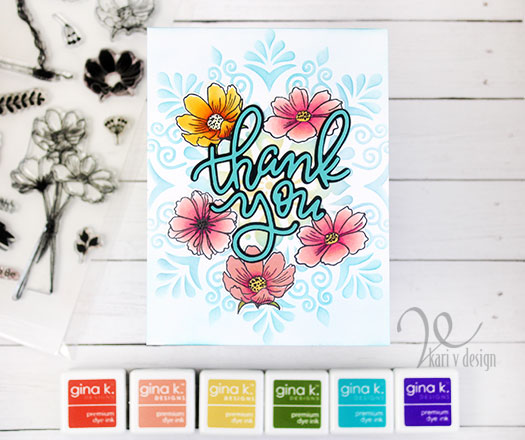
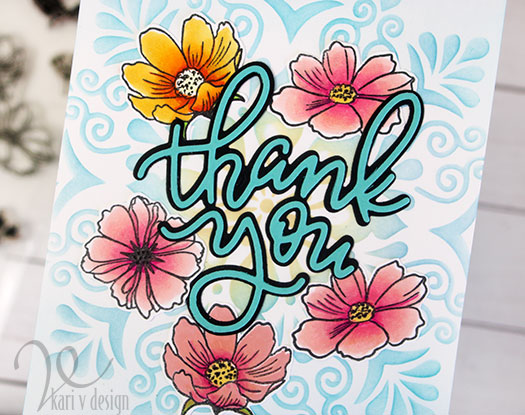
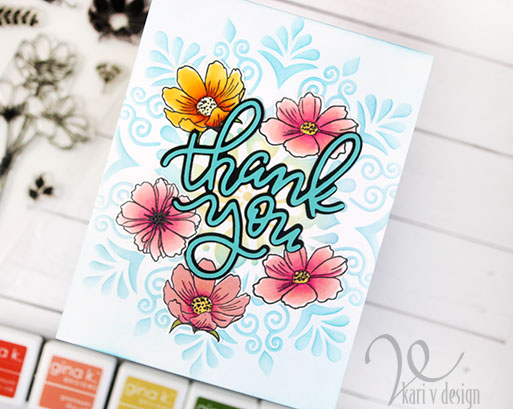
My last card came into existence because I had FIVE flowers leftover that I had already colored. So of course I needed to create another card! So I die cut a simple thank you, inked up my favorite Gina K stencil, and created this thank you card.

One of these flowers is the one I stamped with ink, and the other four are colored with Copics. Can you guess which ones?!

I just love that there are solid stamps that give you the option of inking the flowers (or just coloring them yourself). You still get a great result!

I’m often asked what supplies I use to make my cards and projects, so I’ve put together a list using affiliate links when possible. If you make a purchase with these links I may receive a small commission. These help me to keep up with blog costs and continue bringing you fun projects. Thank you so much for your support!

I hope you enjoyed these cards today. I think they are so happy and cheerful, which is a great card for sending to someone special. See you next time! Thanks for stopping by!
Pin it for later:

Comments { 0 }