Hello! Today I am sharing my new FAVORITE black and white paper pack! This is not just any paper pack…it can be used with FOIL!! Can you tell I am excited about this? I have two cards with this foiled paper and I add Marshmallow Paste for even more drama.
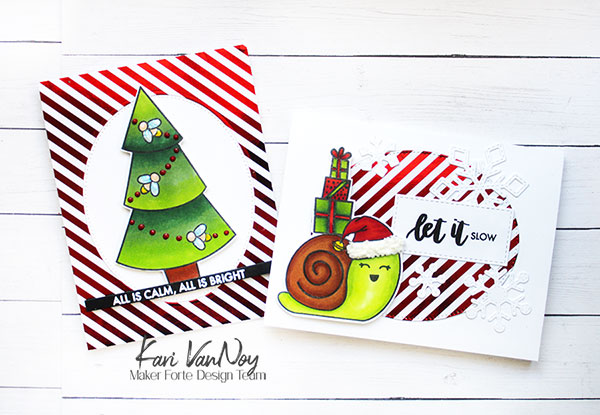
To start, I cut down a piece of the striped paper and added red foil to it using the Minc Machine. You can also use a lamintor to add the foil. Then I cut out an oval of the middle so I could make two cards.
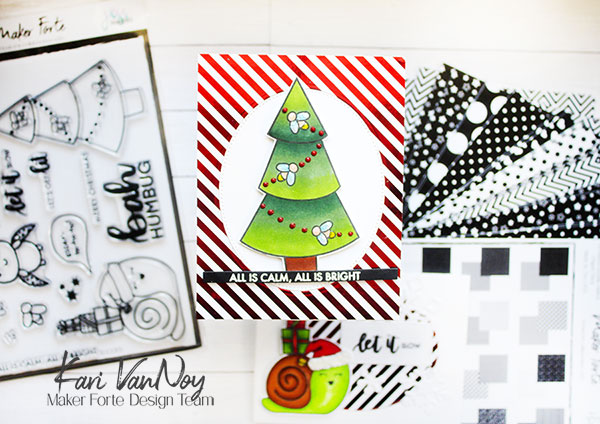
Card 1
For this first card, I colored up the tree with Copics. Then I added some Nuvo drops to the tree and Glitter drops to the lightning bugs. I white heat embossed the sentiment on black cardstock. I thought “All is calm, all is bright” worked great with the glow bugs!
I have a video below showing you the foiling and putting both cards together, and how to apply Marshmallow paste! Watch it below or in HD on YouTube:
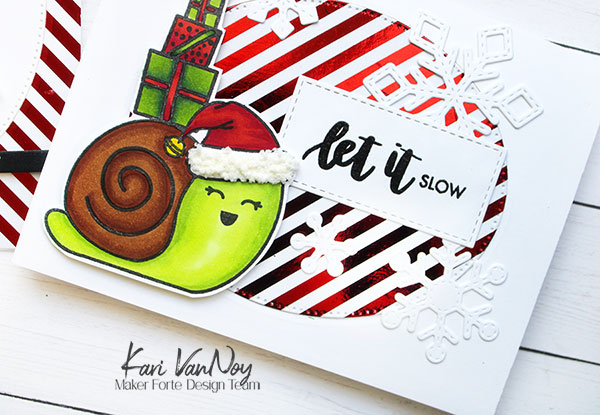
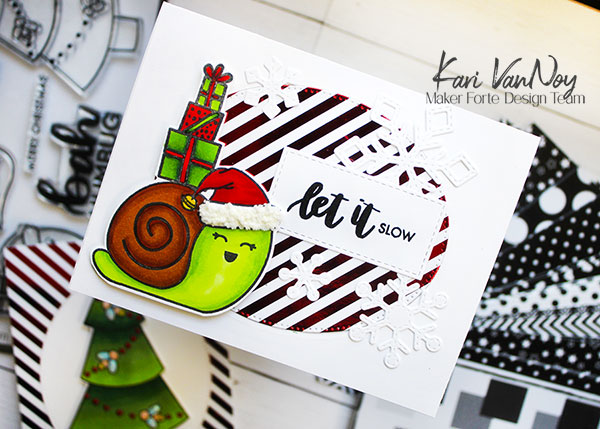
Card 2
For the snail card, I used the same Copic colors to color up the snail image but I added one extra lighter yellow green color (YG01). I die cut some snowflakes for the background.
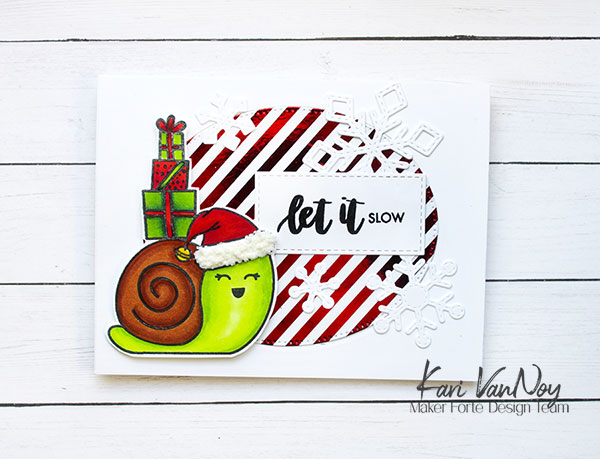
For the hat fur, I used a palette knife to add a generous amount of Marshmallow paste. Then I used the heat tool to heat it up for a few seconds until it popped up. It looks so fuzzy!
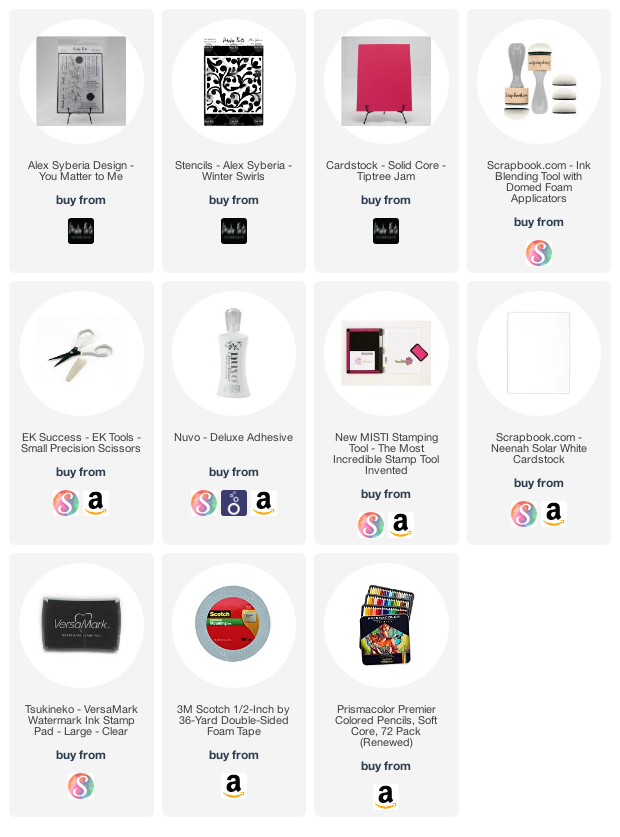
I’m often asked what supplies I use to make my cards and projects, so I’ve put together a list using affiliate links when possible. If you make a purchase with these links I may receive a small commission. These help me to keep up with blog costs and continue bringing you fun projects. Thank you so much for your support!
I hope you enjoyed these projects today and meeting my new favorite black and white paper. If you think about it, you can change the black and white into any color foil you’d like!
Thanks for stopping by!