Archive | Paper Crafting RSS feed for this section
SUNSHINE-both-cards-2

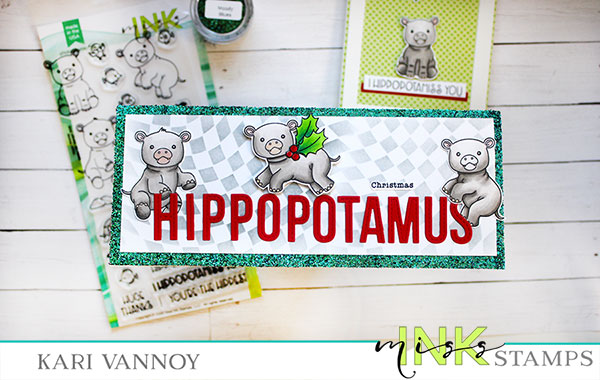
Who Wants a Hippopotamus for Christmas?

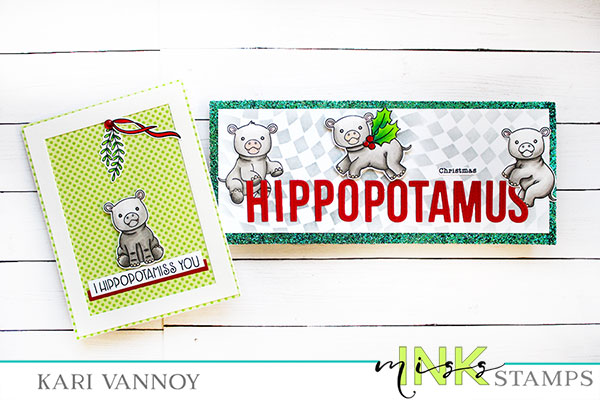
Hello! Today I am turning some regular hippos into Christmas hippos and making TWO cards! These cute hippos are from Miss Ink Stamps, and I’ll bet you can guess the song that inspired me to make these cards.

I have a video on the process and I’m sharing some more tips on stretching stencils and stamps to create more with your supplies! Watch the video below or in HD on YouTube:

Aren’t these hippos cute! I’ll bet you would never guess that the red ribbon is really seaweed from that set. Lol. Another great trick to stretch your stamp sets!
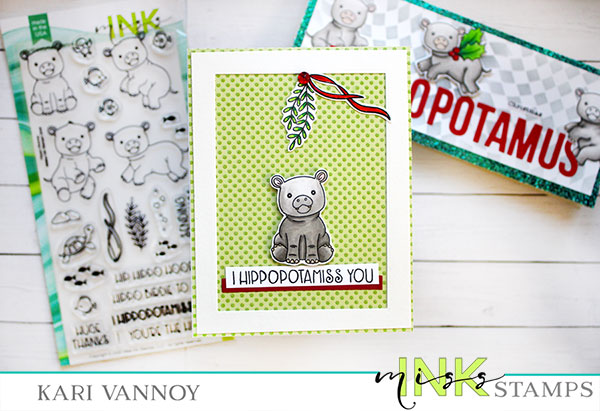
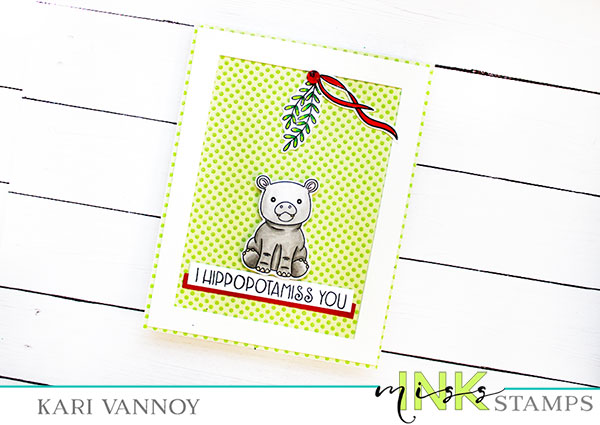
I colored up so many of the hippos that I decided to make a slimline card, too!
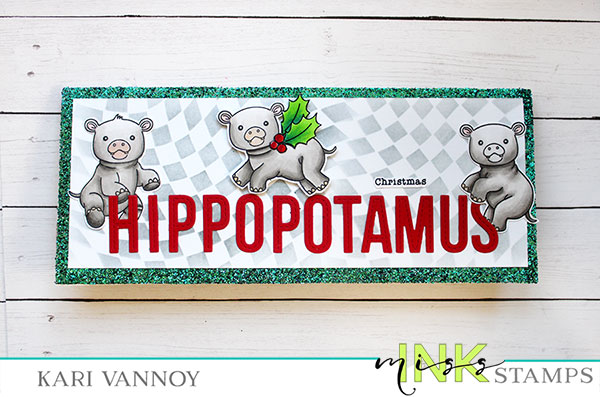
That glitter is the beautiful Dazzle Dust from Miss Ink that changes colors in the light! This one is blue and it has a green shift to it. So pretty!
Well, I really hope I didn’t cause that song to run through your head (like it did for mine the entire time I was making this card). But really, if the hippos are as cute as these stamps, count me in for having one on my wish list!

Happy Holidays! I’ll be back soon with more cards.

I’m often asked what supplies I use to make my cards and projects, so I’ve put together a list using affiliate links when possible. If you make a purchase with these links I may receive a small commission. These help me to keep up with blog costs and continue bringing you fun projects. Thank you so much for your support!
Comments { 0 }
SUNSHINE-thank-you-beary-much-crd-4

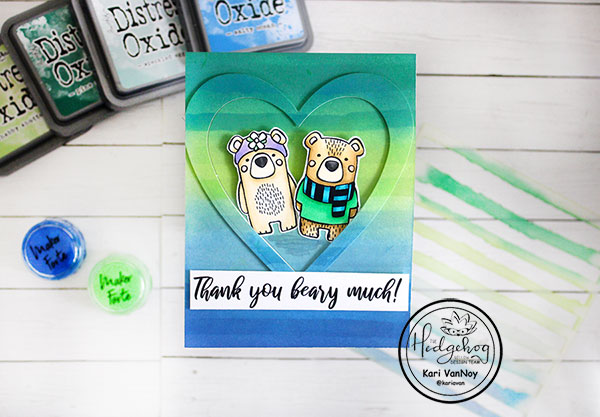
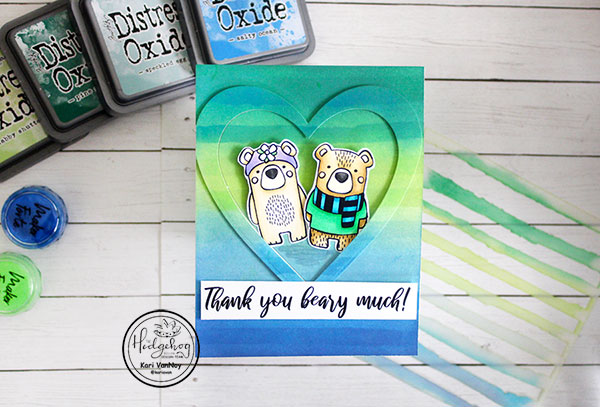
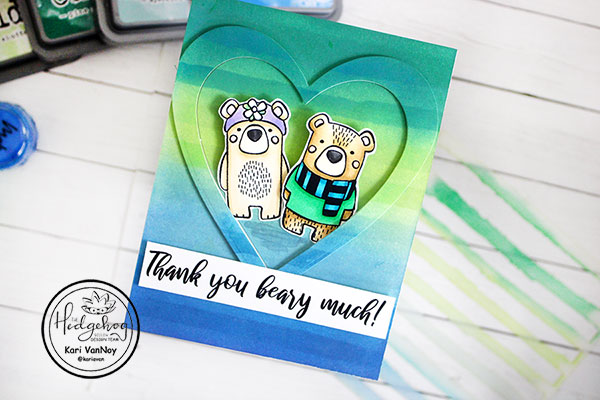
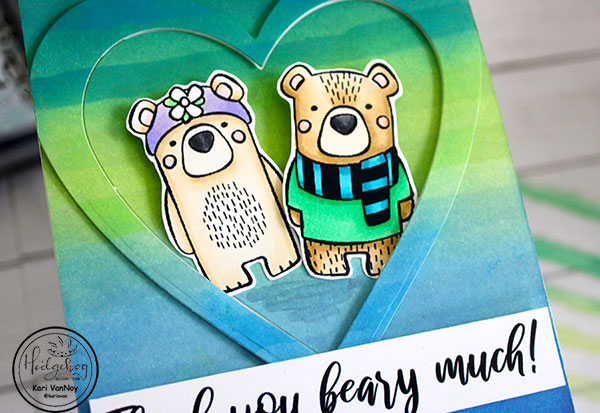
Thank you Beary Much

Hello! Today I am sharing my very first card with the December Hedgehog Hollow kit. This kit is filled with cute forest animals and sentiments to match! I couldn’t resist that bear from the kit so here is my project:

Head on over to The Hedgehog Hollow blog to read all the details! Thanks for stopping by.

Comments { 1 }
SUNSHINE-leaves-wreath-with-joy-close-up

3 Layered Tags

Hello! Today I have one last project to share using small images from the Hedgehog Hollow November Kit. These ideas to layer your images or your tag shapes bring so much interest to your projects.

Tag #1

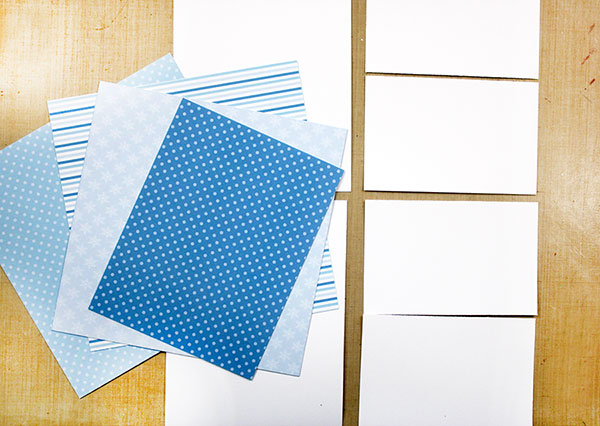
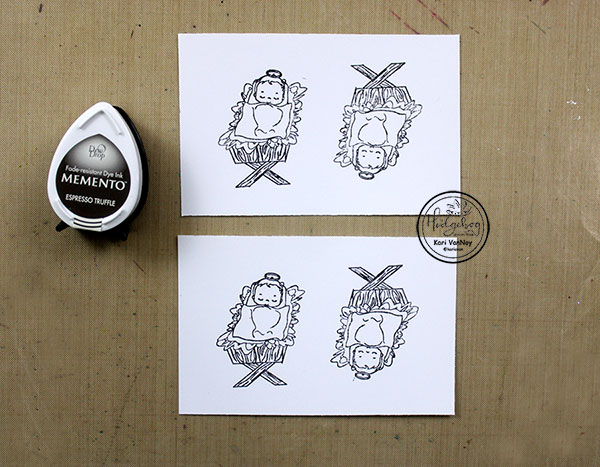
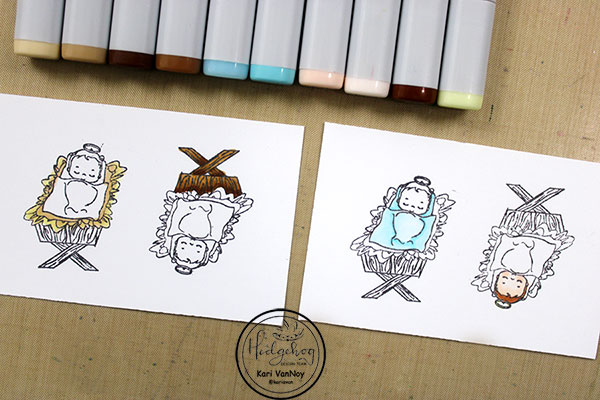
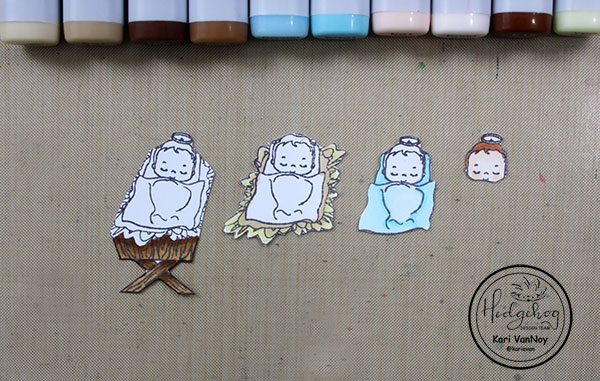
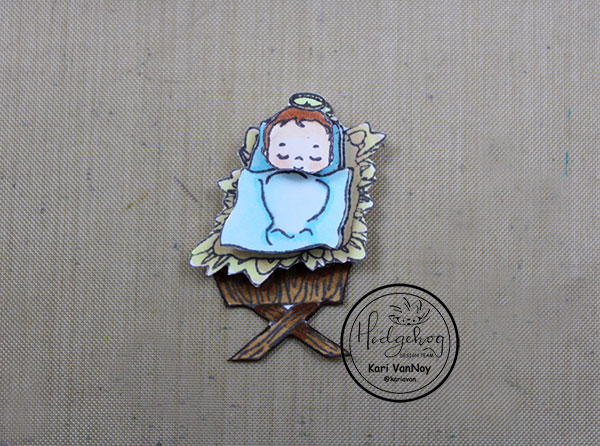
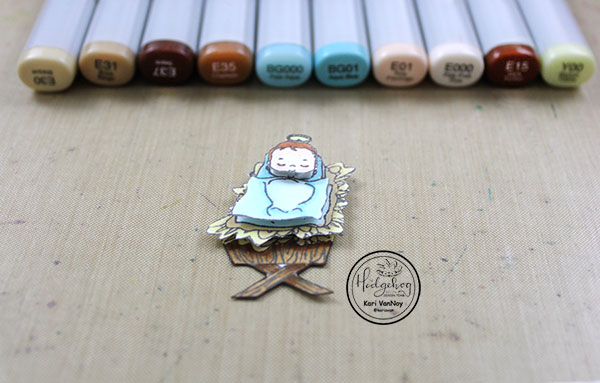
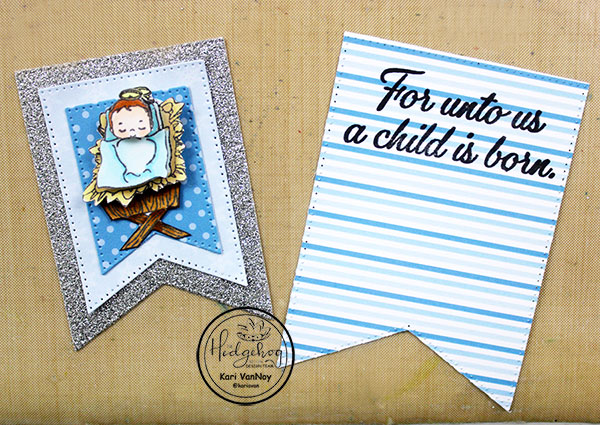
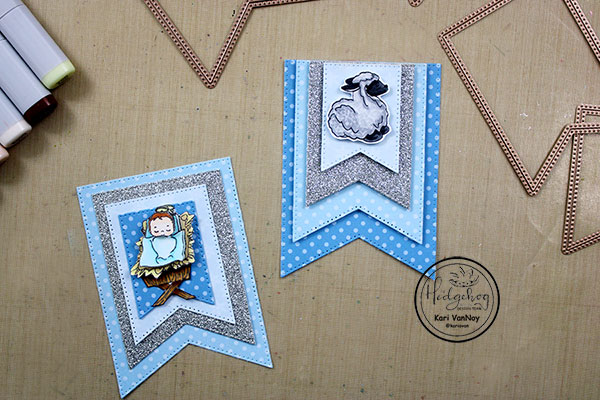
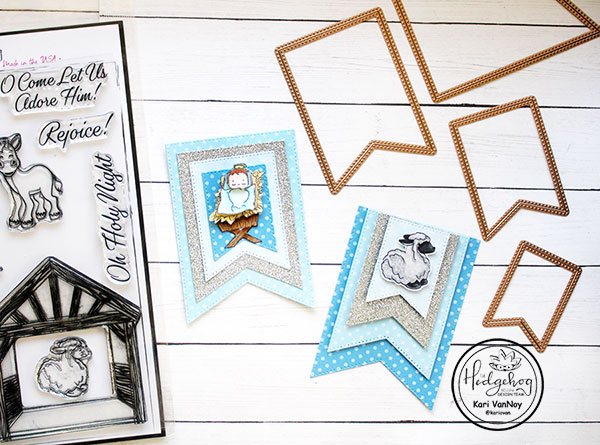
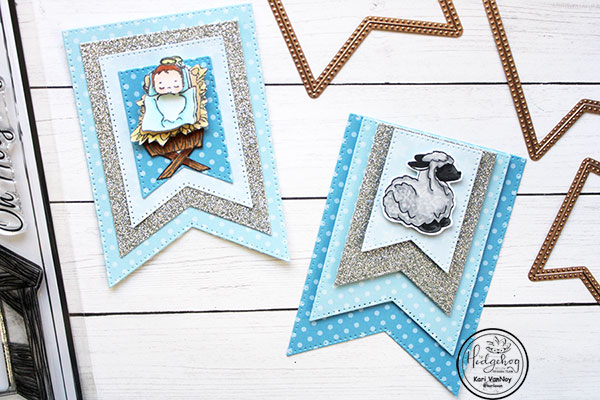
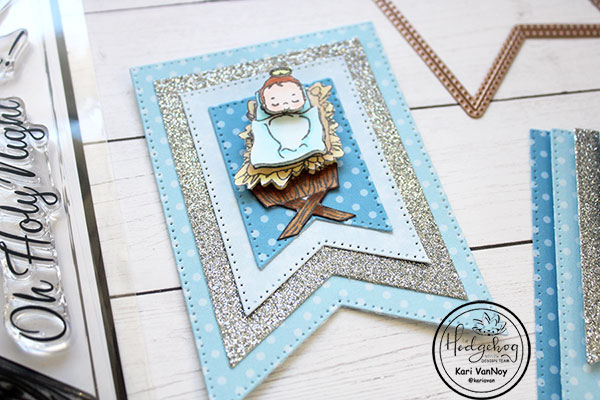
For my first tag, I chose the baby Jesus image from the kit and some beautiful blue papers also from the kit. I stamped the image four times on Neenah Solar white paper.

Then I colored just the part of each layer with Copic markers and cut them out. I layered them up with foam squares to get a 3D look!

I die cut the paper with a layering banner die. Before I adhered them all together, I stamped the sentiment on the very back layer.

Tag # 2

For the second tag, instead of layering the image, I layered the banner dies with foam squares. Then I lined them up at the top (instead of the center) and added the sweet lamb image with foam tape. So much beautiful dimension on these tags.

Tag # 3

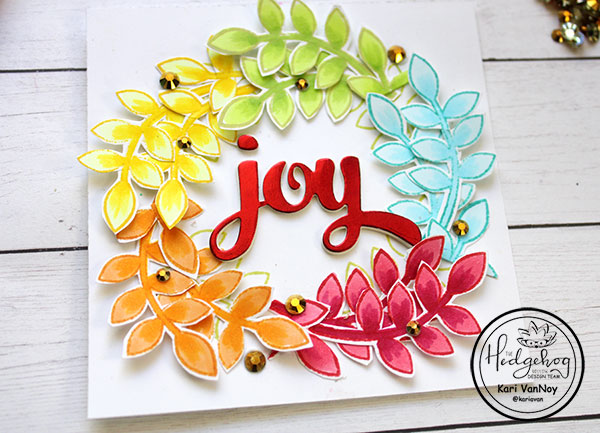
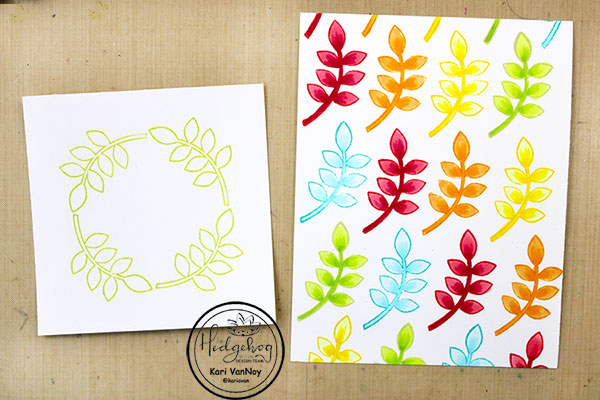
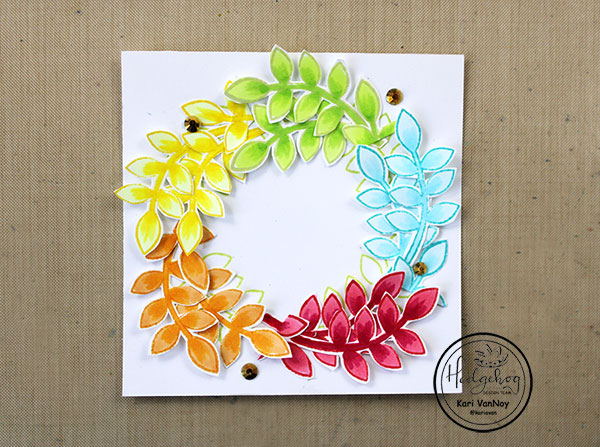
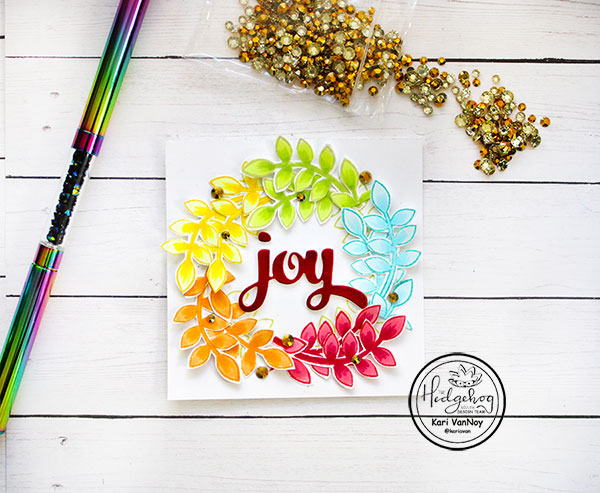
For my third tag, I chose my favorite leaf image and stamped it in multiple colors. I colored them up with coordinating Copic Markers and fussy cut them all out. I also stamped four leaves in a circle to act as a template for the wreath shape.

I layered them up with foam squares and added some gold gems. Then I die cut the word “Joy” four times and layered those up. The top layer is cut from red foil paper for some shine.

I hope you enjoyed these layering tag projects today! I’ll be back soon with more ideas!

Comments { 0 }
SUNSHINE-both-cards-1

Foiled Paper and Marshmallow Paste

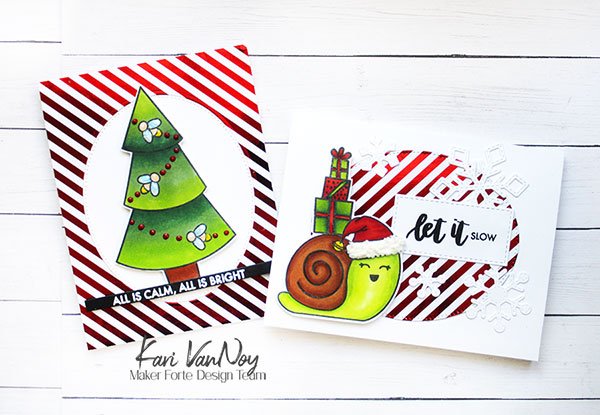
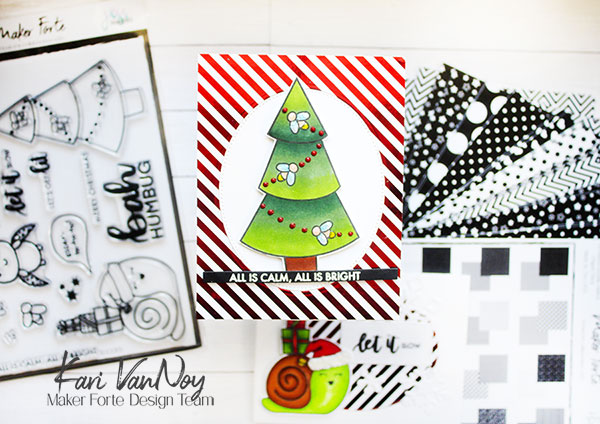
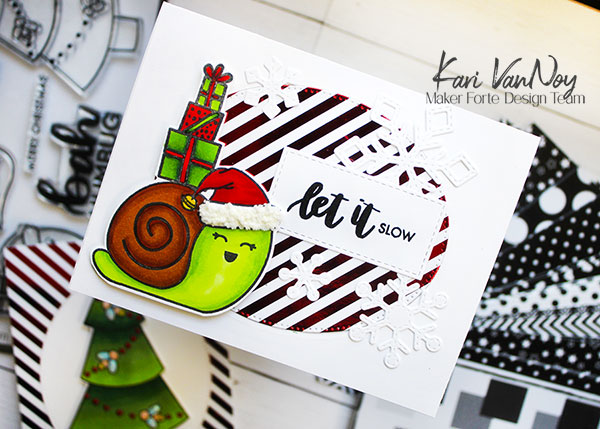
Hello! Today I am sharing my new FAVORITE black and white paper pack! This is not just any paper pack…it can be used with FOIL!! Can you tell I am excited about this? I have two cards with this foiled paper and I add Marshmallow Paste for even more drama.

To start, I cut down a piece of the striped paper and added red foil to it using the Minc Machine. You can also use a lamintor to add the foil. Then I cut out an oval of the middle so I could make two cards.

Card 1

For this first card, I colored up the tree with Copics. Then I added some Nuvo drops to the tree and Glitter drops to the lightning bugs. I white heat embossed the sentiment on black cardstock. I thought “All is calm, all is bright” worked great with the glow bugs!

I have a video below showing you the foiling and putting both cards together, and how to apply Marshmallow paste! Watch it below or in HD on YouTube:

Card 2

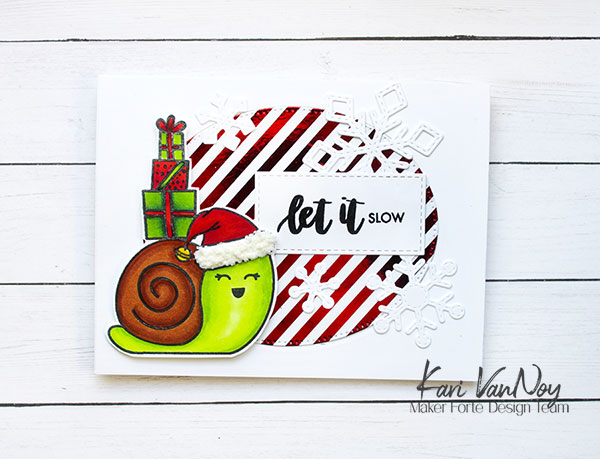
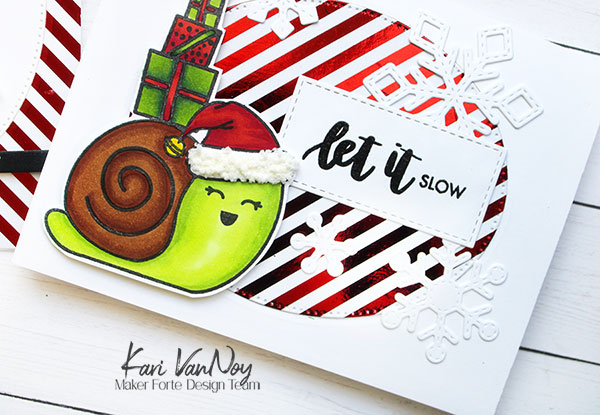
For the snail card, I used the same Copic colors to color up the snail image but I added one extra lighter yellow green color (YG01). I die cut some snowflakes for the background.

For the hat fur, I used a palette knife to add a generous amount of Marshmallow paste. Then I used the heat tool to heat it up for a few seconds until it popped up. It looks so fuzzy!

I’m often asked what supplies I use to make my cards and projects, so I’ve put together a list using affiliate links when possible. If you make a purchase with these links I may receive a small commission. These help me to keep up with blog costs and continue bringing you fun projects. Thank you so much for your support!
I hope you enjoyed these projects today and meeting my new favorite black and white paper. If you think about it, you can change the black and white into any color foil you’d like!

Thanks for stopping by!

Comments { 0 }
SUNSHINE-snow-one-like-you-close-up-crooked

Snowy Background

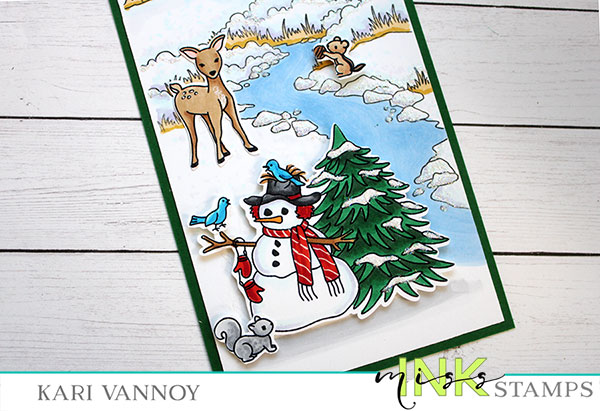
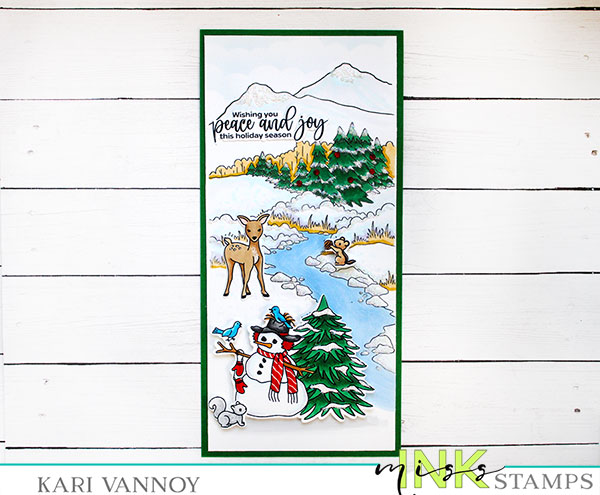
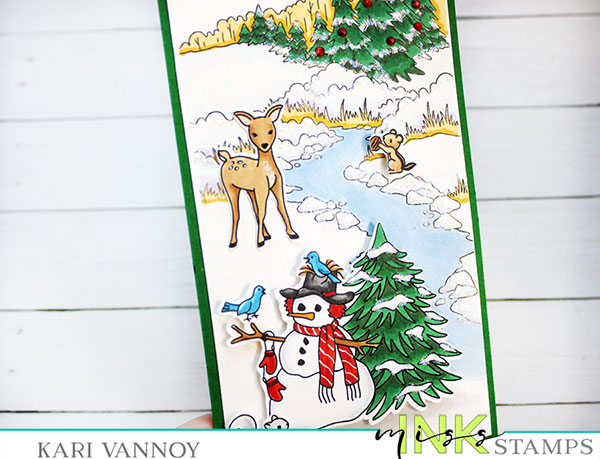
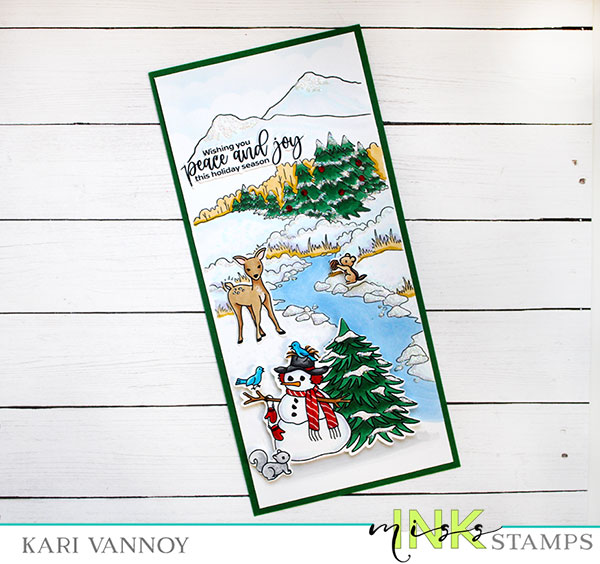
Hello! Today I’m taking a forest background stamp and turning it into a SNOWY background stamp. I love that this background stamp from Miss Ink Stamps is so versatile. The “river” could also become a “pathway” and you can color it for any season.

Today I”m making it winter, with snow all around. I have a video to show you how I did this, watch it below or in HD on YouTube:

I’m often asked what supplies I use to make my cards and projects, so I’ve put together a list using affiliate links when possible. If you make a purchase with these links I may receive a small commission. These help me to keep up with blog costs and continue bringing you fun projects. Thank you so much for your support!
I added lots of glitter to make it glisten in the sun! This was a delight to color. I hope you enjoyed!

Comments { 0 }