Hello! Today I’m sharing FOUR Panda cards in my video. I love these little guys from the Panda Get Well stamp set from Whimsy Stamps. There are some get well images, but also others that can be used for other themes.
Watch the video below or in HD on YouTube:
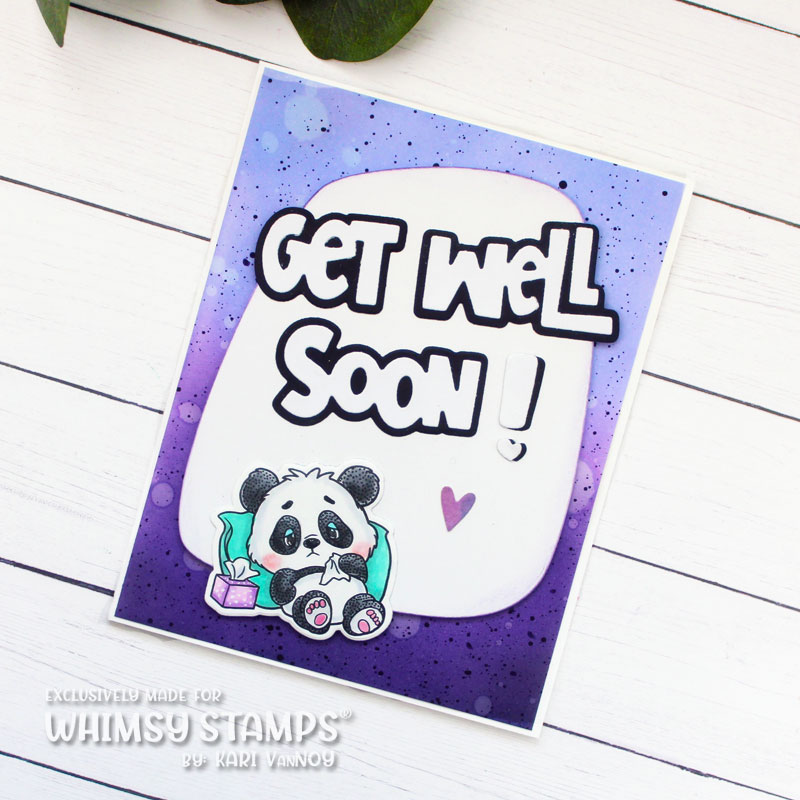
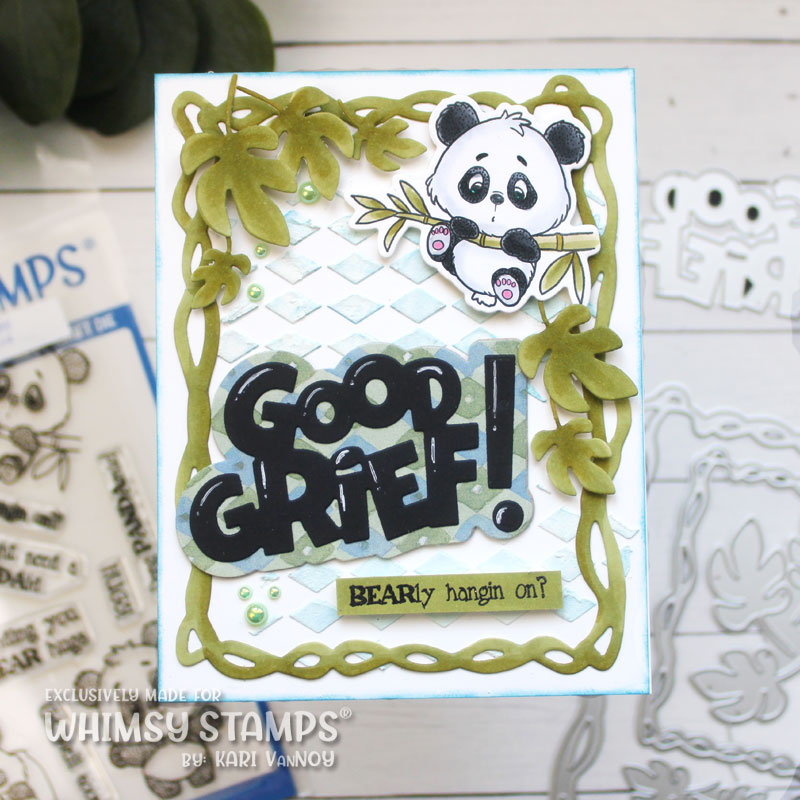
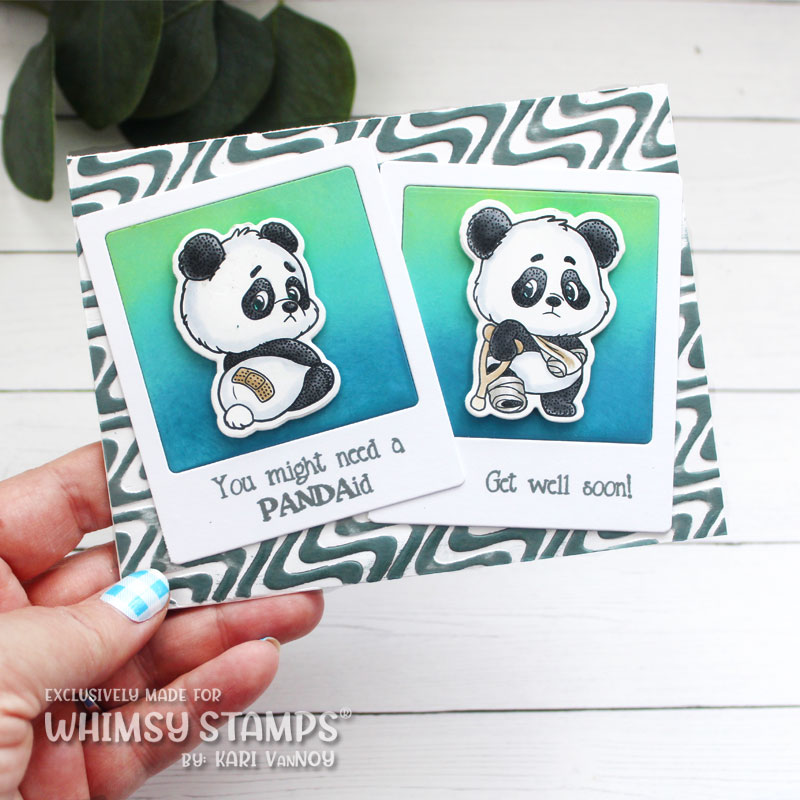
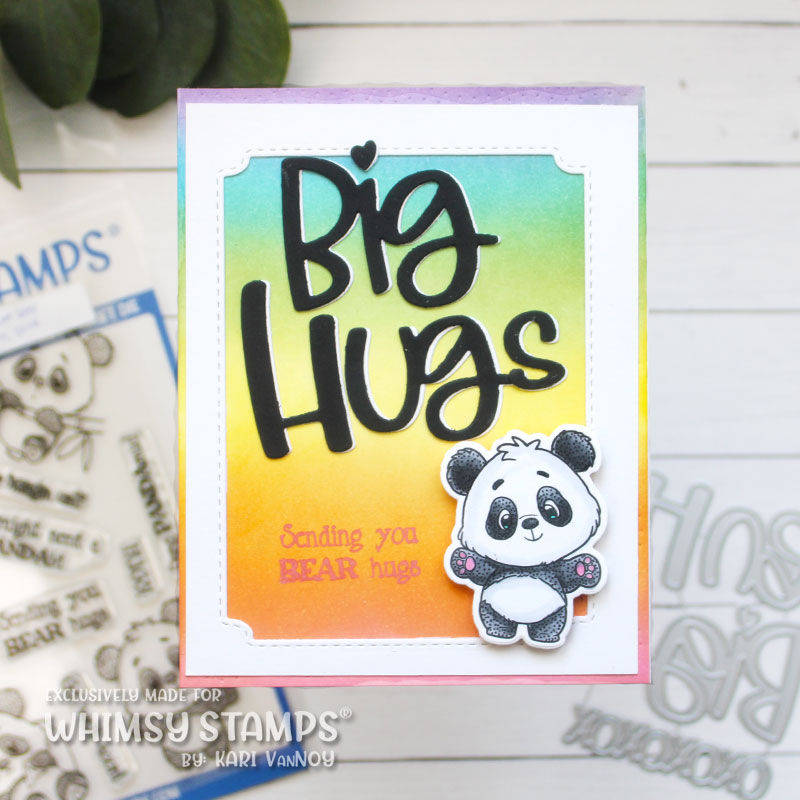
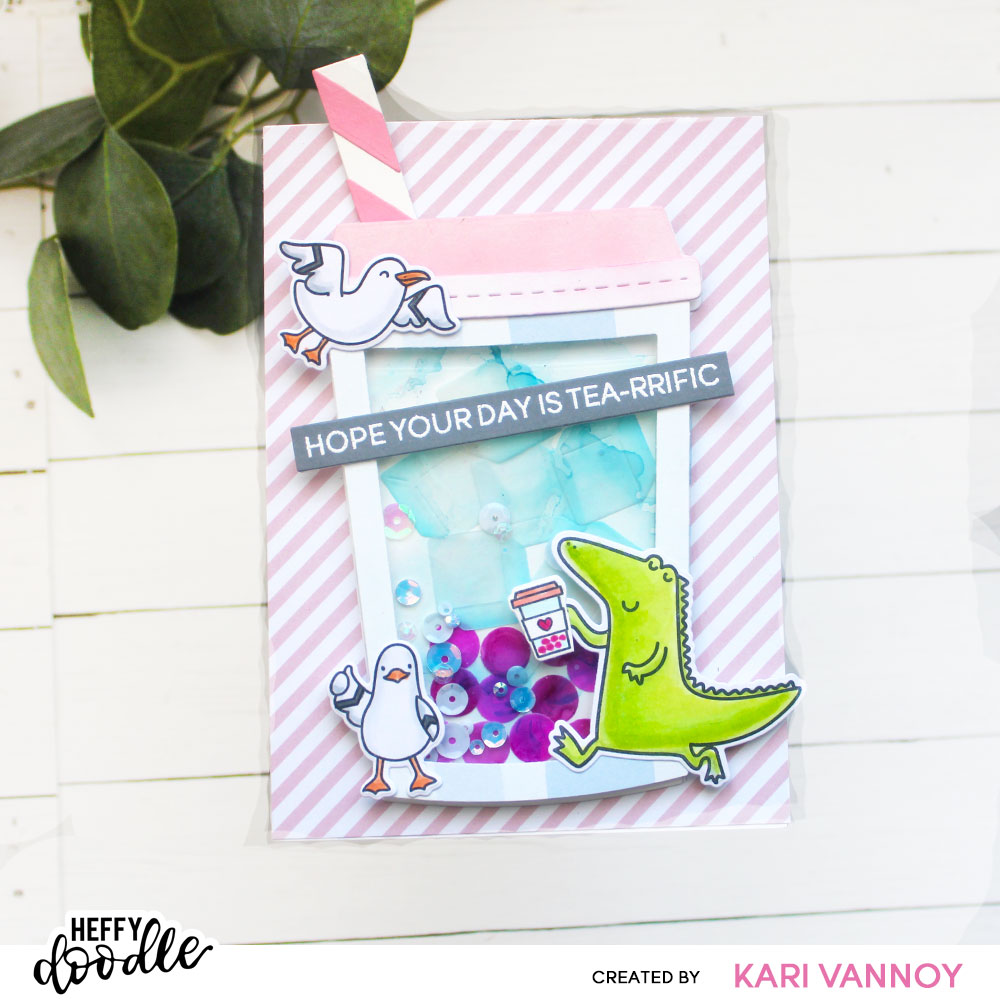
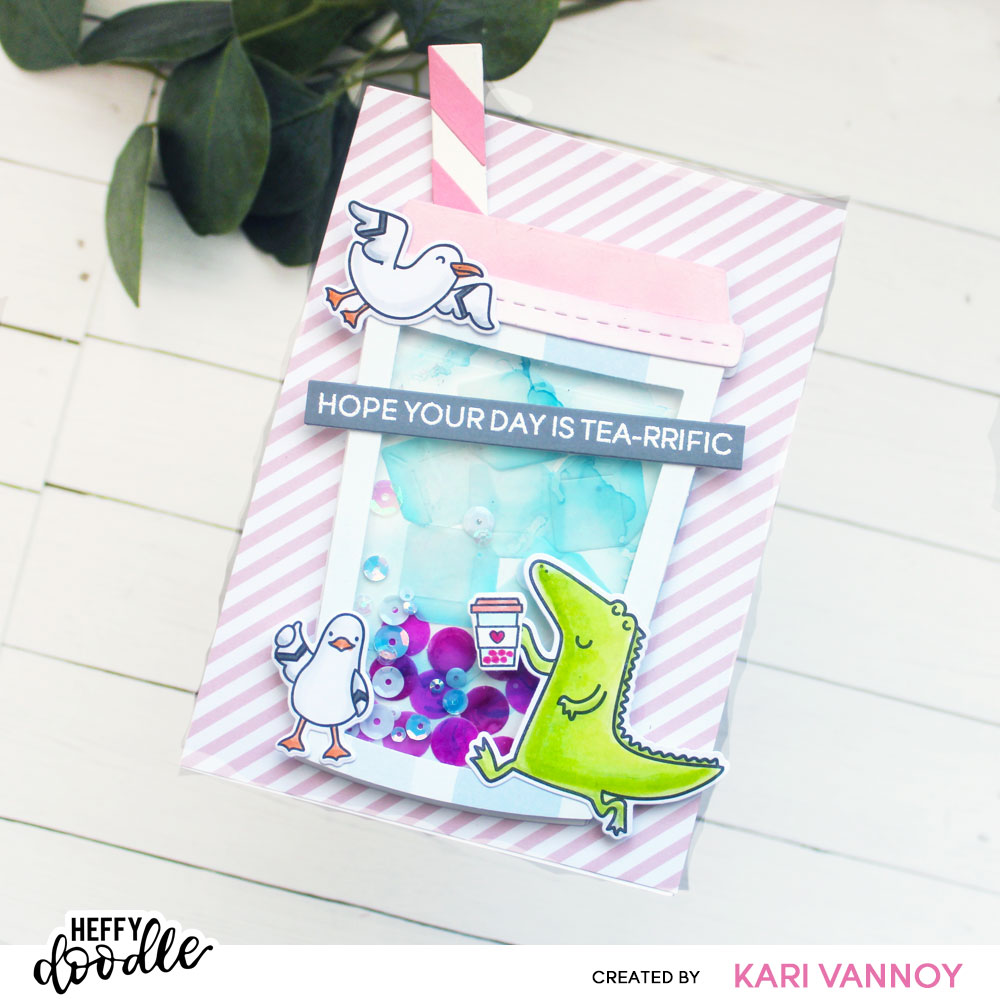
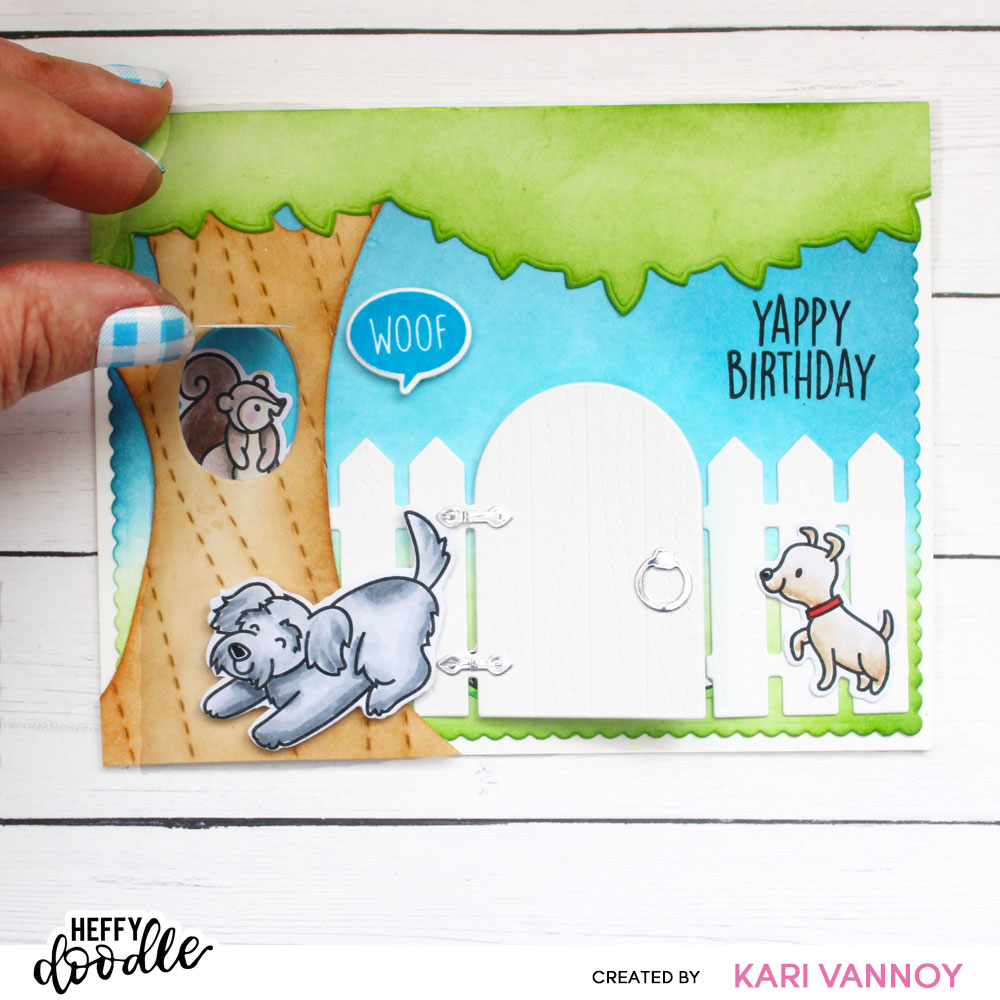
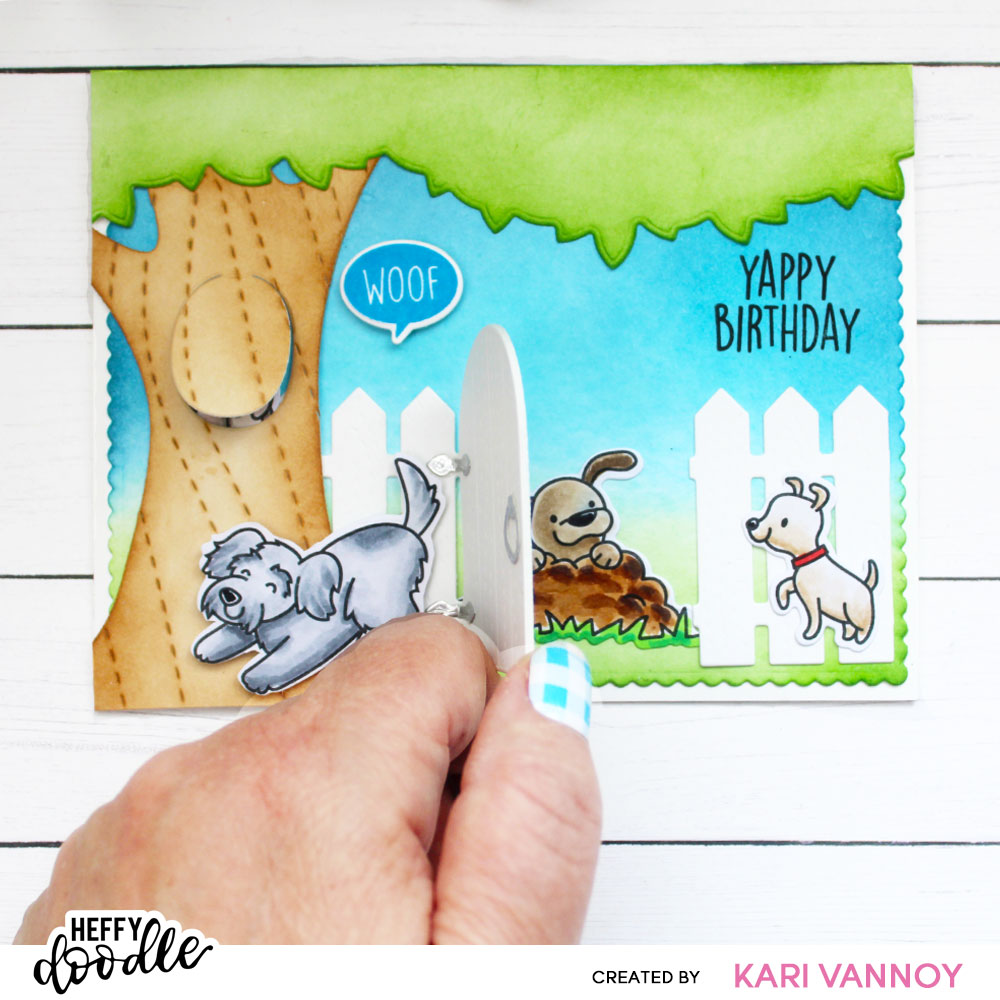
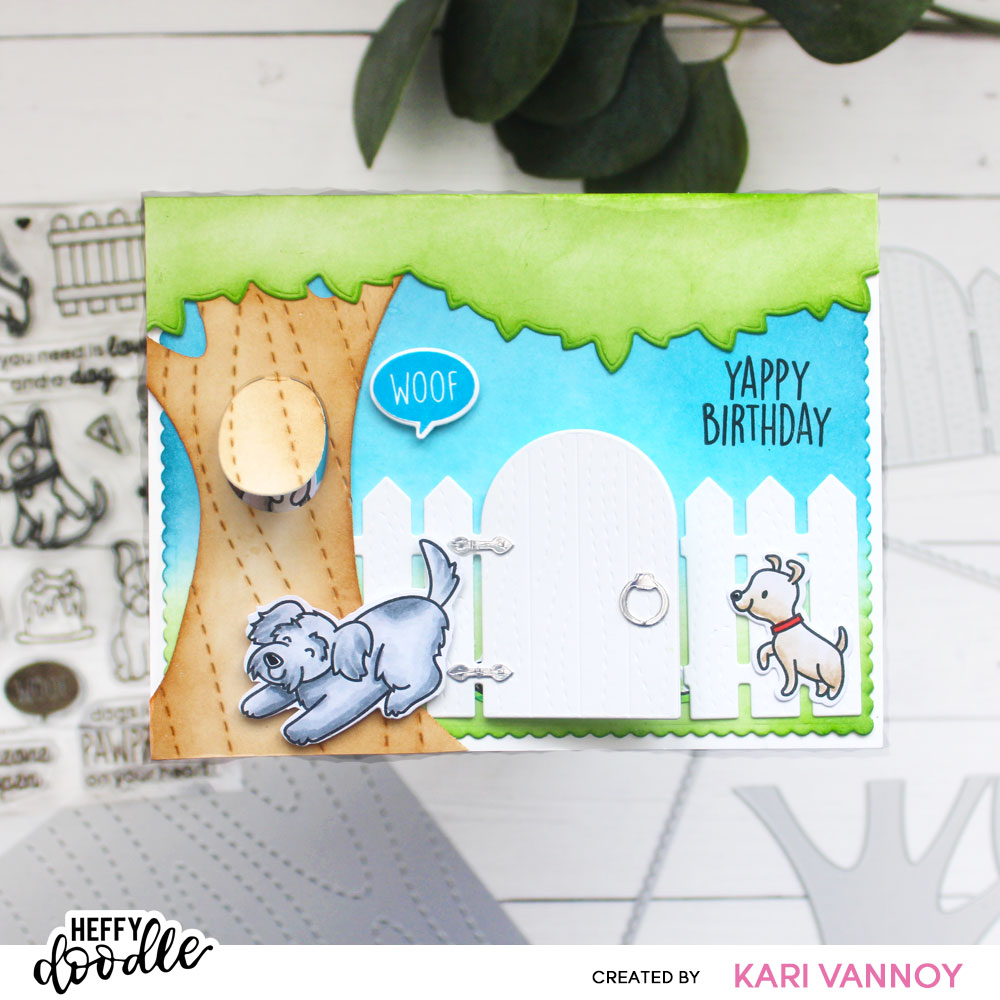
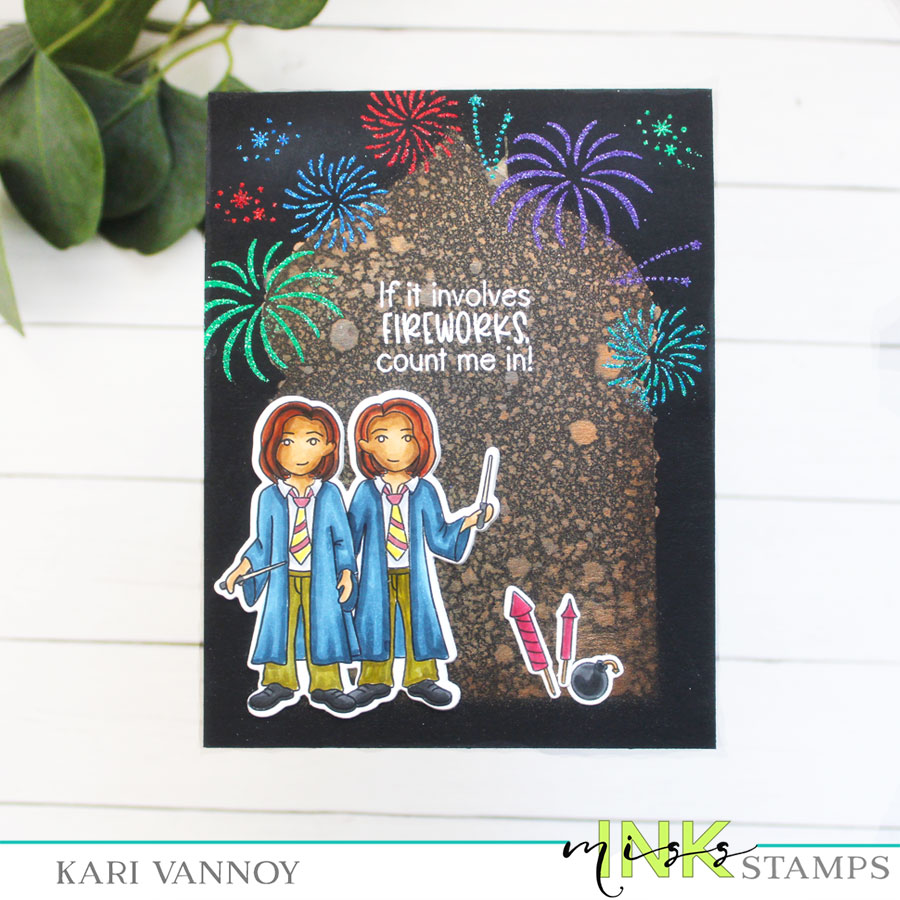
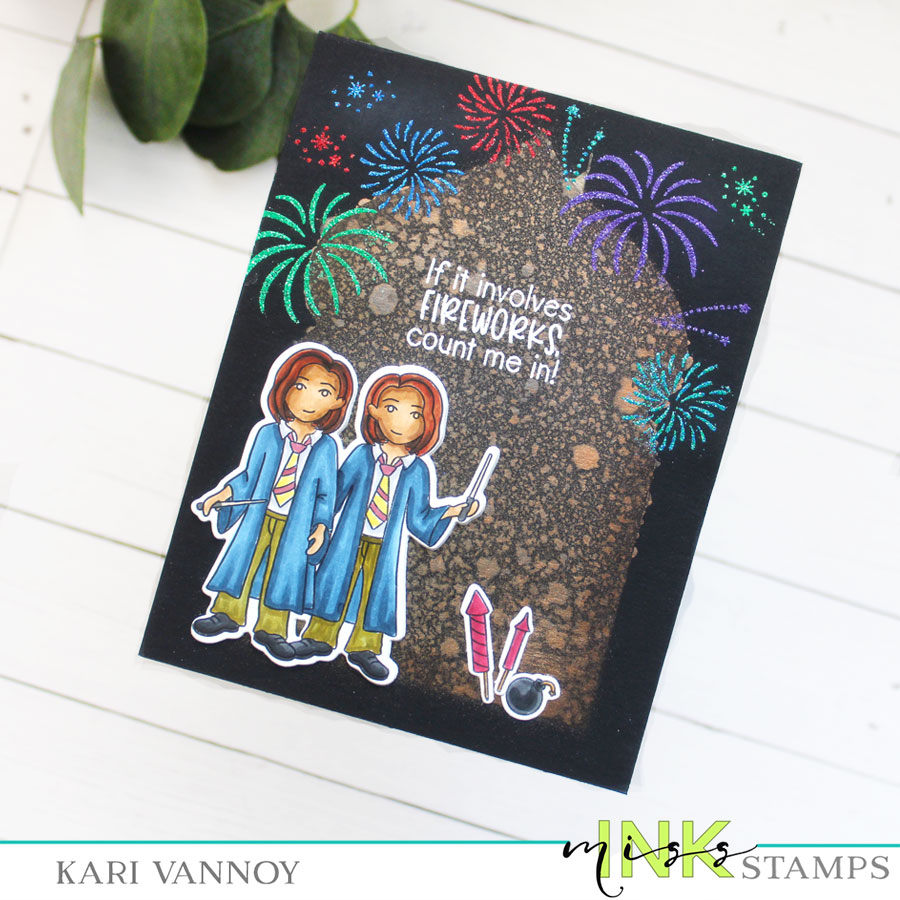
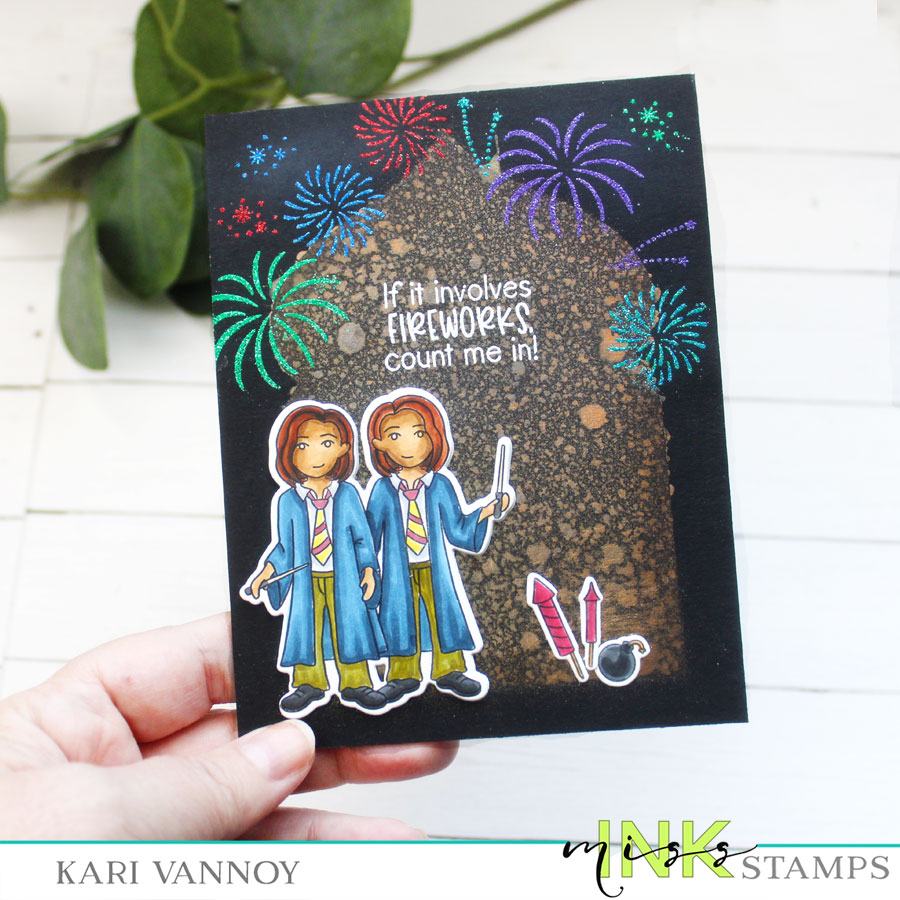
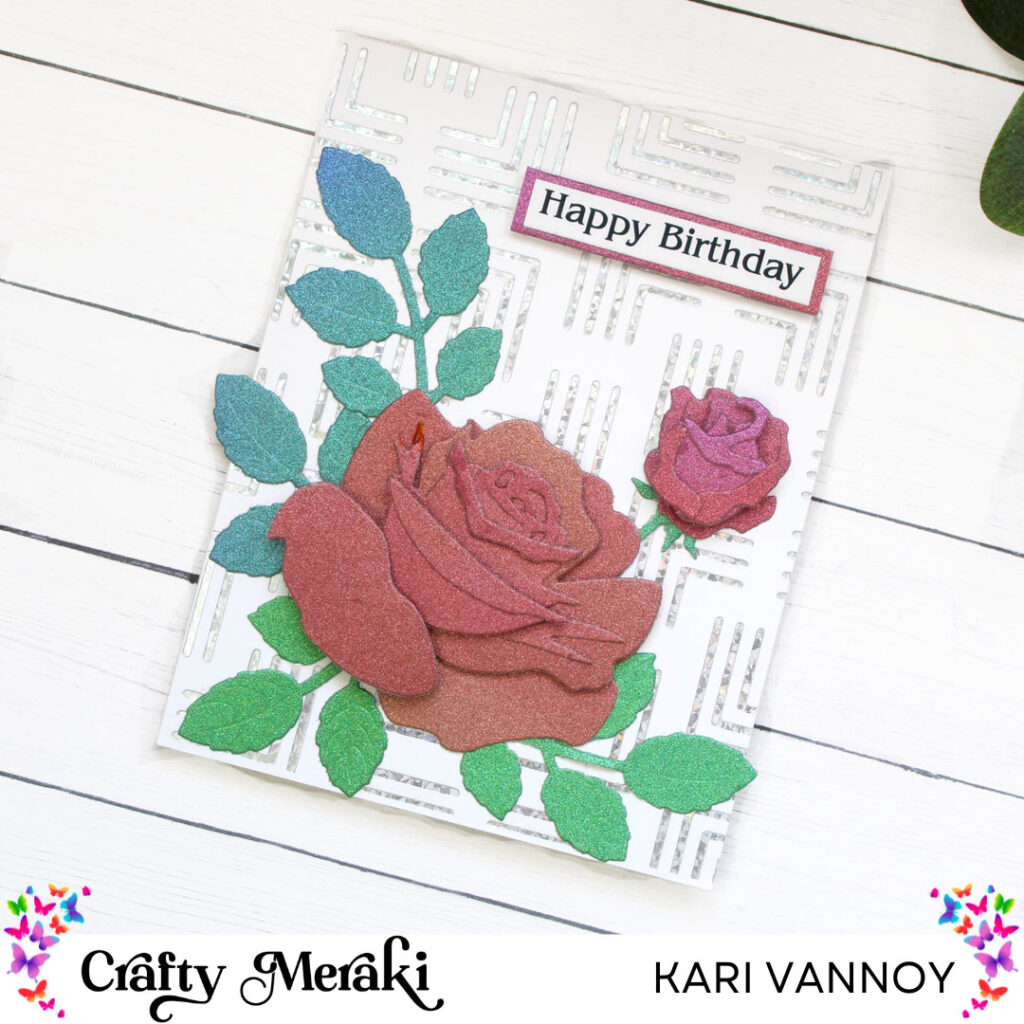
Aren’t these pandas so cute!?!
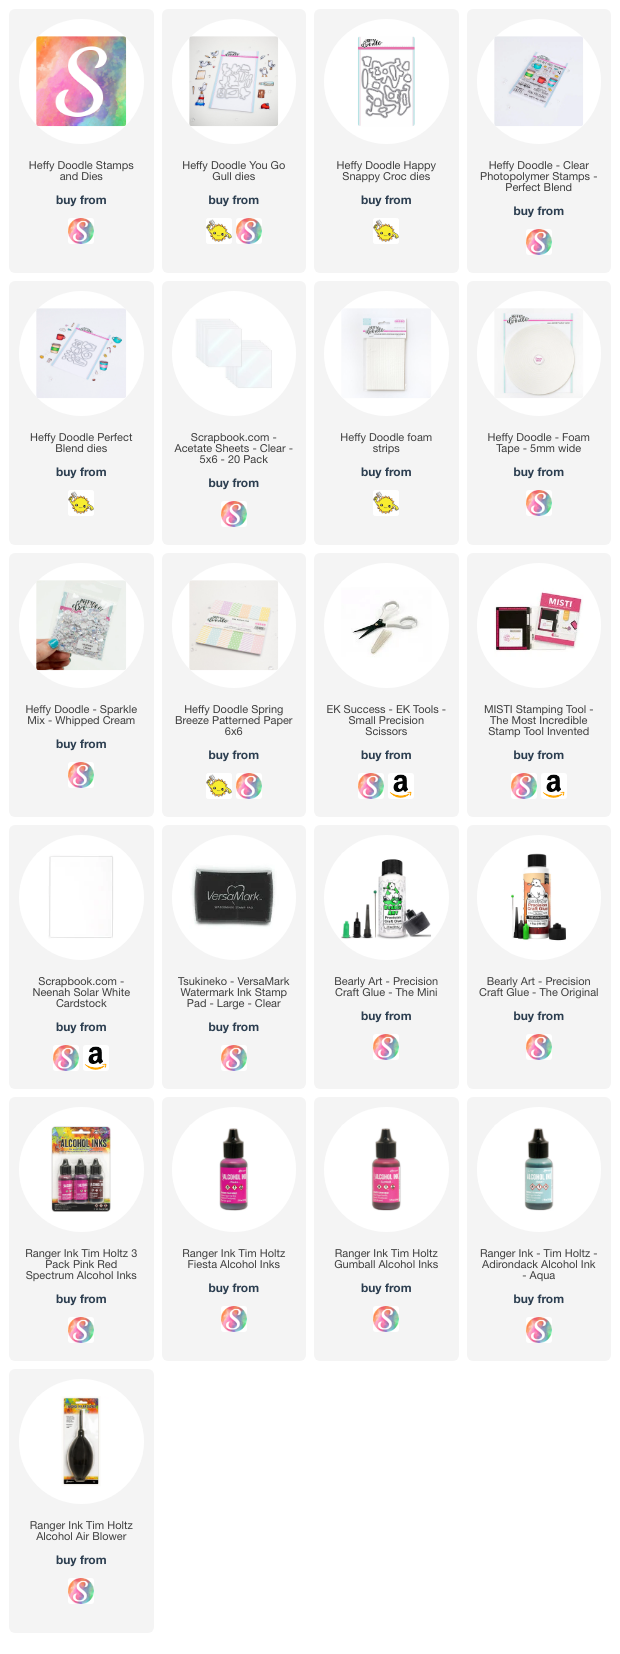
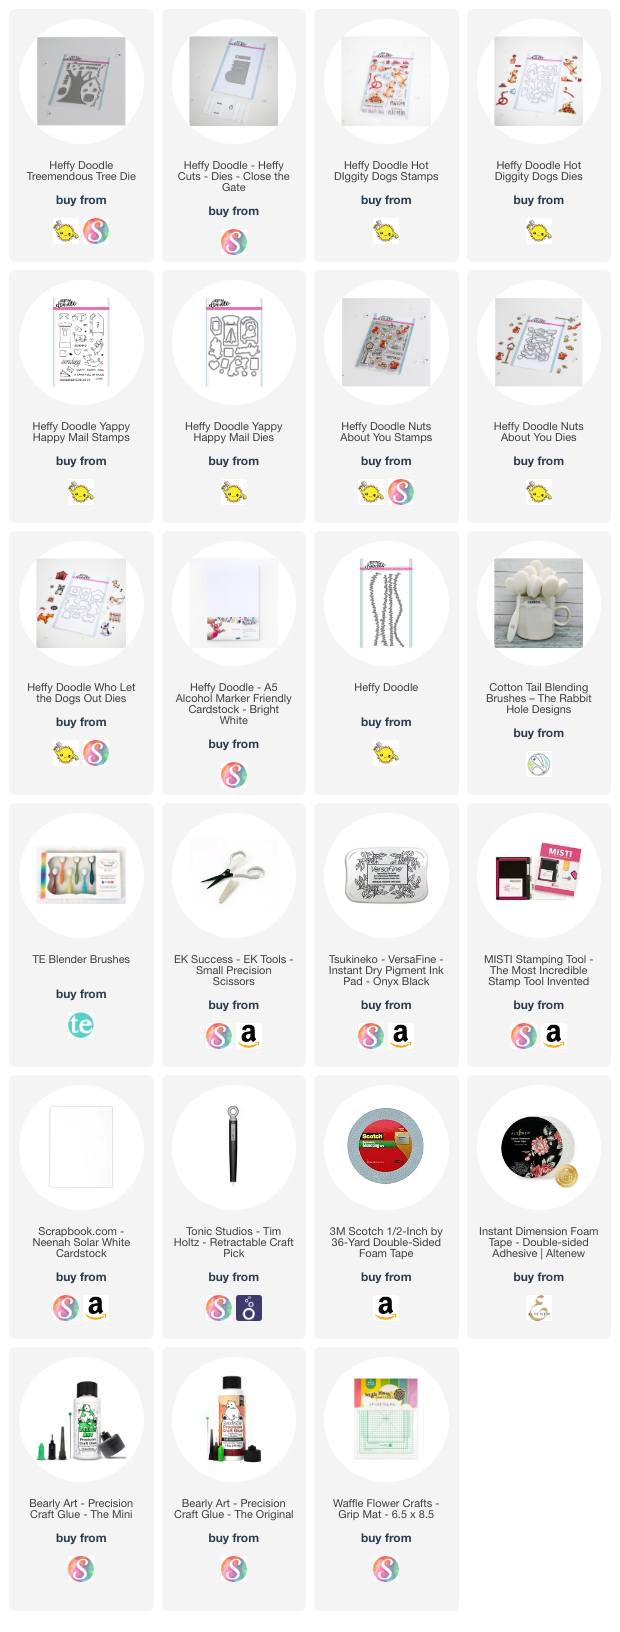
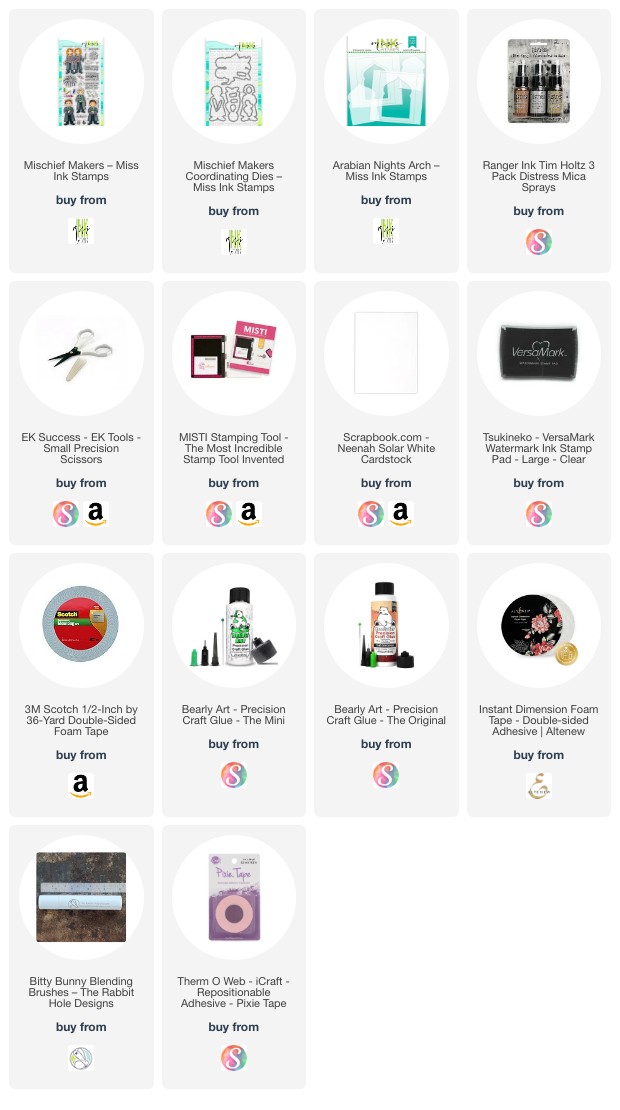
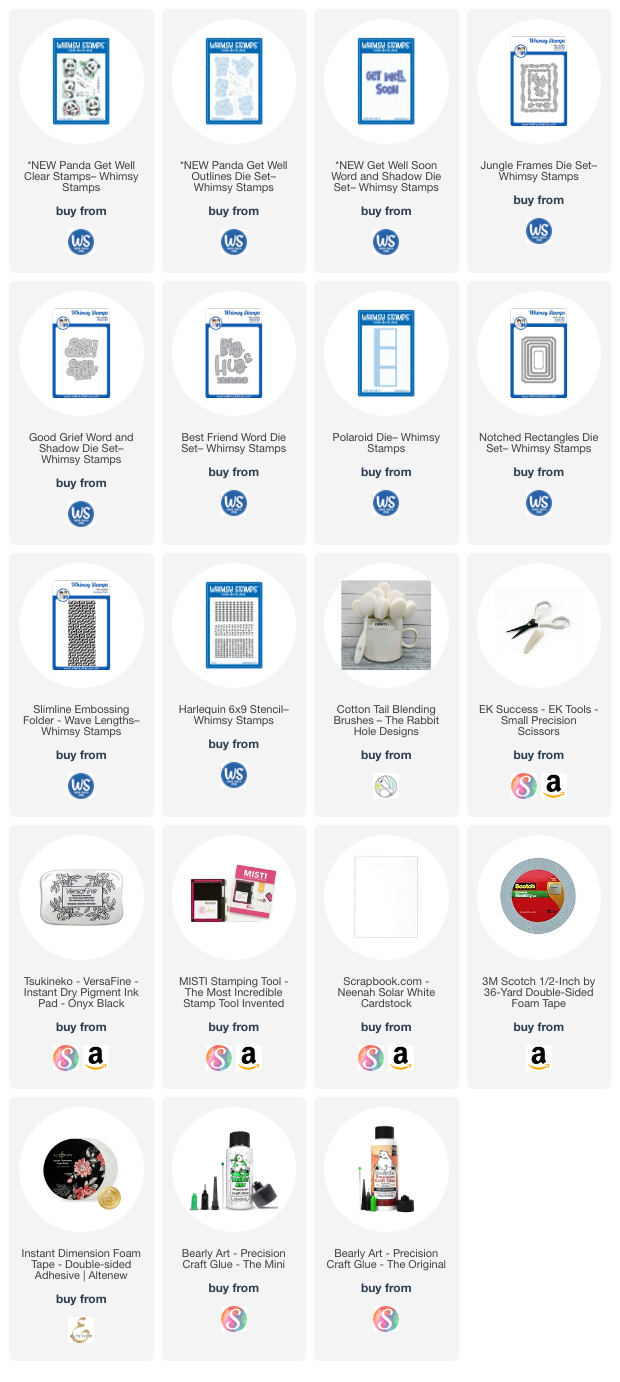
I’m often asked what supplies I use to make my cards and projects, so I’ve put together a list using affiliate links when possible. If you make a purchase with these links I may receive a small commission. These help me to keep up with blog costs and continue bringing you fun projects. Thank you so much for your support!

Hope you enjoyed these projects today! See you soon!