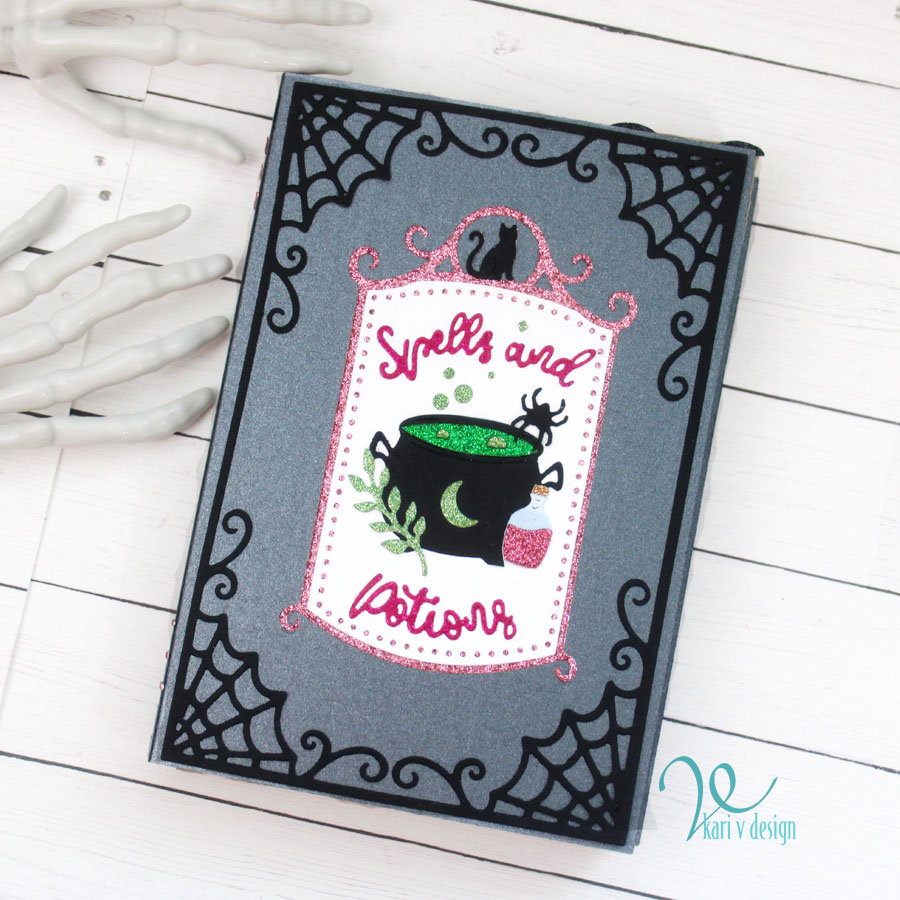
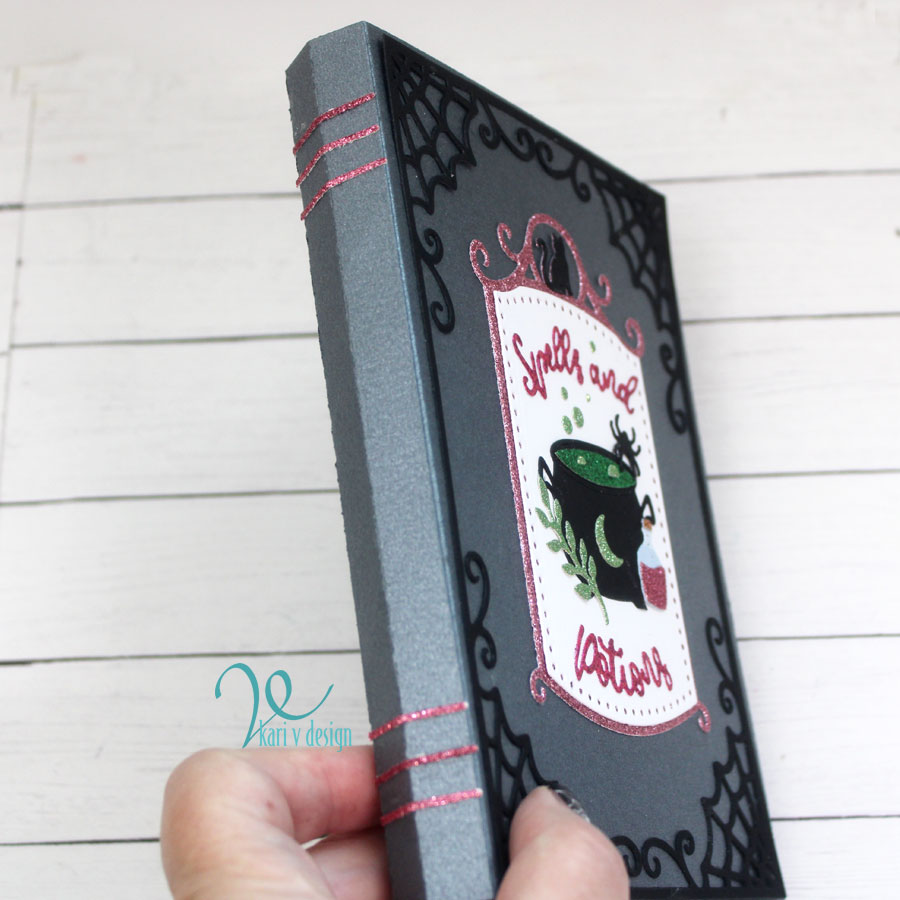
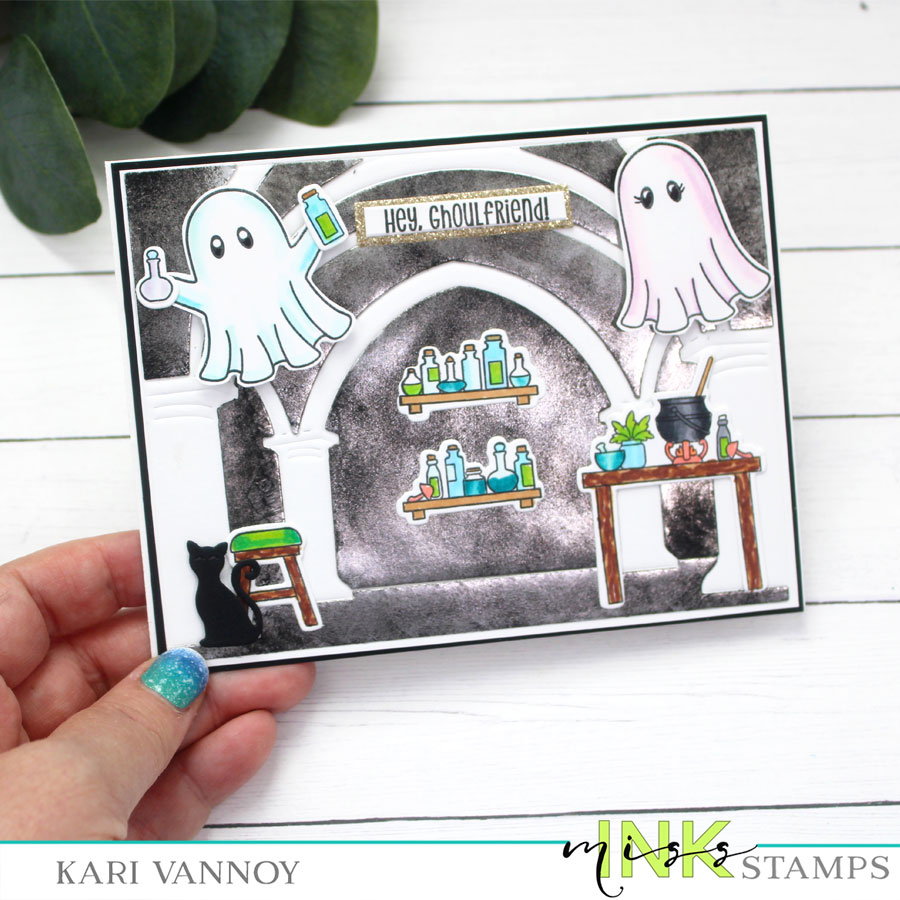
Hello! Today I have a new card and video with Ghosts creating potions!
Watch the video here:
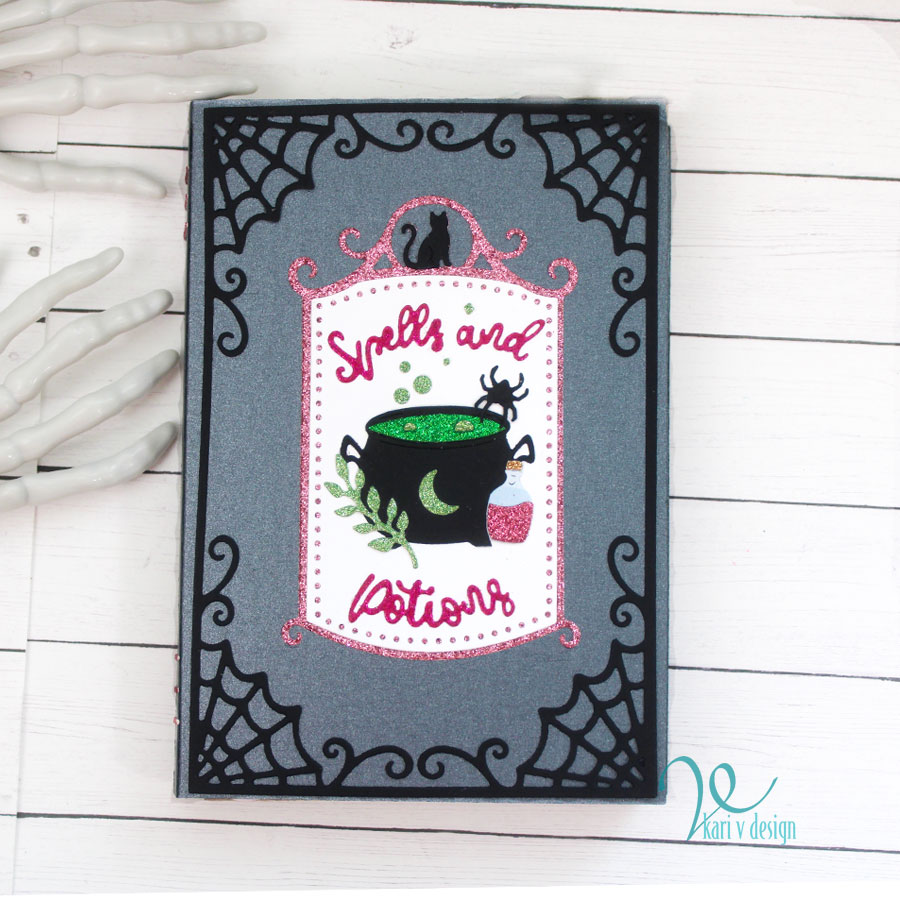
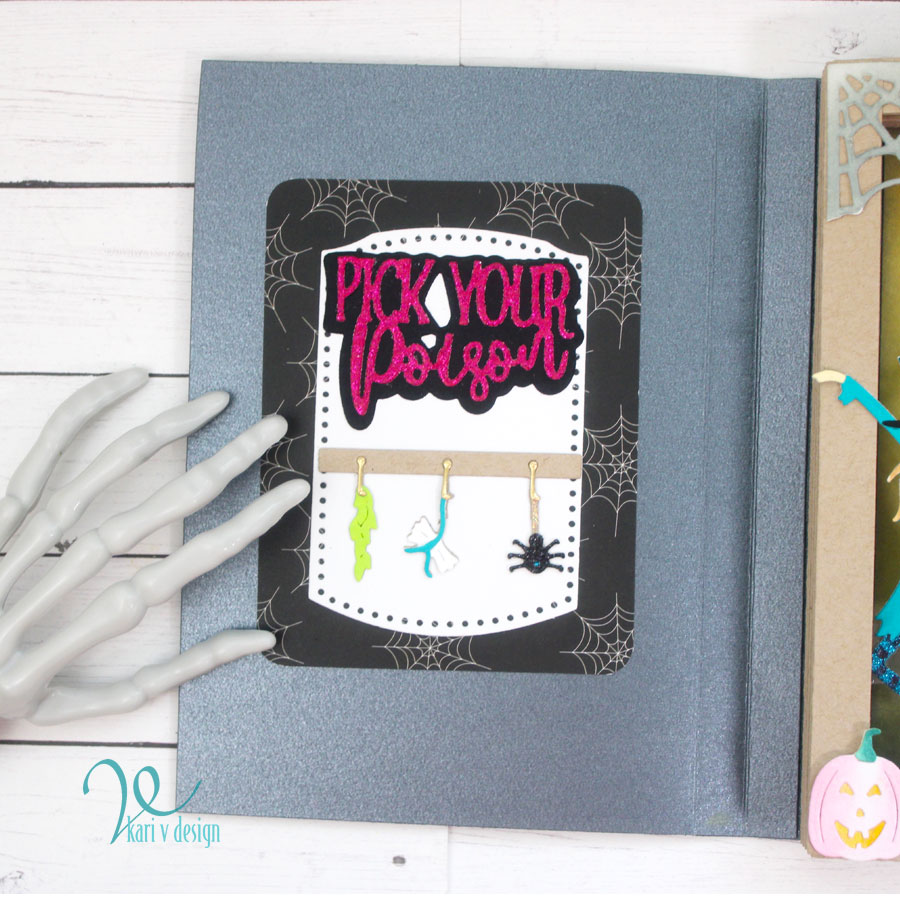
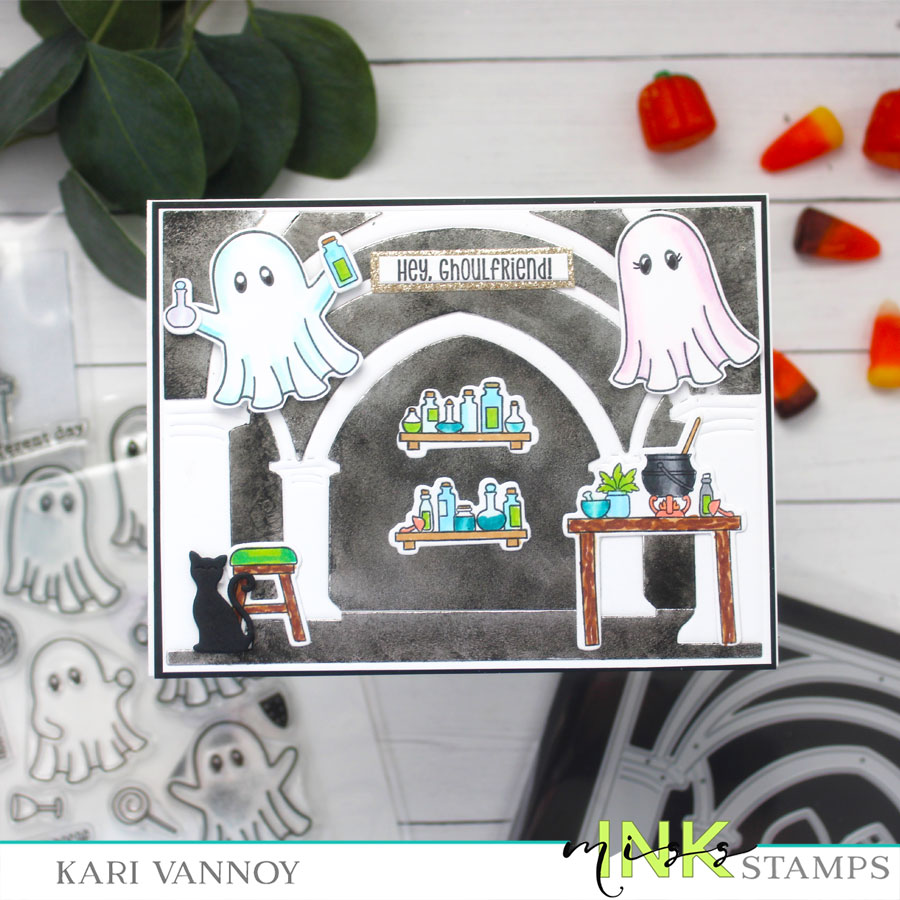
I love this Castle Arches die set…it is good for so many occasions and today it’s a dungeon with ghosts!
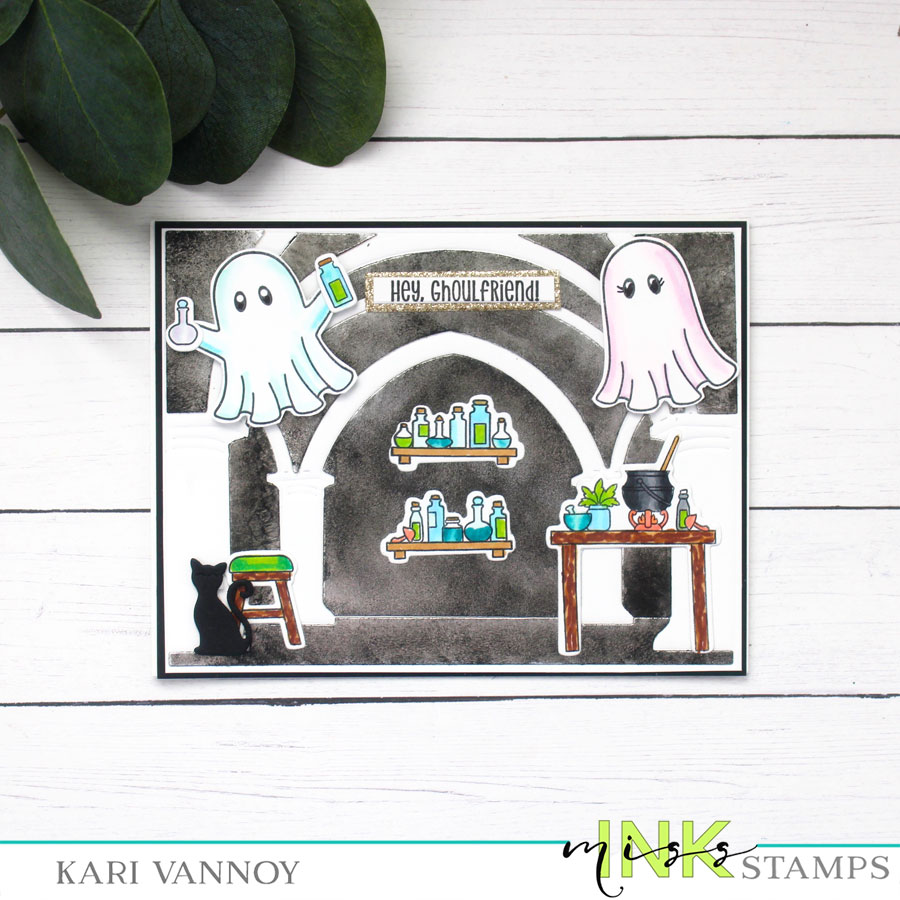
I created this background with Metallic cardstock and black paint in THIS VIDEO. I love how it looks.
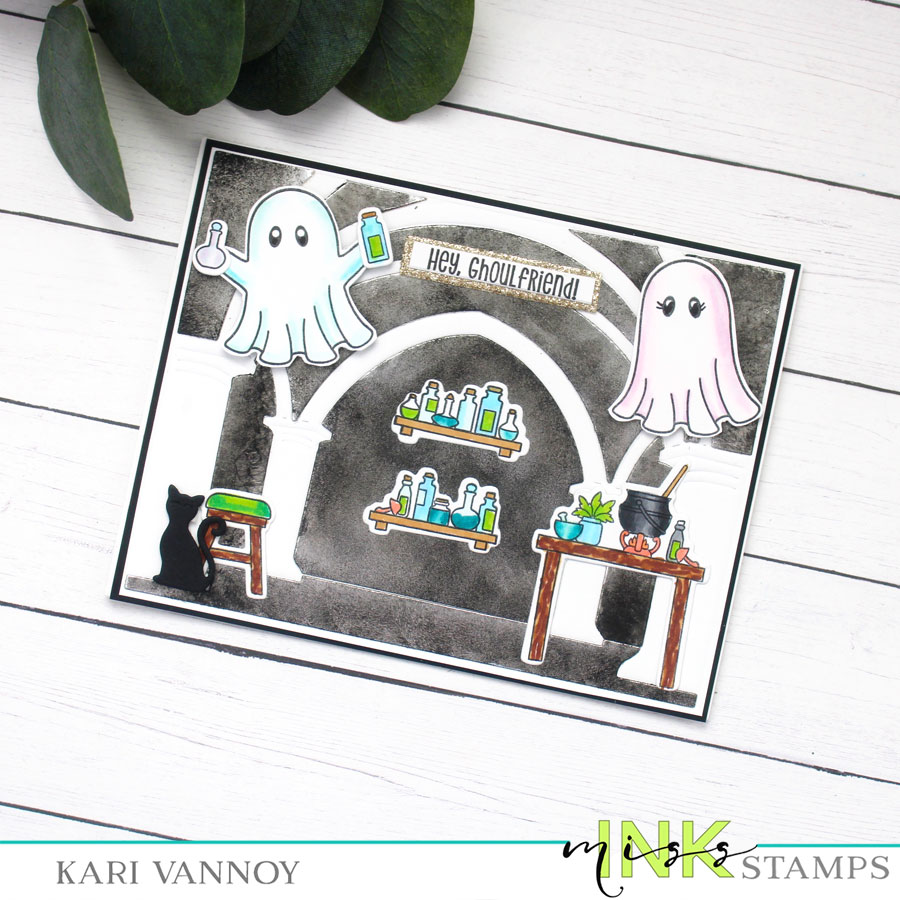
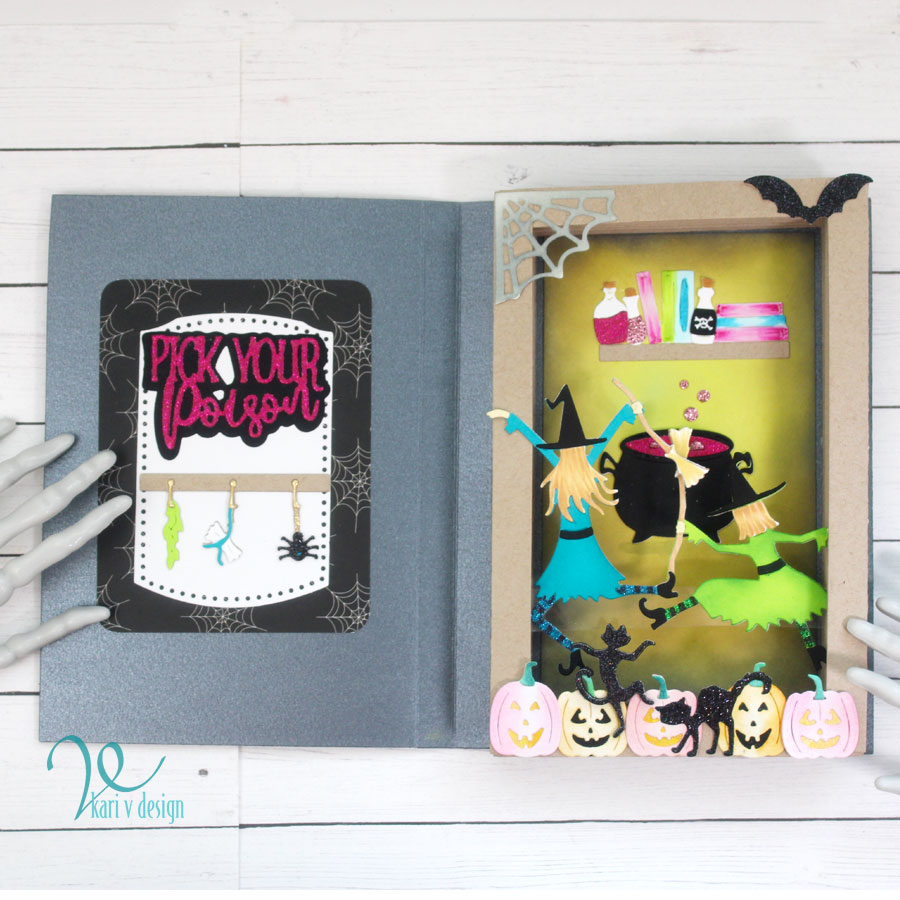
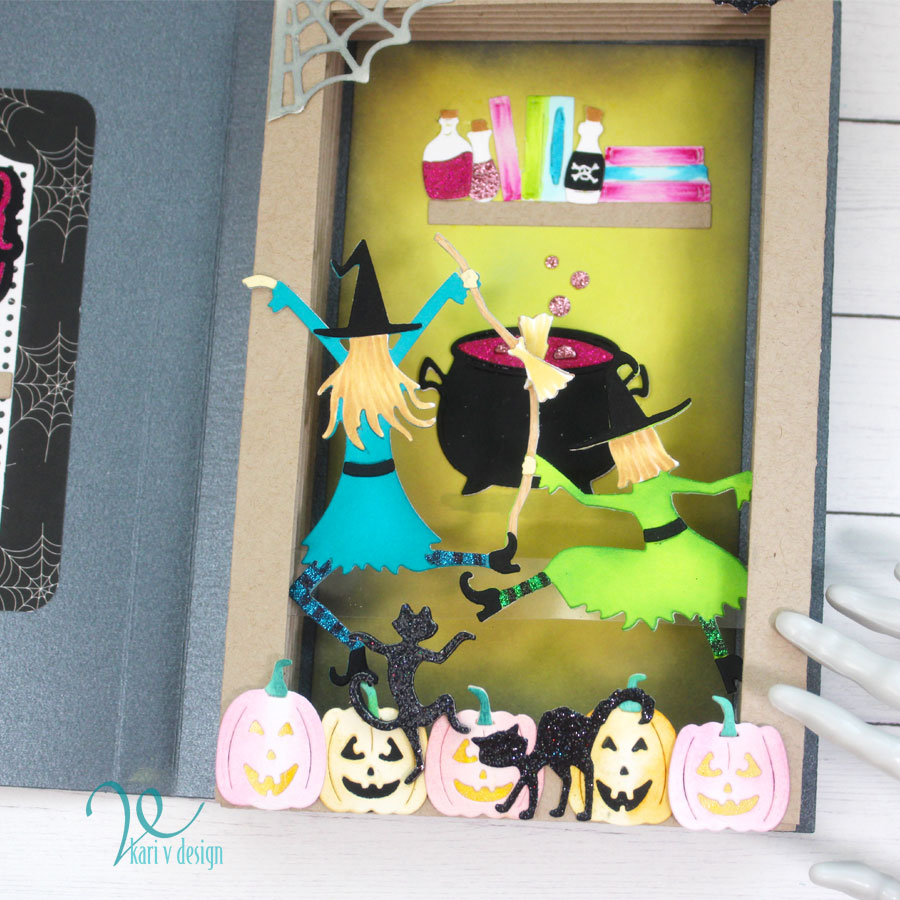
I think ghosts creating potions in a dungeon is so funny! (Halloween sense of humor). Miss Ink Stamps has some great sets for creating this scene!
Can you find the black cat?! It’s from the Under the Stairs die set! I thought this scene needed a little cat to finish off the look. *Wink*
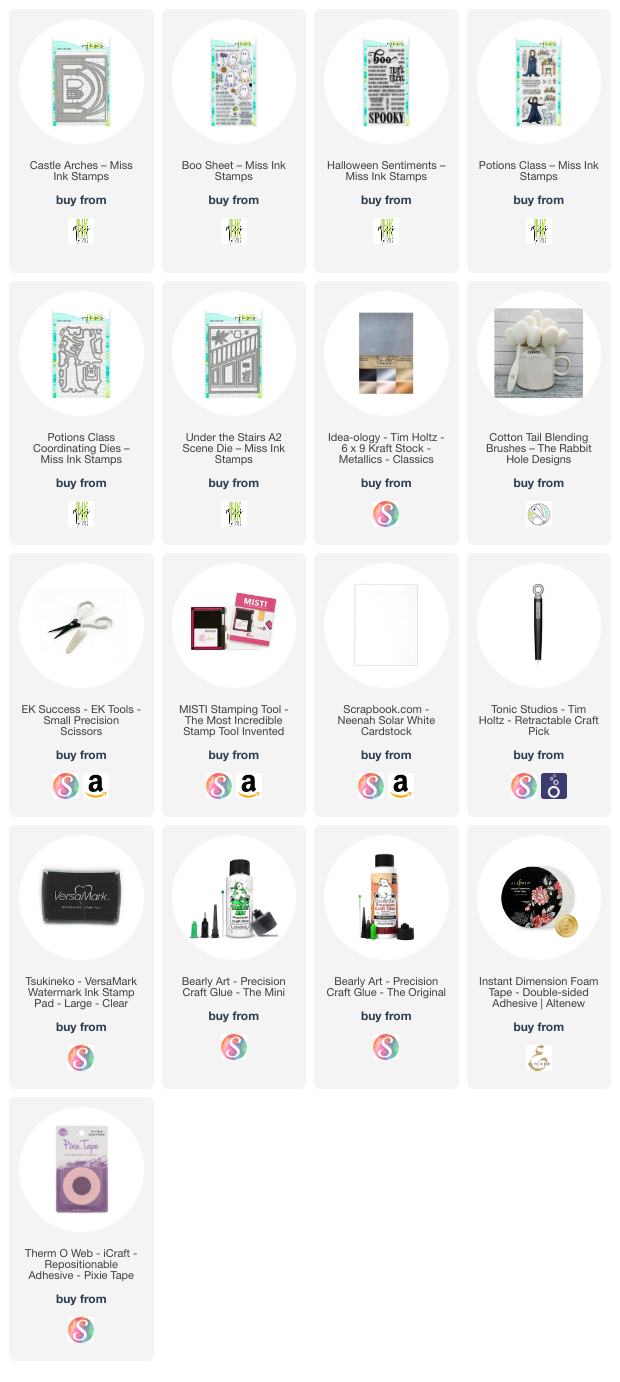
I’m often asked what supplies I use to make my cards and projects, so I’ve put together a list using affiliate links when possible. If you make a purchase with these links I may receive a small commission. These help me to keep up with blog costs and continue bringing you fun projects. Thank you so much for your support!
I hope you enjoyed this project today! Are you making Halloween cards yet? See you next time.