Archive | Holidays RSS feed for this section
SUNSHINE-both-cards-1

Foiled Paper and Marshmallow Paste

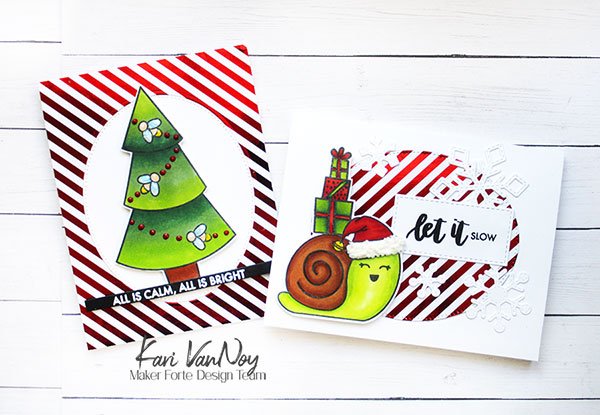
Hello! Today I am sharing my new FAVORITE black and white paper pack! This is not just any paper pack…it can be used with FOIL!! Can you tell I am excited about this? I have two cards with this foiled paper and I add Marshmallow Paste for even more drama.
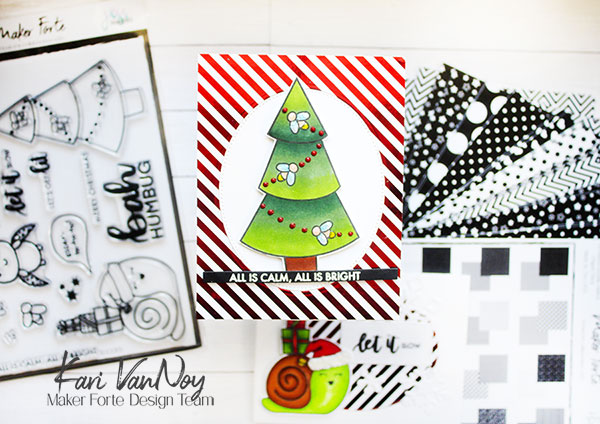
To start, I cut down a piece of the striped paper and added red foil to it using the Minc Machine. You can also use a lamintor to add the foil. Then I cut out an oval of the middle so I could make two cards.

Card 1

For this first card, I colored up the tree with Copics. Then I added some Nuvo drops to the tree and Glitter drops to the lightning bugs. I white heat embossed the sentiment on black cardstock. I thought “All is calm, all is bright” worked great with the glow bugs!

I have a video below showing you the foiling and putting both cards together, and how to apply Marshmallow paste! Watch it below or in HD on YouTube:

Card 2

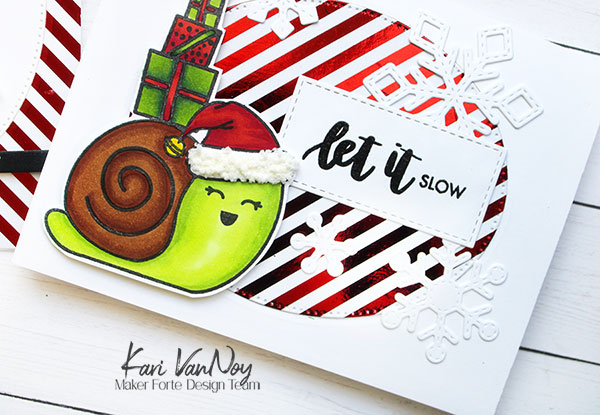
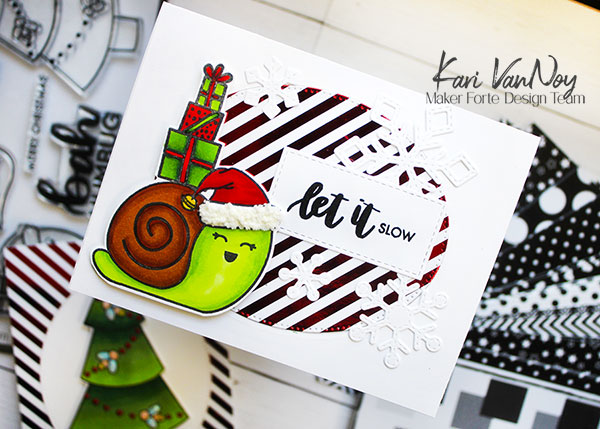
For the snail card, I used the same Copic colors to color up the snail image but I added one extra lighter yellow green color (YG01). I die cut some snowflakes for the background.
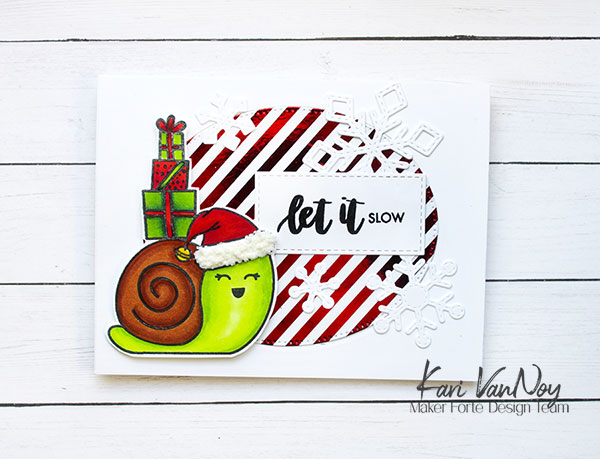
For the hat fur, I used a palette knife to add a generous amount of Marshmallow paste. Then I used the heat tool to heat it up for a few seconds until it popped up. It looks so fuzzy!
I’m often asked what supplies I use to make my cards and projects, so I’ve put together a list using affiliate links when possible. If you make a purchase with these links I may receive a small commission. These help me to keep up with blog costs and continue bringing you fun projects. Thank you so much for your support!
I hope you enjoyed these projects today and meeting my new favorite black and white paper. If you think about it, you can change the black and white into any color foil you’d like!

Thanks for stopping by!
Comments { 0 }
SUNSHINE-sleigh-with-all-supplies-1

Wood U Bend Ornament

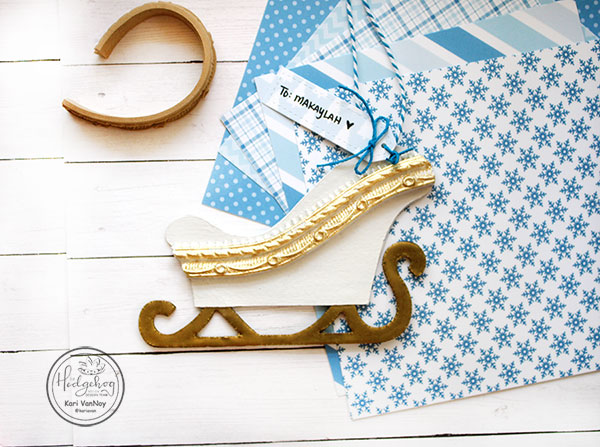
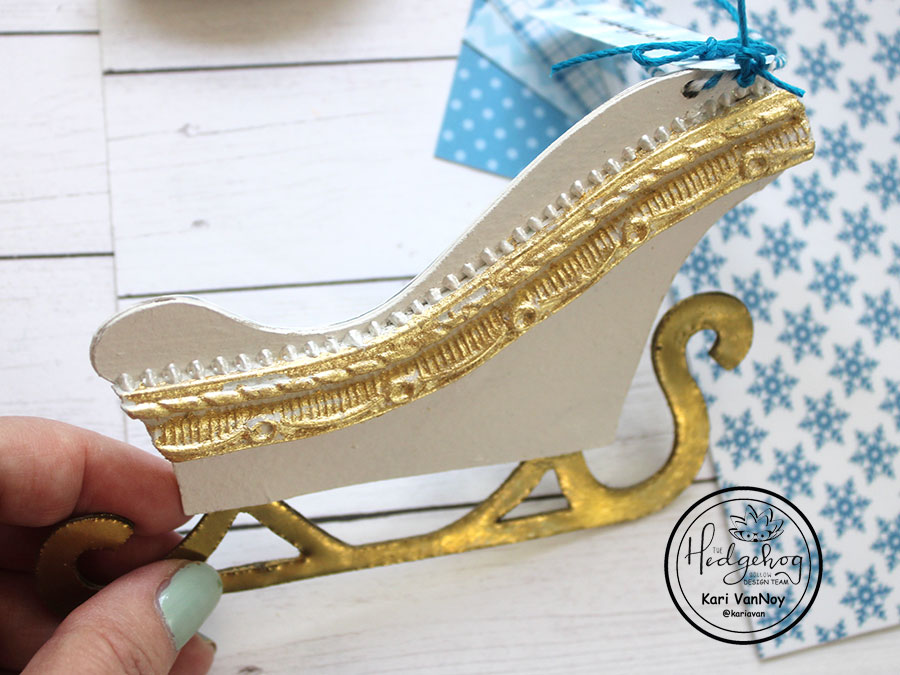
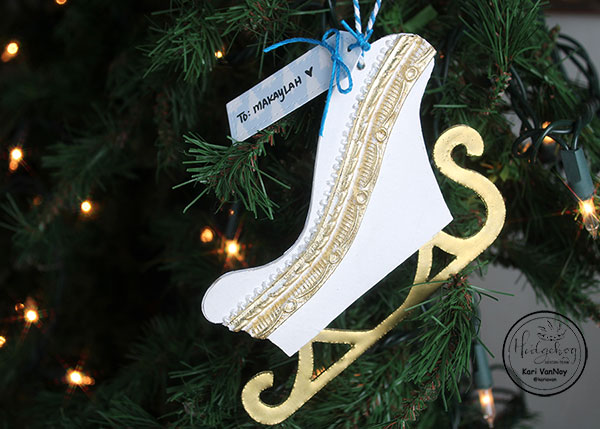
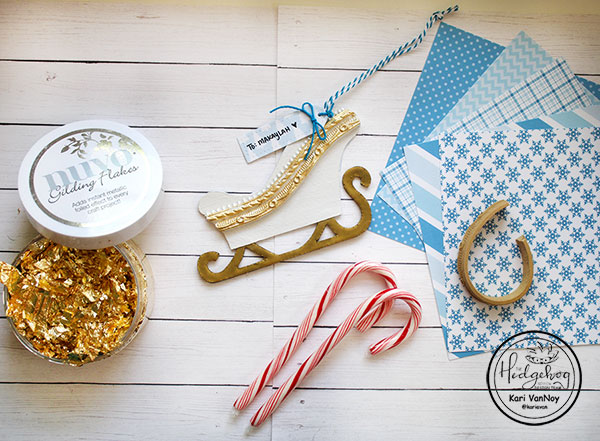
Hello! Today I’m up at the Hedgehog Hollow blog sharing this holiday ornament project using Wood U Bend. This is a unique product that is made out of wood, and when you heat it, you can bend it to the shape you want!

Visit the blog for all the details! I also have a video showing all the tips and surprises I found out about this product, watch it below or in HD on YouTube:

I loved making this project, so I hope you’ll take a look and tell me what YOU think about the Wood U Bend. (this was a sample I got in the November Hedgehog Hollow Box).

I’m often asked what supplies I use to make my cards and projects, so I’ve put together a list using affiliate links when possible. If you make a purchase with these links I may receive a small commission. These help me to keep up with blog costs and continue bringing you fun projects. Thank you so much for your support!


Comments { 0 }
SUNSHINE-all-three-cards-only

Not Just for Hanukkah Cards

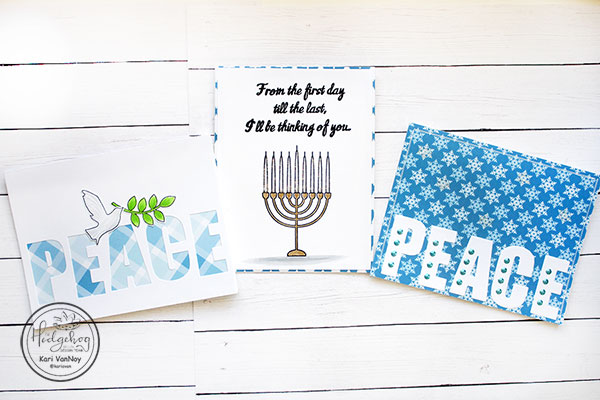
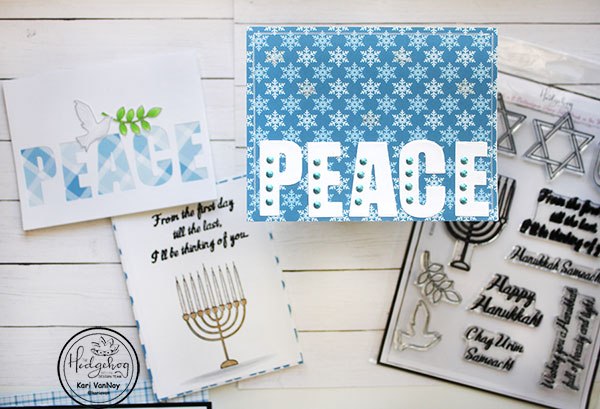
Hello! Today I am thinking outside the box using the Hanukkah stamp set from the Hedgehog Hollow November Kit. I know very many people that celebrate Hanukkah, so I needed to come up with some other ideas for cards with this set.

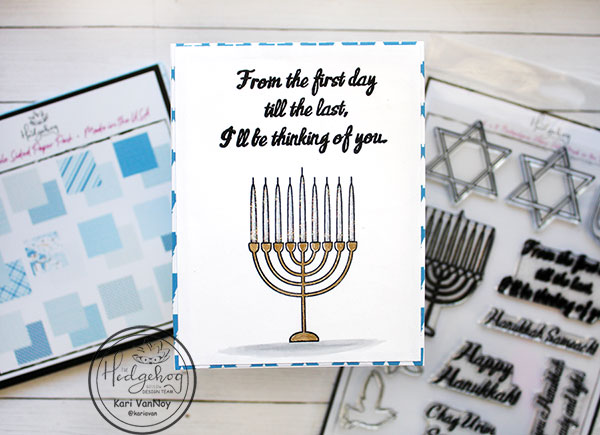
First, I created a Hanukkah card using the Menorah (candles) from the set. I stamped it and colored it up simply with a gold gel pen and Copic markers. Then I added a shadow below it with Cool Greys to ground the image.

I matted it on some blue and white paper from the Kit. Lastly, I added some glittery Stickles to the candles to finish it off.

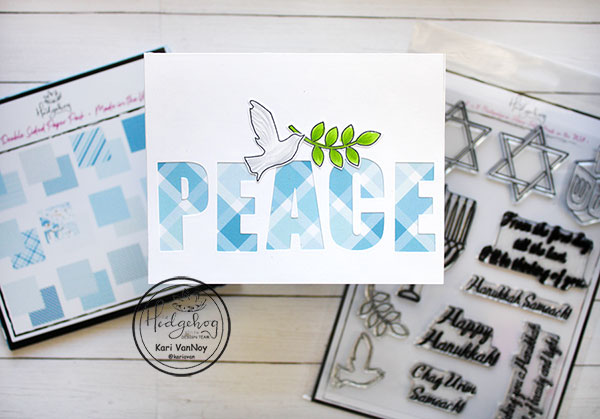
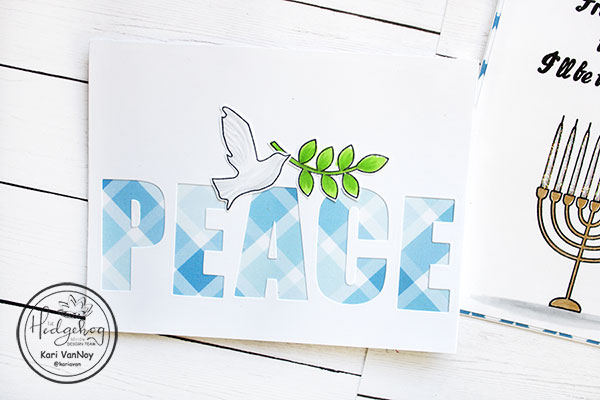
Then, I saw that dove from the set and decided to pair it with the branch to create a card. I took some alpha dies from my stash and cut out the word “PEACE.” I added some blue plaid paper behind the die. Then I added the dove and branch; I colored these up with Copics.

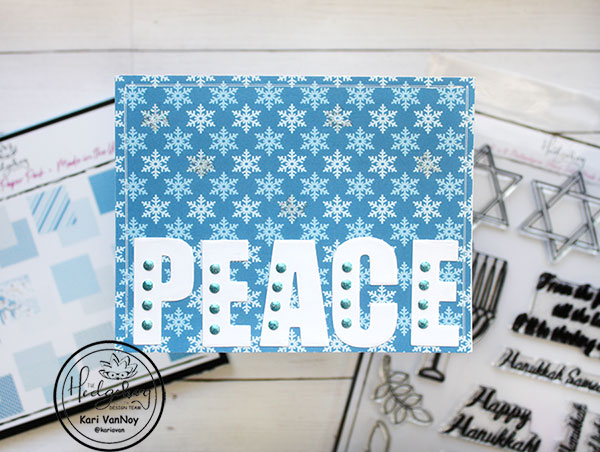
Since I had the white letters left over from this card, I decided to make ONE MORE card! I chose another paper from the paper pack, this time a snowflake paper. Then I added those letters and decorated them up with some gems. I drew a white gel pen frame around the perimeter of the card to finish it up.

I hope you enjoyed these projects today and use your stamps to think outside of the box! I’d love to see what you come up with.

Comments { 0 }
SUNSHINE-poinsettia-card-1-with-supplies

Quick Watercolor Poinsettia Cards

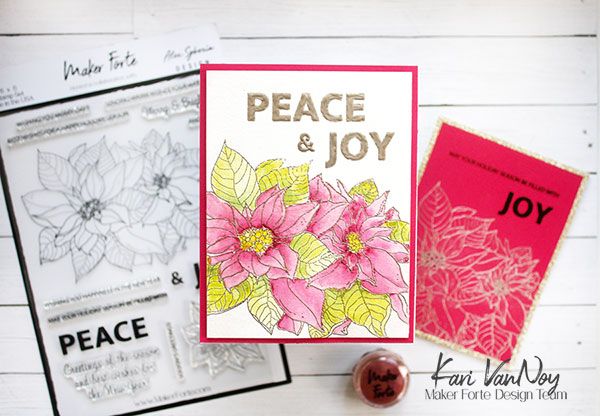
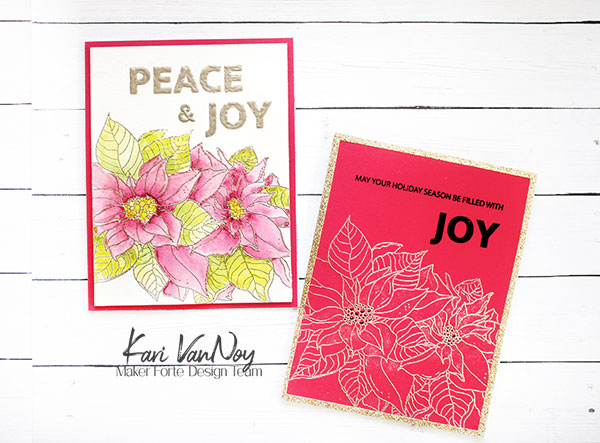
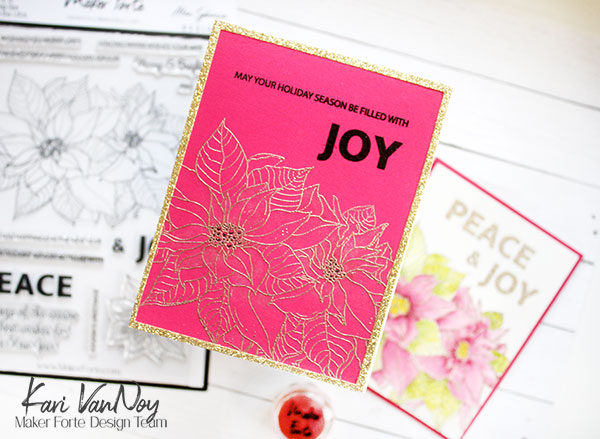
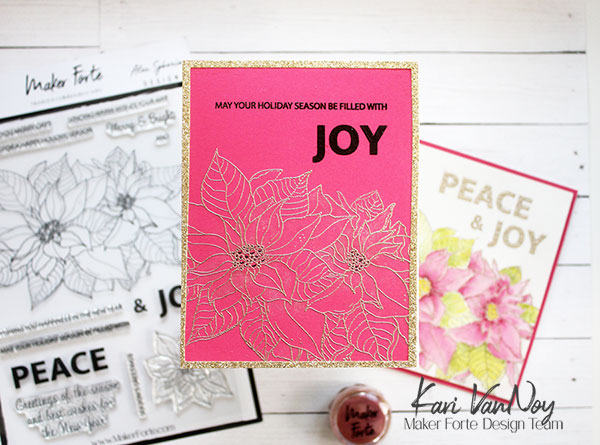
Hello! Do you ever need a quick and easy Holiday card? Today I have two EASY watercolor cards using Kaleidoscope powder! I’m using the Poinsettia stamp set from Maker Forte. This set is beautiful on it’s own, but add a little watercoloring and you get some gorgeous cards!

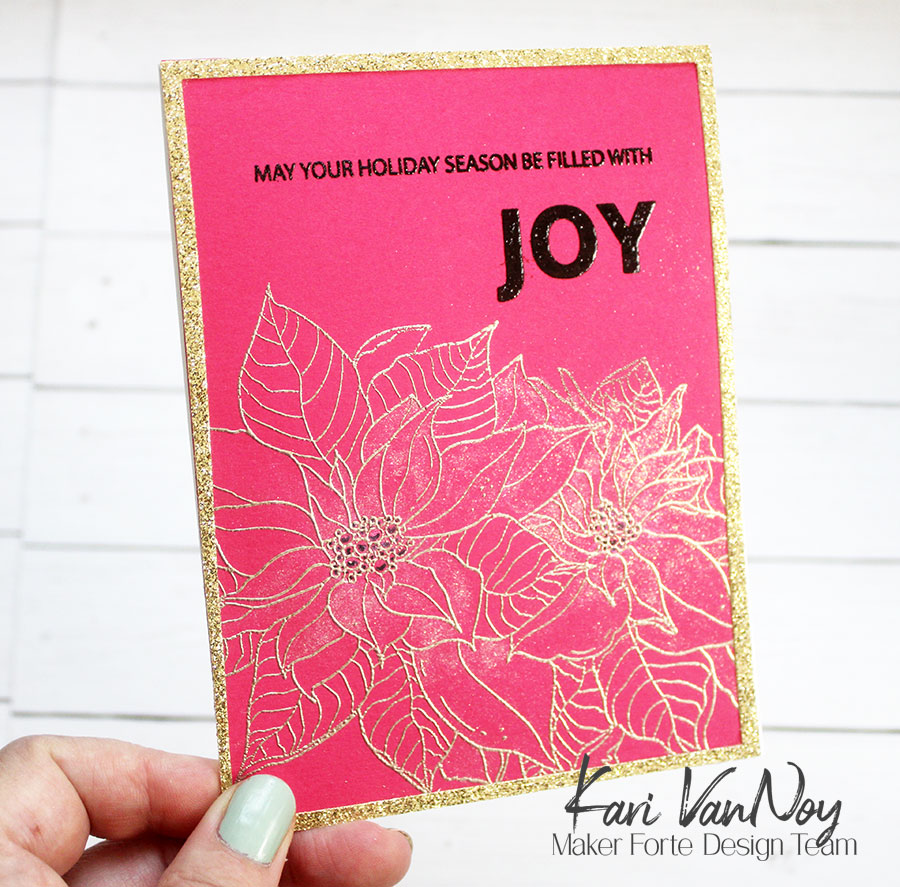
I created a similar card design and stamped the poinsettias in the same spot both on the Tiptree Jam (pink) cardstock, and on watercolor paper. Then I heat embossed using some of my favorite Liquid Platinum embossing powder.

For the pink card, I “painted” on some Kaleidoscope powder in three shades: Aurora, Hubble, and Shooting Star. These are glittery and sparkly and they shine so pretty in the light. Here’s a picture you may be able to see the sparkle a little better:

For the watercolor cardstock, I used the Kaleidoscope powder on the first layer (underpainting) and then added some bright watercolors on top of that.

To see the how-to, watch the short video below or in HD on YouTube:

These cards were so fun to make and so QUICK! I think they took me under 20 minutes for BOTH cards. That’s a bonus in my book, especially for Holiday cards!

I’m often asked what supplies I use to make my cards and projects, so I’ve put together a list using affiliate links when possible. If you make a purchase with these links I may receive a small commission. These help me to keep up with blog costs and continue bringing you fun projects. Thank you so much for your support!

I hope you enjoyed these cards today! I’ll be back soon with more card making inspiration!
Comments { 0 }
SUNSHINE-both-cards-2

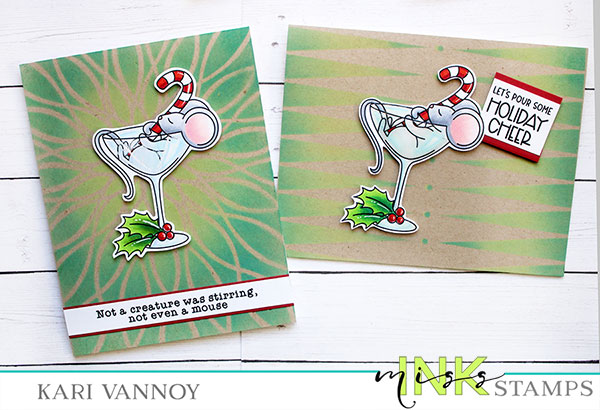
Coloring Glass Images

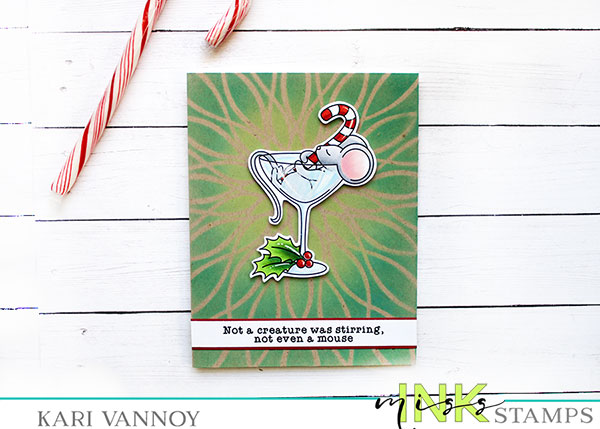
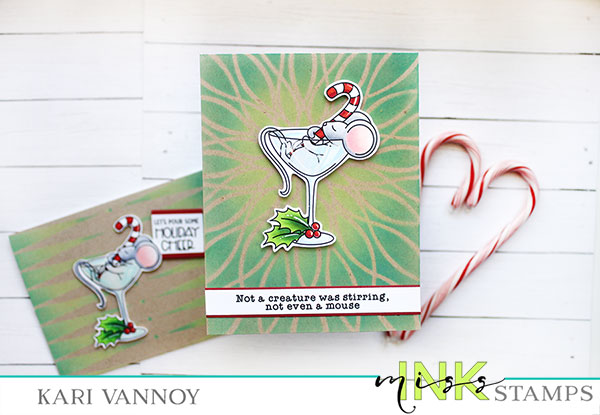
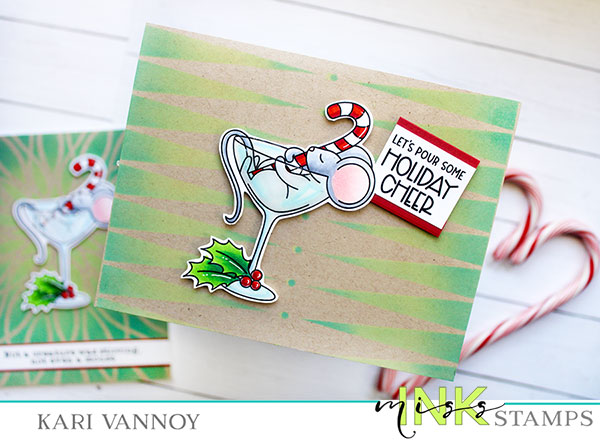
Hello! Today I have a fun video sharing my tips on how to color glass images with Copic Markers. I am using an image from Miss Ink Stamps that is not yet released…so this is a Sneaky Peek at one of the New Release images that will be out later this week.

Look how cute this mouse is!

I have a video on how to color glass, sharing my favorite four tips! These are tips I’ve been practicing and loving for glass images. Watch the video below or in HD on YouTube:

I hope this gives you inspiration and some courage to try these techniques! Thanks for stopping by today!

Comments { 0 }