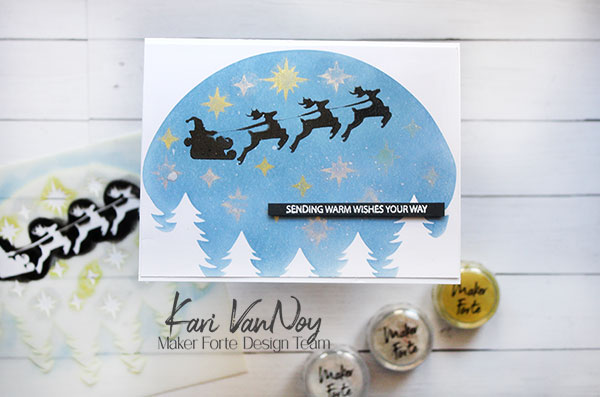
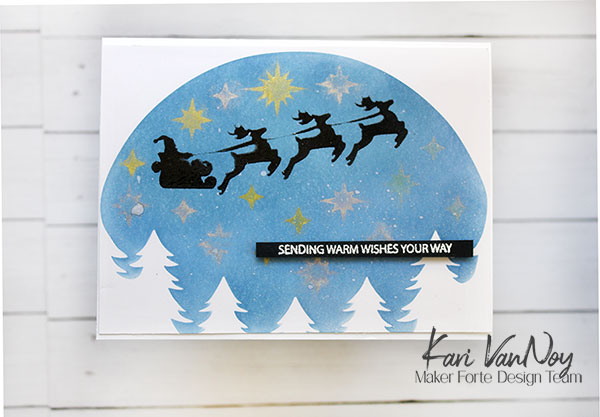
Hello! It’s THE week…the week that Santa Claus is coming to town! So today I have a special Santa Sleigh card, using TWO stencils that fit together perfectly! These are from Maker Forte and they are a dream to work with.
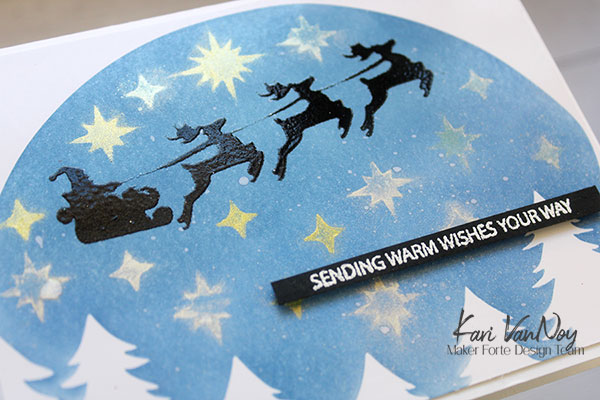
I started with Perfect Blend paper because it’s so smooth and makes it SO easy to ink blend. I added some Kaleidoscope powders in the new colors Yellowstone & Asteroid. These look so awesome and dreamy!
Check out the short video below, or in HD on YouTube to see how this all comes together:
Just look how that powder shines on this card:
I’m often asked what supplies I use to make my cards and projects, so I’ve put together a list using affiliate links when possible. If you make a purchase with these links I may receive a small commission. These help me to keep up with blog costs and continue bringing you fun projects. Thank you so much for your support!
Hello! I’m delighted to be a part of the Altenew Educators Floral with Geometric Elements Blog Hop today. There’s also a giveaway and a Linky Party for another chance to win by participating!
If you have arrived here from Nanette Madero’s blog, you’re on the right track! I have a full list of the blog hop links listed near the end of this post.
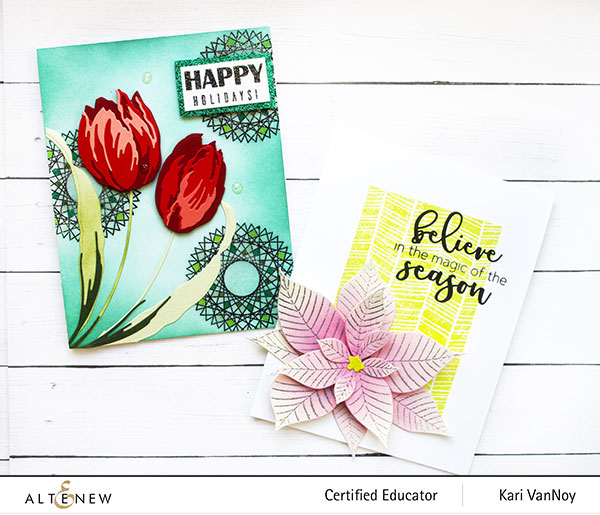
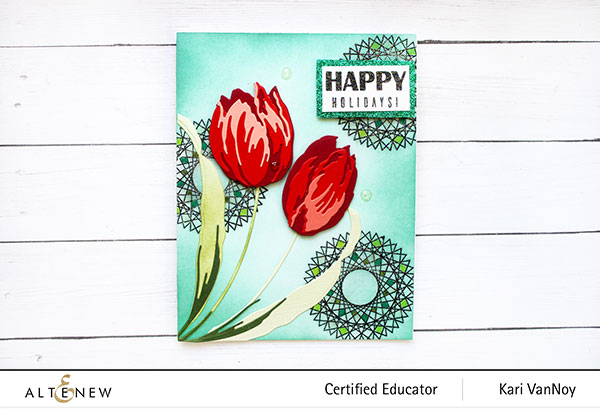
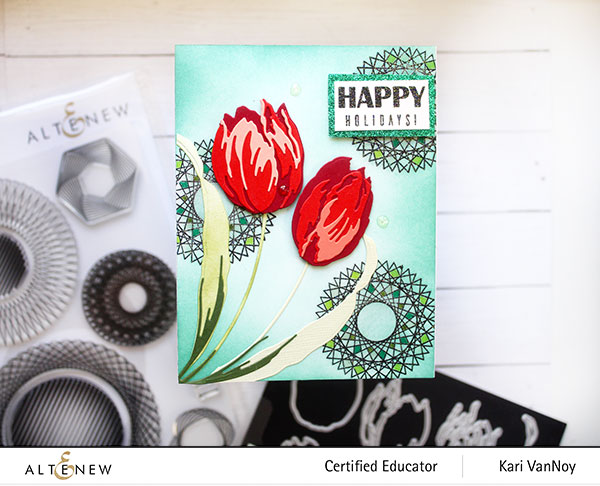
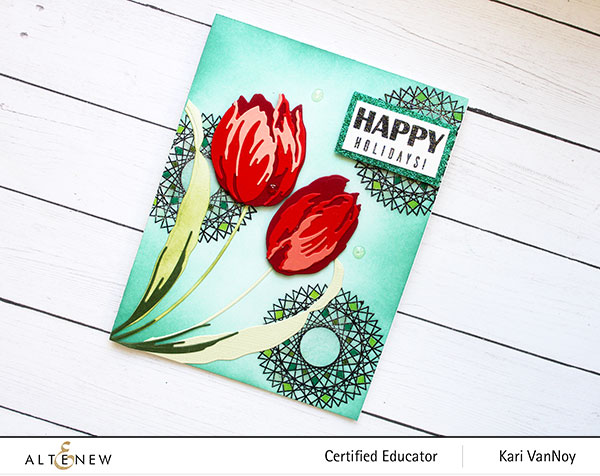
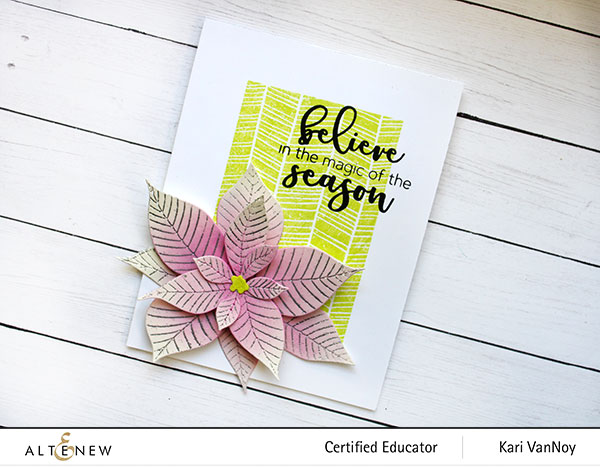
Today I’m sharing TWO cards. I started out with the stamped geometric background (shown below) and had my poinsettia already die cut, but this background really needed some red tulips for that Christmas vibe I was going for.
This card uses a favorite of mine: Spheres and Spirals stamp set. I stamped these in black and added some glitter embossing powder for extra sparkle. I used Evergreen Bough to ink up the background and then colored in a few spots of the spirals with various green shades of marker. Then I added some red tulips from another favorite of mine: Craft A Flower Tulip!
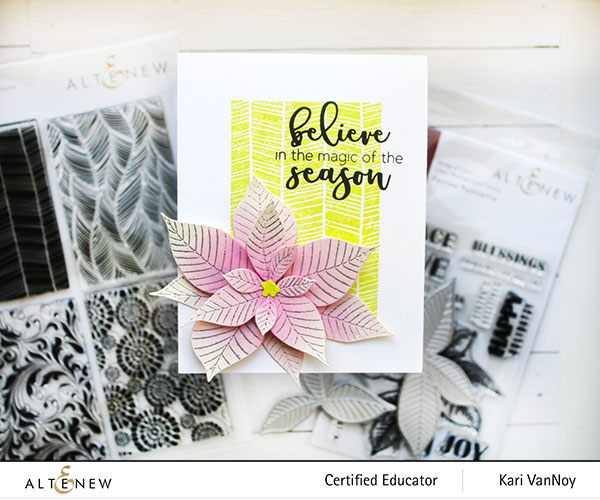
Then I just HAD to use my poinsettia for another card, so I made a different background using another beautiful stamp set.
That poinsettia is die cut with a very fun technique (adding versamark ink) so I could silver heat emboss those veins in the petals! For a video on how to do this, watch below or in HD on YouTube:
I’m often asked what supplies I use to make my cards and projects, so I’ve put together a list using affiliate links when possible. If you make a purchase with these links I may receive a small commission. These help me to keep up with blog costs and continue bringing you fun projects. Thank you so much for your support!
Prizes:
Altenew is giving away a $30 gift certificate to 1 lucky winner! Please leave a comment on the Altenew Card Blog by 12/21/2020 for a chance to win.
We’ll also draw a winner to receive a $15 Altenew gift certificate from the comments left on each designer’s blog on the blog hop list below. All winners will be announced on theAltenew Winners Page on 12/23/2020.
There’s MORE! What’s a hop without YOU?! We have included an Inlinkz at the Altenew blog for you to enter your gorgeous Altenew “Floral with Geometric Elements” creations. We will pick 2 of our favorite handmade creations from those who joined the linky party and they will each receive a $15 Altenew gift certificate!
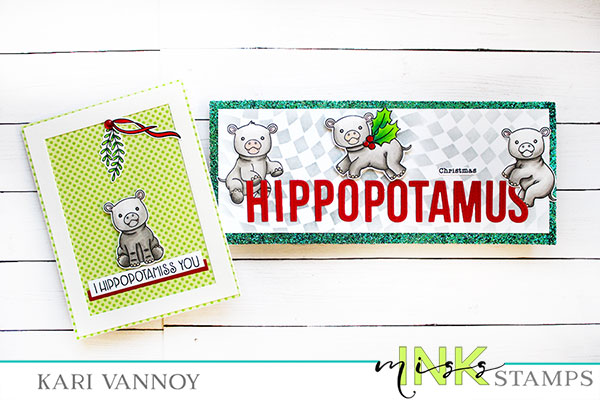
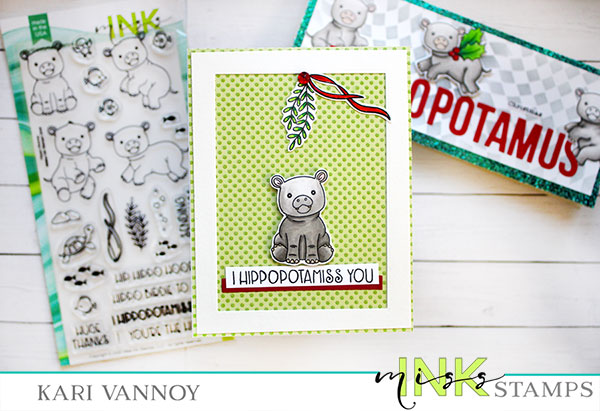
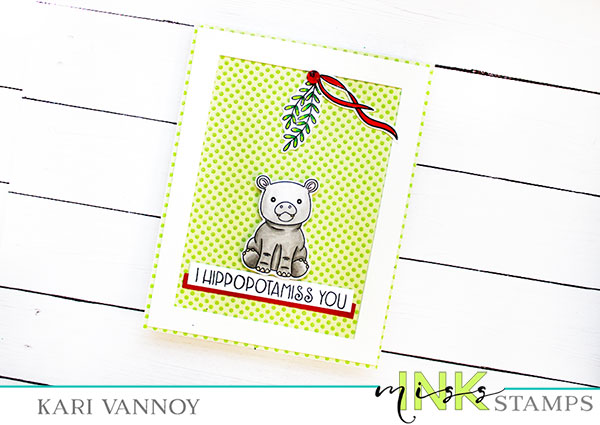
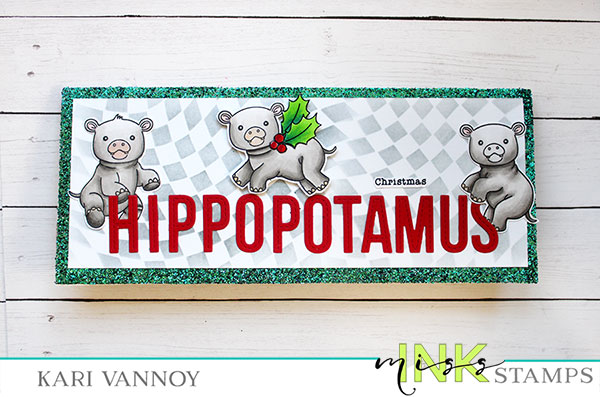
Hello! Today I am turning some regular hippos into Christmas hippos and making TWO cards! These cute hippos are from Miss Ink Stamps, and I’ll bet you can guess the song that inspired me to make these cards.
I have a video on the process and I’m sharing some more tips on stretching stencils and stamps to create more with your supplies! Watch the video below or in HD on YouTube:
Aren’t these hippos cute! I’ll bet you would never guess that the red ribbon is really seaweed from that set. Lol. Another great trick to stretch your stamp sets!
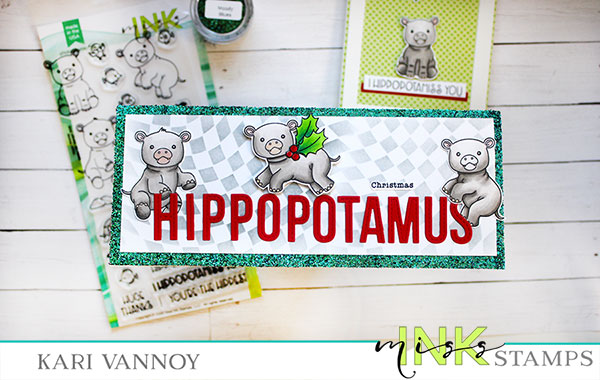
I colored up so many of the hippos that I decided to make a slimline card, too!
That glitter is the beautiful Dazzle Dust from Miss Ink that changes colors in the light! This one is blue and it has a green shift to it. So pretty!
Well, I really hope I didn’t cause that song to run through your head (like it did for mine the entire time I was making this card). But really, if the hippos are as cute as these stamps, count me in for having one on my wish list!
Happy Holidays! I’ll be back soon with more cards.
I’m often asked what supplies I use to make my cards and projects, so I’ve put together a list using affiliate links when possible. If you make a purchase with these links I may receive a small commission. These help me to keep up with blog costs and continue bringing you fun projects. Thank you so much for your support!
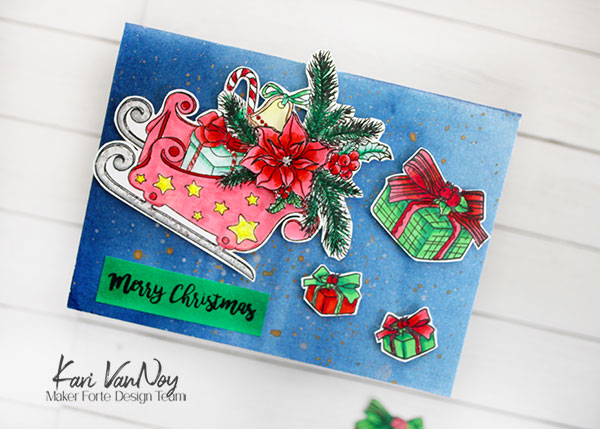
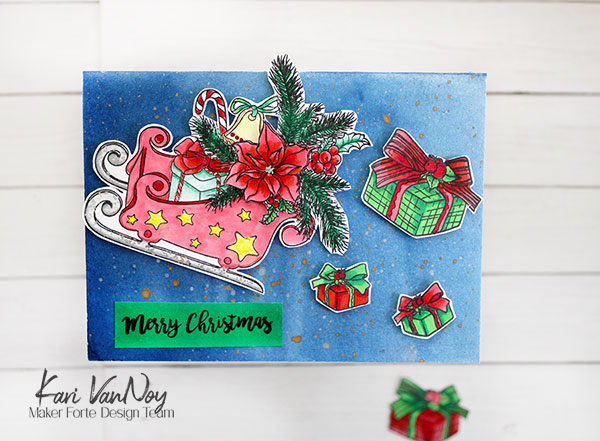
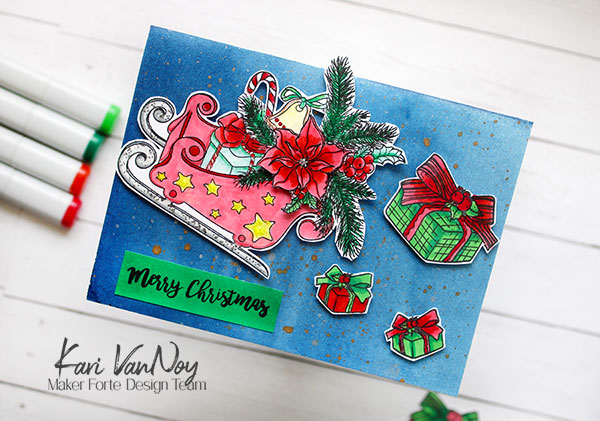
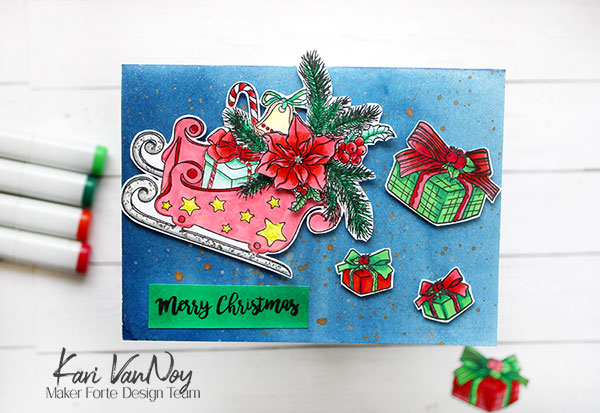
Hello! Today I have a fun card with the Sleigh Bouquet stamp set designed by Alex Syberia. This is a beautiful set and I loved working with it. I started with a watercolored background.
Then I stamped the sleigh TWICE. The first image I colored up with Copics. The second image I colored only the poinsettia and Fussy cut it out. I added it to the sleigh with foam tape to give it more dimension.
I positioned the sleigh and the presents on the background to make it look like the presents were falling out of the sleigh.
That sentiment was stamped on white cardstock that I colored with a matching green Copic marker. If you don’t have matching cardstock, it’s a great trick to get the shade you are looking for!
I’m often asked what supplies I use to make my cards and projects, so I’ve put together a list using affiliate links when possible. If you make a purchase with these links I may receive a small commission. These help me to keep up with blog costs and continue bringing you fun projects. Thank you so much for your support!
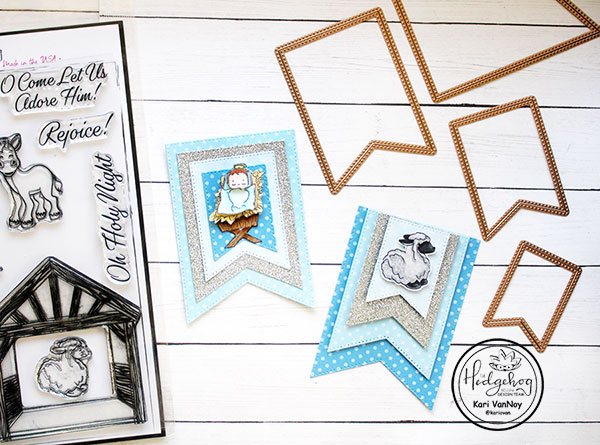
Hello! Today I have one last project to share using small images from the Hedgehog Hollow November Kit. These ideas to layer your images or your tag shapes bring so much interest to your projects.
Tag #1
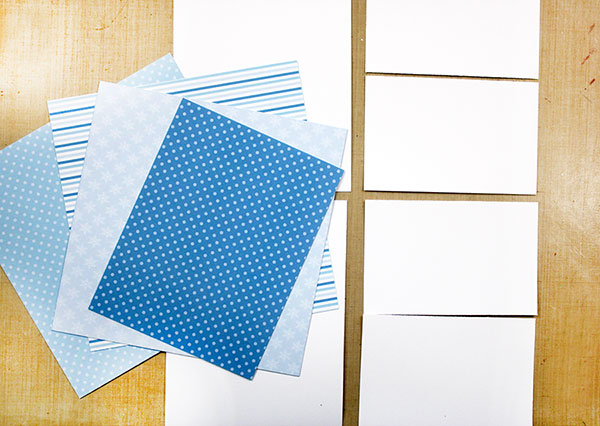
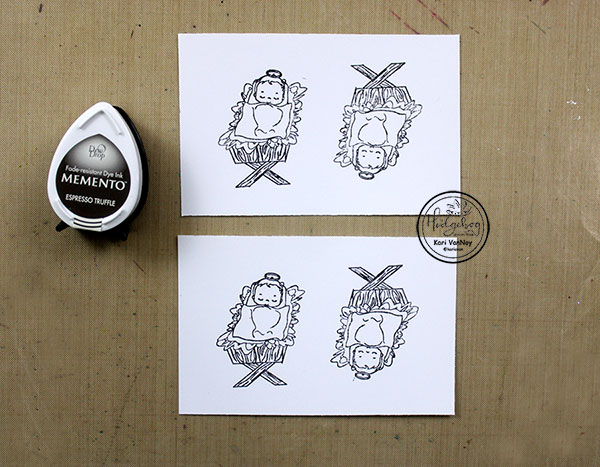
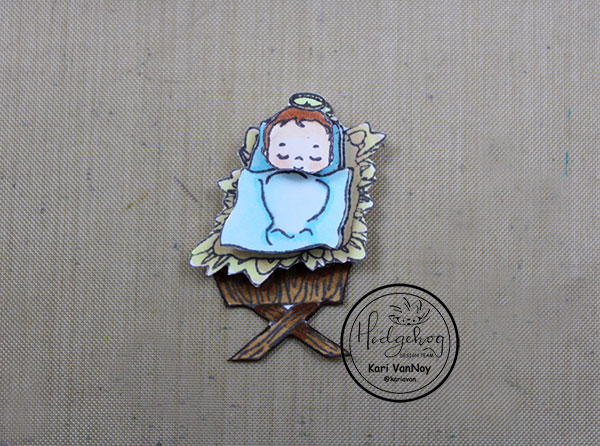
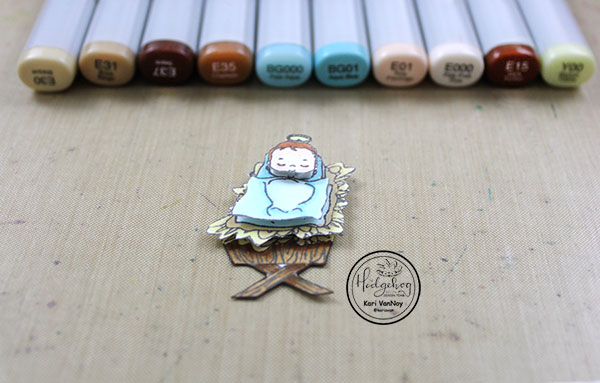
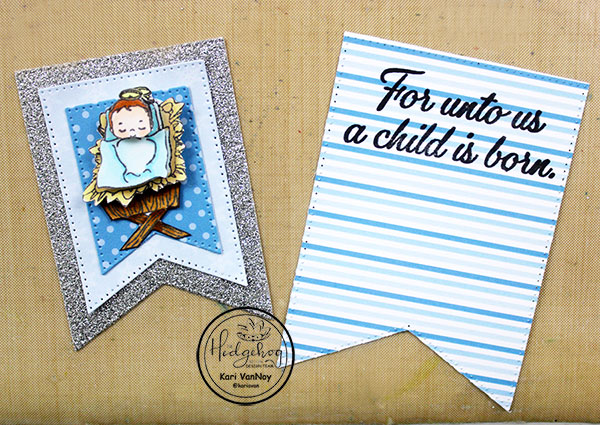
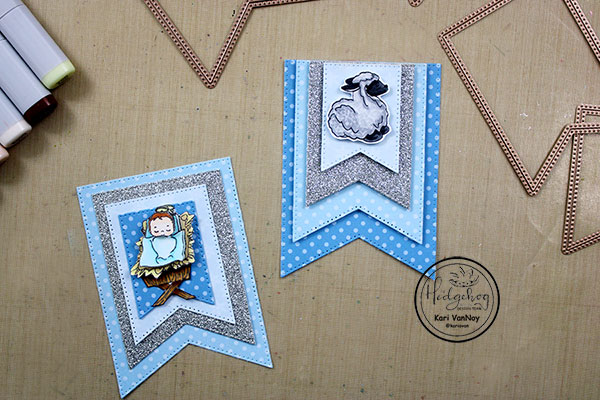
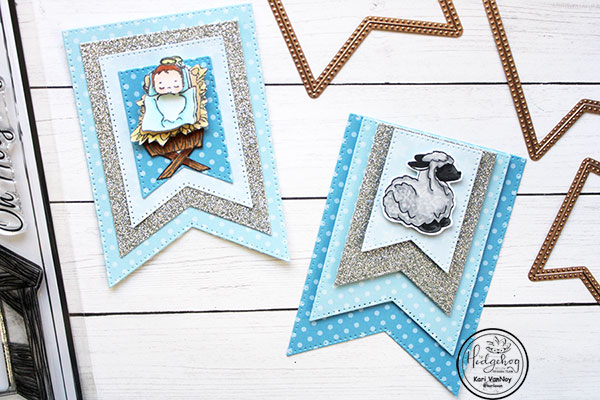
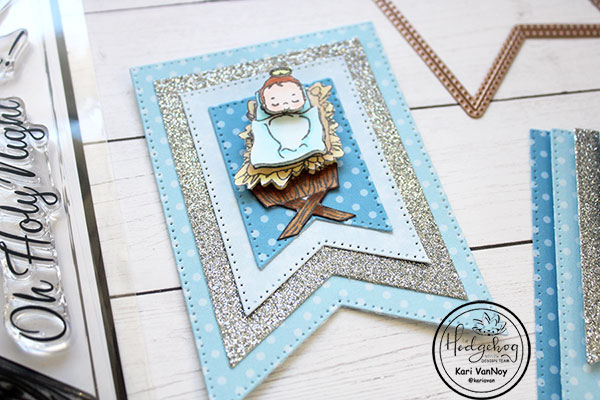
For my first tag, I chose the baby Jesus image from the kit and some beautiful blue papers also from the kit. I stamped the image four times on Neenah Solar white paper.
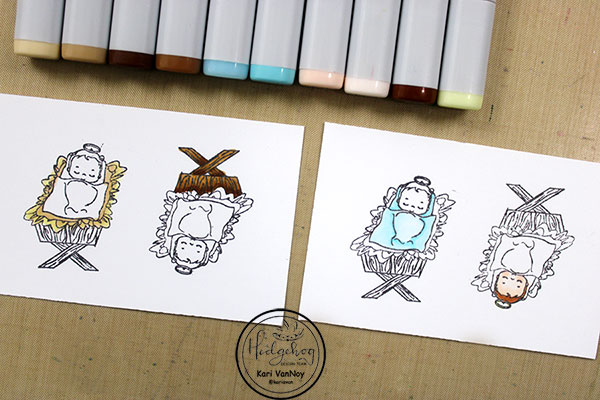
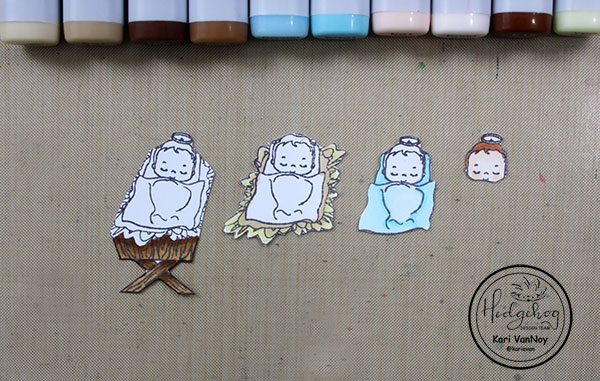
Then I colored just the part of each layer with Copic markers and cut them out. I layered them up with foam squares to get a 3D look!
I die cut the paper with a layering banner die. Before I adhered them all together, I stamped the sentiment on the very back layer.
Tag # 2
For the second tag, instead of layering the image, I layered the banner dies with foam squares. Then I lined them up at the top (instead of the center) and added the sweet lamb image with foam tape. So much beautiful dimension on these tags.
Tag # 3
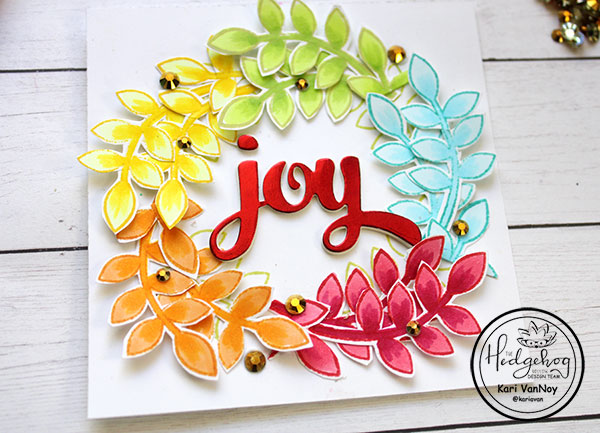
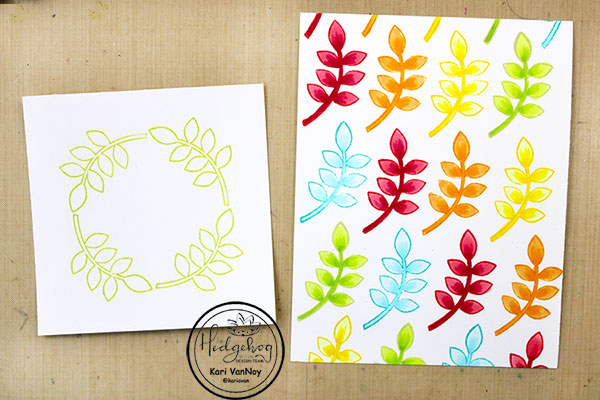
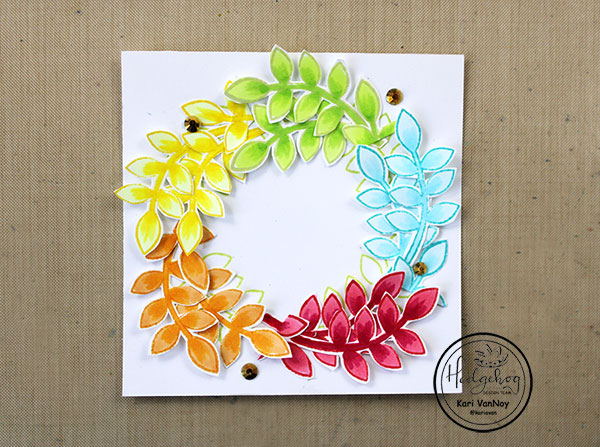
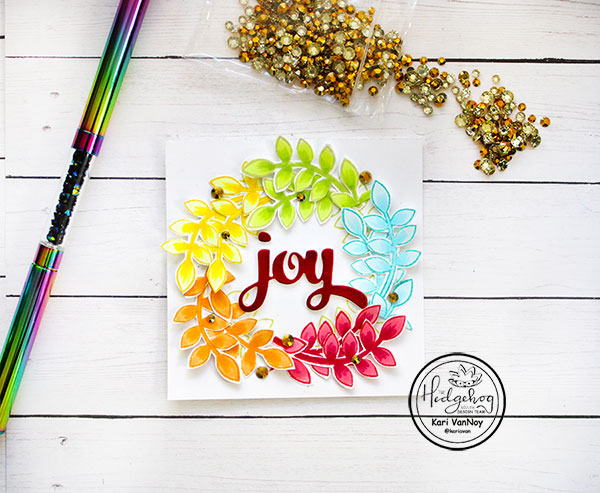
For my third tag, I chose my favorite leaf image and stamped it in multiple colors. I colored them up with coordinating Copic Markers and fussy cut them all out. I also stamped four leaves in a circle to act as a template for the wreath shape.
I layered them up with foam squares and added some gold gems. Then I die cut the word “Joy” four times and layered those up. The top layer is cut from red foil paper for some shine.
I hope you enjoyed these layering tag projects today! I’ll be back soon with more ideas!
Hi I'm Kari. I'm a creator, a card maker, and a day maker! I am Lucky in love to a supportive husband, blessed to raise 3 kids (all moved away now!), and happy to be watched over by 2 dogs.
I originally started this blog to remind me to be happy amid adversity, and I hope it inspires you, too!