Archive | Halloween RSS feed for this section
SUNSHINE-ghosts-card-ony-1

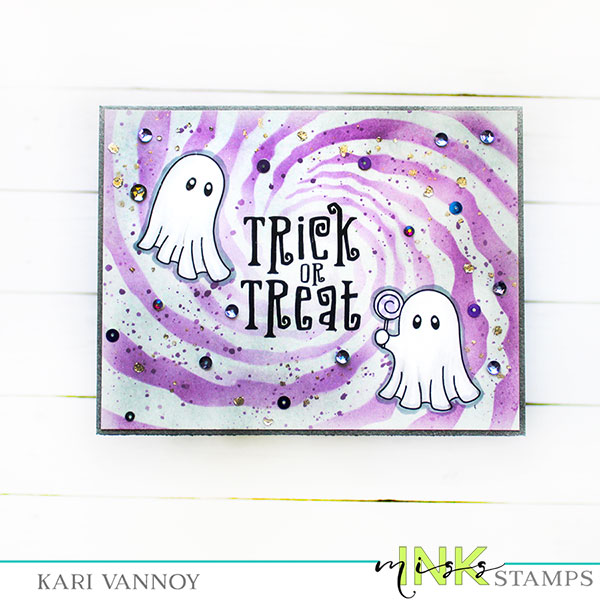
Ghosts that Trick or Treat

Hello! Just popping by to share a Halloween card that I love! These little ghosts are new from Miss Ink Stamps and they are the cutest trick or treaters.
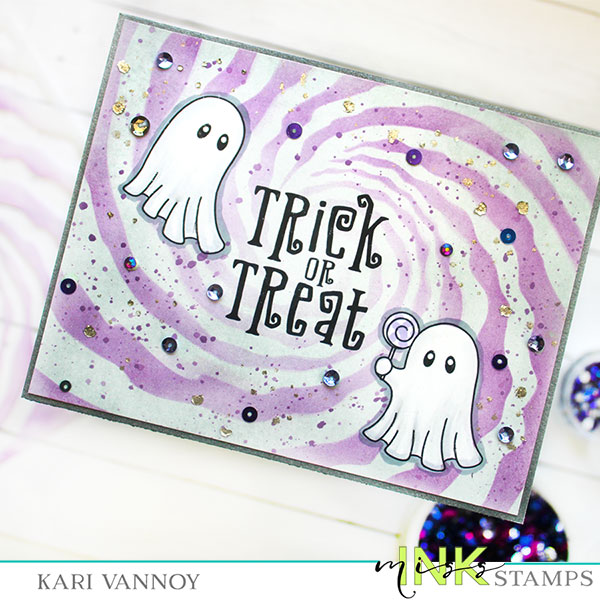
I created a video to show you how to easily put a card like this together, watch it below or in HD on YouTube:

I just adore these products I’m sharing today. If you’ve been following me, you might notice this stencil is a favorite…I used it before on THIS Alice in Wonderland Card.
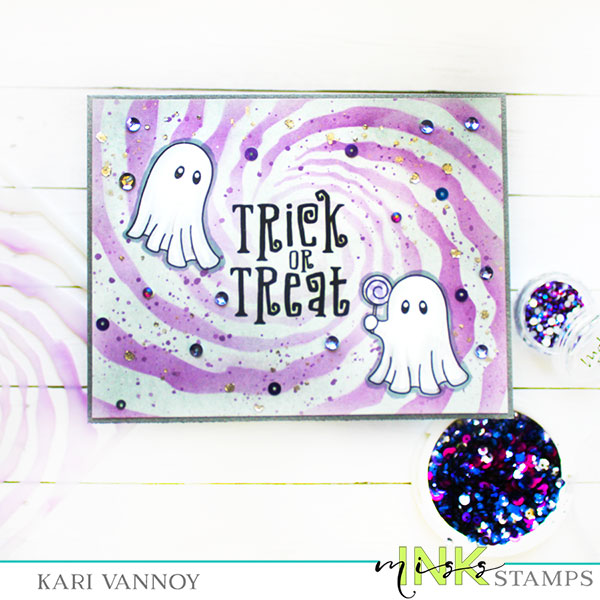
I used a light grey and purple ink this time on this stencil, I think those colors are great for Halloween!

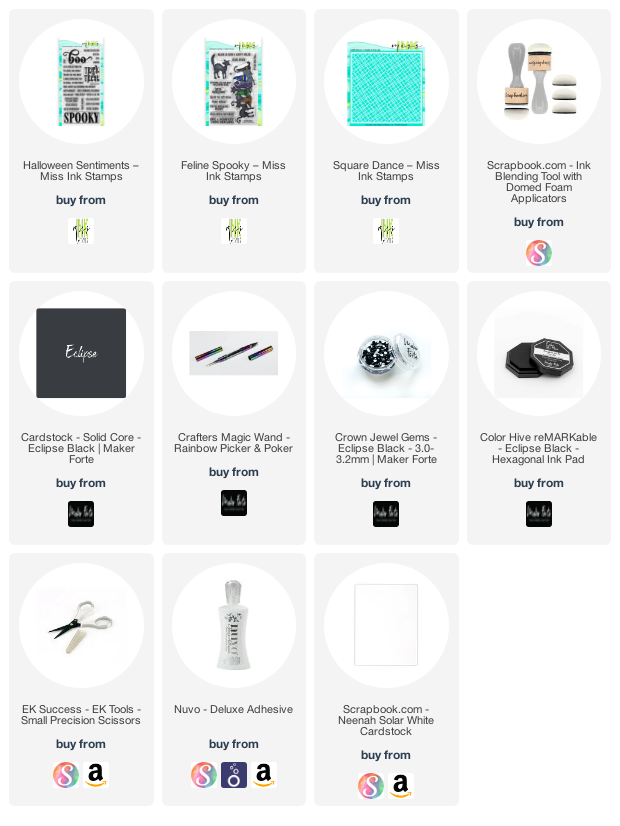
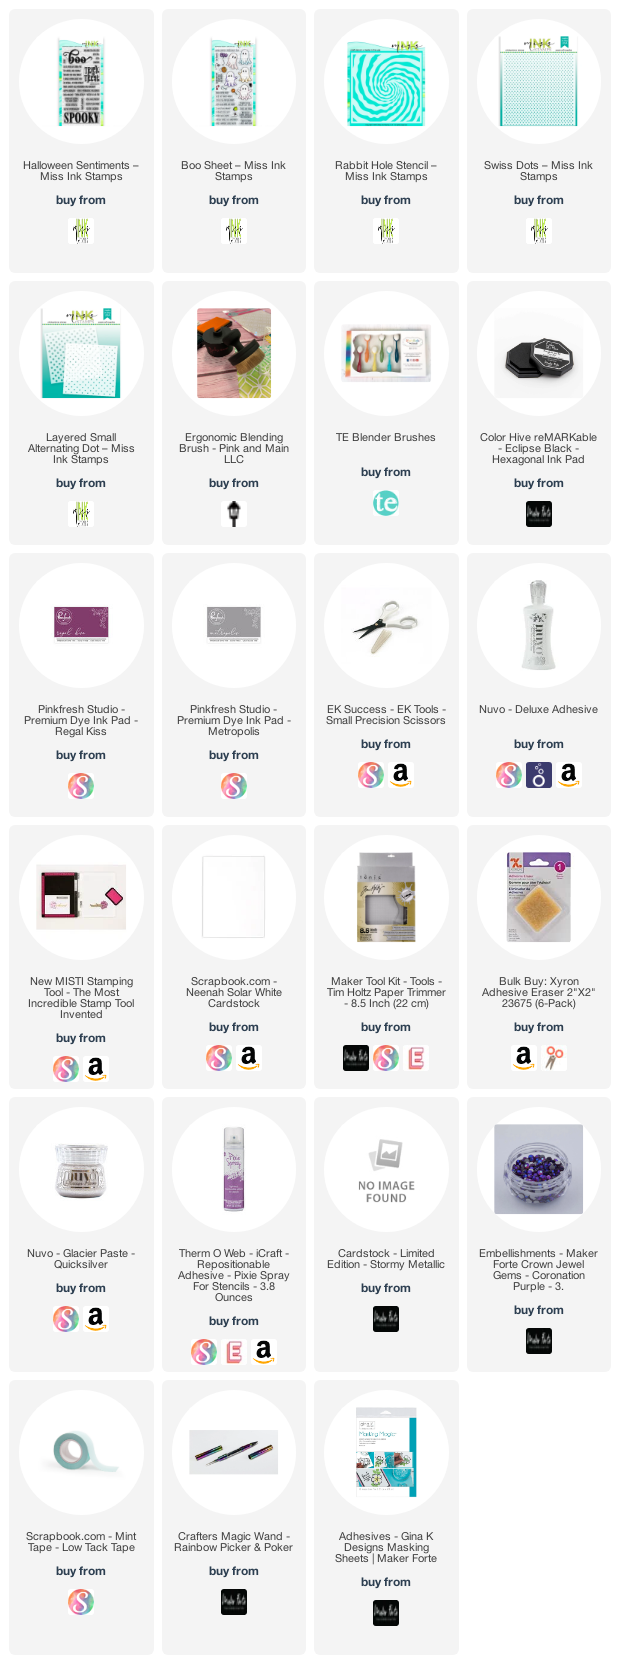
I’m often asked what supplies I use to make my cards and projects, so I’ve put together a list using affiliate links when possible. If you make a purchase with these links I may receive a small commission. These help me to keep up with blog costs and continue bringing you fun projects. Thank you so much for your support!


Thanks for stopping by today!
Comments { 0 }
SUNSHINE-felinespooky1

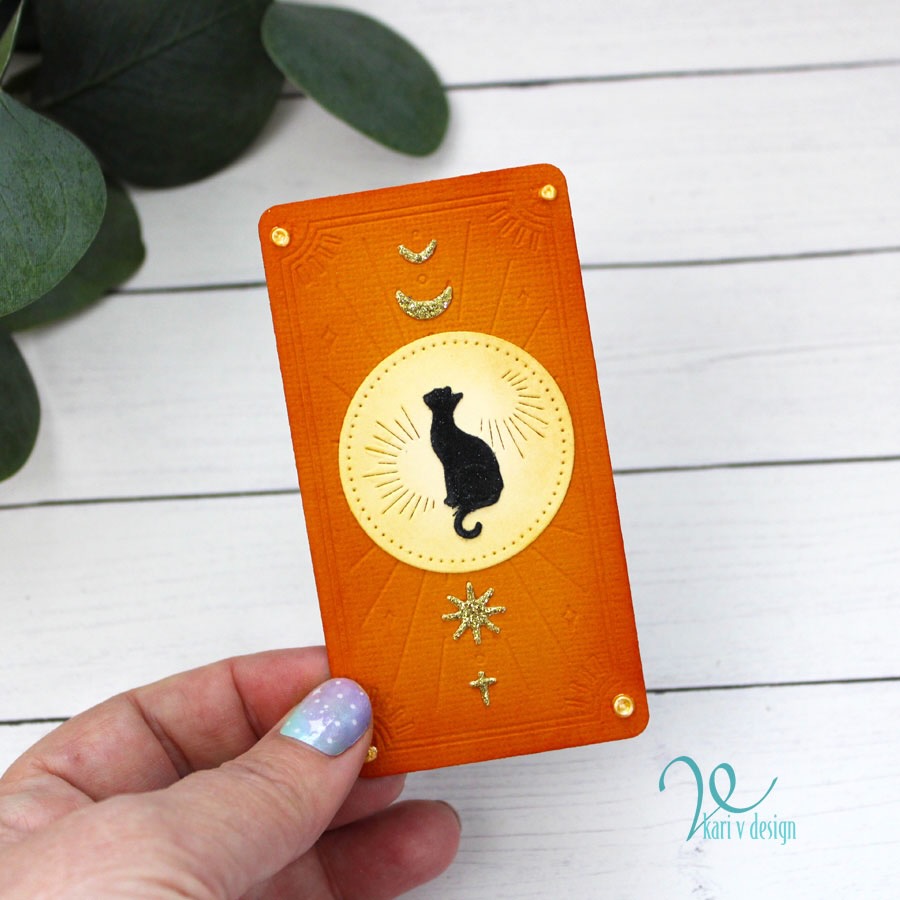
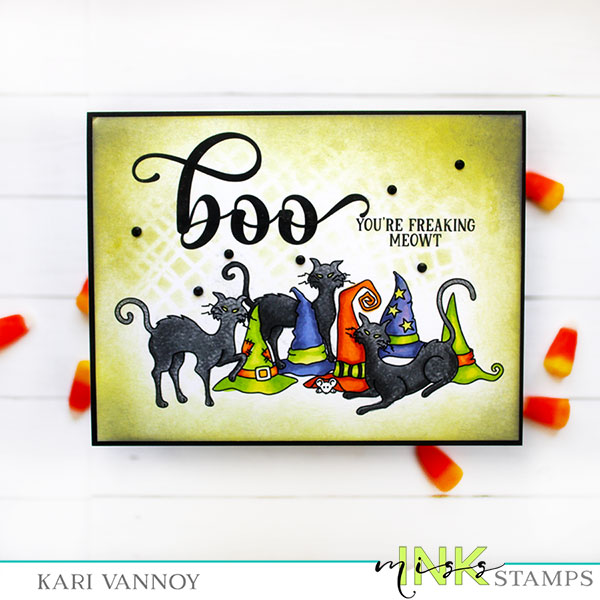
Feline Spooky!

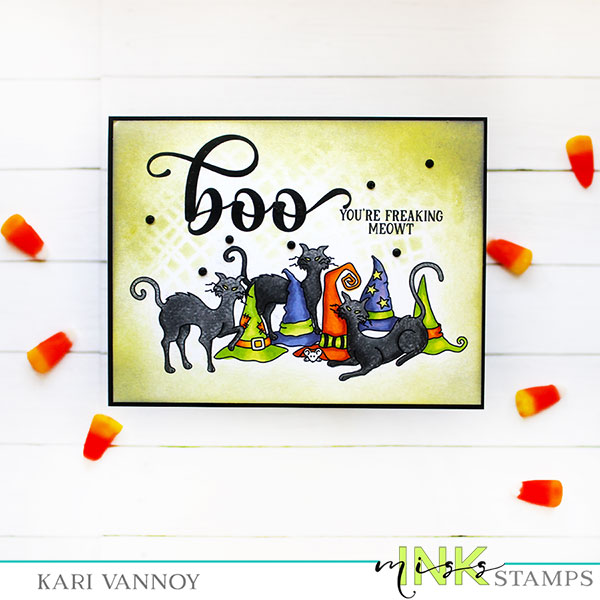
Hello, I’m back with another Halloween card this time with new supplies from Miss Ink Stamps. This stamp set is called Feline Spooky, and I combined it with the new Halloween Sentiments stamp set.

Watch the video below or in HD on YouTube:

I also used the “Square Dance” stencil to add a little interest in the background. I think this stencil looks a little like Gauze…so perfect for a Halloween card!

This is a fun one to color! In my video I share a way to add texture to your copic coloring.

The copic colors I used are:
Oranges: YR18, YR16, YR15, Y35
Black/Grey: N1, N3, N5, N7
Purple: BV17, BV13, BV11
Green: YG25, YG23, YG21

I’m often asked what supplies I use to make my cards and projects, so I’ve put together a list using affiliate links when possible. If you make a purchase with these links I may receive a small commission. These help me to keep up with blog costs and continue bringing you fun projects. Thank you so much for your support!


Hope you enjoyed this sneak peek! Thanks for stopping by.

Comments { 0 }
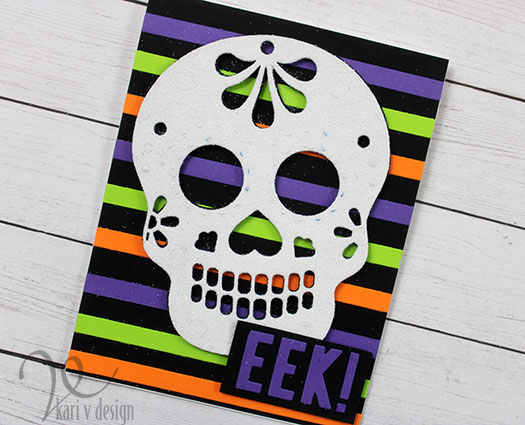
glittered-sugar-skull-with-supplies-2

Glittered Sugar Skull

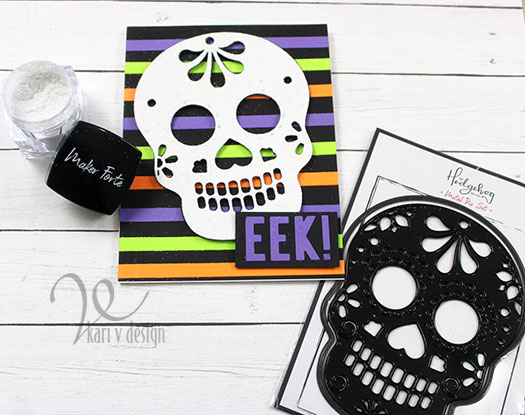
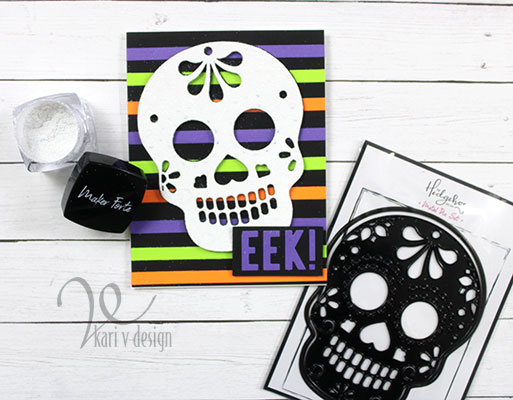
Hello! Today I have a short video on making a Glittered Sugar Skull. This has been a favorite die of mine, and I couldn’t resist creating a fun, vibrant card!

Also, don’t forget that I have a giveaway going on until tomorrow, Friday October 9th on Instagram.
To see the process, watch the video below or in HD on YouTube:

I’m often asked what supplies I use to make my cards and projects, so I’ve put together a list using affiliate links when possible. If you make a purchase with these links I may receive a small commission. These help me to keep up with blog costs and continue bringing you fun projects. Thank you so much for your support!

Thanks for stopping by!

Comments { 0 }
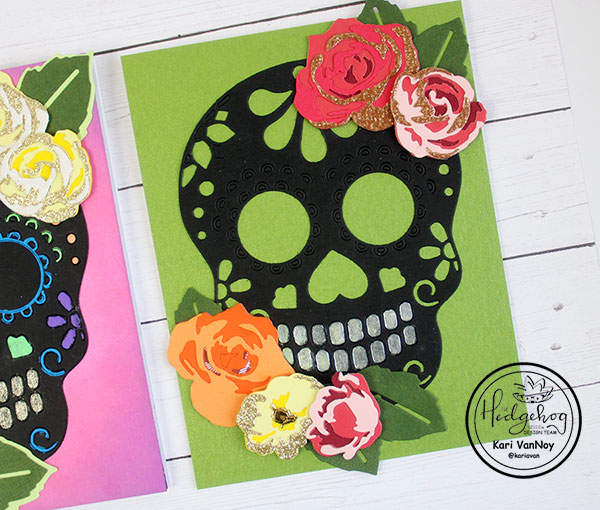
SUNSHINE-green-skull-crooked-with-teeth

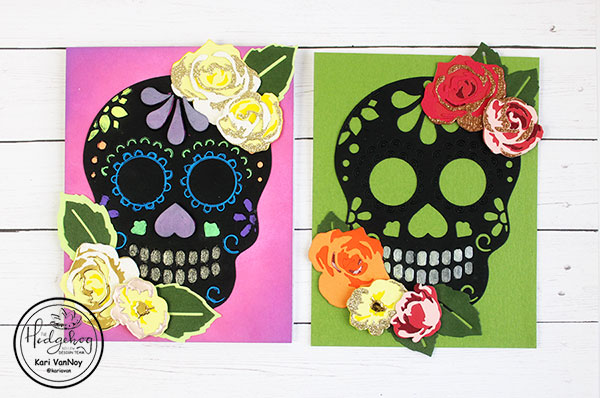
Sugar Skull 2 Ways

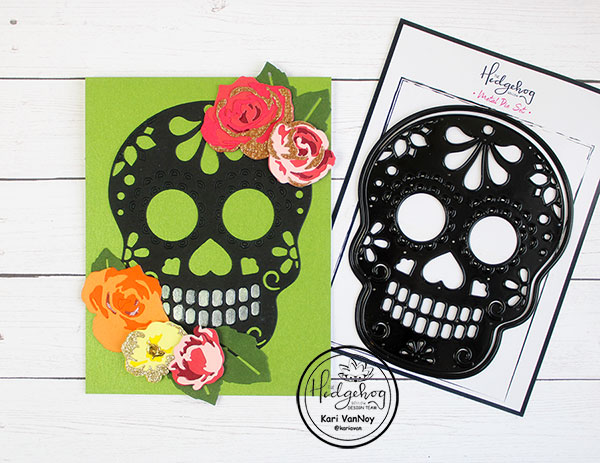
Hello! Today I’m excited to be sharing the BRAND NEW September Hedgehog Hollow Kit in my video, and share 2 cards made with the very cool Sugar Skull Die included.

This kit is sure to sell out fast, so go check it out! I have all the links and supplies listed below.

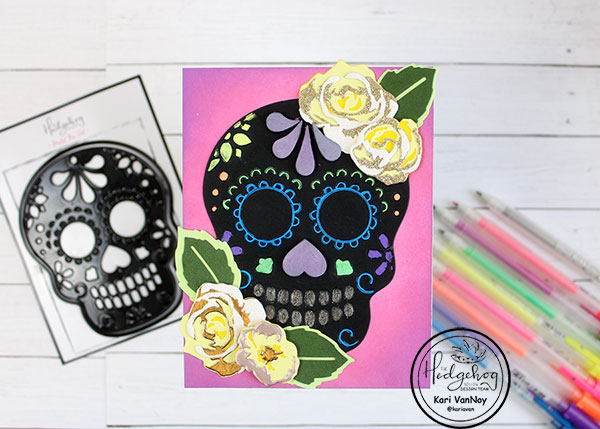
This die is so interesting and intricate, with plenty of designs to color up or not! I have a short video below showing all the details of how these came together, watch it here or in HD on YouTube:

I’ll tell you, I was so excited to use these products right away! I got right into it, starting with this die set (it’s a 2 part die).

CARD 1:

I used some gel pens on this first card. They look great on dark cardstock! I left all the pieces in the die, which was easier than piecing them all back in. I added some die cut roses in yellow and some bright green leaves.

The background is inked in Distress Oxides in 2 colors…doesn’t that really make it all pop!?

CARD 2:

For this one I die cut in black and used some metallic paint for the teeth. Originally, I left the teeth IN (black cardstock) and then I regretted that choice. So the metallic paint was the answer! Since this was regular cardstock, I used a very small amount of water on this and it worked just fine.

I’m often asked what supplies I use to make my cards and projects, so I’ve put together a list using affiliate links when possible. If you make a purchase with these links I may receive a small commission. These help me to keep up with blog costs and continue bringing you fun projects. Thank you so much for your support!

I hope you enjoyed these projects today!
Comments { 0 }
green-best-witches-crooked

Witches Brew Cards

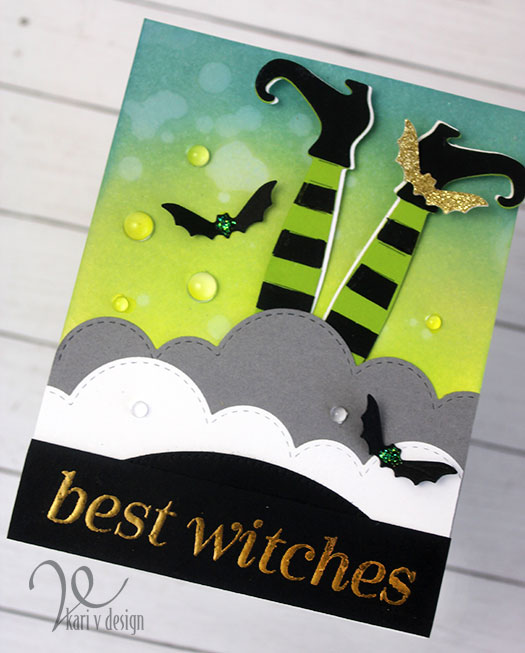
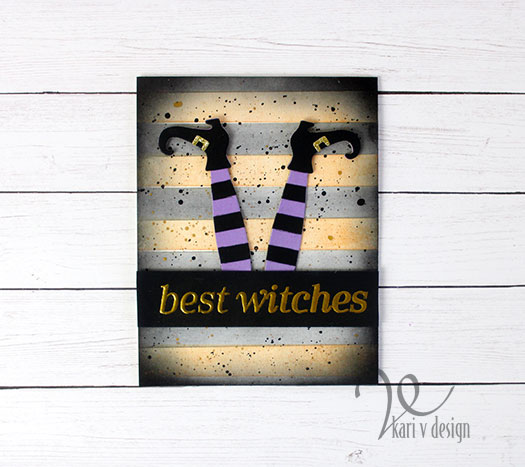
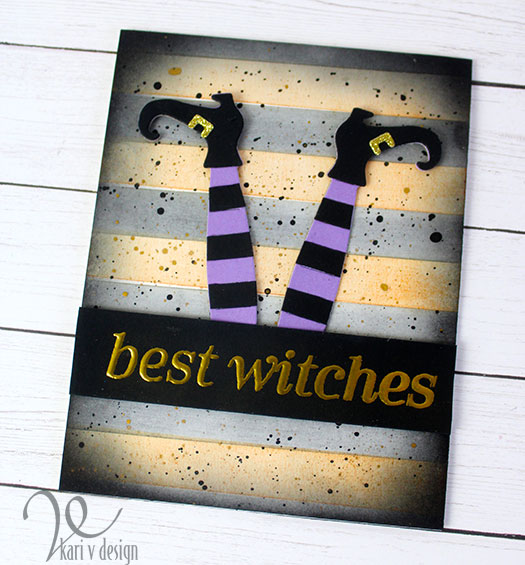
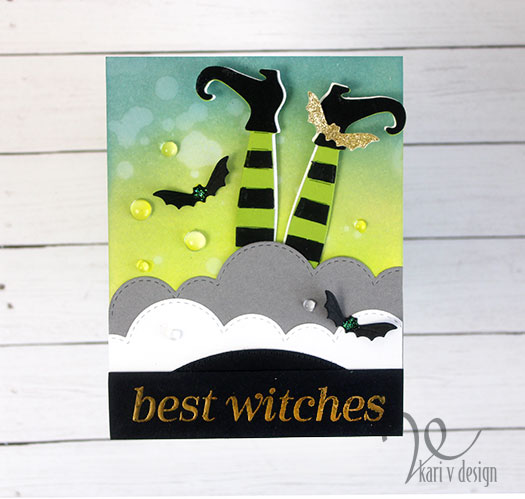
Hello! What IS in a witch’s brew anyway? Lol. Today I have a couple Halloween cards using a favorite sentiment of mine: “Best Witches.”
Best Witches!

This is a fun card to make! I have a video showing you how, watch it below or on YouTube:

The second card uses much of the same products, with a little more of a twist.

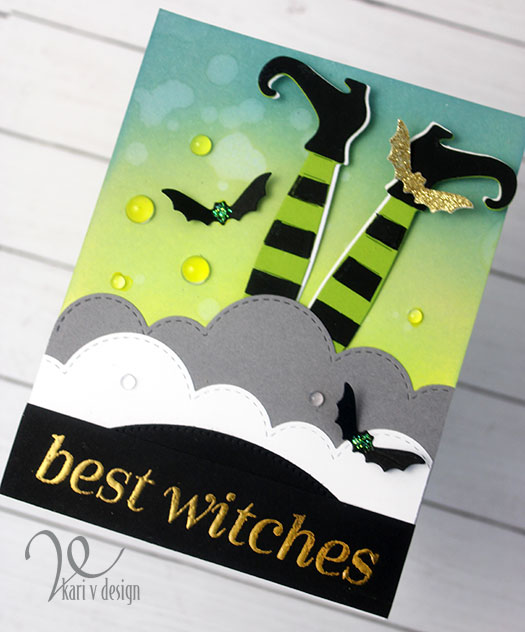
For this one, I inked the background with the domed blending tools and some distress oxides in greens & blues. Then I added some water to create that oxide look. I cut some clouds to represent the witches brew, then popped up the witch legs behind the brew. I added some clear droplets, bats and stickles.

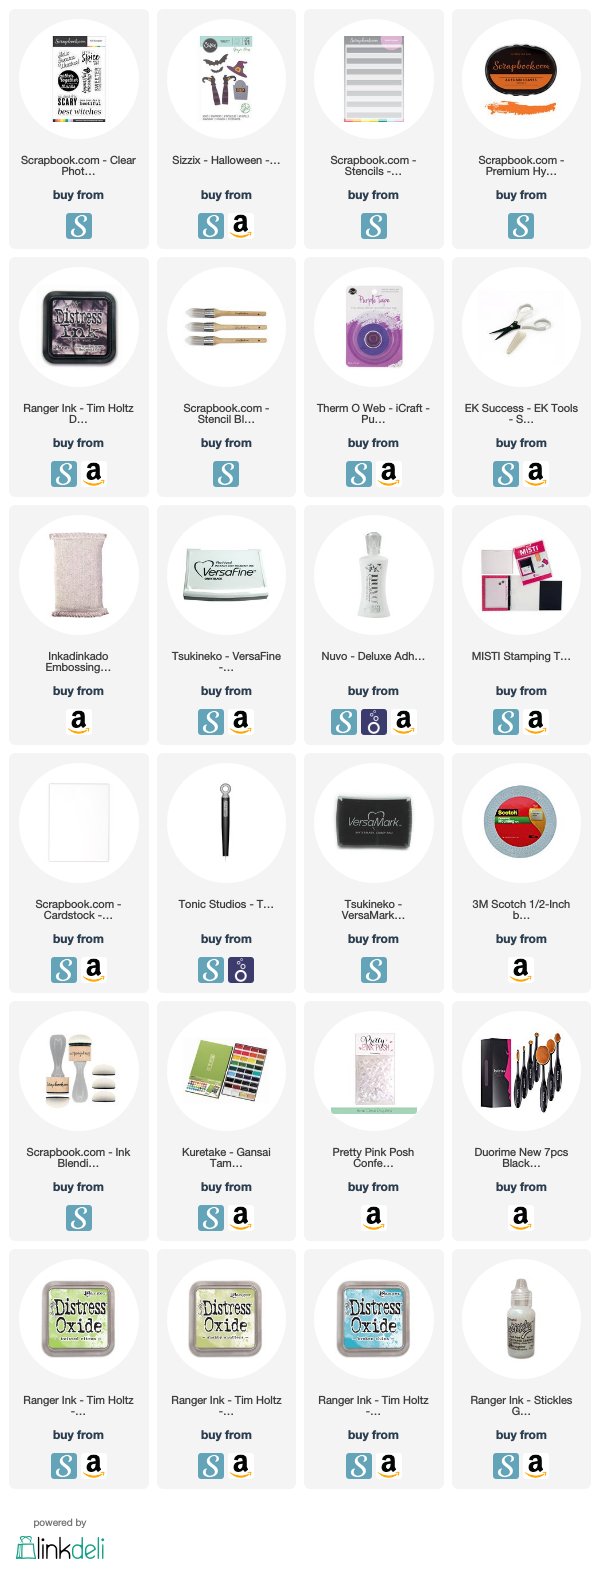
I’m often asked what supplies I use to make my cards and projects, so I’ve put together a list using affiliate links when possible. If you make a purchase with these links I may receive a small commission. These help me to keep up with blog costs and continue bringing you fun projects. Thank you so much for your support!

I hope you liked these fun Halloween cards. This is about as spooky as it gets around here, folks! Lol. Thanks for stopping by.

Comments { 0 }