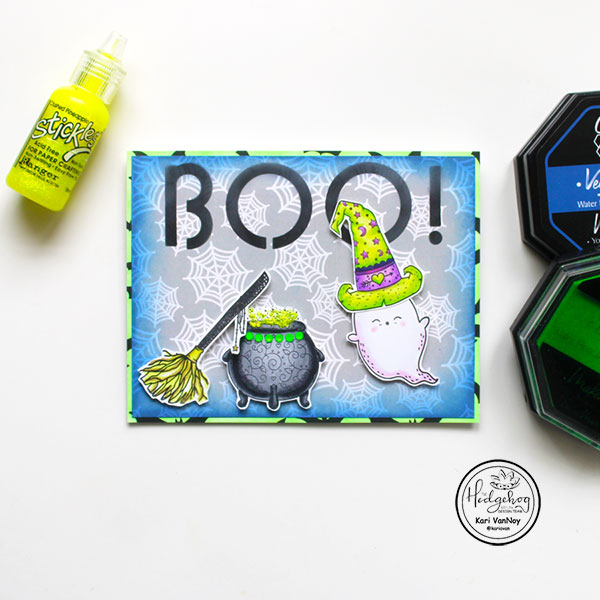
Hello! Today I have a small witch’s cauldron card to share using the September Hedgehog Hollow kit. I have to say these images in the stamp set are so fun to create with! Today I chose a ghost and a witches hat (combined they create the cutest Witch Ghost!), a cauldron, and a broom.
I chose a couple of the papers from the kit: a grey spiderweb paper and a black and white bat paper. I changed the bat paper to GREEN with a little Limewired Color Hive ink…this is a neon green and so perfect for this Halloween card!
Then I cut down the spiderweb paper to be a little smaller and inked on the “BOO” from one of the stencils in the kit. I set that aside to dry while I colored the images.
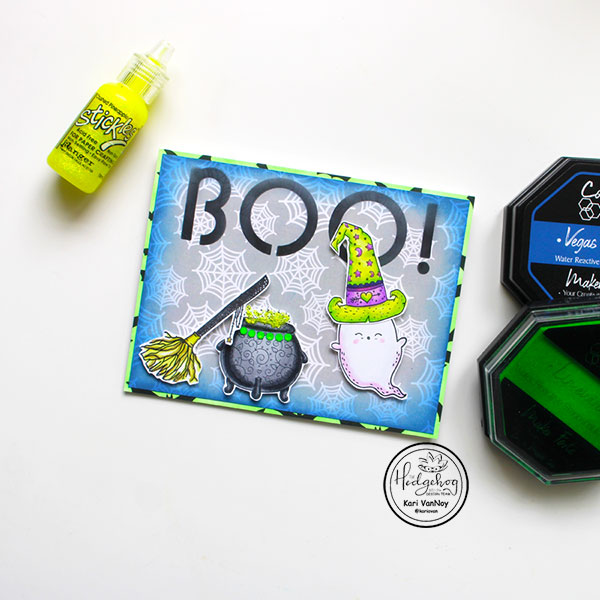
I used Copic markers to color these images and tried to match that Limewired ink color for the hat. The cauldron got a line of Limewired gems that matched perfectly!
Before I added these images with foam tape, I inked the edge of the spiderweb paper with Vegas Strip ink to give more of a contrast.
Then I put it all together on a card base! So. Much. FUN!
Thanks for stopping by today! I’ll be back with more cards to share soon!
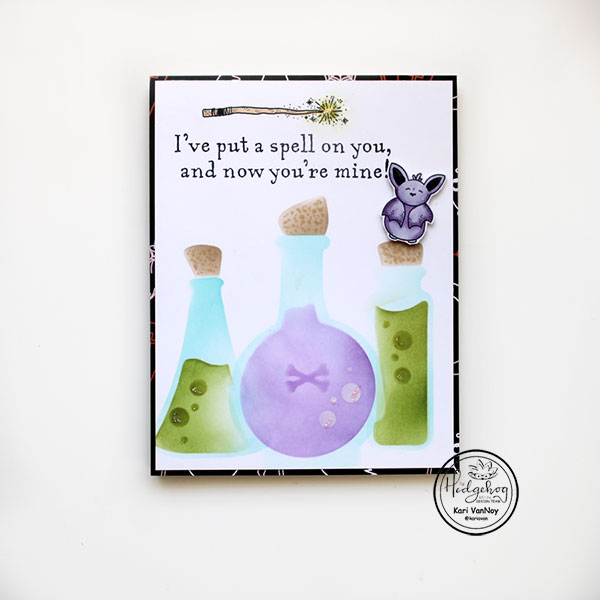
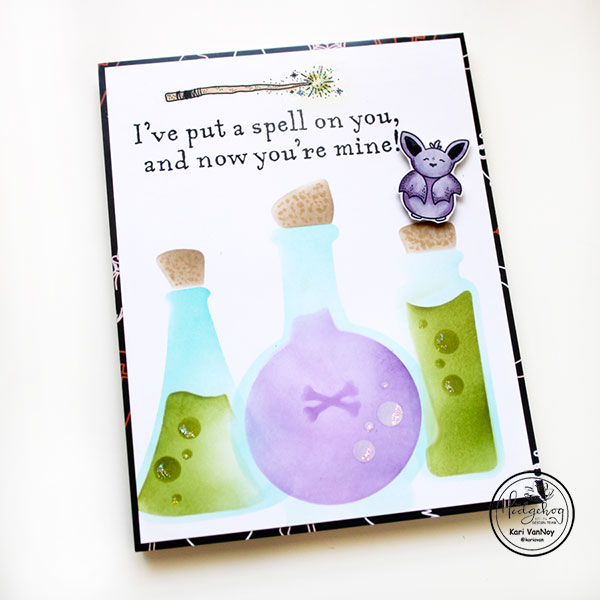
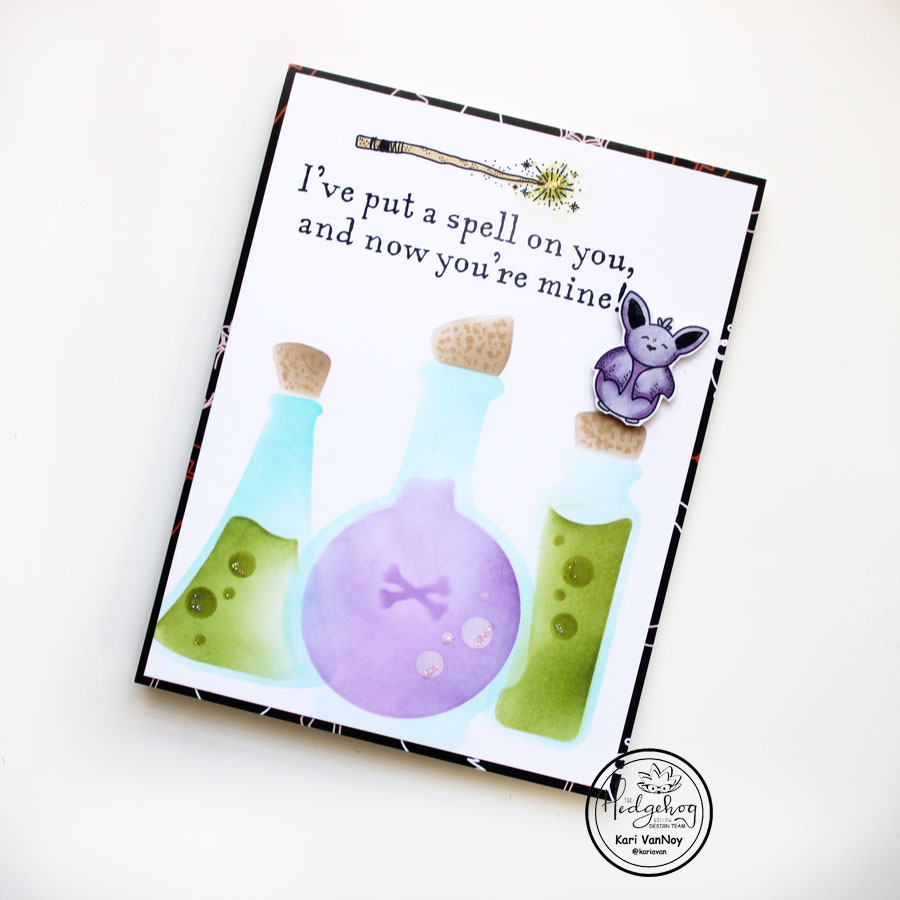
Hello! Today I have a Magical Potions card using new products from the September Hedgehog Hollow subscription kit. This was a fun one to make!
I’ve created a short video to share what comes in the kit and how this card came together. Watch it below or on YouTube:
This was a fun one to create, and I just love those magical potion bottles!
I’m often asked what supplies I use to make my cards and projects, so I’ve put together a list using affiliate links when possible. If you make a purchase with these links I may receive a small commission. These help me to keep up with blog costs and continue bringing you fun projects. Thank you so much for your support!
Welcome to the Heffy Doodle New Release Inspiration Blog Hop! We are so excited to share amazing cards from our Design Team members using the new release! For today’s special Blog Hop, you can win a £50 voucher to the Heffy Doodle store! You can shop the BRAND NEW RELEASE HERE.
Today I’ve made TWO cards to share with you, so let’s get started!
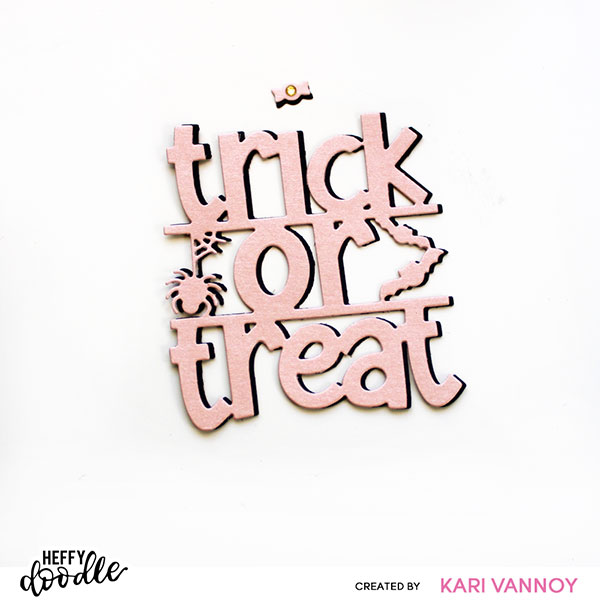
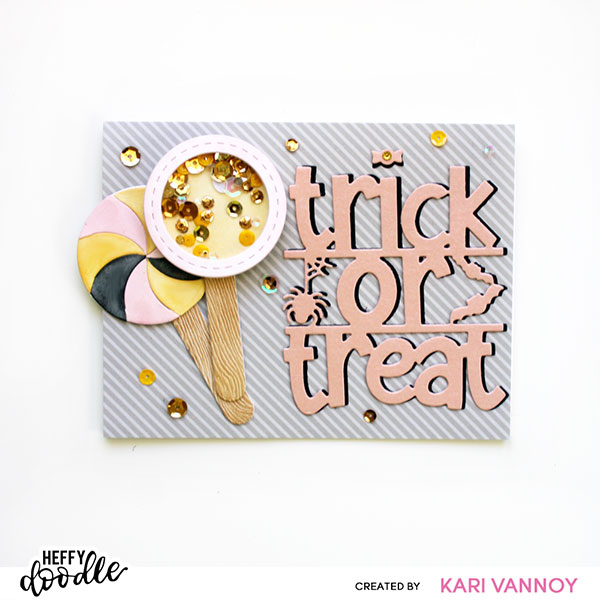
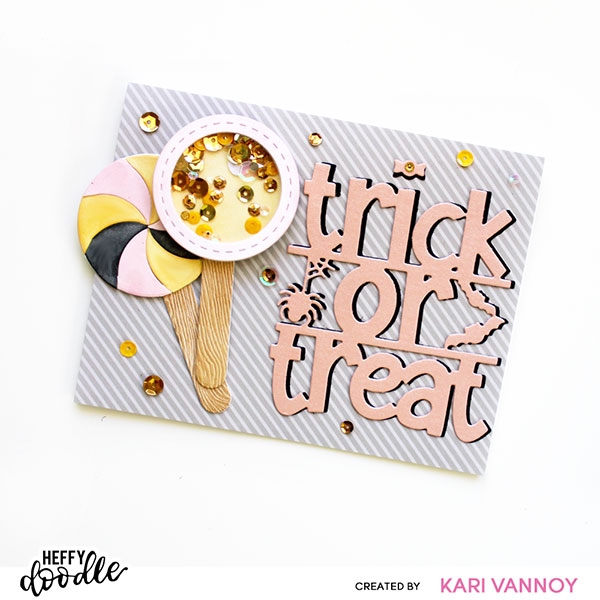
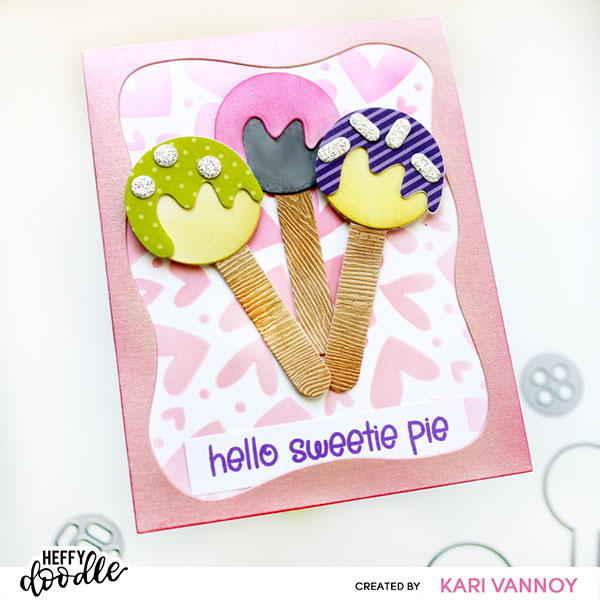
Card 1: Trick or Treat Shaker Lollipop Card
I am loving the new Trick or Treat Jumbo Sentiment Die. Today I am going to use a Halloween color combination that I have always wanted to try: PINK, ORANGE, BLACK, and GRAY.
I cut the Trick or Treat Jumbo sentiment die out of pink pearl paper, and then I cut a second sentiment from black cardstock for the shadow. I offset the black cardstock a little to give it some depth.
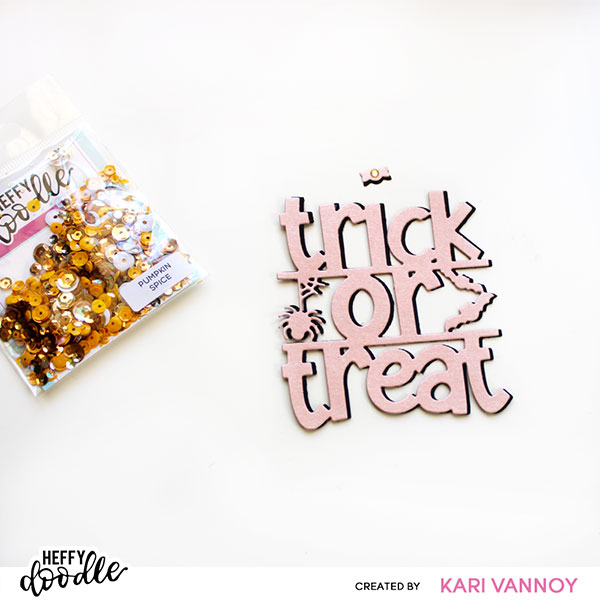
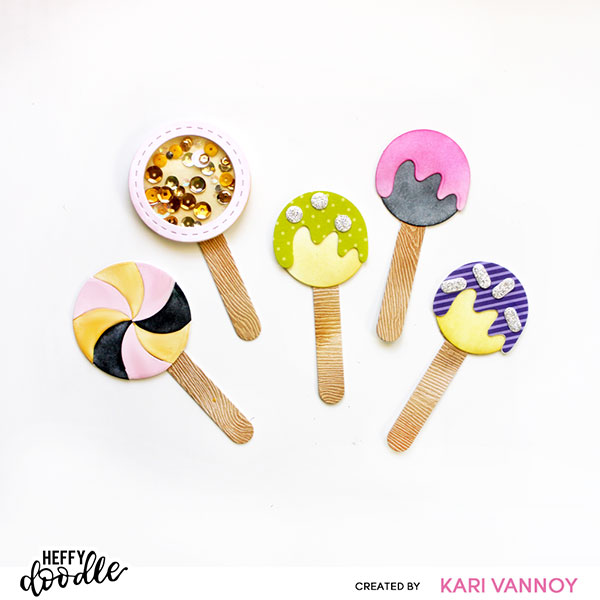
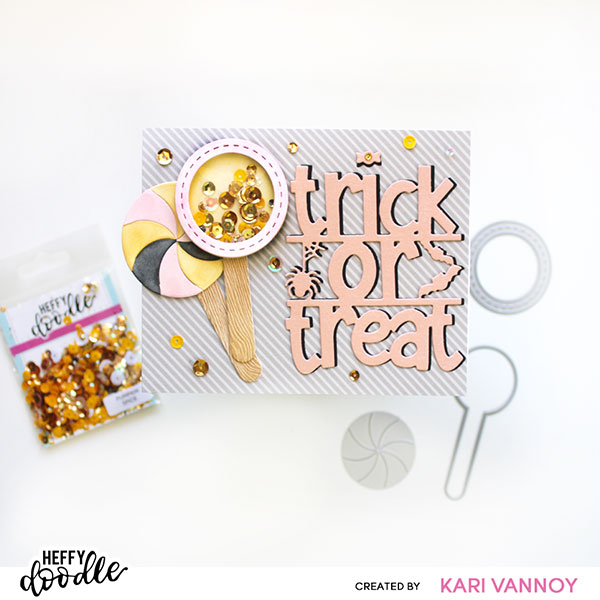
I chose the NEW Pumpkin Spice Sparkle Mix to use on this card…together with some TREATS from the NEW Sweet Tooth Shaker Dies. These dies can create lollipops, cake pops, wrapped candies, and shaker pops! I’m sure there’s more combinations, too! Today I made some lollipops and cake pops.
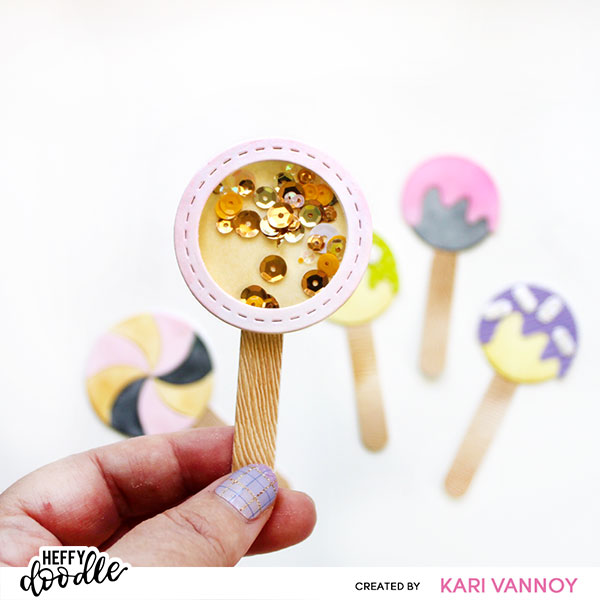
How cute is that shaker lollipop?! I put the lollipops together with the Trick or Treat Sentiment and added the gray striped paper from the NEW 6×6 Fright Night Patterned Paper Pack for this first card.
I scattered more of the sparkle mix around the card for good measure. This one is fun to shake!
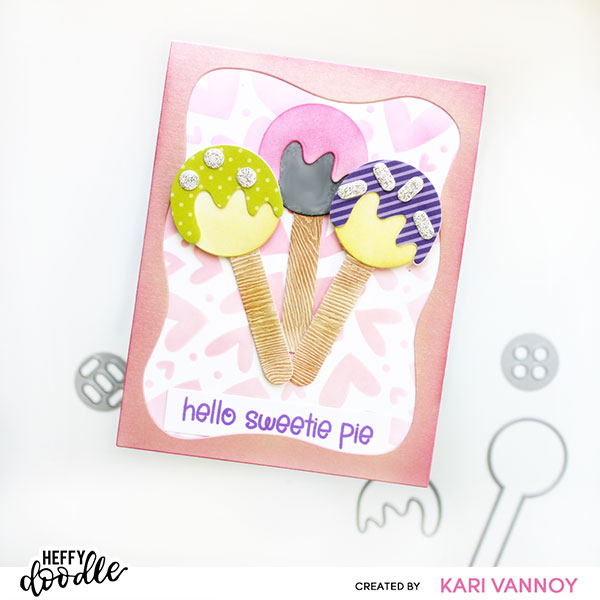
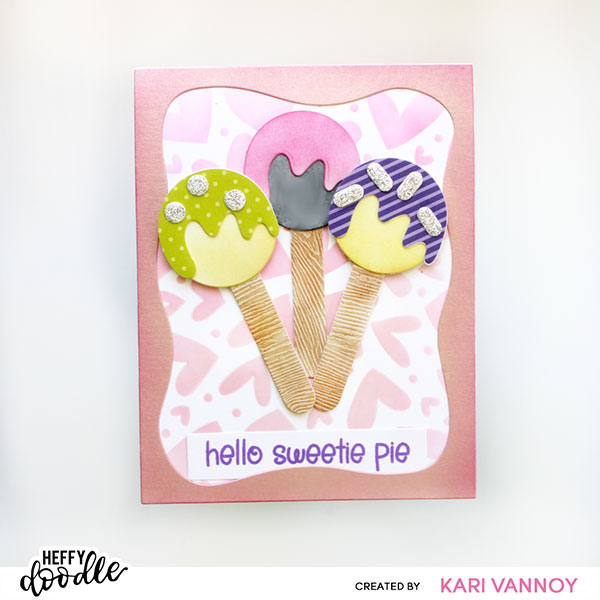
Card 2: Cake Pops Birthday Card
Since I had already created extra cake pops, I wanted to add them to a card! So I created a birthday card and popped up those pops with foam tape.
The hearts in the background are from the NEW Love is Everywhere Stencil. I love this stencil. The sentiment is from the Sweet as Pie special stamp set (that’s free with qualifying orders! See below).
I love that there is a drippy frosting die in this Sweet Tooth Shaker Dies set…perfect for these cake pops! I cut the “popsicle sticks” from woodgrain paper that I inked on with distress inks.
The frame is cut from the NEW Elm Street Dies. The frame is so perfect for a lot of different cards, not just Halloween cards! I can see a lot of use for this frame die in my future.
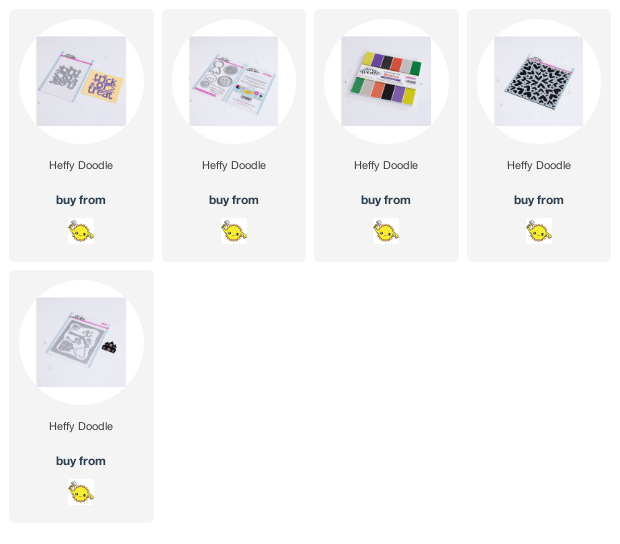
I hope you enjoyed these projects today! I’ve gathered the supplies I’ve used and included them here in case you are interested.
Get your Sweetie Pie stamp set for FREE with a £30 spend (not inc. shipping). And get the coordinating dies too with a £45+ spend!
The Giveaway!
To be entered to win the giveaway, all you need to do is comment at each stop along the Blog Hop before Sept 13, 2022 at 11:59 PM EST. The winner will be announced on the Heffy Doodle Blog on Sept 15th at 10:00 AM EST!
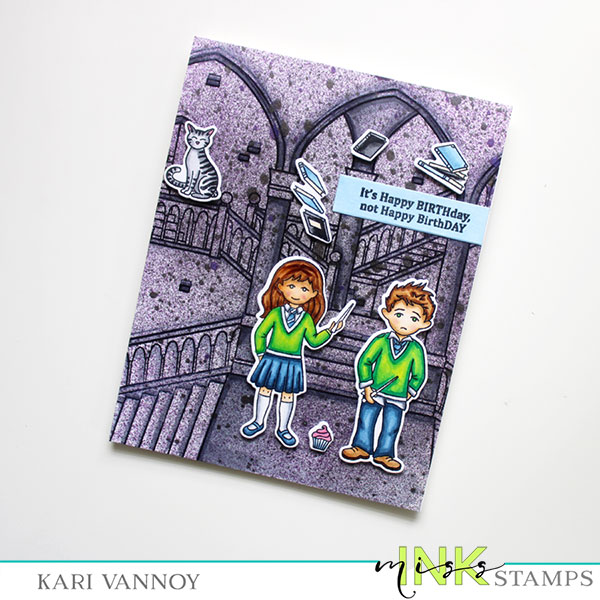
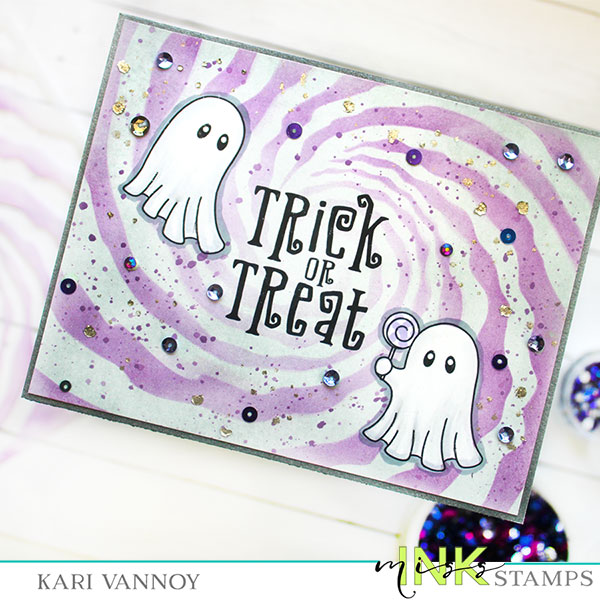
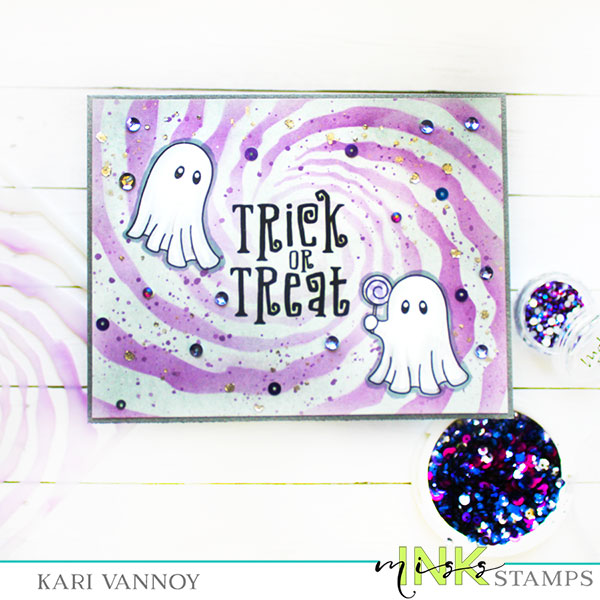
Hello! Just popping by to share a Halloween card that I love! These little ghosts are new from Miss Ink Stamps and they are the cutest trick or treaters.
I created a video to show you how to easily put a card like this together, watch it below or in HD on YouTube:
I just adore these products I’m sharing today. If you’ve been following me, you might notice this stencil is a favorite…I used it before on THIS Alice in Wonderland Card.
I used a light grey and purple ink this time on this stencil, I think those colors are great for Halloween!
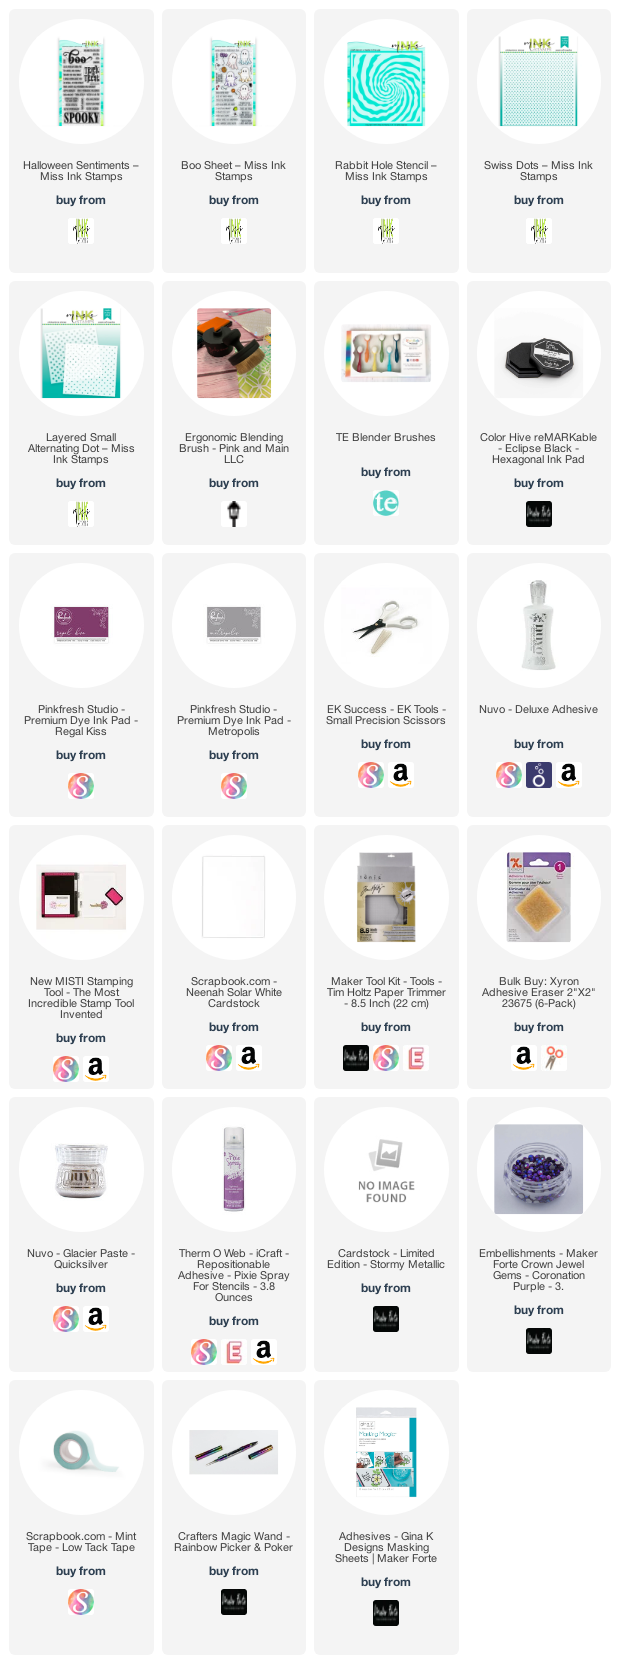
I’m often asked what supplies I use to make my cards and projects, so I’ve put together a list using affiliate links when possible. If you make a purchase with these links I may receive a small commission. These help me to keep up with blog costs and continue bringing you fun projects. Thank you so much for your support!
Hi I'm Kari. I'm a creator, a card maker, and a day maker! I am Lucky in love to a supportive husband, blessed to raise 3 kids (all moved away now!), and happy to be watched over by 2 dogs.
I originally started this blog to remind me to be happy amid adversity, and I hope it inspires you, too!