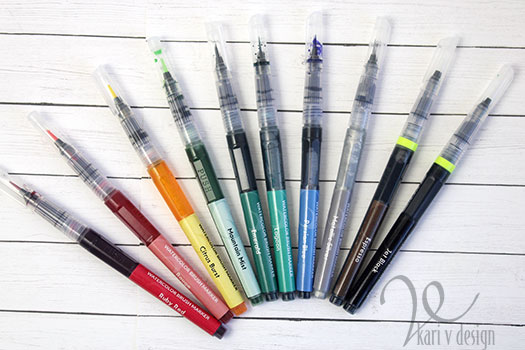
Hello! Today I have some very BRIGHT cards for you, created using Watercolor Brush Markers from Altenew. I was quite surprised and amazed at the amount of pigment in these brush markers, and you will see that you can create some vivid, beautiful images with them!
This is a part of my AECP certification training, and I was inspired by the class called “Creative watercolor Media” taught by Jennifer Rzasa, Debbie Hughes, and Laura Bassen. I used quite of few of the techniques from this series: like watercoloring from a palette, watercoloring with sprays, and others.
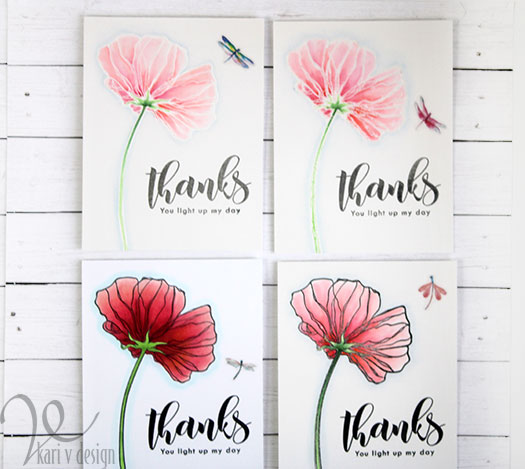
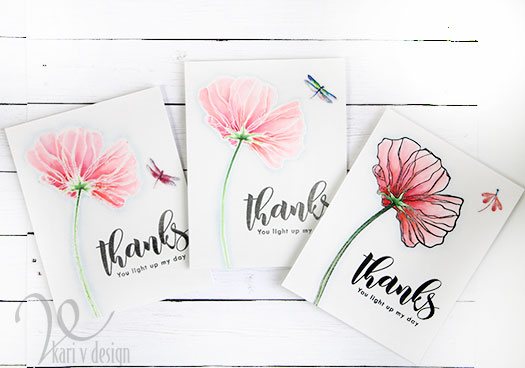
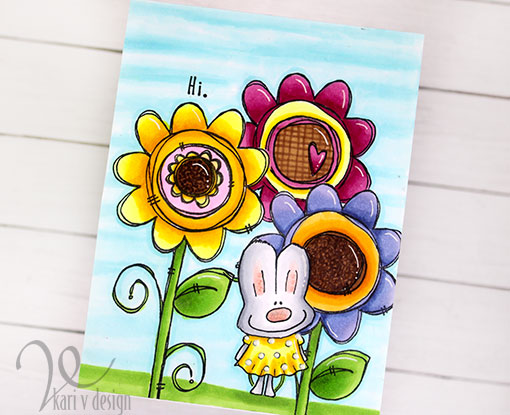
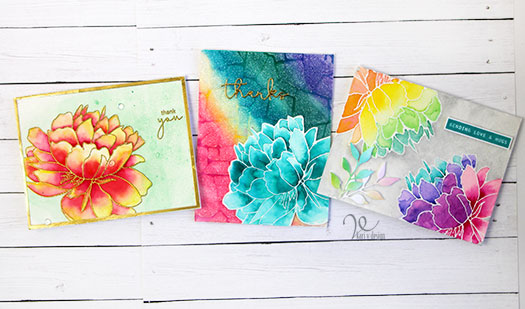
Take a look at these cards! Those colors are amazing!
I create a video to share the three techniques I used, watch it below or on YouTube in HD:
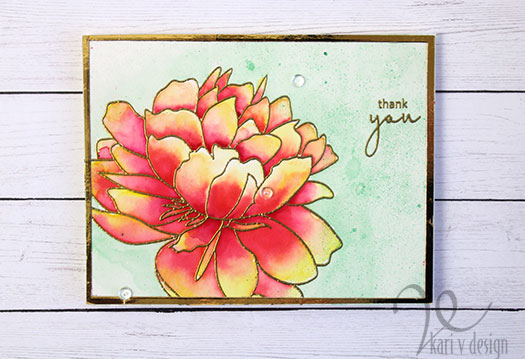
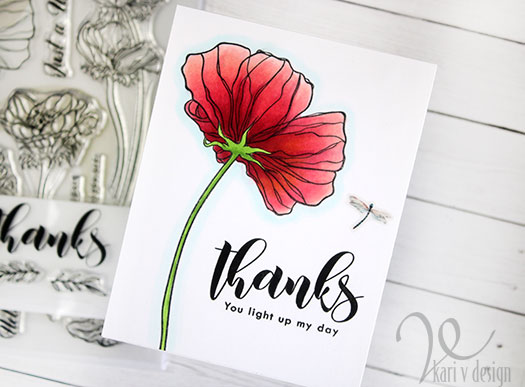
For the first card, I used the wet-on-wet technique with watercolor paper. I heat embossed the image in gold, then used a waterbrush to add some water to a few of the petals. Then I added the color in. I let the water do most of the work and it turned into a brilliant flower! Wow!
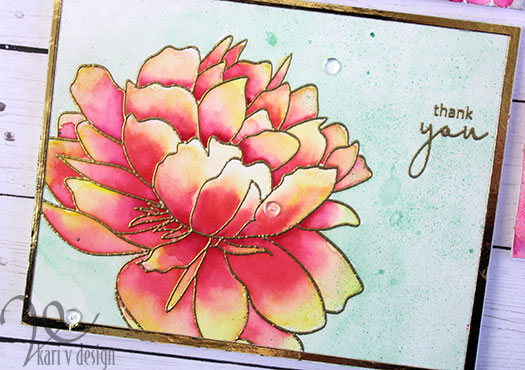
For the background, I used a Metallic Spray to add color and splashes of interest.
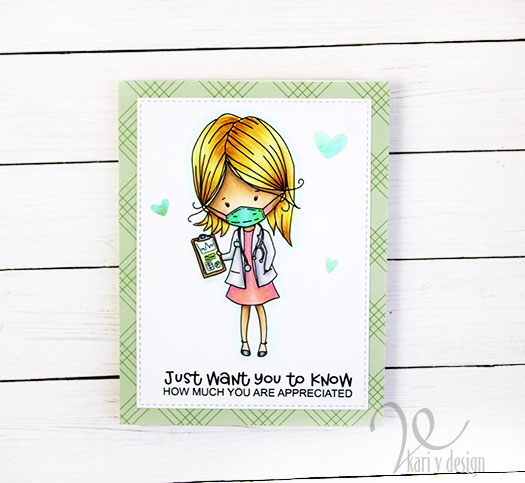
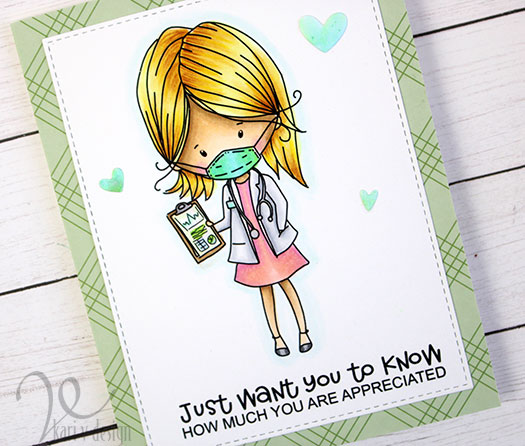
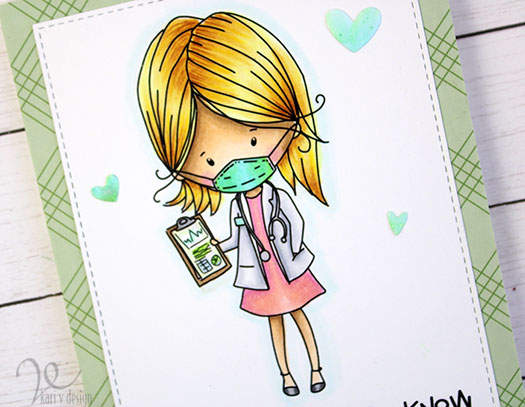
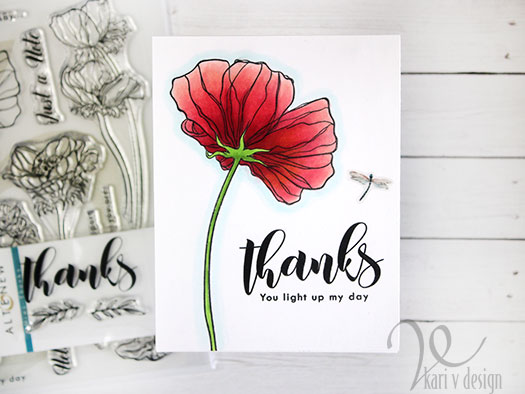
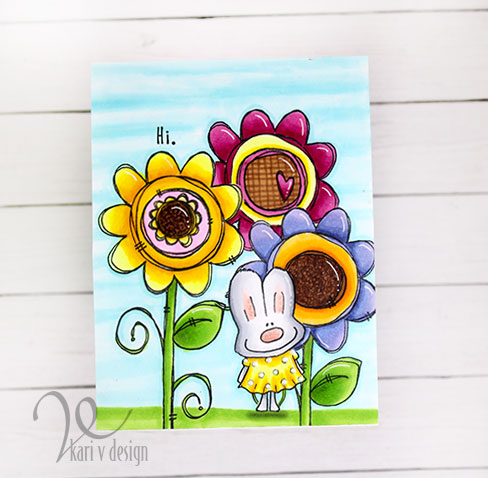
On the second card, I used the watercolor pens direct to the watercolor paper and got amazing color. I put on some color from each of the markers, then blended with a brush and water to get a smooth look. So bright!
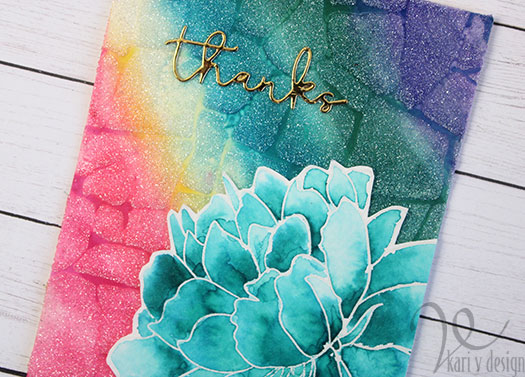
I used only ONE color on that big flower this time…so much depth. These pigments are just so good.
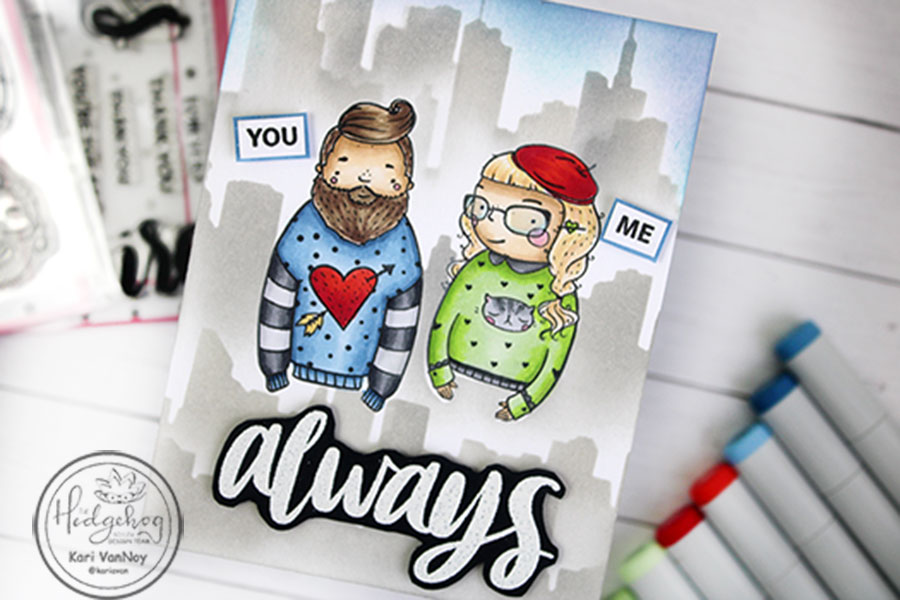
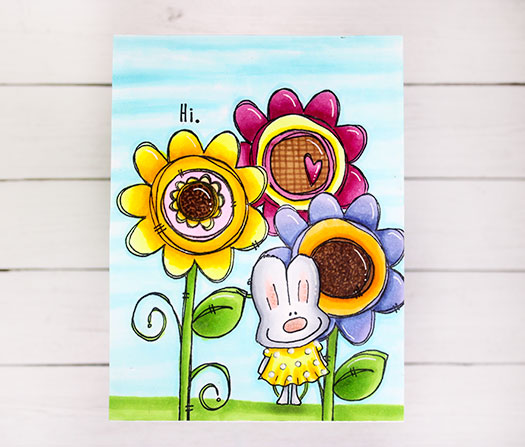
For the last card, I mixed colors together to get even more colors for my rainbow flowers.
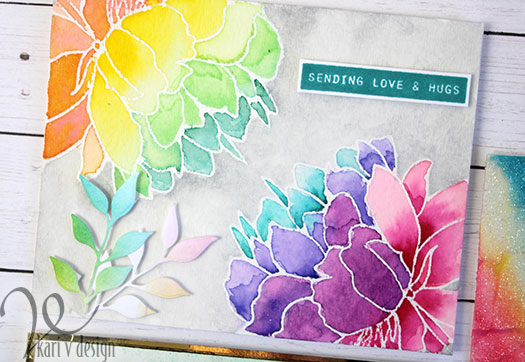
I stamped the large flower on both corners of this card, and heat embossed in clear. Then I mixed some colors to get a nice rainbow spectrum. I finished off this card with some rainbow die cuts and a sentiment stamped in Lagoon ink to match the watercolor pens.
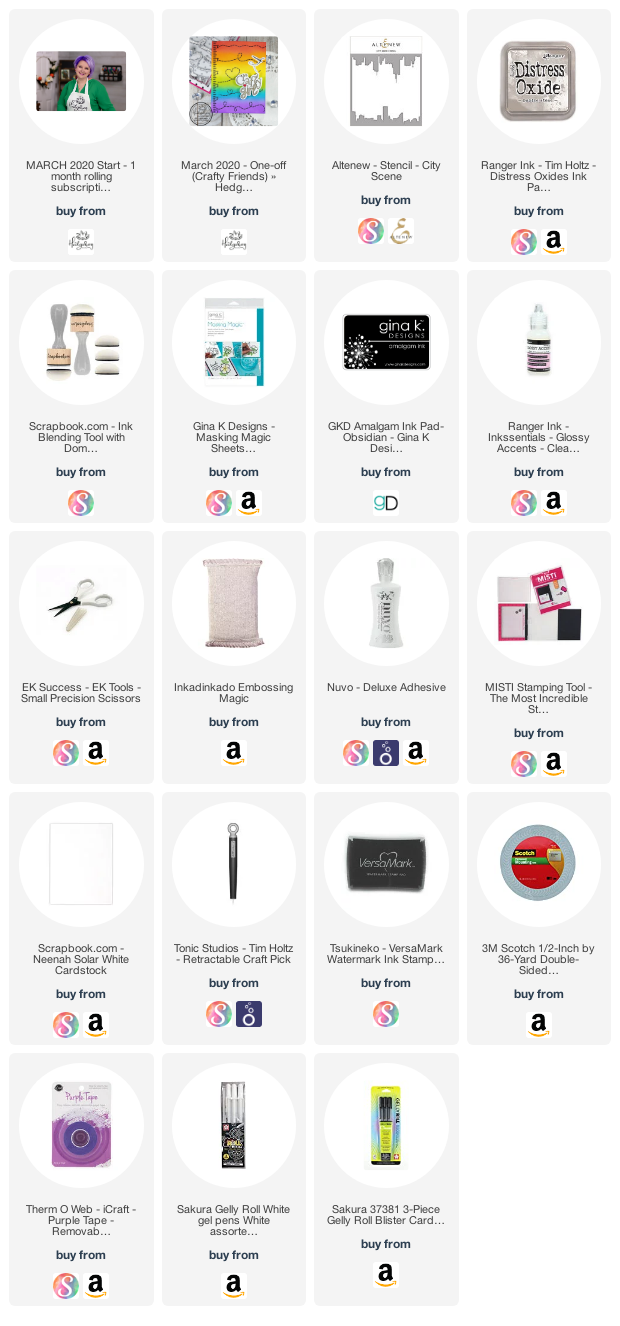
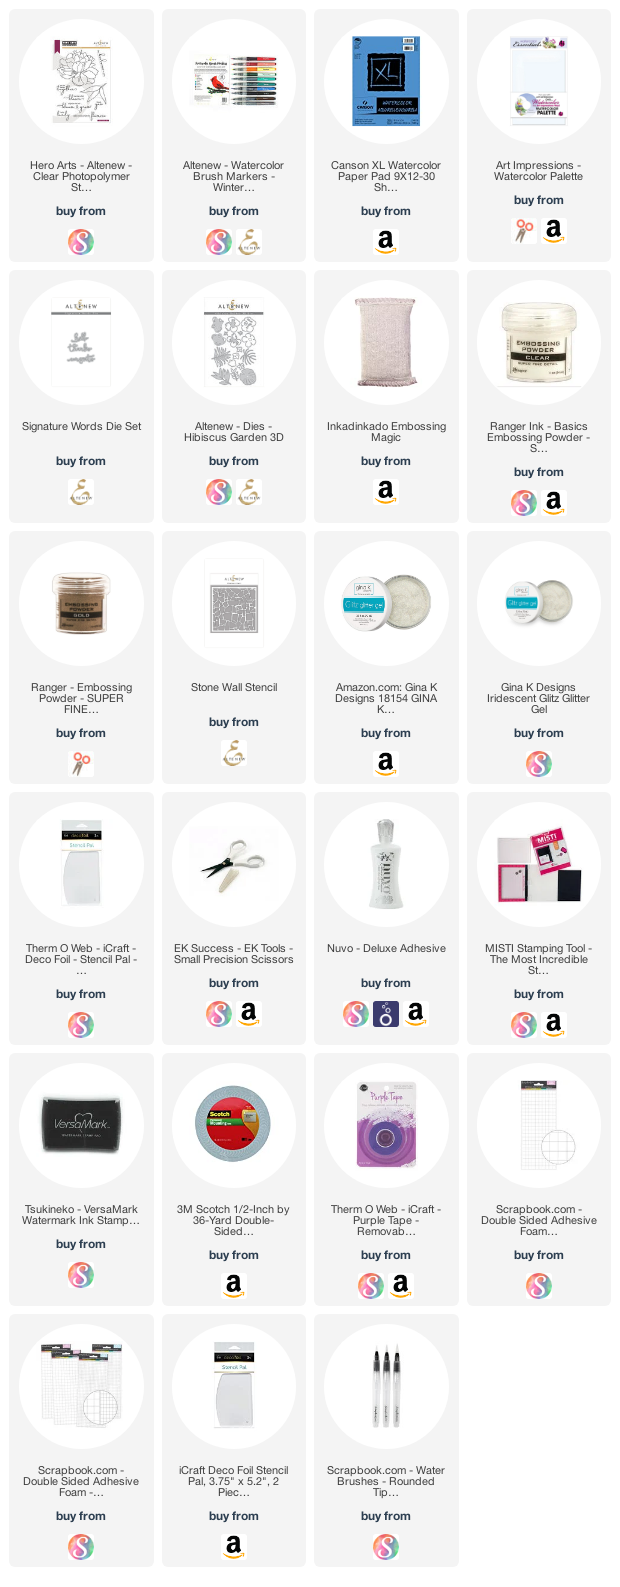
I’m often asked what supplies I use to make my cards and projects, so I’ve put together a list using affiliate links when possible. If you make a purchase with these links I may receive a small commission. These help me to keep up with blog costs and continue bringing you fun projects. Thank you so much for your support!
I really hope you enjoyed these projects, I challenge you to try out some watercolor brush markers and give these techniques a try!