Hello! Today I’m excited to share with you my very first Zentangle project on a card. I have to admit I was a little intimidated by this….but I persevered until I got just the look I was going for!
This was inspired by a class I took at Altenew Academy by Amber Rain Davis. It’s a great class, and I recommend it if you like to doodle or love to add details to your cards!
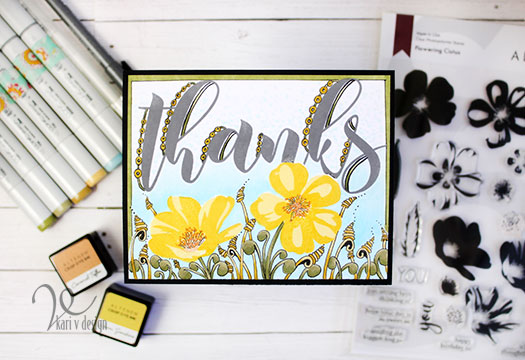
While practicing my tangles, I learned quite a few things: first of all, I wish I had a broader tip pen. Here I used my .05 Copic Multiliner, and while the details turned out great, I wished that my tangles were a little BIGGER and BOLDER with the lines.
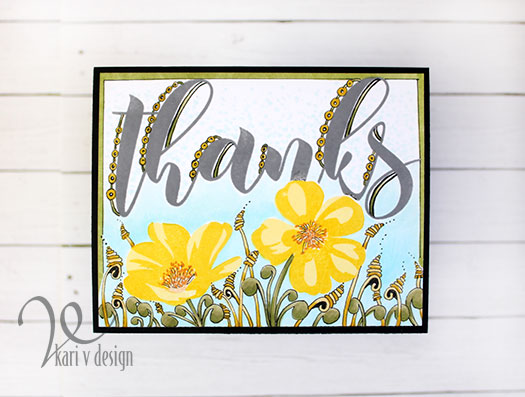
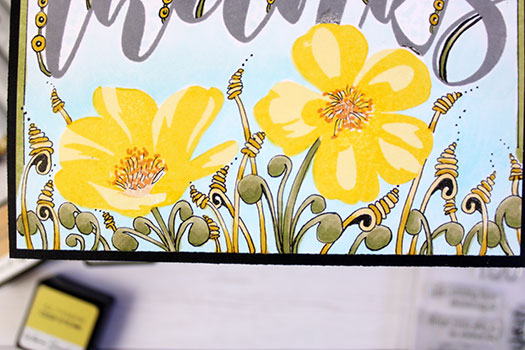
I used four different Zentangles on this card: Mooka, Zinger, Springkle, and Caviar. These turned out with my own flair and in my own style, as most tangles will take on the style of the illustrator.
I will show you my progress on how this card came about:
First, I stamped the flowers with two shades of yellow ink. I masked them off before stamping the large Thanks sentiment in gray ink. Then I started in with the Zentangles, adding some “Mooka” to act as the leaves and stems of the flowers.

I continued adding the tangles with some Zingers and Springkles, and I stamped the centers of the flowers with an orange ink. I end up adding some lines and auras to the centers, too.
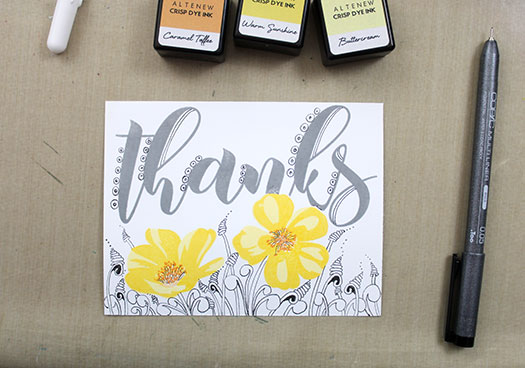
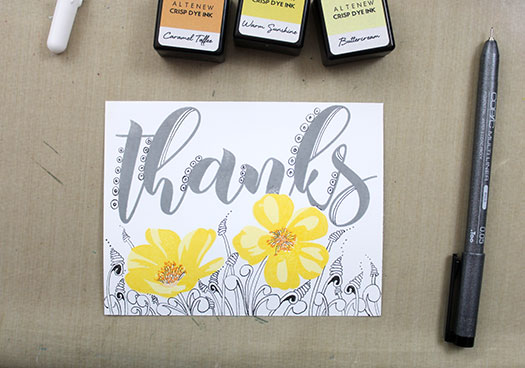
Then, I drew in some “Caviar” tangles on the left of each of the letters of the sentiment. I felt like the sentiment was getting left out and needed something, so caviar it was! I attached the caviar together with some small connecting lines. I added some lines on the inside of some of the letters, too.
Then I outlined the entire card with a thin, black border (for this I used a ruler). Now it’s time to color! I used only a few colors of Copic markers for this: Y32, Y26, YG93, YG91.
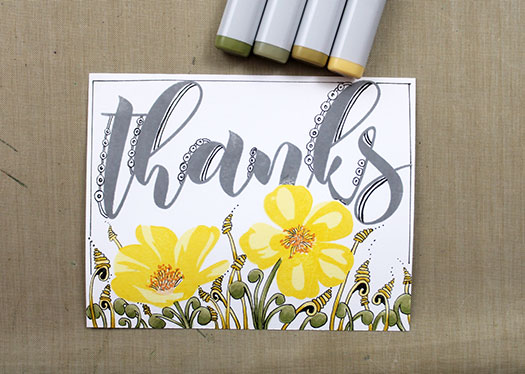
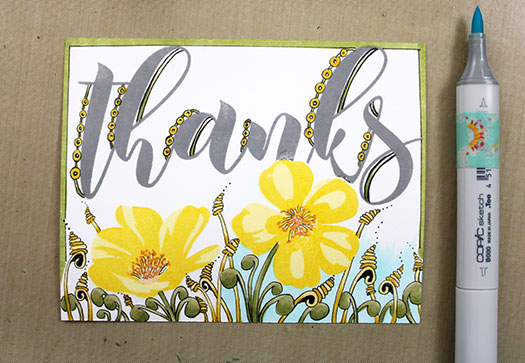
After the leaves and tangles were colored, I outlined the entire frame in YG93 green and began adding some blue shades at the bottom of the card. I started off with B00 and lightened it up at the top with B000. Finally, I added blue dots at the top of the card fading off into white. I thought that gave this card a kind of dreamy look!
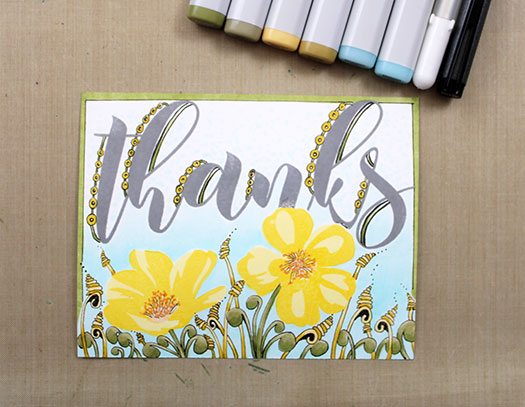
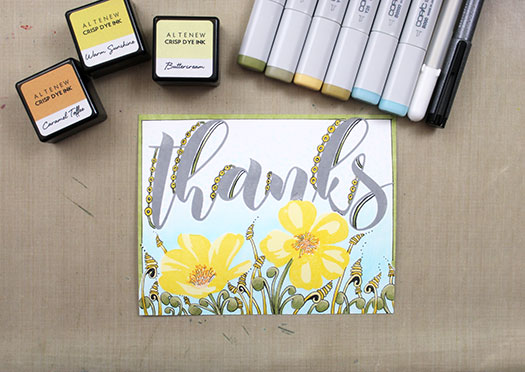
After all the coloring, the card finally started looking all put together! I matted it with some black cardstock to finish it all off.
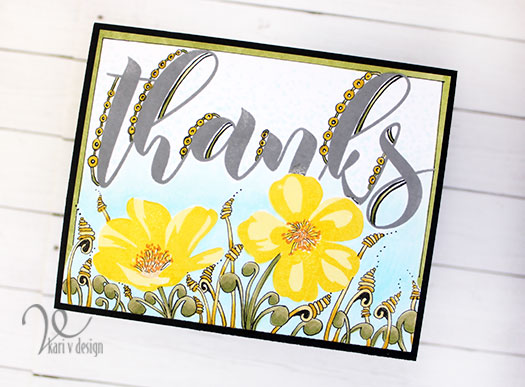
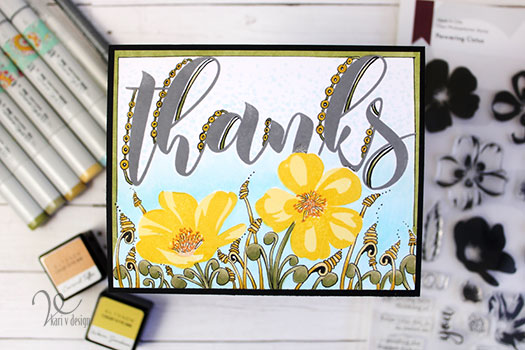
I loved making this card after I got over the intimidation of it all. Lol. The drawing was relaxing, and I feel like the final result has a dreamy and whimsical feel to it. You might not be able to see the light blue dots at the top of the card, but that also adds to the dreamy feeling.
I hope you enjoyed this card today! I’ve linked the class below if you are interested in getting started with some Zentangles of your own.
I’m often asked what supplies I use to make my cards and projects, so I’ve put together a list using affiliate links when possible. If you make a purchase with these links I may receive a small commission. These help me to keep up with blog costs and continue bringing you fun projects. Thank you so much for your support!
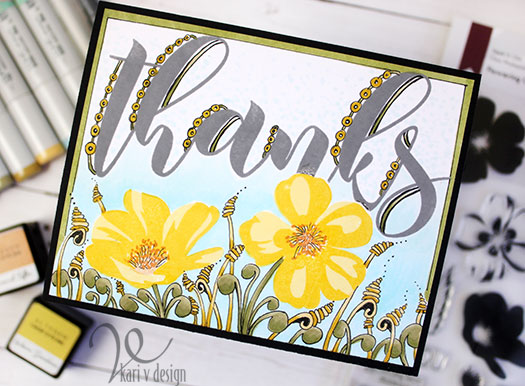
Happy Day! Thanks for stopping by!


