Tag Archives | Whimsy Stamps Halloween
Kari-V-Terrific-Tickets-tt-layering-stencil-tt-window-die-card-1

Terrific Tickets Shaker Cards

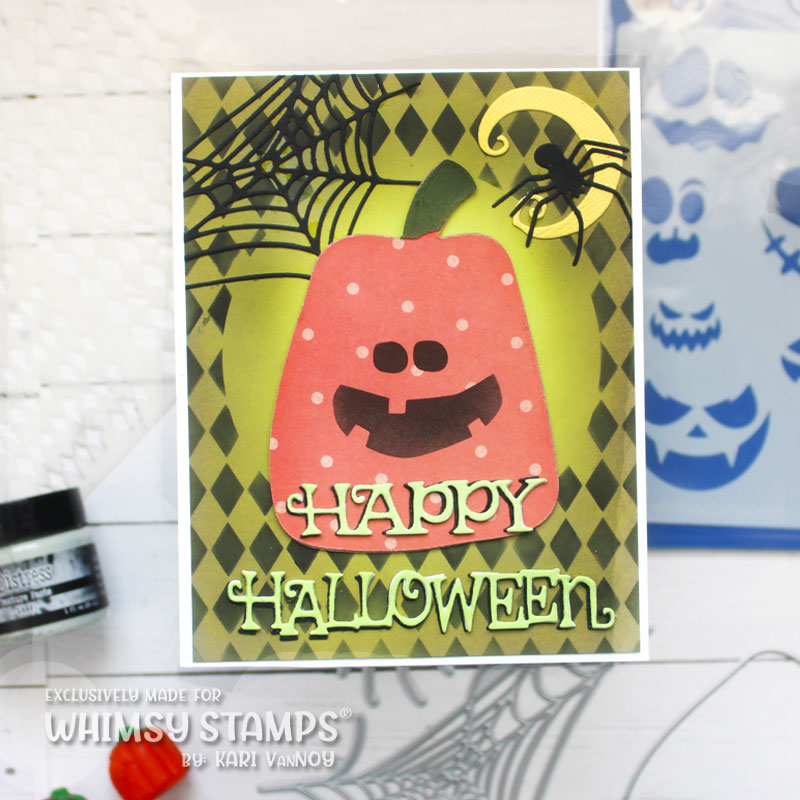
Hello! Today I have some Terrific Tickets Shaker cards to share with a video! These new products from Whimsy Stamps are so fun and easy to mix and match! Today I decided to make two shaker cards to give you an idea of some of the cards you could make. Let your imagination soar!

Watch the video below or on YouTube:

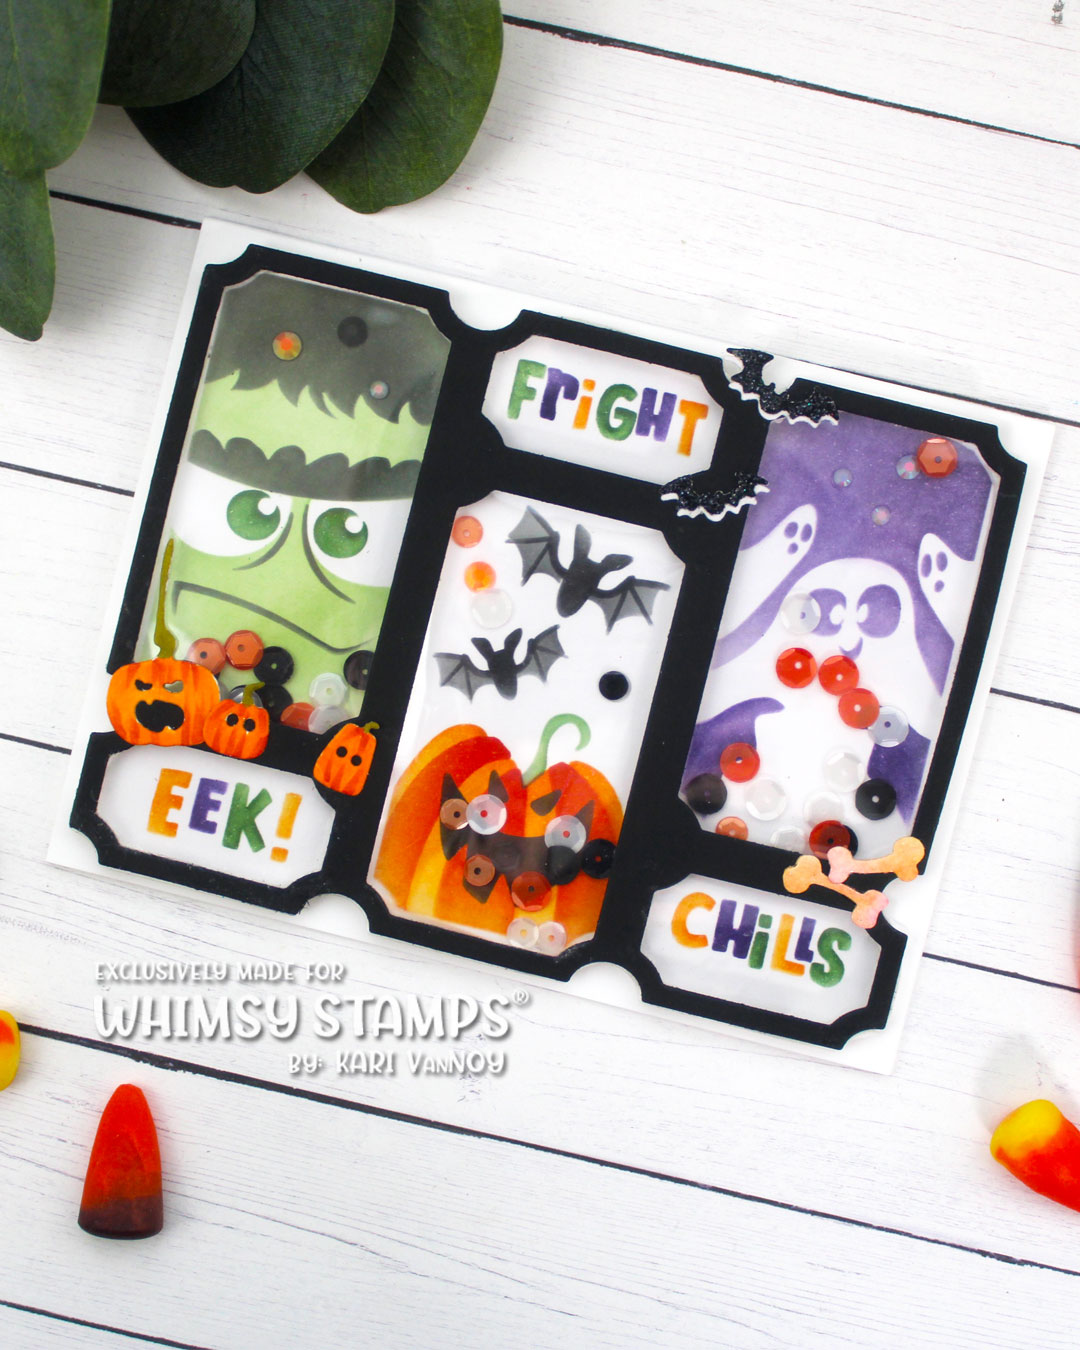
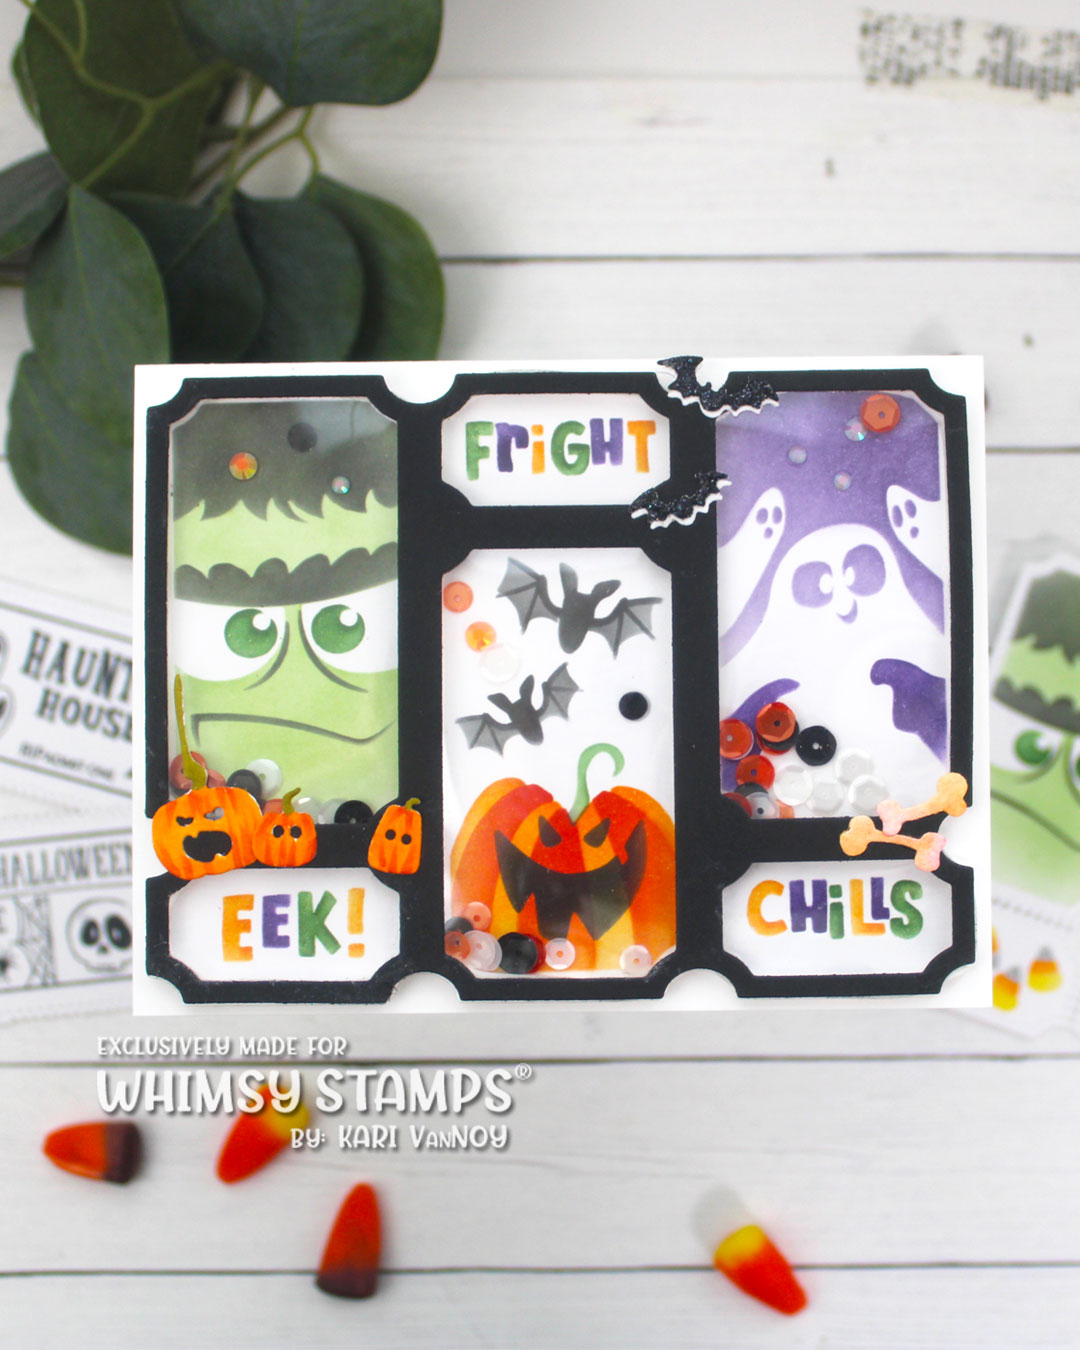
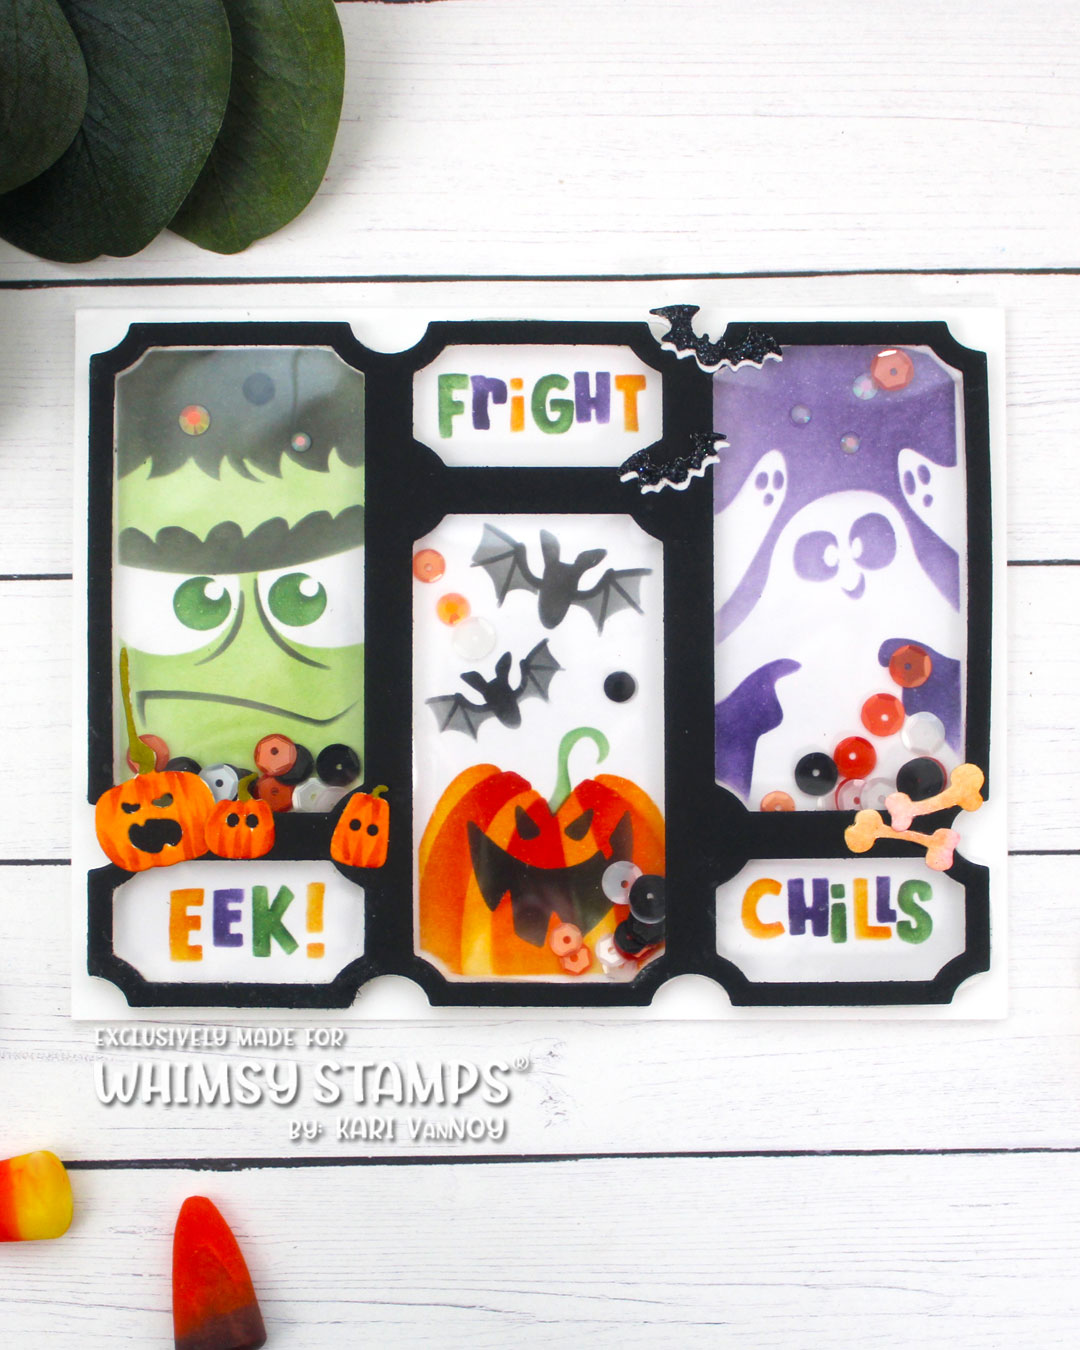
The Terrific Tickets die has a matching Terrific Tickets Window die, which is what makes it so easy to turn these into shaker cards! I first cut the Terrific Tickets die and used the Layering Stencil on it (all products are linked below for you to check them out). Then I cut the Window die out of black cardstock and used that as the top portion for the shaker. I cut some acetate from the original Terrific Tickets die to adhere to the window die. Please watch the video to see all the details on this!

To make it tall enough to allow the sequins to shake around, I used double-thick foam tape in thin strips for the frame/window die. I just LOVE that you have the option to shake it up!

For a few details, I added some Mini Jacks, mini bats, and bones.

For my second card, I created a graveyard shaker…I wanted to use that “Graveyard Tours” ticket (that I stamped on the ticket with the stamps that match). So I ink blended those tickets in purple & orange. The skeleton from the No Bones About It stamp set works perfectly on these gravestones!

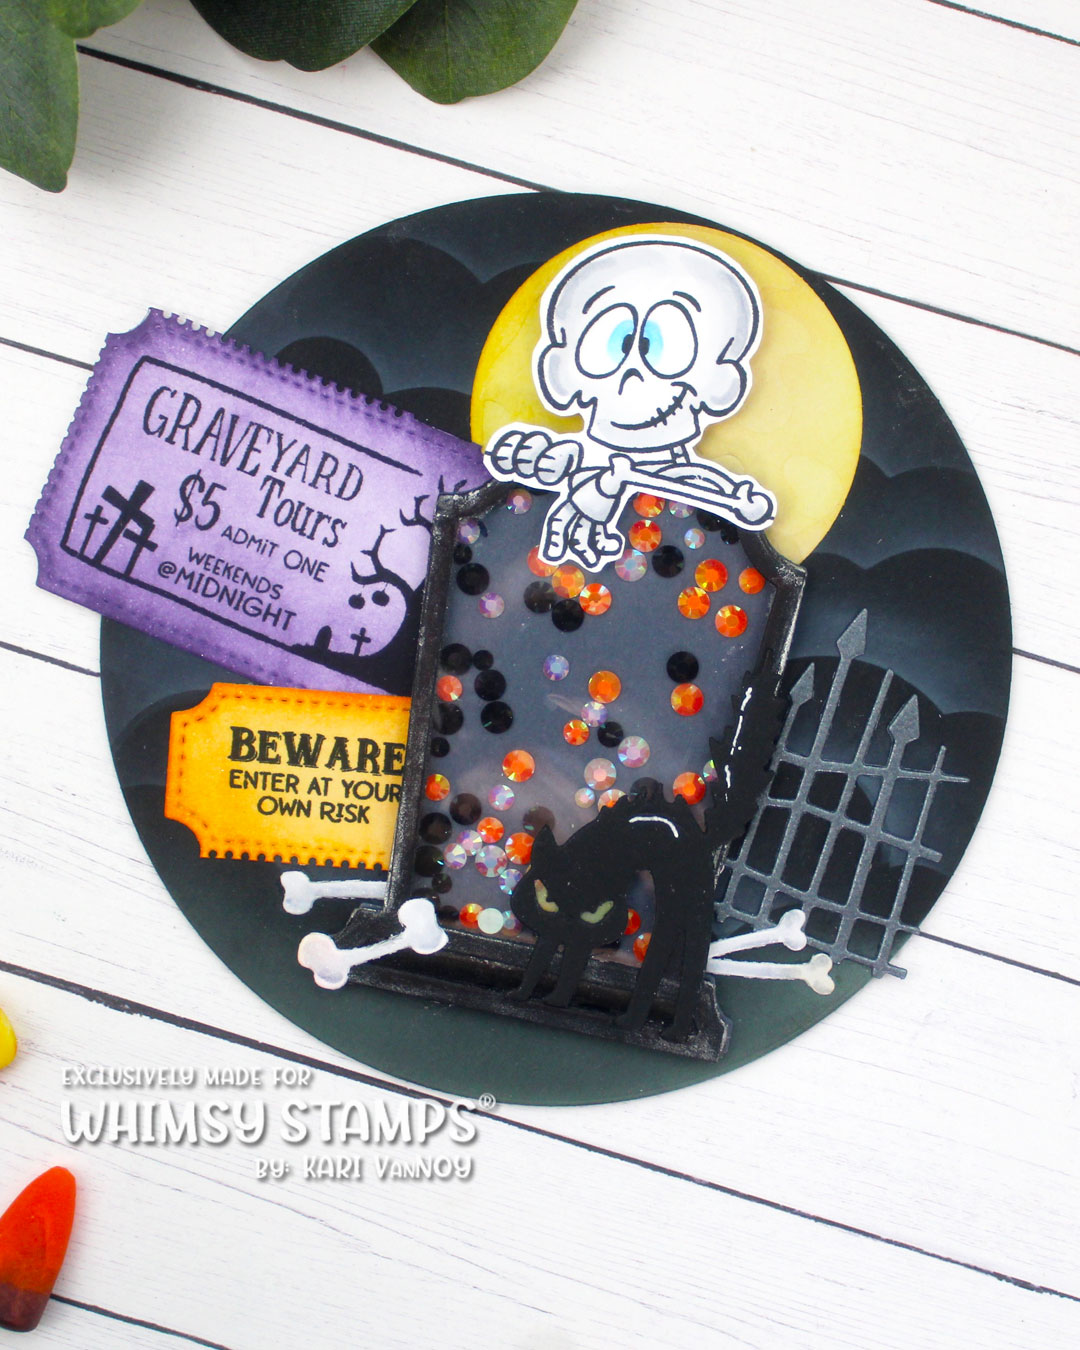
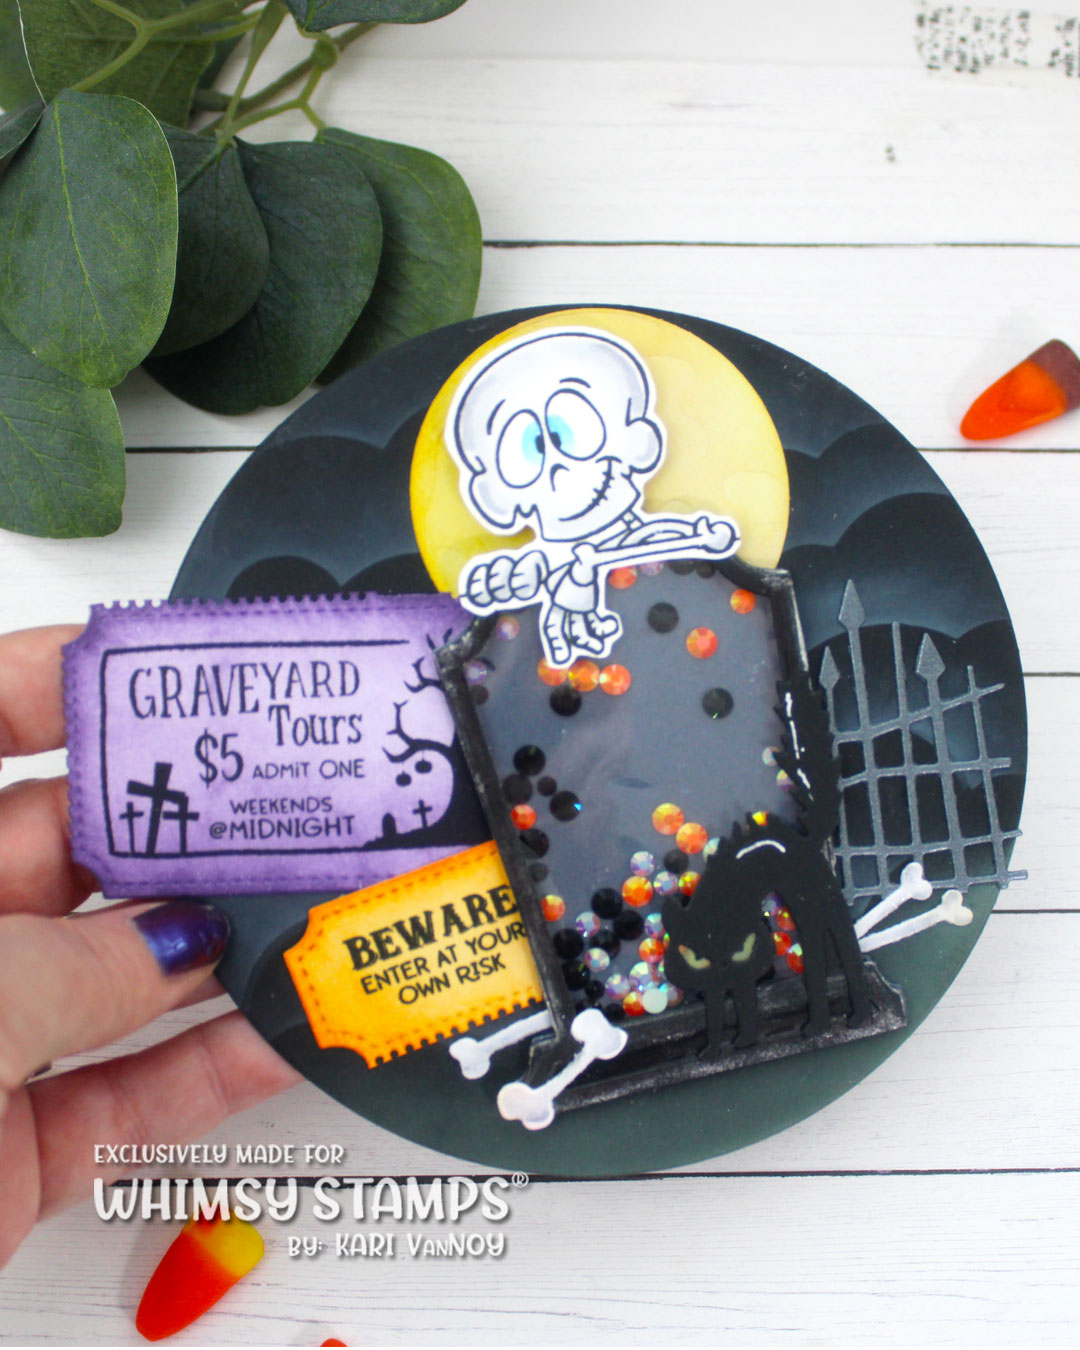
I made this into a circular card, with a secret trick I use to make them STAND UP on your table! I hope you’ll stop by the video to take a look!

I’m often asked what supplies I use to make my cards and projects, so I’ve put together a list using affiliate links when possible. If you make a purchase with these links I may receive a small commission. These help me to keep up with blog costs and continue bringing you fun projects. Thank you so much for your support!


Thanks for stopping by today! Which shaker is your favorite?

Comments { 0 }
Kari-V-all-3-Harlequin-stencil-cards

Mixed Media Harlequin Cards

Hello! Today I have another episode in my Halloween Card Series with these Mixed Media Harlequin cards. I love the look of this harlequin stencil and it has 3 different areas on this stencil for different looks!

Watch the video below or in HD on YouTube:

These harlequin cards are similar, but different. I started out with some light cardstock in green, purple and blue. Then I ink blended a darker shade around the perimeter of each panel. Then I cut a different pumpkin for each of them using patterned paper and white cardstock.

For the green card, I stacked up that pumpkin before adding it to that harlequin background. I used some black ink to ink on those diamonds and stretched it out with a stencil trick that I share in my video.

Then I added some additional elements: a moon, web, and spider along with the Happy Halloween die cut in green and black. I offset the green to create a black shadow on the sentiment.

For the purple card, I used some Texture Paste and a different area of that harlequin stencil. I added some Antique Linen Distress ink around that white pumpkin to add more of a round look…and I do think it looks like it’s glowing! The spider, web, and Chills Word dies finish off this one.

For the blue card, I added the distressed harlequin portion of the stencil with some Crackle paste! I love this look! Then I added a pumpkin that was cut out of the BOOkeh paper. A simple sentiment and spider finish it off.

This little witch and cat are from the Wicked Cute stamp set. Aren’t they cute. I think they look great with the Pumpkin and Mini Jacks die cut set. For the background I added some black Paper Glaze. Once that dried, I stamped on some stars and dots with silver ink.

One last card I have to share uses the Harlequin stencil in a different way: as a design for the sky, grass, and pathway.

I love that spooky house on this slimline card! I heat embossed the “Wicked Cute” sentiment and added some jack-o-lanterns along that pathway.

I’m often asked what supplies I use to make my cards and projects, so I’ve put together a list using affiliate links when possible. If you make a purchase with these links I may receive a small commission. These help me to keep up with blog costs and continue bringing you fun projects. Thank you so much for your support!


I hope you enjoyed these projects today! Don’t forget to go check out my Halloween Card Series on Youtube. See you soon with more cards!

Comments { 0 }