Tag Archives | watercolor
SUNSHINE-happy-day-rose-card-3

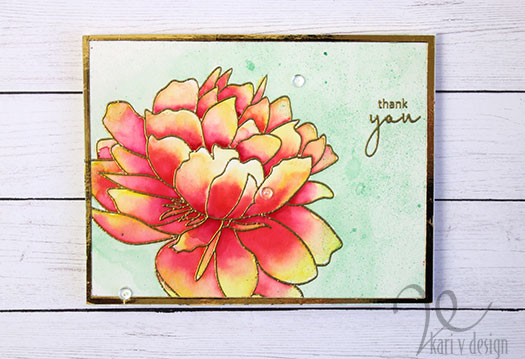
Easy Watercoloring

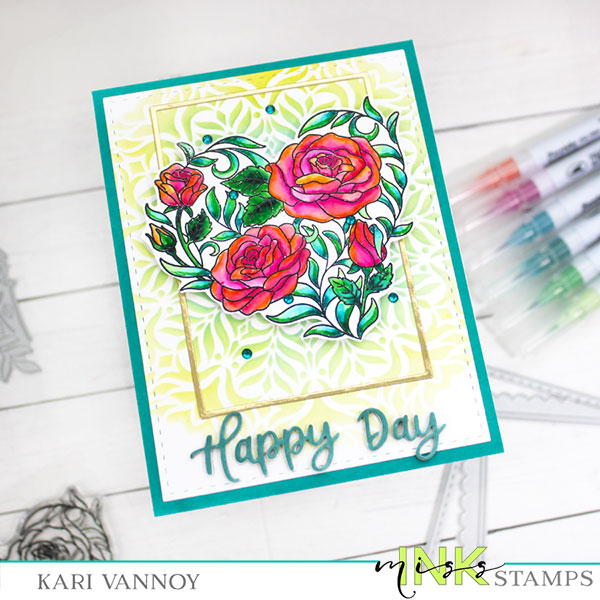
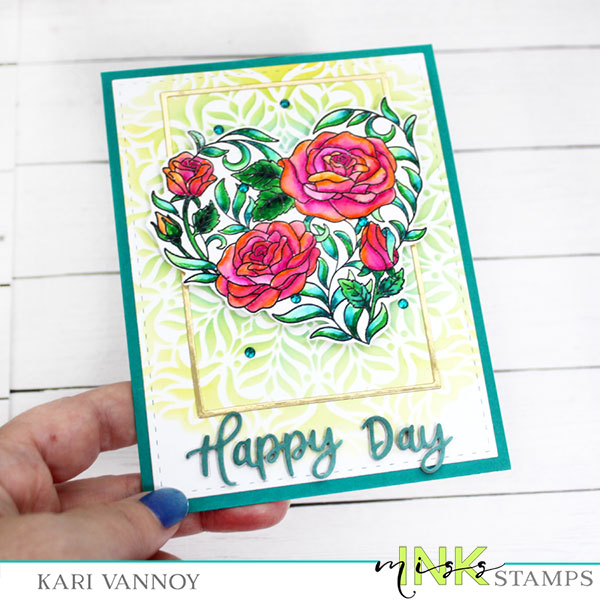
Hello! Today I have a card with Easy Watercoloring. I love to watercolor, and I love it even more when it’s EASY. This technique is so fun to do and you can do this even if you aren’t a professional watercolorist!

Watch the video below or in HD on YouTube:
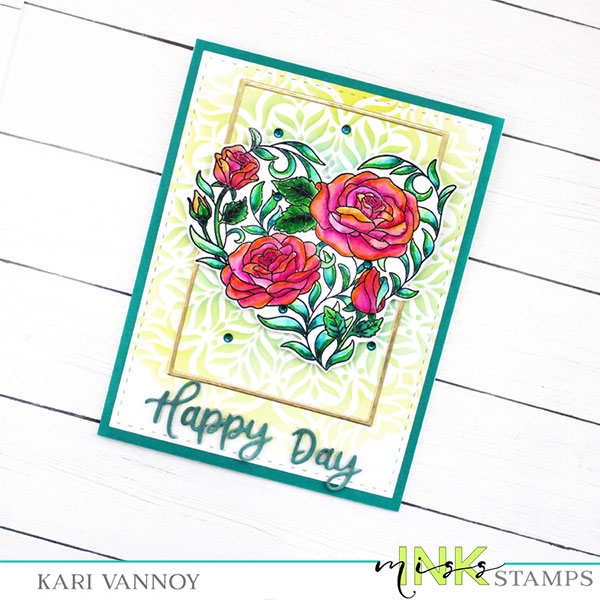
I have some tips for easy watercoloring, today I am using Zig Clean Color Real Brush markers, so these tips will be for having great success using those watercolor markers.

  1. Choose Bristol Smooth cardstock. This cardstock allows the Zig Clean Color Real Brush markers to blend smoothly with a waterbrush!
  2. Heat emboss your image. Here I stamped using black ink (Versafine Onyx Black) and then used some clear embossing powder over the top. This will keep the watercolor inside these embossed areas!
  3. Choose 2 or three colors to blend and use a waterbrush in the lightest color first to blend into the darker color(s). It makes a beautiful blend
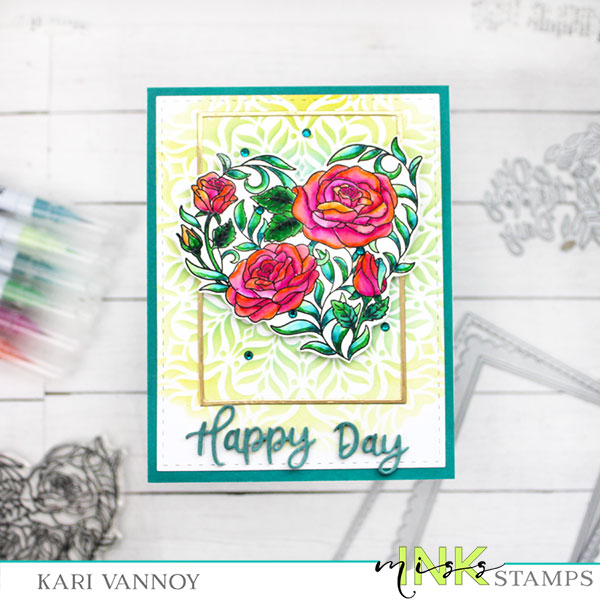
I used a gorgeous stencil (Latte Lace) for the background, using only TWO ink colors. I blended the Tumbled Glass and Squeezed Lemonade Distress inks together and they created a beautiful green.

The frames are from the Oh Happy Day die set. There are so many great options in this set! That’s where the sentiment came from also.

Watch the video above to see how this all came together!

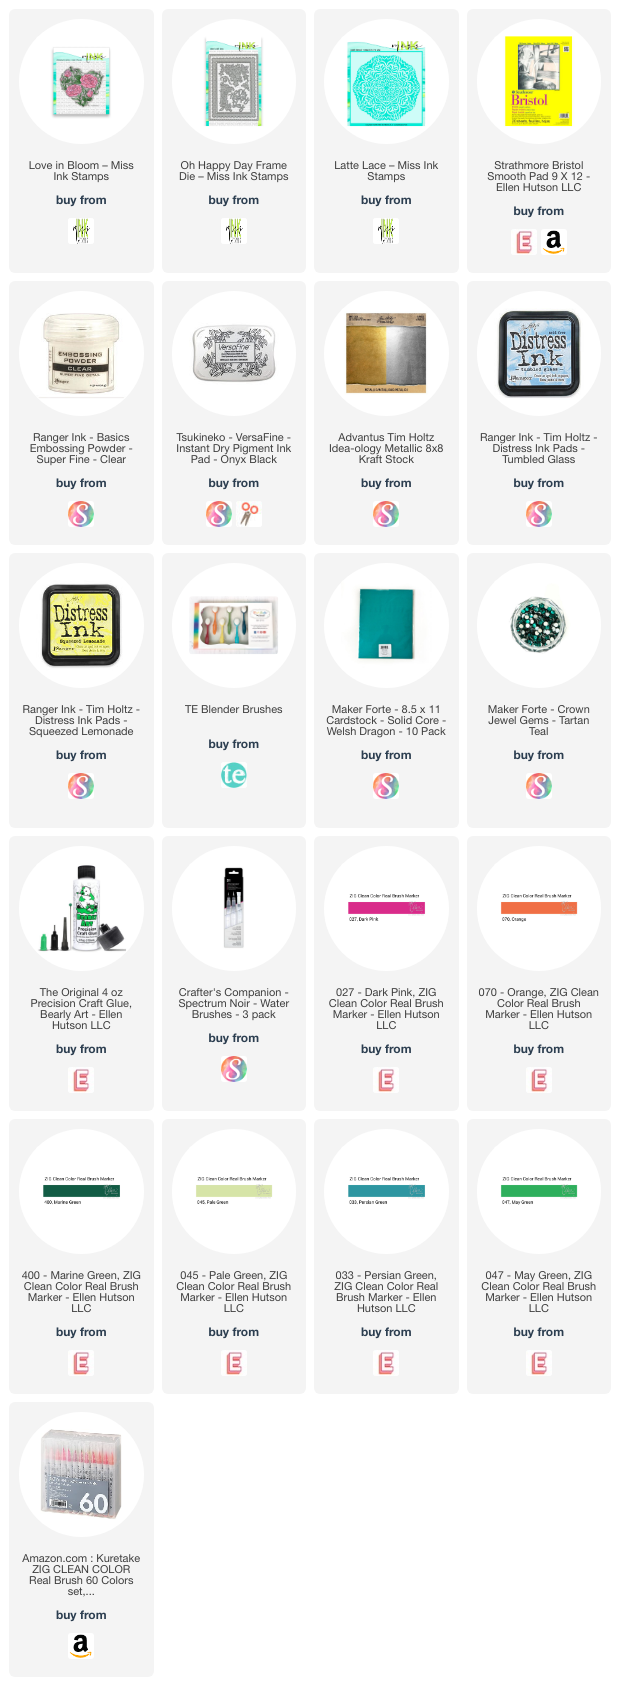
I’m often asked what supplies I use to make my cards and projects, so I’ve put together a list using affiliate links when possible. If you make a purchase with these links I may receive a small commission. These help me to keep up with blog costs and continue bringing you fun projects. Thank you so much for your support!


I really love a calm watercoloring session, especially when it’s THIS EASY! I hope you enjoyed this project today. I’ll be back with more cards to share soon!
Comments { 0 }
iris-card-only

New Watercolors…now what?

Hello! Today I’m talking about the most important two things to do when you get a new watercolor set (or any new medium)! I was inspired by Jen Rzasa at Altenew for this post, as a part of my Altenew Educator’s Certification Program.

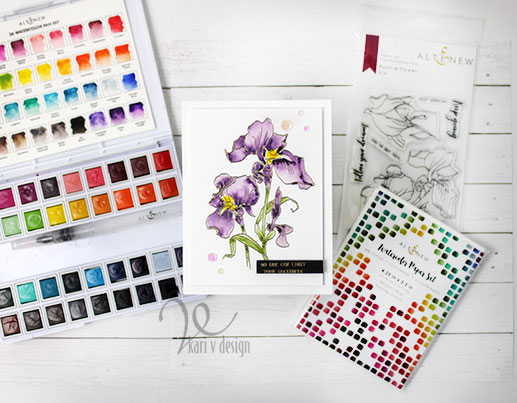
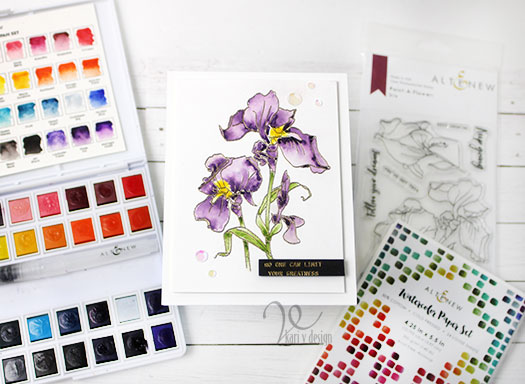
I recently purchased the 36-pan watercolor set from Altenew and I was SO EXCITED to use them! So the first thing I did was swatch them out to get to know the colors a little better.

Did you know that Altenew has a beautiful swatch page already created for you? You can watercolor your own, or print one already done. (check it out here).

Since my printer will not print on heavy watercolor paper, I printed out the blank version on regular copy paper…(I did size it down a bit so I could make it fit into my watercolor case). Then, I took it to a copy center and copied it onto watercolor paper. Then I could swatch my colors!

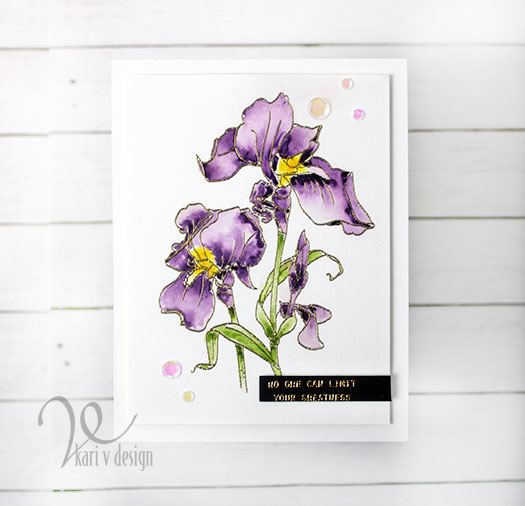
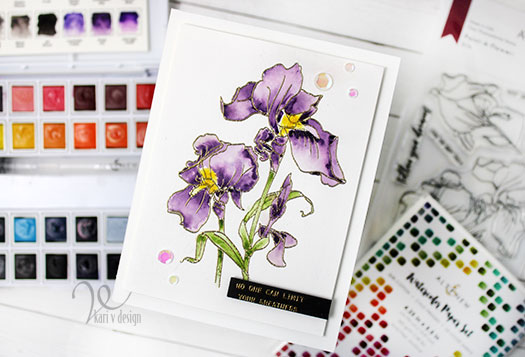
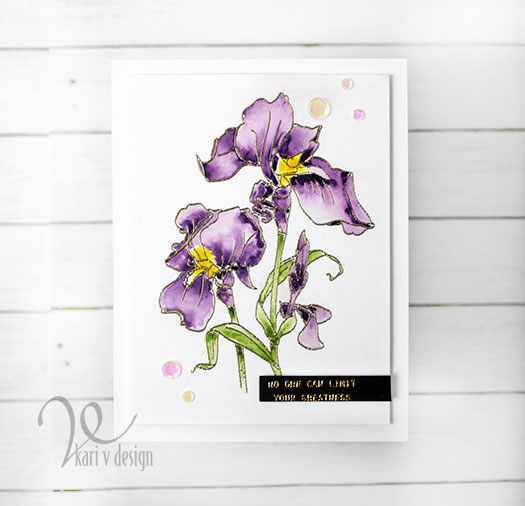
After I swatched out the colors, using a gradient technique, I painted my very first card! I chose the Iris Paint-a-Flower from Altenew as my first victim, er, I mean…first masterpiece!!

I created a short video to show you the gradient technique, and secrets for watercoloring! Watch it below or in HD on YouTube:

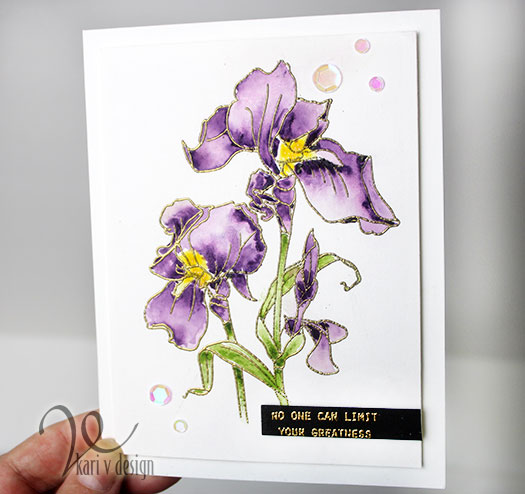
I stamped the image and heat embossed it in gold on Altenew watercolor paper. I love this watercolor paper…it’s already A2 card sized and it’s nice and white!

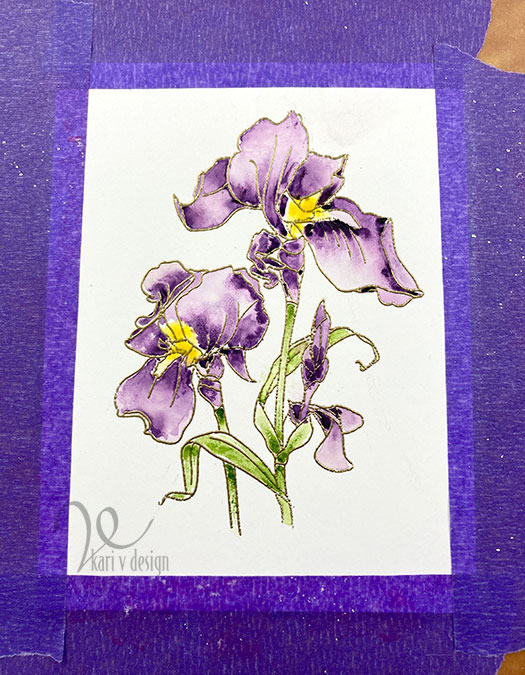
Before I began watercoloring, I taped down my watercolor panel with purple tape. This helps to keep the panel from warping. I taped it to a cutting board so I could move it around as needed.

I used Jen’s technique of using clean, clear water first on one small part. Then I dropped in some color. I started with the green stems and leaves, then added a yellow center to the flowers. Then I worked on the purple irises.

Did you know there’s a watercolor color called “Deep Iris” in this set?! How perfect! That’s the color I chose for this image (surprise). Lol.

No one can limit your greatness!

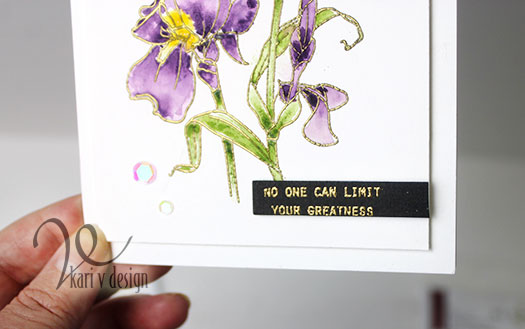
For the sentiment, I chose to gold heat emboss on black cardstock. It’s a little difficult to read in the photos, it says: “No one can limit your greatness.”

I cut down the card panel to 3.75″ x 5″. Then I finished it all off with some iridescent sequins and attached it to the card base with foam tape.

I’m often asked what supplies I use to make my cards and projects, so I’ve put together a list using affiliate links when possible. If you make a purchase with these links I may receive a small commission. These help me to keep up with blog costs and continue bringing you fun projects. Thank you so much for your support!

I hope you enjoyed this and got inspired to try a little simple watercoloring! Thanks for stopping by.

Comments { 1 }
peach-flower-1

Watercolor Brush Pens

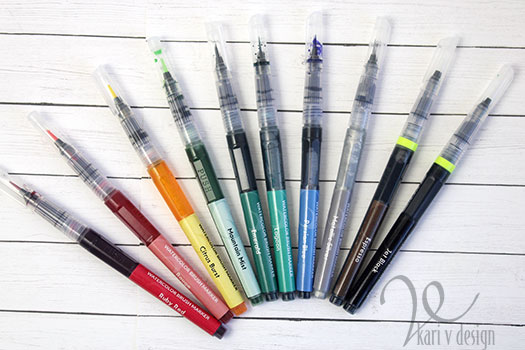
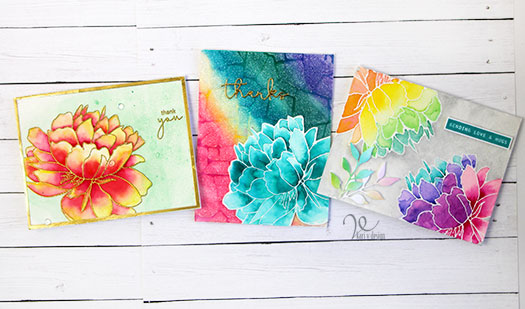
Hello! Today I have some very BRIGHT cards for you, created using Watercolor Brush Markers from Altenew. I was quite surprised and amazed at the amount of pigment in these brush markers, and you will see that you can create some vivid, beautiful images with them!

This is a part of my AECP certification training, and I was inspired by the class called “Creative watercolor Media” taught by Jennifer Rzasa, Debbie Hughes, and Laura Bassen. I used quite of few of the techniques from this series: like watercoloring from a palette, watercoloring with sprays, and others.

Take a look at these cards! Those colors are amazing!

I create a video to share the three techniques I used, watch it below or on YouTube in HD:

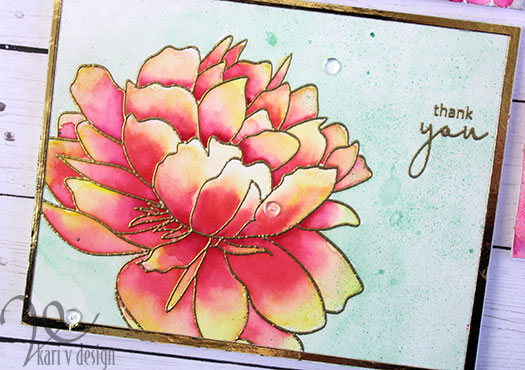
For the first card, I used the wet-on-wet technique with watercolor paper. I heat embossed the image in gold, then used a waterbrush to add some water to a few of the petals. Then I added the color in. I let the water do most of the work and it turned into a brilliant flower! Wow!

Three colors blended together

For the background, I used a Metallic Spray to add color and splashes of interest.

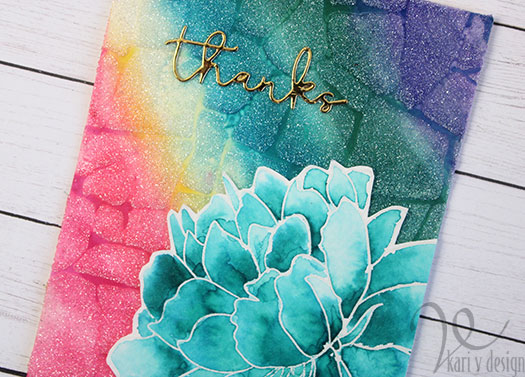
On the second card, I used the watercolor pens direct to the watercolor paper and got amazing color. I put on some color from each of the markers, then blended with a brush and water to get a smooth look. So bright!

Glitz Glitter gel over the top to tone down the color

I used only ONE color on that big flower this time…so much depth. These pigments are just so good.

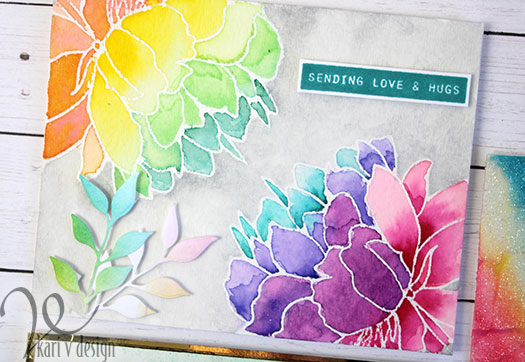
For the last card, I mixed colors together to get even more colors for my rainbow flowers.

I stamped the large flower on both corners of this card, and heat embossed in clear. Then I mixed some colors to get a nice rainbow spectrum. I finished off this card with some rainbow die cuts and a sentiment stamped in Lagoon ink to match the watercolor pens.

I’m often asked what supplies I use to make my cards and projects, so I’ve put together a list using affiliate links when possible. If you make a purchase with these links I may receive a small commission. These help me to keep up with blog costs and continue bringing you fun projects. Thank you so much for your support!

I really hope you enjoyed these projects, I challenge you to try out some watercolor brush markers and give these techniques a try!

Comments { 1 }
painted-moon-with-supplies

Watercoloring on Dark Cardstock

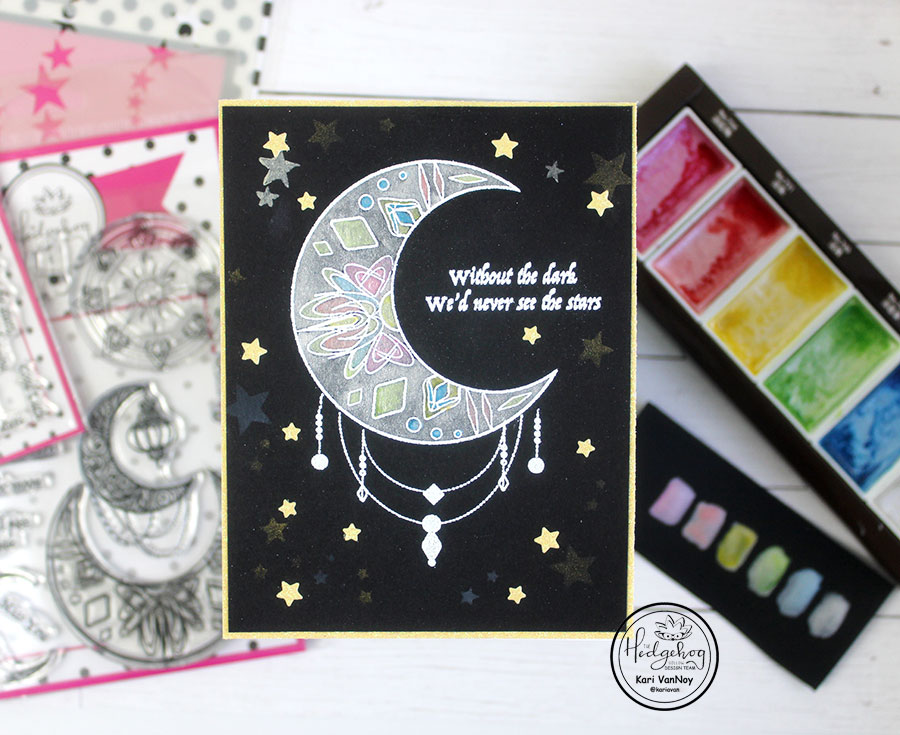
Hello! Today I have some secrets on how to watercolor on dark cardstock. If you’re anything like me, you use white cardstock a lot for your cards. Adding dark cardstock as a background is a fun way to get a different look!

This large moon from the Hedgehog Hollow January 2020 Kit is one of my favorites…and it inspired today’s card!

Without the dark we’d never see the stars

I’ve shared all the secrets in my video below (or watch it on YouTube):

When you use these secrets, you are sure to get a stunning card!

I’m often asked what supplies I use to make my cards and projects, so I’ve put together a list using affiliate links when possible. If you make a purchase with these links I may receive a small commission. These help me to keep up with blog costs and continue bringing you fun projects. Thank you so much for your support!

I hope you enjoyed this project today! I’ll be back soon to share some news from Creativation!

Comments { 0 }
SUNSHINE-yellow-top-moon-card

5 Ways to a Perfect Watercolor Background

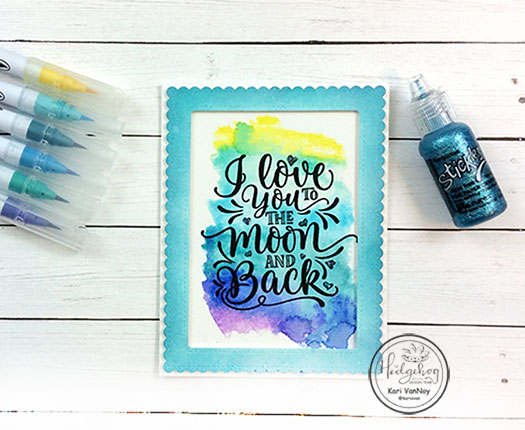
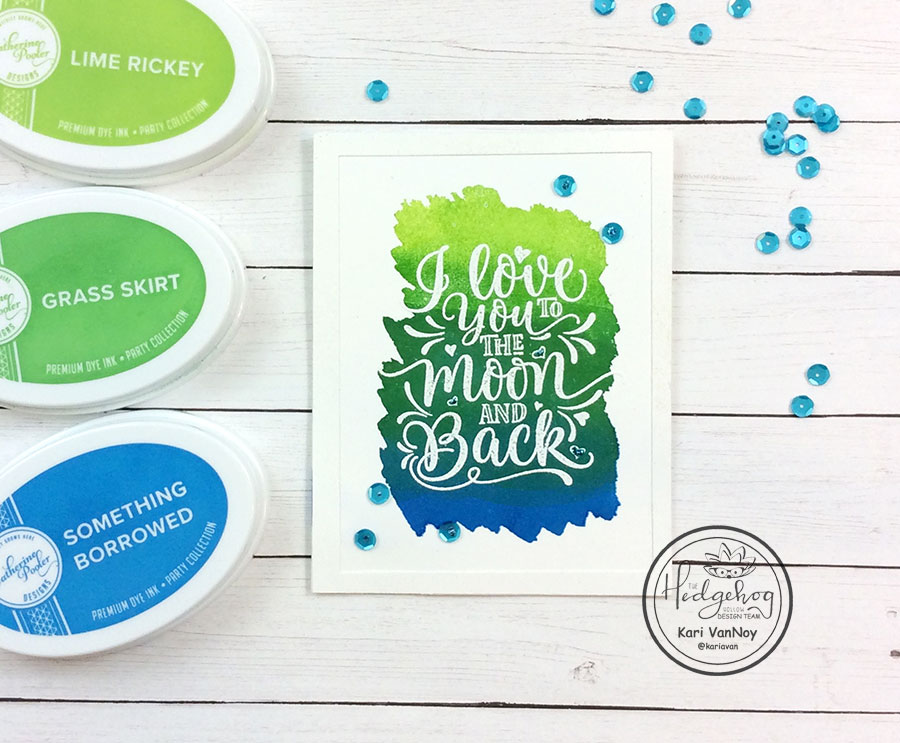
Hello! Happy 2020! Today I’m up on the Hedgehog Hollow blog sharing 5 Ways to get a perfect watercolor background. I’m using the NEW January 2020 Kit and it is so beautiful. I’m also using 5 different mediums to get that watercolor look. Check it out in the video below:

For more information, visit my YouTube channel and the Hedgehog Hollow blog. Here is a list of the products I’ve used, in case you are interested.

I’m often asked what supplies I use to make my cards and projects, so I’ve put together a list using affiliate links when possible. If you make a purchase with these links I may receive a small commission. These help me to keep up with blog costs and continue bringing you fun projects. Thank you so much for your support!

I’ll be back real soon with more inspiration!

Comments { 0 }