Tag Archives | video
BOTH-CARDS-latte-art-card-4

Latte Art Looks

Hello, today I have two cards to share with different Latte Art Looks. This new Latte Art Layering stencil is from Miss Ink Stamps and it’s so beautiful!

Watch the video below or in HD on YouTube:

For this card, I started with kraft cardstock and used some Distress Oxide inks in shades of blue. Oxide Inks show up much better on kraft cardstock since they sit on top of the paper.

I used white pigment ink for the designs in the latte, and white embossing powder for the sentiment (from the Caffeinated Stamp set). Those coffee beans that are stamped on the background are from the same stamp set.

For this second card, I started with white cardstock and some very vibrant Dye Inks in pink, orange, and yellow. Then I brought in some gold Lunar Paste for the final layer to add some shine and texture!

I made the “liquid” a lighter brown to look like tea, and of course I had to invite Alice to the Tea Party!! 🙂

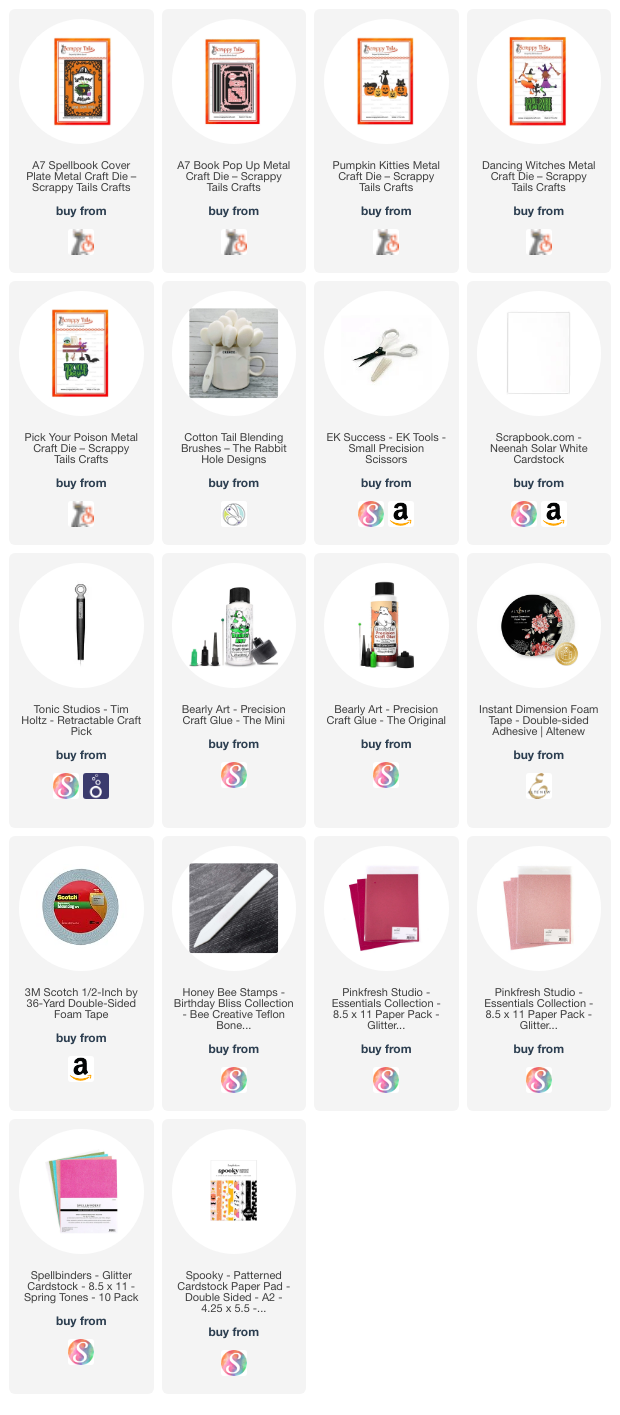
I’m often asked what supplies I use to make my cards and projects, so I’ve put together a list using affiliate links when possible. If you make a purchase with these links I may receive a small commission. These help me to keep up with blog costs and continue bringing you fun projects. Thank you so much for your support!


One stencil, two cards, two very different looks! Did you enjoy this project today?! I had a great time creating these. I’ll be back real soon to share more cards.

Comments { 0 }
Safari-Box-Card-5

Safari Box Card – Interactive Card

Hello! Today I have a Safari Box Card Interactive card (and VIDEO) to share! This is a fun and easy project and I’ll show you how in the video below:

This 3D Brooke Card Die set makes it so easy to create this card, complete with layers. I love the variety, too…pair it with ANY stamp set and stencil for a different look each time.

Today I used the 2×2 Safari Animals Die set for the characters and cut them out with the coordinating dies. Then I stenciled the layers with the Unbe-leaf-able stencil for a fun leafy look.

In the video, I show you how to put the whole thing together. I added a gold FIVE in the background because I am actually giving this card to my five year old nephew for his birthday!

To make that toucan look like he’s flying, I used some extra thick acetate and added the toucan then attached it all to the second layer. Isn’t that so cute?

I’m often asked what supplies I use to make my cards and projects, so I’ve put together a list using affiliate links when possible. If you make a purchase with these links I may receive a small commission. These help me to keep up with blog costs and continue bringing you fun projects. Thank you so much for your support!


I hope you enjoyed this project and video today! I’ll be back soon with more cards to share!

Comments { 0 }
love-is-in-the-air-and-it-smells-like-coffee-card-4

Mixed Media Magnolia card

Hello! Today I have a new card and video sharing a Mixed Media Magnolia card. This is a fun one to make, I hope you enjoy the video!

Watch it here or in HD on YouTube:

I start with some watercolor cardstock and heat emboss the magnolia images on it using white embossing powder. Next, I brought out an oldie that I haven’t used in a while: Color Bursts! These really are a burst of color, so be judicious in using them. A little goes a long way! (Watch the video to see how to dot this).

I added some extra color inside the magnolias so they were darker when they dried.

Once the entire panel was dry, I stenciled some Distress Oxides over the top. I used the center piece of the Magnolia Frame die to stamp my focal image…the heart mug! See, it pays to keep all your extra pieces. WINK*

I used vellum for the sentiment today and that finished it all off! I hope you had as much fun as I did with this card. 🙂

I’m often asked what supplies I use to make my cards and projects, so I’ve put together a list using affiliate links when possible. If you make a purchase with these links I may receive a small commission. These help me to keep up with blog costs and continue bringing you fun projects. Thank you so much for your support!


Hope you enjoyed this one! Do you create many mixed media cards? See you soon with more cards to share.

Comments { 0 }
YT-5-10-24-Cupids-Canvas-ESP-Hi-HFP-Be-Your-Own-Kind-of-Cupcake-Kari-V-card-4

Citrus Cupcake card

Hello! Today I’m excited to share a Citrus Cupcake card with you, creating my own colors of background patterned paper.

Watch the video below or in HD on YouTube:

I started off with some foilable paper from Crafty Meraki, but instead of foiling it, I ink blended some Distress Oxide inks! I used colors that reminded me of grapefruit, oranges, and lemons.

Next, I colored up one of my favorite cupcake stamps with the same colors. Love these colors for Spring and Summer!

I also foiled that Hi hot foil plate sentiment with copper colored foil! I know it’s difficult to tell the foiling and color in these photos…it’s so difficult to capture foil in a picture!

I put it all together with a sentiment from the cupcake stamp set. I just love how it all came together!

I’m often asked what supplies I use to make my cards and projects, so I’ve put together a list using affiliate links when possible. If you make a purchase with these links I may receive a small commission. These help me to keep up with blog costs and continue bringing you fun projects. Thank you so much for your support!


I hope you enjoyed this citrus inspired project today! I’ll be back with another card to share soon!

Comments { 0 }
both-castle-cards-with-stained-glass

Stained Glass Cards

Hello! Today I have some Stained Glass Cards and a video to share! I have two different ways to create a stained glass look…and I love them both.

Watch the video below or in HD on YouTube:

The first card I made has a light up feature and a vellum “stained glass” window. I love the silver leading on this one, which matches the silver frame of this card.

I used the remainder of the silver cardstock to create the following card:

What?! You don’t see the silver? That’s because I treated it with some Distress Paint in Black Soot. I love how the effect turned out. See it even better in the video!

I’m often asked what supplies I use to make my cards and projects, so I’ve put together a list using affiliate links when possible. If you make a purchase with these links I may receive a small commission. These help me to keep up with blog costs and continue bringing you fun projects. Thank you so much for your support!


I hope you enjoyed the Stained Glass video and cards today. I’ll be back with more cards to share soon!

Comments { 0 }