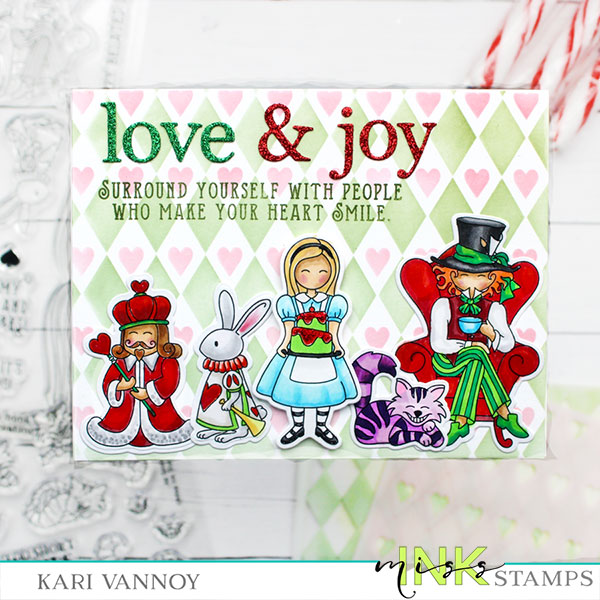
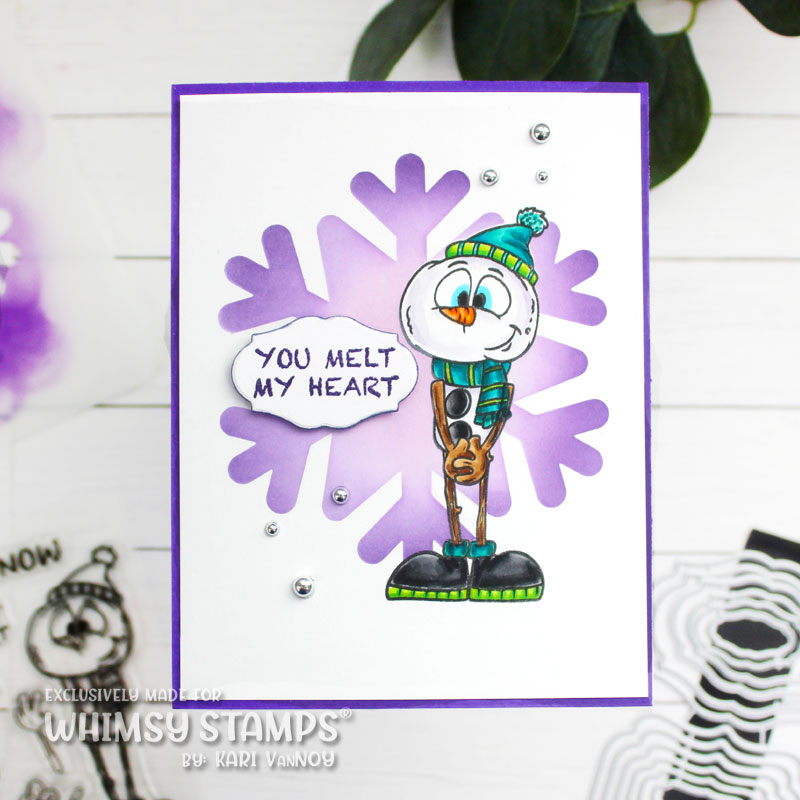
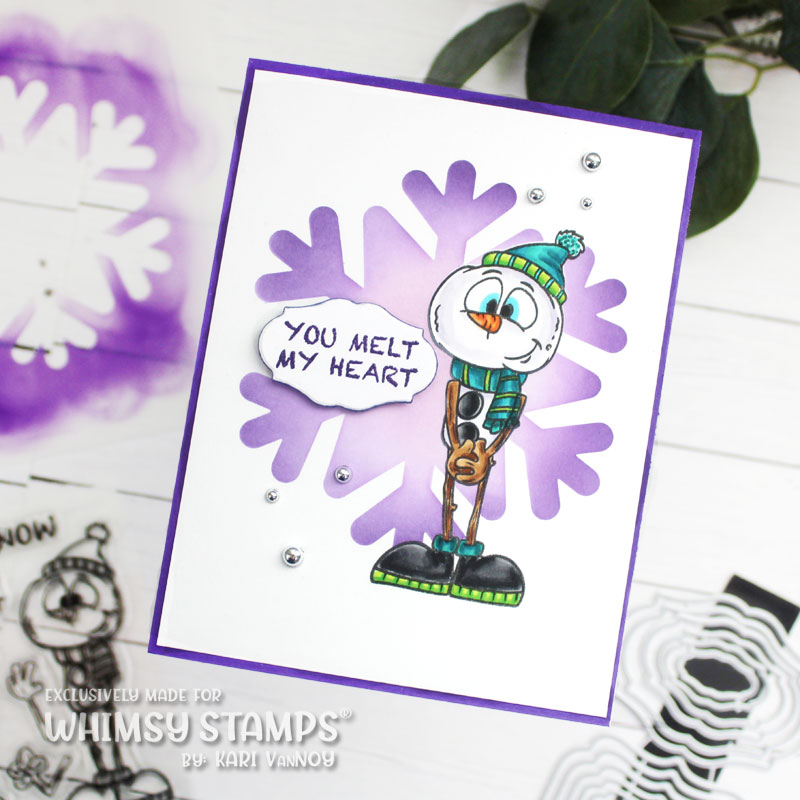
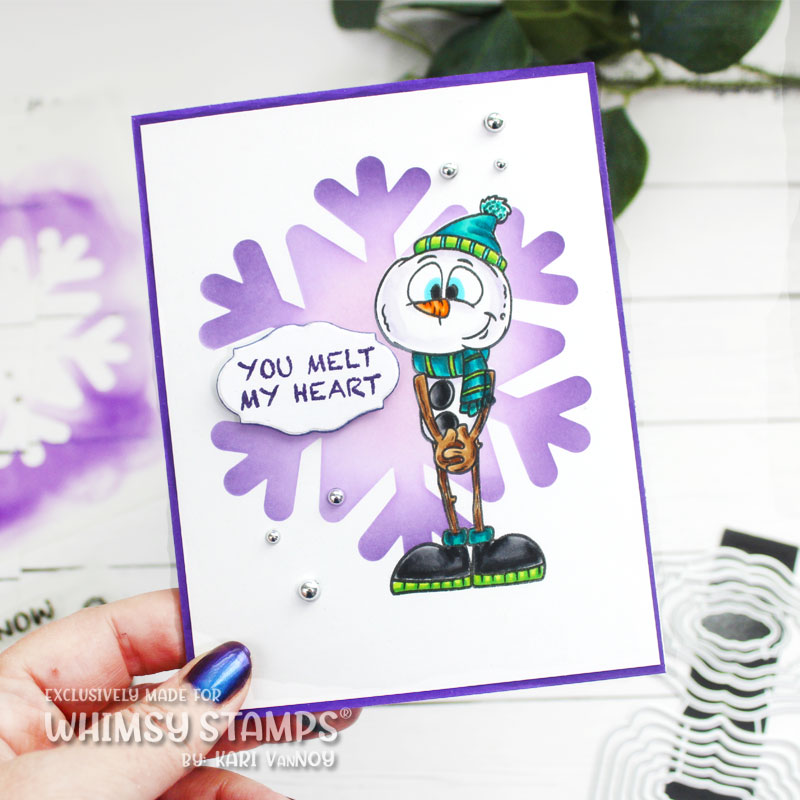
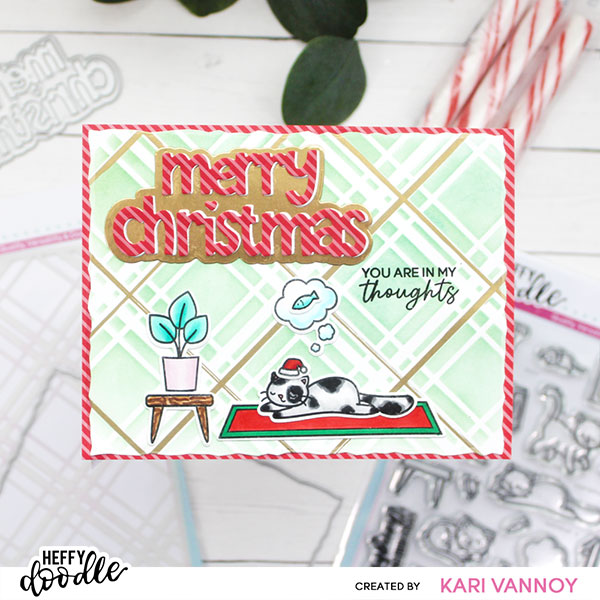
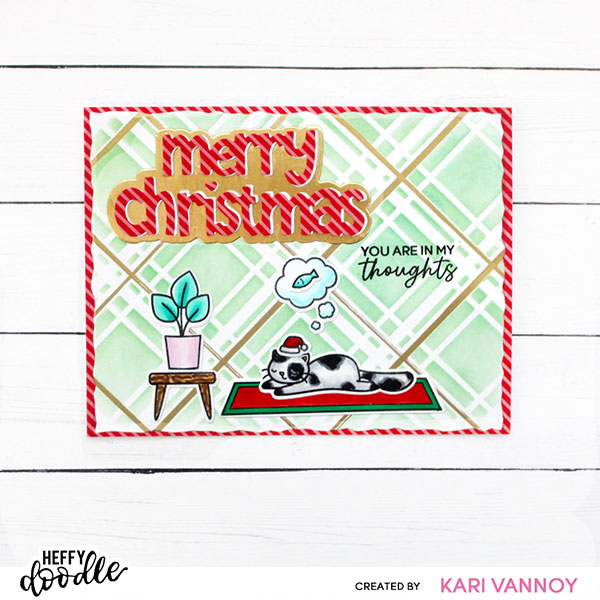
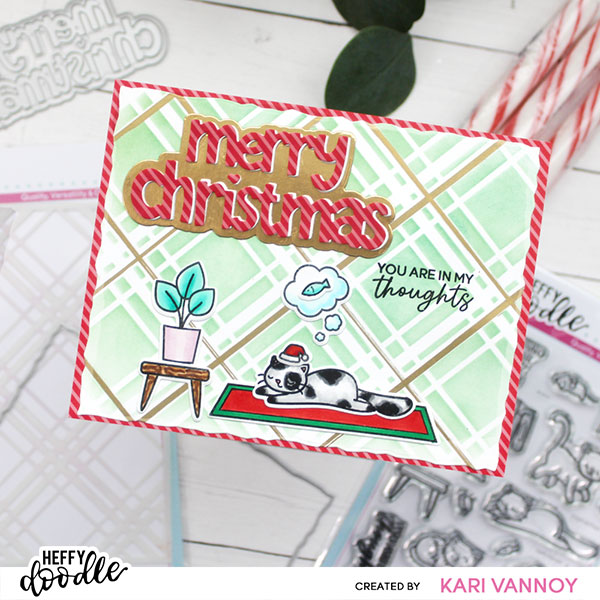
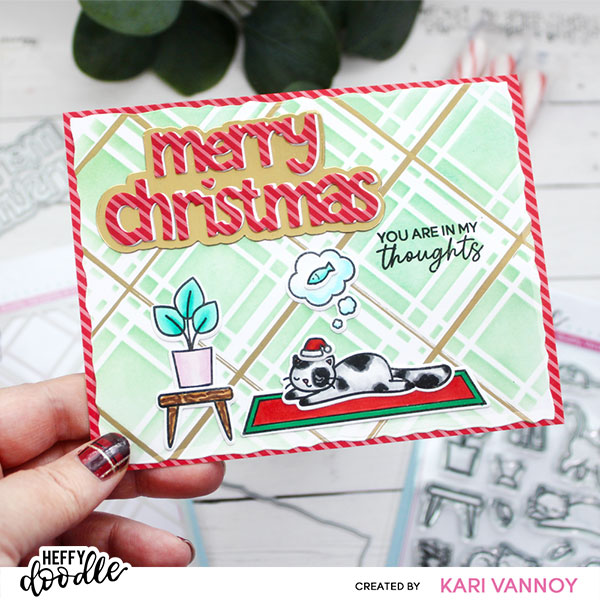
I love ALLLLLL the images in this stamp set and you definitely will want to see them. The release goes live TOMORROW!! I’ll be back with one last sneak peek tomorrow morning!
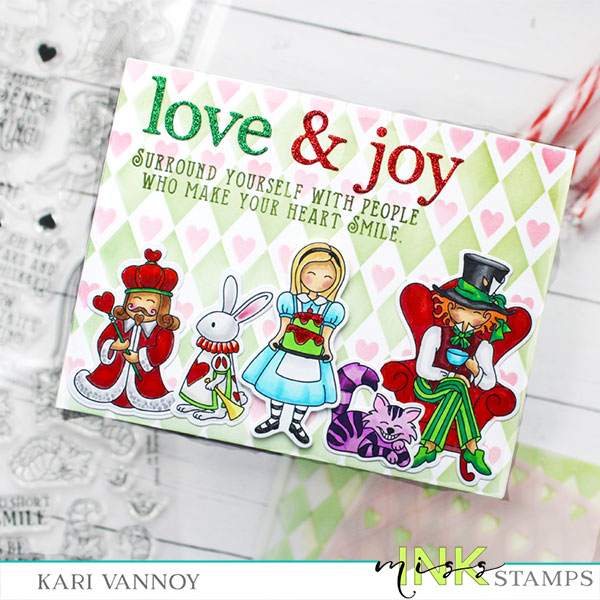
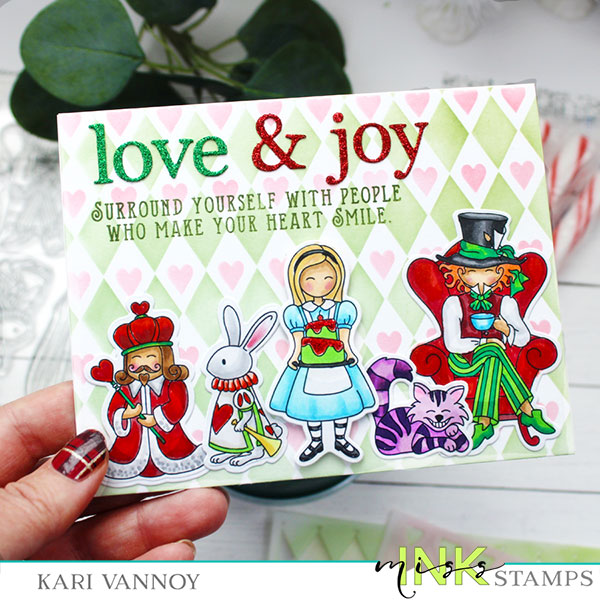
Just how cute are these costumed critters?! I did quite a bit of masking to create this card, but I think the results are worth it. Check out my video for all the details and fun!
There was one image in the stamp set I didn’t use for my card today, but don’t worry..I have a new card idea just for that image!
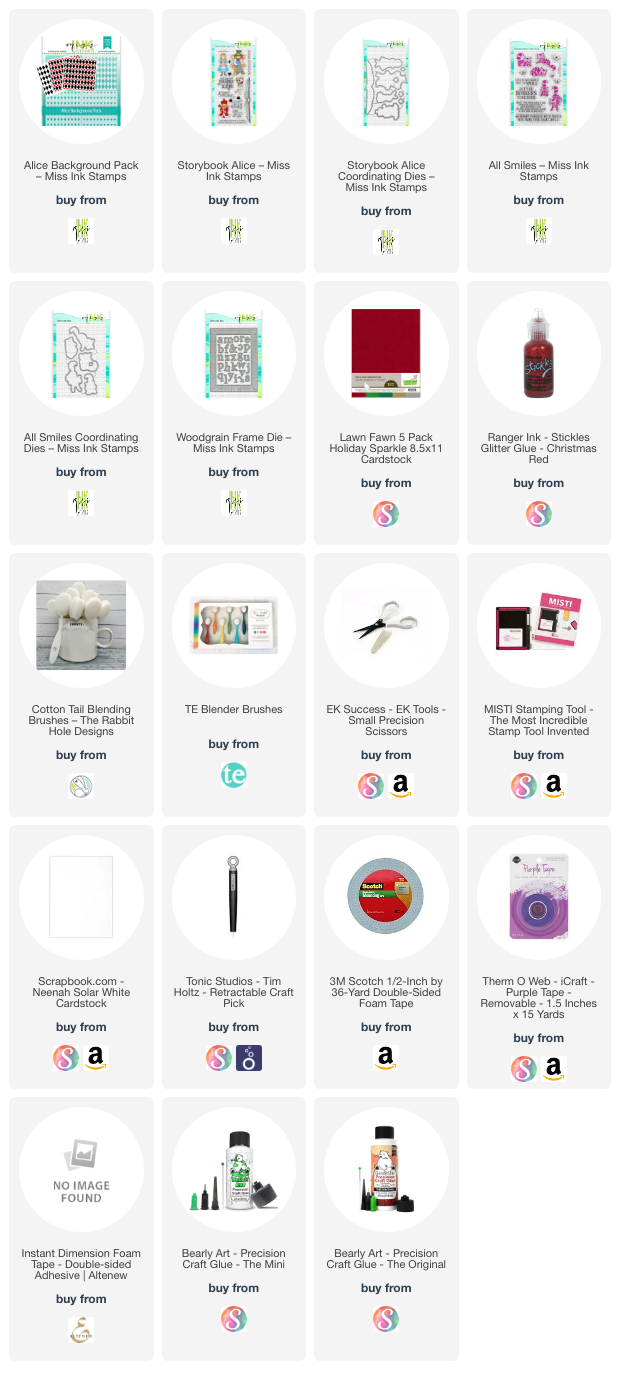
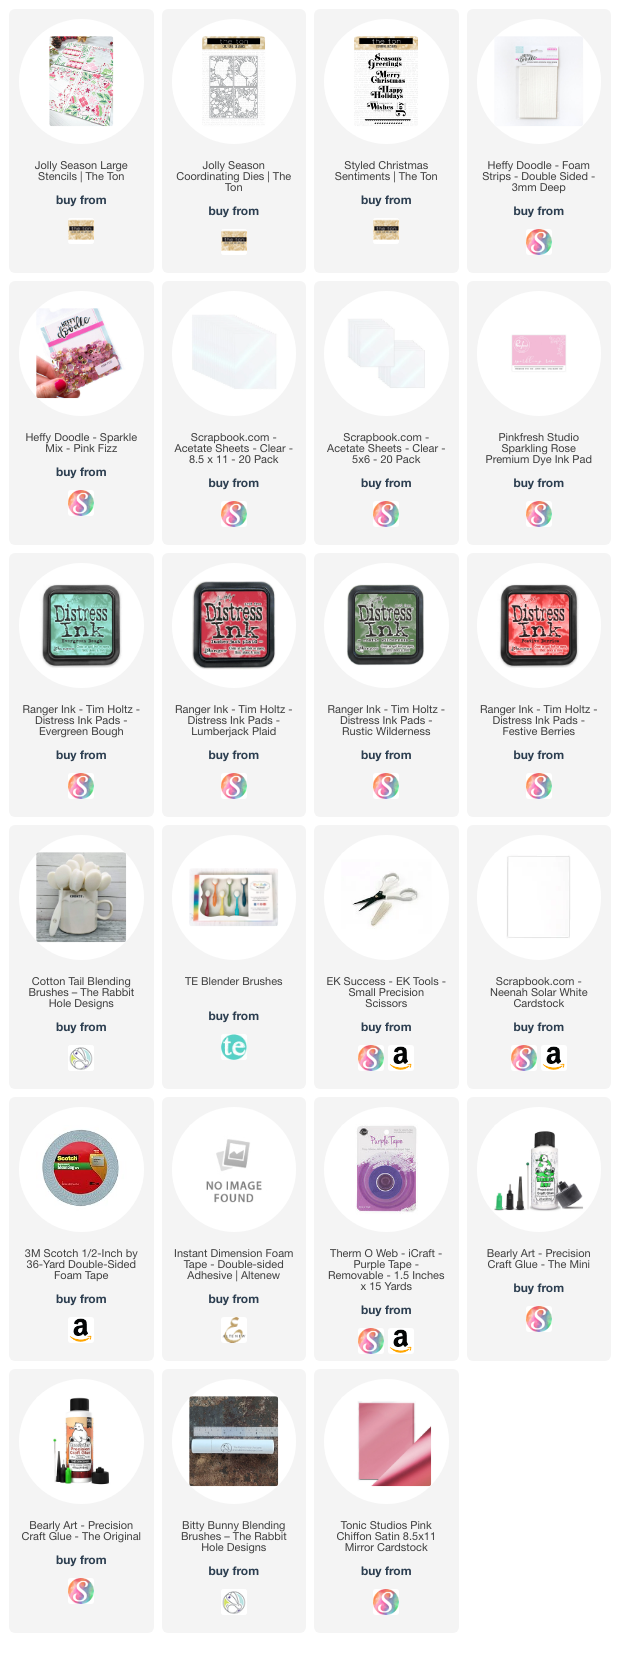
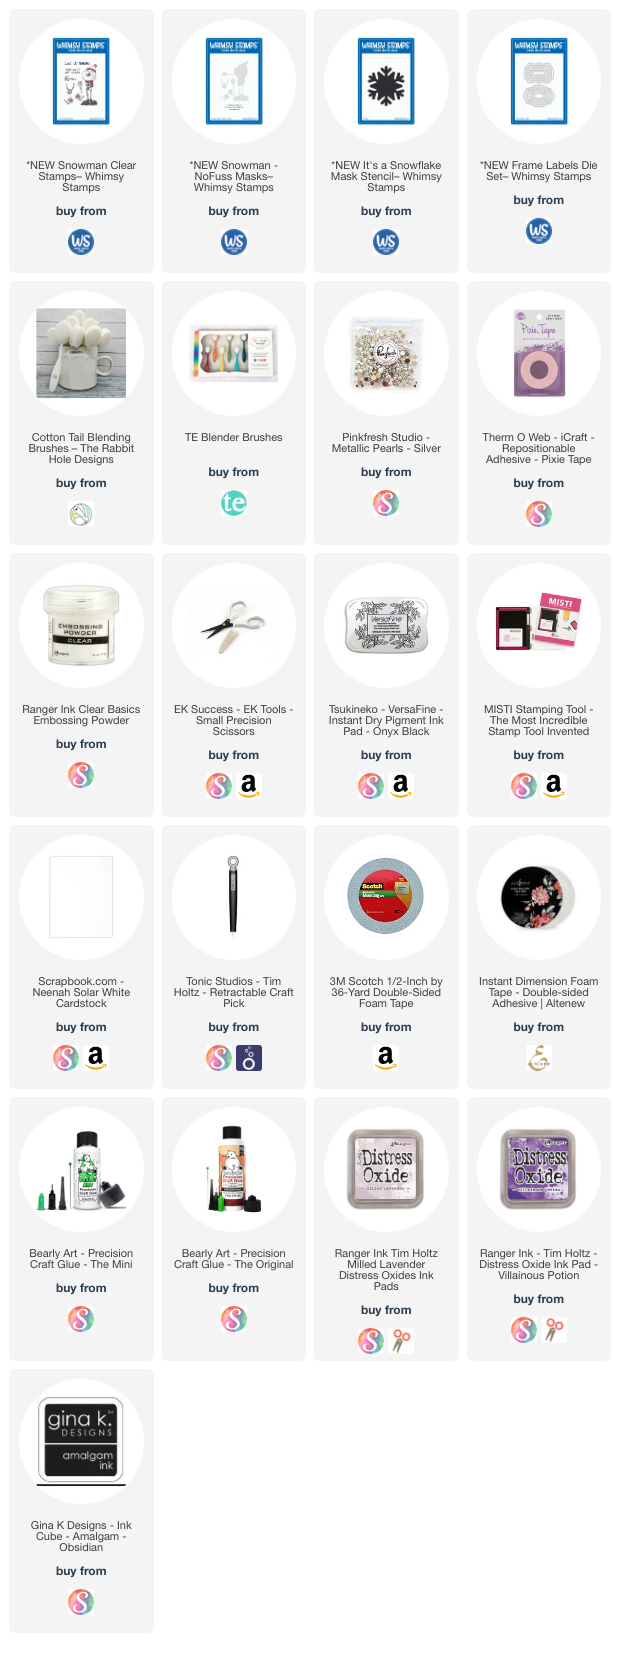
I’m often asked what supplies I use to make my cards and projects, so I’ve put together a list using affiliate links when possible. If you make a purchase with these links I may receive a small commission. These help me to keep up with blog costs and continue bringing you fun projects. Thank you so much for your support!
I hope you enjoyed this project today! I’ll be back with even more Halloween cards to share!
Hello! Today I am excited to introduce my Halloween Card Series for 2023. I have a fun set of cards to share with 2 ways to create bats for your cards.
These bats are the cutest bat dies, with crazy eyes you can color up any color you want. I used Purple, Green and red eyes for one card, and black eyes for the other card.
Card 1: Batty Grave
This card was so fun to make: with Mica Spray, Ink, Dies, and ink blending! I share the how-to in the video.
I popped up those bats with foam tape so there’s some great dimension on this card. That green ink really makes it look like a “green glow” and I think it’s so spooky!
2. Slimy Cave
This card uses a little more coloring to add some detail to those bats and the green slime. But don’t worry…it’s really easy and I show you exactly how in my video!
I die cut the “EEK” with green glitter paper and the shadows with cream and purple cardstock. This sentiment really shines!!
Did you notice all the beady little eyes looking at you from the background?!? Oooooh…there’s some more bats, or even something creepier in the background.
I’m often asked what supplies I use to make my cards and projects, so I’ve put together a list using affiliate links when possible. If you make a purchase with these links I may receive a small commission. These help me to keep up with blog costs and continue bringing you fun projects. Thank you so much for your support!
I hope you enjoy my Halloween Card Series! Hurry on back for more cards…I’ll be sharing soon!
Hello! Today I’m coloring unicorn hair and sharing all my tricks in my latest video. These unicorns deserved a day at the beach…you can see they are having a great time!
Watch my video below or in HD on YouTube to learn: How to color unicorn hair, how to make a beach scene, how to create fluffy clouds using a brilliant stencil design.
Just how happy are these unicorns because they took a beach day!? LOL. I think I need a beach day!
I started by putting together our beach cabin…and made the wood to look a little weathered with my coloring. Then I colored up those unicorn…don’t they look just magical?
For the background I used a variety of stencils. These stencils are a BRILLIANT design and allow you to put your cardstock right inside to get lots of multiple looks! You definitely need to check out my video to see what I am talking about.
I really love how this card came together. I hope you enjoy!
I’m often asked what supplies I use to make my cards and projects, so I’ve put together a list using affiliate links when possible. If you make a purchase with these links I may receive a small commission. These help me to keep up with blog costs and continue bringing you fun projects. Thank you so much for your support!
I’ll be back soon with more cards and videos to share!
Hi I'm Kari. I'm a creator, a card maker, and a day maker! I am Lucky in love to a supportive husband, blessed to raise 3 kids (all moved away now!), and happy to be watched over by 2 dogs.
I originally started this blog to remind me to be happy amid adversity, and I hope it inspires you, too!