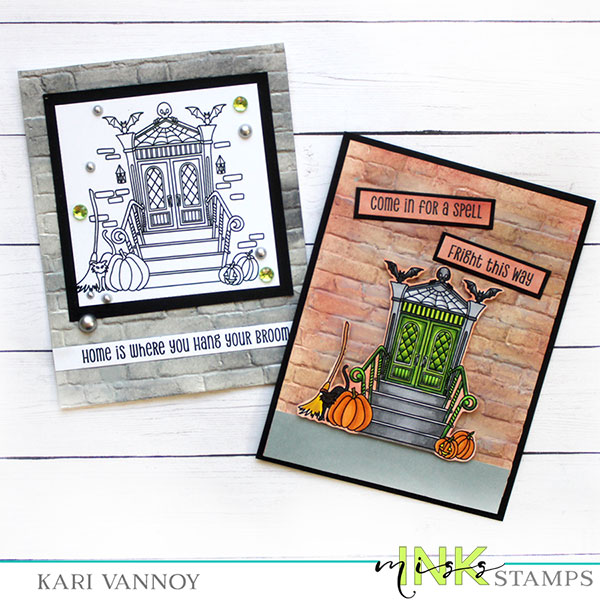
Hello! Today I have some easy Halloween backgrounds to share with you, along with a story about Mr. Spooky. See, I saw this skeleton die cut and it reminded me of this story I had to tell you…so I made a couple cards and a video.
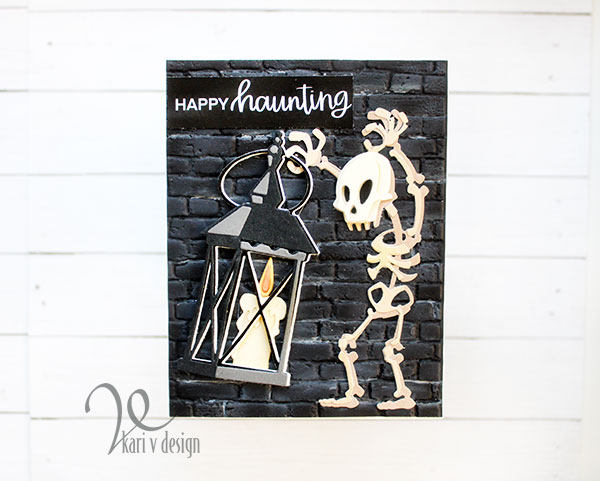
Isn’t he cute?! I couldn’t wait to create a card with him holding this giant lantern! Lol.
Watch the video (and hear about Mr. Spooky) below or in HD on YouTube:
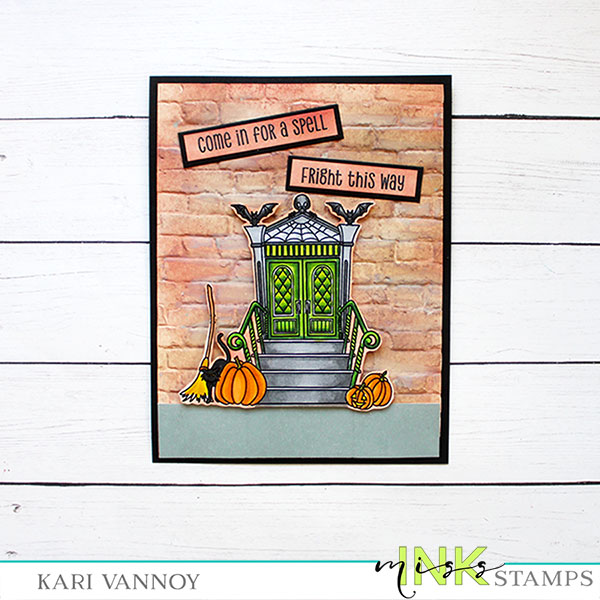
I used my FAVORITE brick embossing folder for this first card on black paper, and highlighted parts of it with gesso. This made parts of the brick background really reflect some light.
I also added some cream cardstock behind that lantern to make it pop off the bricks.
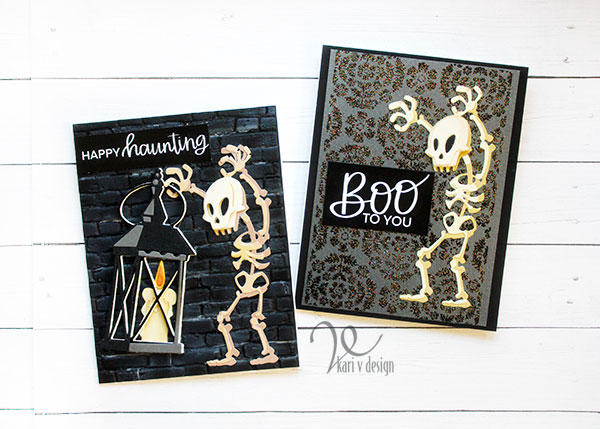
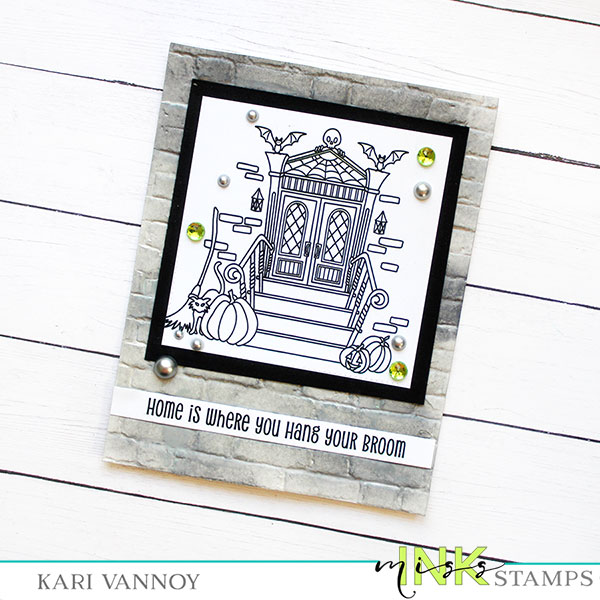
For the second card, I heat embossed that damask stamp onto a Stormy Metallic cardstock. I used a new rainbow glitter embossing powder that looks amazing on this cardstock.
The sentiments are from the All Seasons Sentiments paper pack. These sentiments are foilable, but I wanted to keep them black for these Halloween cards.
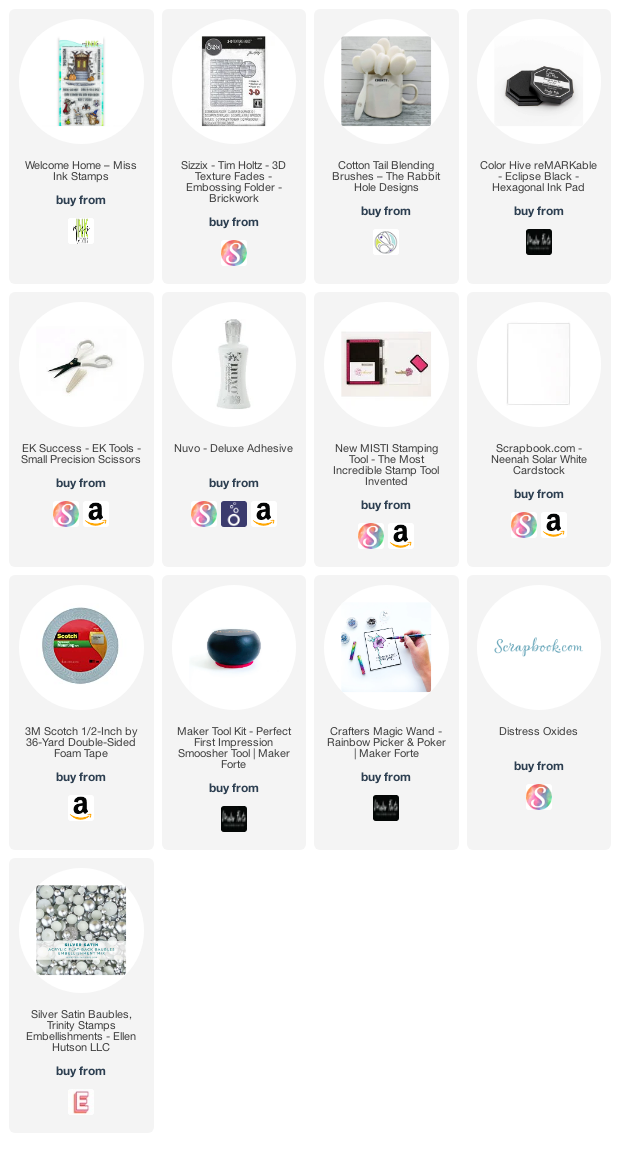
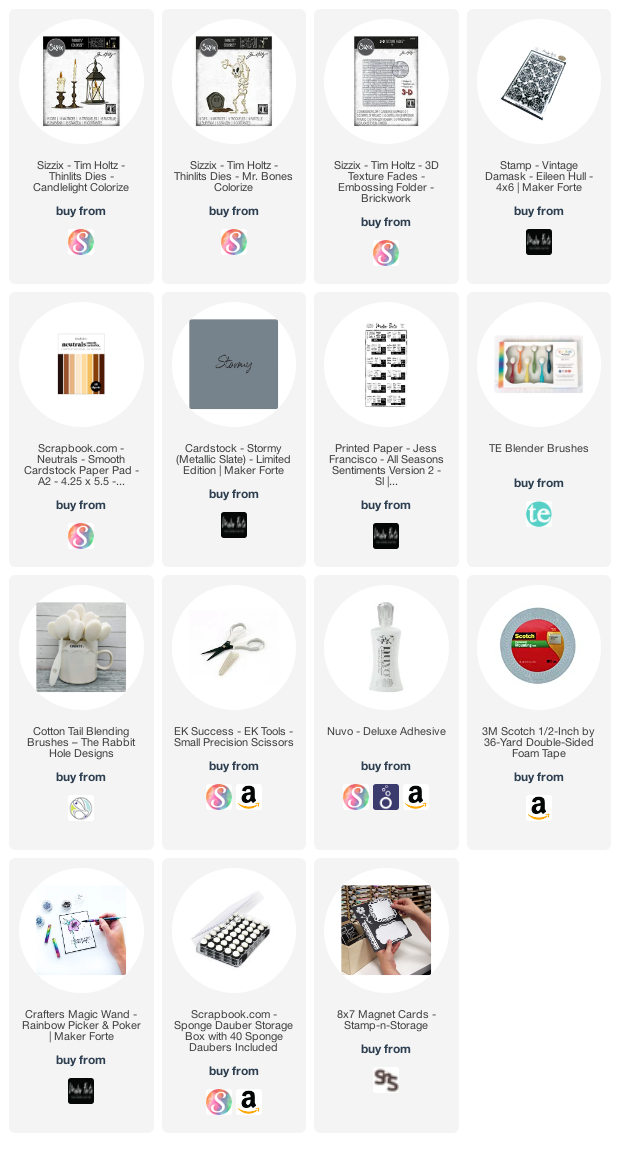
I’m often asked what supplies I use to make my cards and projects, so I’ve put together a list using affiliate links when possible. If you make a purchase with these links I may receive a small commission. These help me to keep up with blog costs and continue bringing you fun projects. Thank you so much for your support!
I share the story of my Nephew and his skeleton he calls “Mr. Spooky” on the video! I love that kid.
Thanks for stopping by!