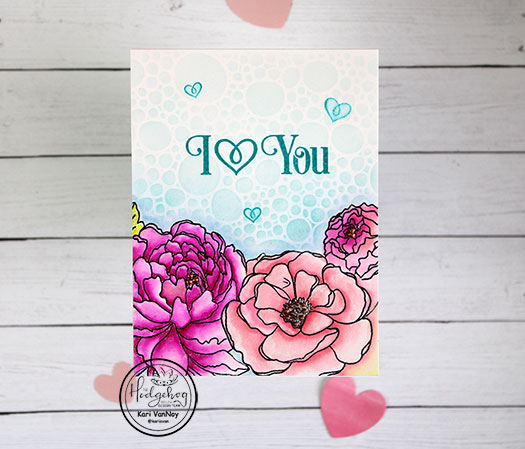
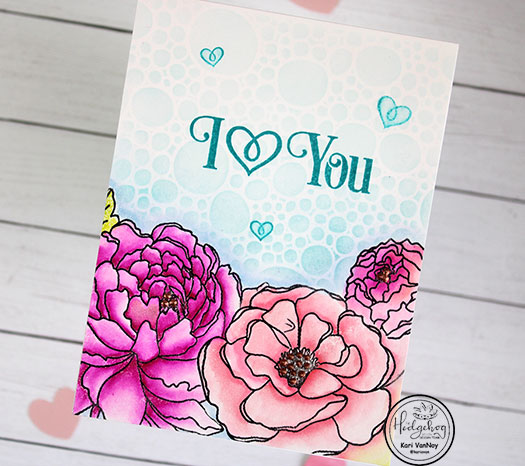
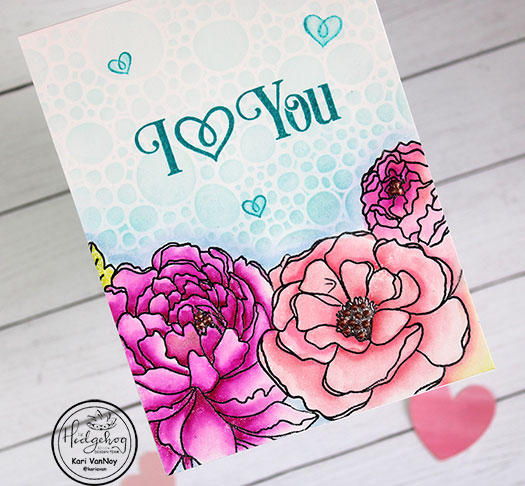
Hello! Today I’m over on the Hedgehog Hollow blog showing you some previously released stamps to make a Valentine card! I’m coloring with glitter and I’ll show you how.
You can head on over to read all about it on the Hedgehog Hollow Blog, or watch my short process video below (or on YouTube):
It’s such a fun way to add extra glittery shine to your cards!
I’m often asked what supplies I use to make my cards and projects, so I’ve put together a list using affiliate links when possible. If you make a purchase with these links I may receive a small commission. These help me to keep up with blog costs and continue bringing you fun projects. Thank you so much for your support!
I hope you enjoyed my Valentine card today! Thanks for stopping by
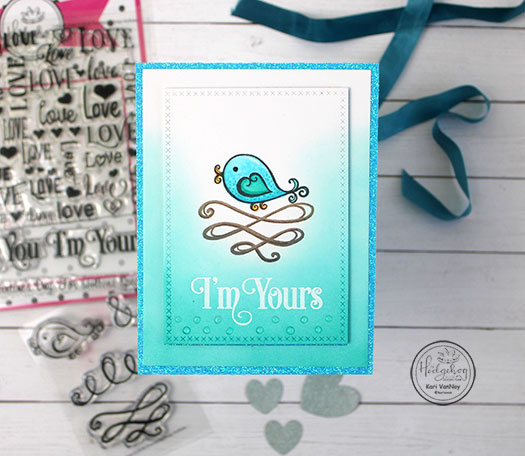
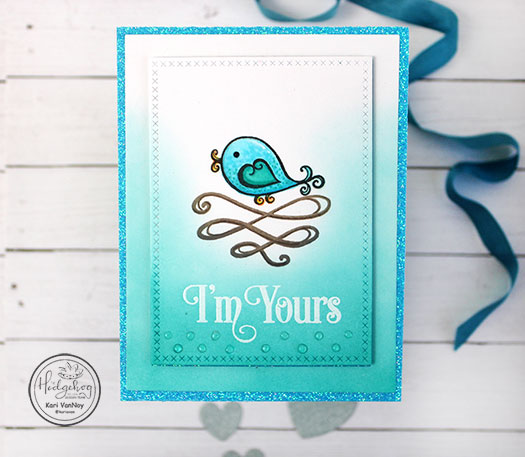
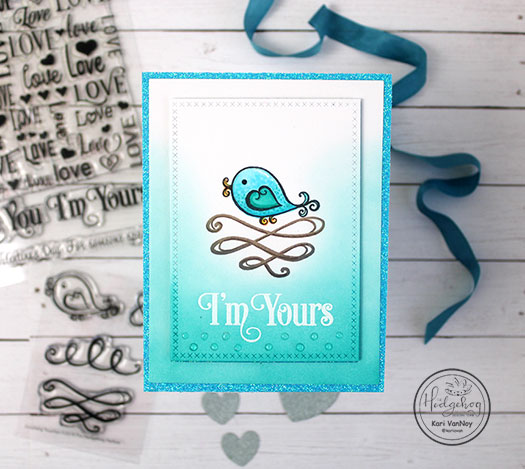
Hello again! Today I’m using the new December 2019 Hedgehog Hollow Kit to create a cute bird in a nest card. I’m sharing this on the Hedgehog Hollow blog today, too!
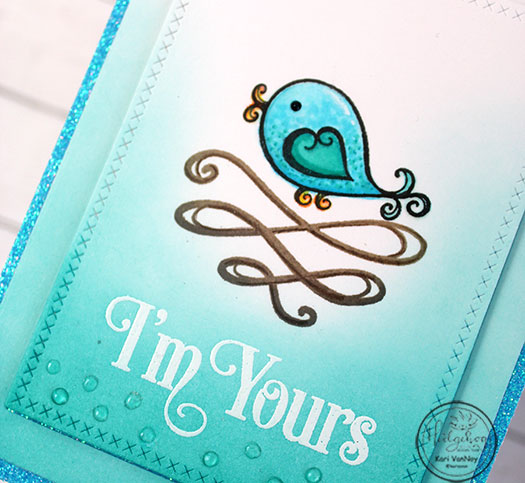
This card came together pretty quickly. I started with a card panel of Neenah Solar White 80# paper and stamped the little bird with Copic friendly ink. Then I stamped the “nest” I created with the swirl stamp in two shades of brown ink.
I colored up the bird with copic markers and added some dots with copics and colored pencils. Then I white heat embossed the sentiment.
At this point, it was difficult to read the sentiment because it was white embossing on white paper. So I used make up brushes to brush on some Distress Ink.
I only inked it up around the “nest” and left it softer color toward the top. Then I die cut the cross-stitched rectangle, and cut down the outer rectangle as well so I could add some sparkly paper peeking from the background!
For the final touch, I added some Nuvo Jewel drops under the sentiment. Isn’t this birdie so cute?
I’m often asked what supplies I use to make my cards and projects, so I’ve put together a list using affiliate links when possible. If you make a purchase with these links I may receive a small commission. These help me to keep up with blog costs and continue bringing you fun projects. Thank you so much for your support!
Thanks for stopping by! I hope you enjoyed this project. See you soon with another card!
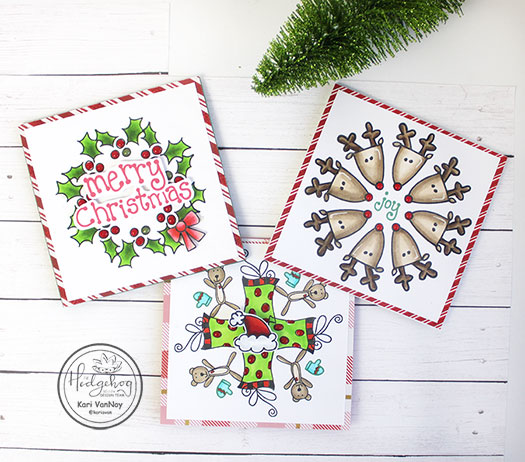
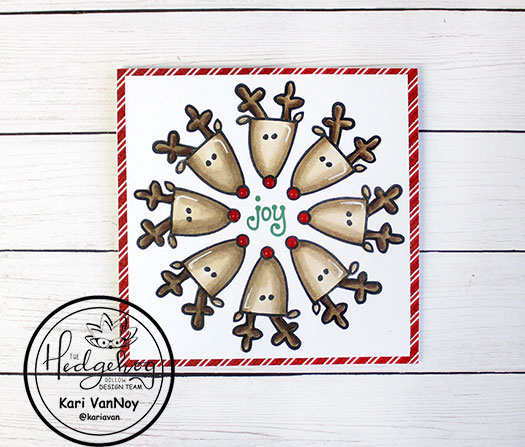
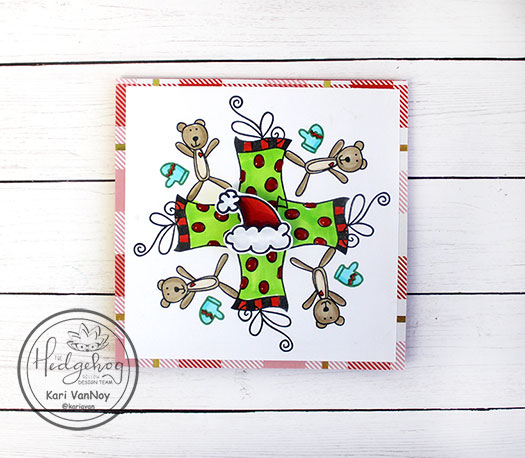
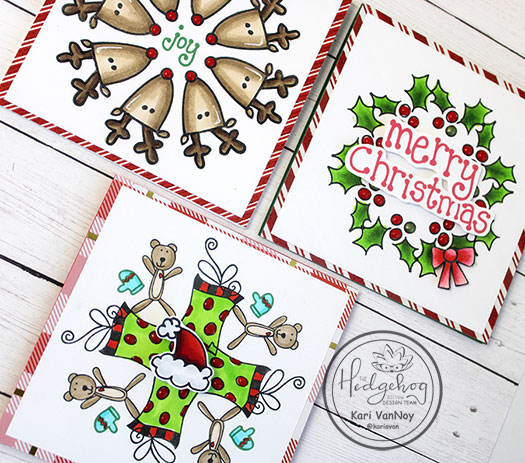
Hello! Today I’m showing you how easy it is to create a wreath card using small stamps! I made 3 cards to share, choosing stamps from The Hedgehog Hollow November Kit.
These are soooo fun to make (and a little addicting…that’s why I made three! Lol)
I made a quick video to show you just how easy it is when you have a MISTI or other stamp positioner. Watch it below or on YouTube:
These stamps are so cute from this month’s kit, don’t you think?
I’m often asked what supplies I use to make my cards and projects, so I’ve put together a list using affiliate links when possible. If you make a purchase with these links I may receive a small commission. These help me to keep up with blog costs and continue bringing you fun projects. Thank you so much for your support!
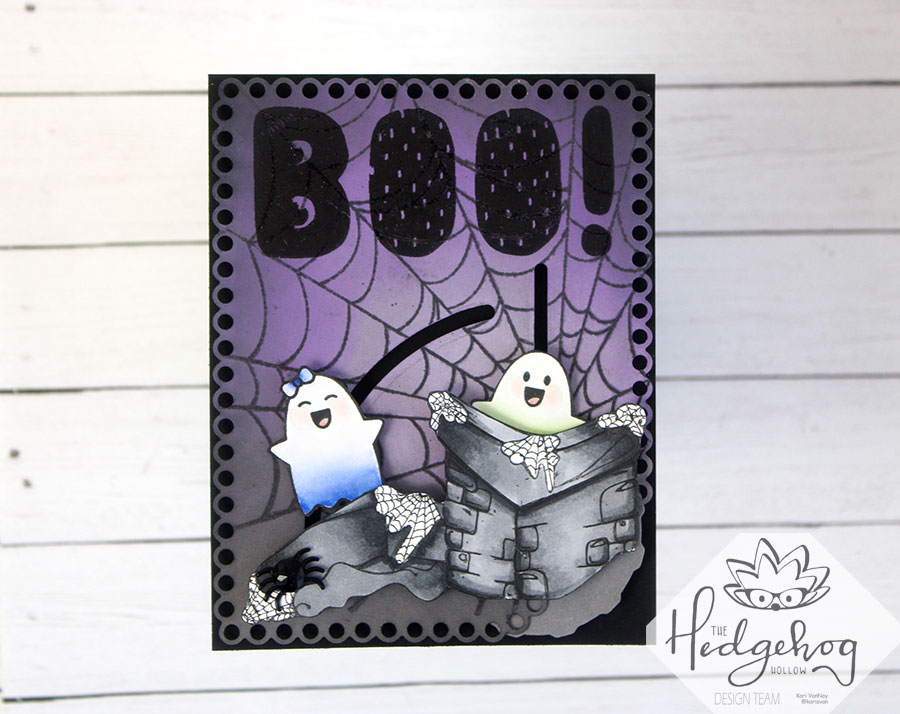
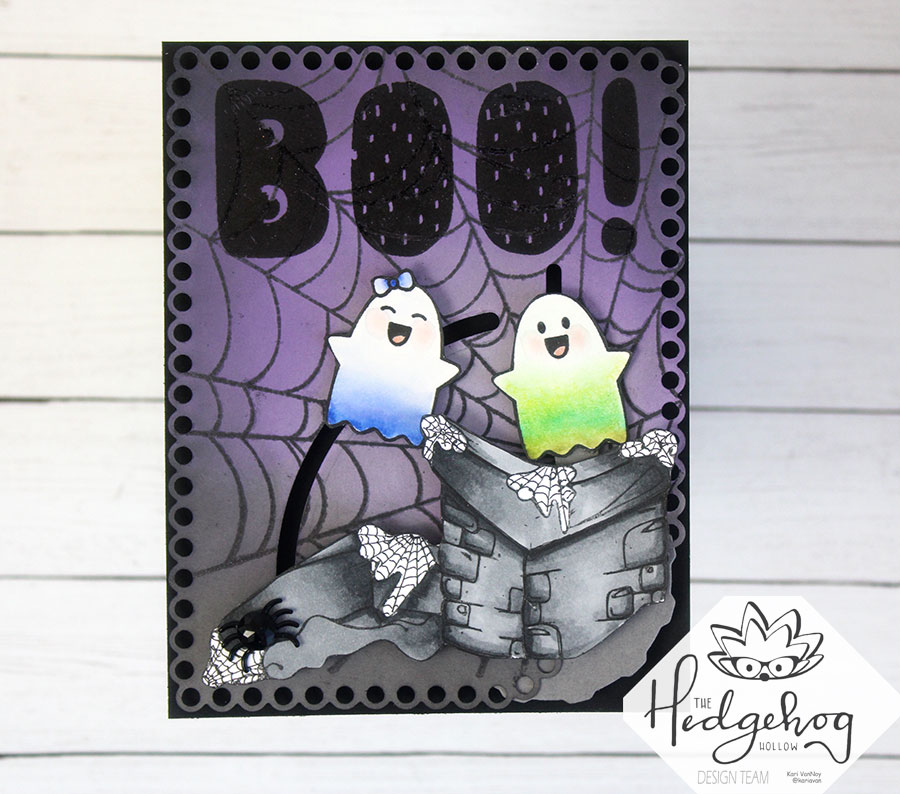
Hello there! Today I have a bit of a Haunted House issue…uh oh! I am using the interactive die from the Hedgehog Hollow October kit and some cute ghosts from a previous kit to create this haunted house.
Boo! The ghosts are coming out of the chimney!
Oh boy…there are ghosts in that chimney! I have all the details of how I built this card on the Hedgehog Hollow blog today…see it here.
I use the IRON OFF technique for that background spiderweb! First I stamped it with embossing ink and heat embossed clear embossing powder over the spider web. Then I blended on some Distress Oxides over the spider web. Once the ink was dry, I placed the panel on my ironing board, added a piece of plain computer paper over the top, and held the warm iron over it all for a few seconds. The computer paper absorbs the embossing powder and leaves the panel completely FLAT!
You might be asking…why did you want to remove the embossing powder? Well, I wanted to stamp that “BOO” over the top and needed a flat surface to add it. This allowed me to stamp in dark black ink. (I didn’t want a large sentiment strip on this card.)
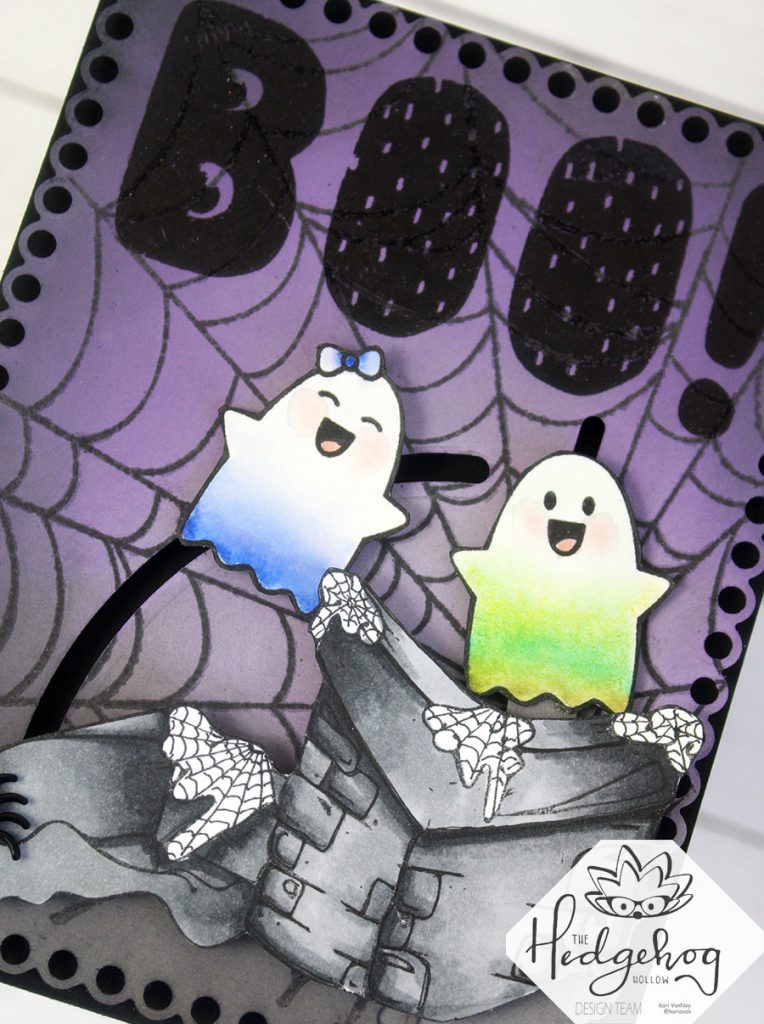
Here’s what it looks like when you turn the dial…the ghosts pop up!
Isn’t that cool?! To put this card together, I attached the dial and arms with brads, then attached the full card base on the black card panel with foam tape. For a video tutorial of how to do this, check out my earlier video here.
I’m often asked what supplies I use to make my cards and projects, so I’ve put together a list using affiliate links when possible. If you make a purchase with these links I may receive a small commission. These help me to keep up with blog costs and continue bringing you fun projects. Thank you so much for your support!
Haunted House!! I hope you enjoyed this happy Haunted House card today. Thanks so much for stopping by!
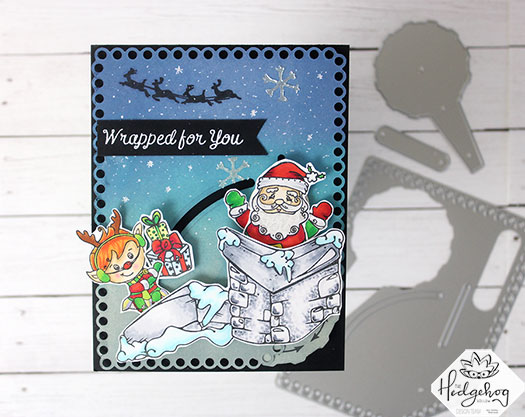
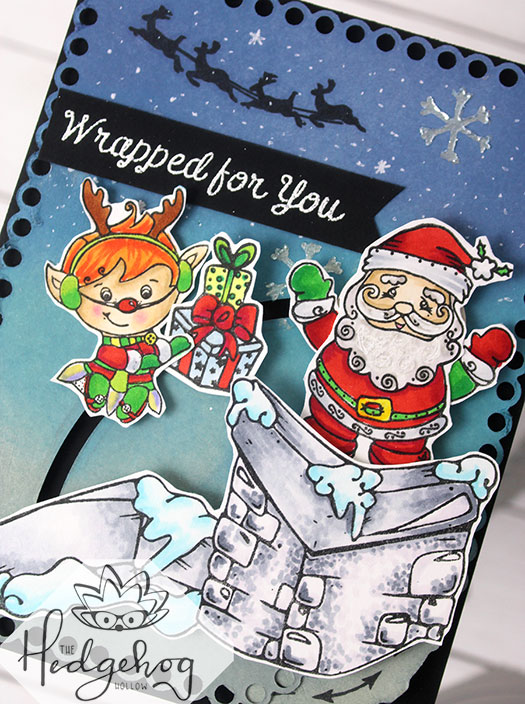
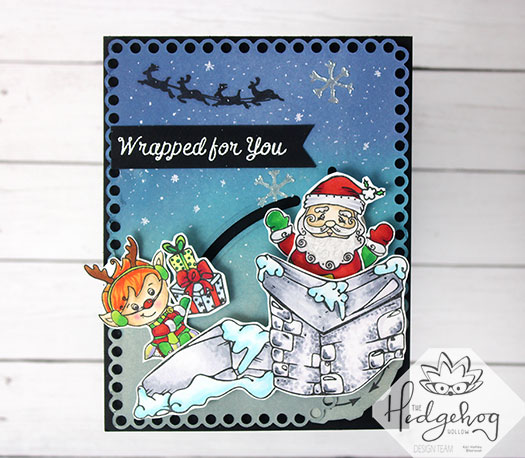
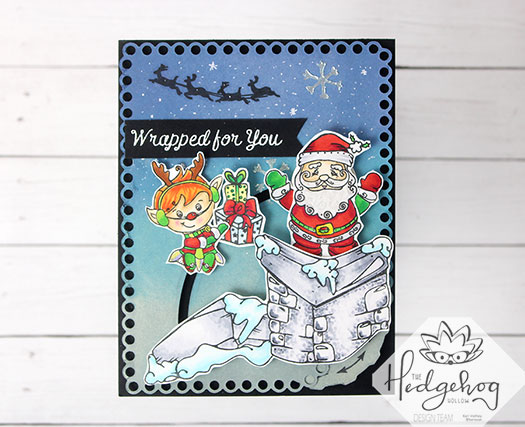
Hello! Today I am sharing an interactive card using products from the Hedgehog Hollow October Kit. There are so many holiday stamps, a stencil, and a fun interactive die in this kit.
Santa jumps out of chimney, Elf jumps up to hand Santa some presents!
This is a very fun die, and I have a video to show you just how to put it all together, with some tricks I learned along the way. Watch it below or on YouTube:
I’m often asked what supplies I use to make my cards and projects, so I’ve put together a list using affiliate links when possible. If you make a purchase with these links I may receive a small commission. These help me to keep up with blog costs and continue bringing you fun projects. Thank you so much for your support!
Hi I'm Kari. I'm a creator, a card maker, and a day maker! I am Lucky in love to a supportive husband, blessed to raise 3 kids (all moved away now!), and happy to be watched over by 2 dogs.
I originally started this blog to remind me to be happy amid adversity, and I hope it inspires you, too!