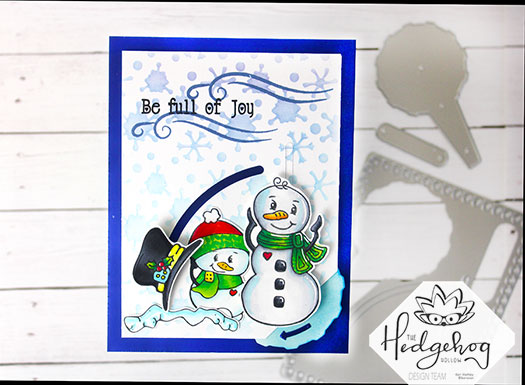
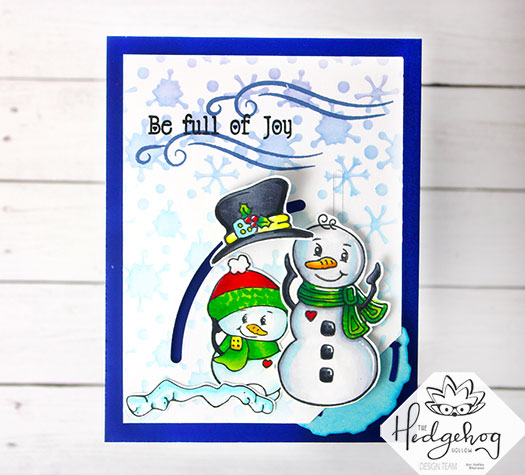
Hello! Today I have a new card to share with this cute Snowman image. I am using the October 2019 Hedgehog Hollow Kit in a new way…by altering the Interactive Die Cut to create a whole new look!
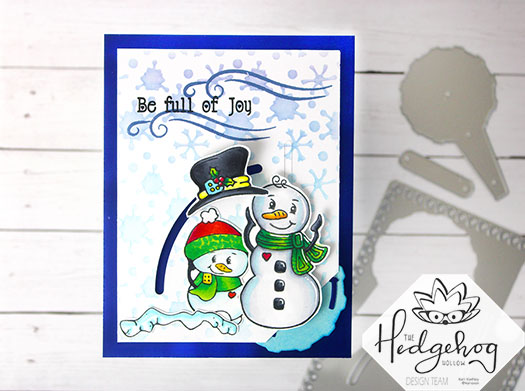
This is a cute kit, and I have a video showing you just how I made it and how I changed up the look of that interactive die. Watch it below or on YouTube:
I love that you can change up this kit and die to make it what you want. I hope this inspired you to look at your dies in a whole new way!
Check out the other cards I’ve made using this same die: here and here.
I’m often asked what supplies I use to make my cards and projects, so I’ve put together a list using affiliate links when possible. If you make a purchase with these links I may receive a small commission. These help me to keep up with blog costs and continue bringing you fun projects. Thank you so much for your support!
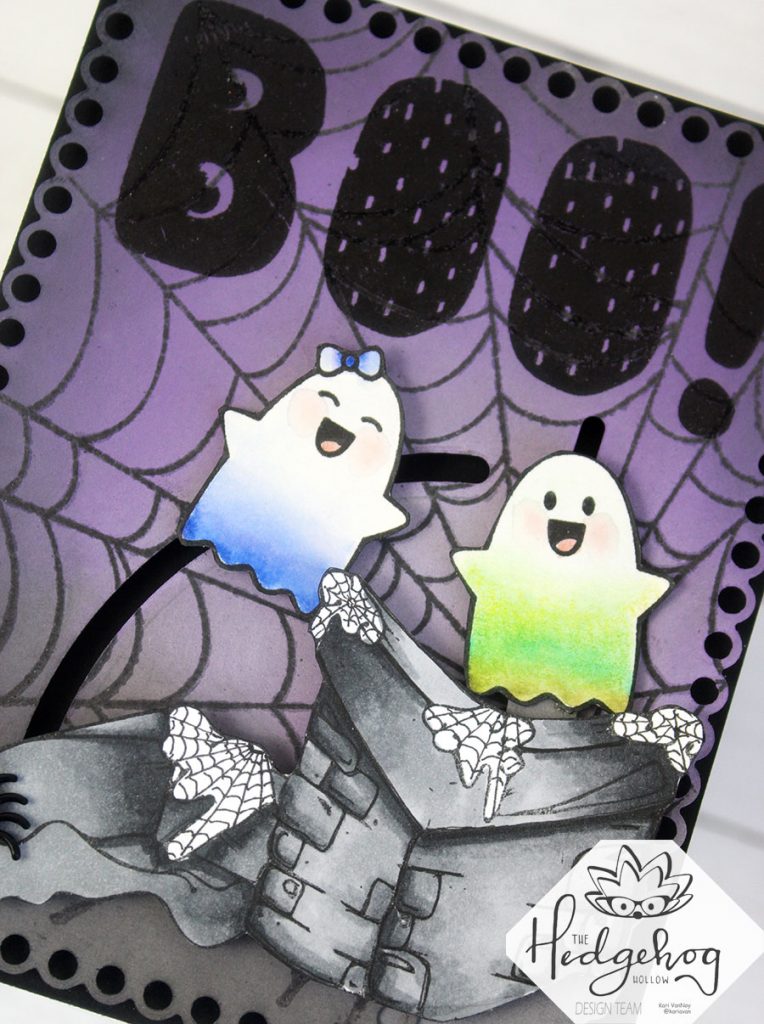
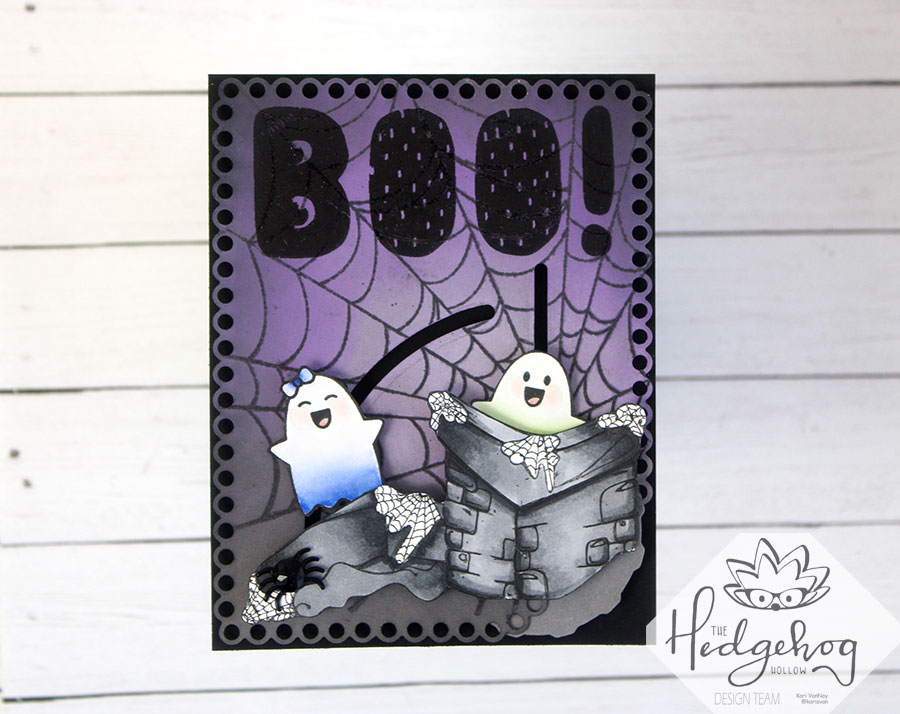
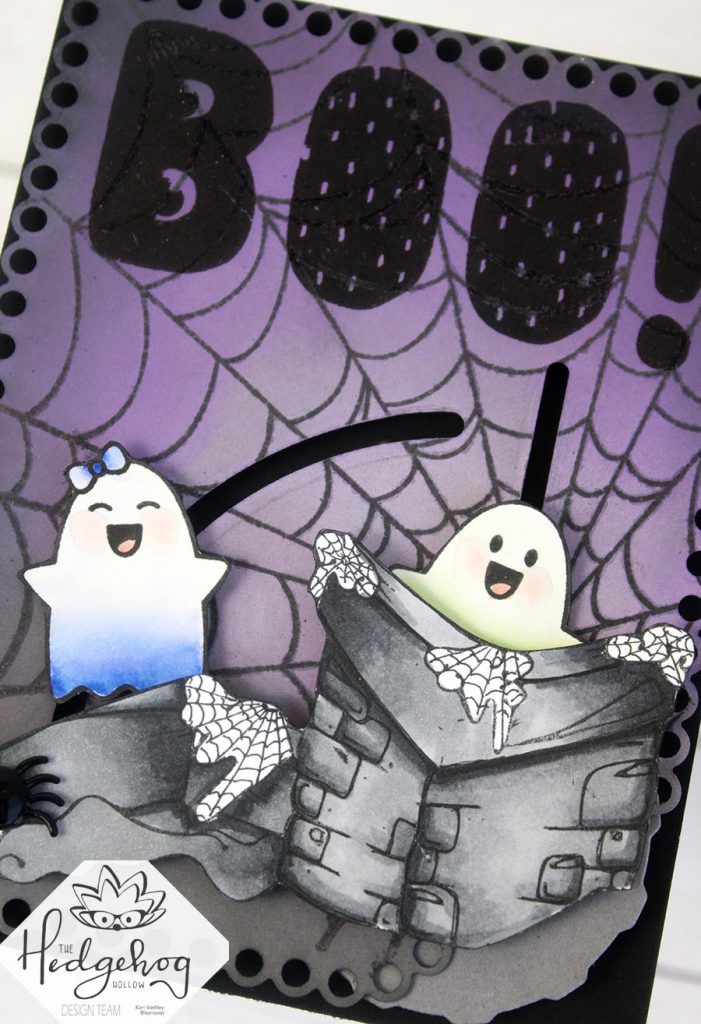
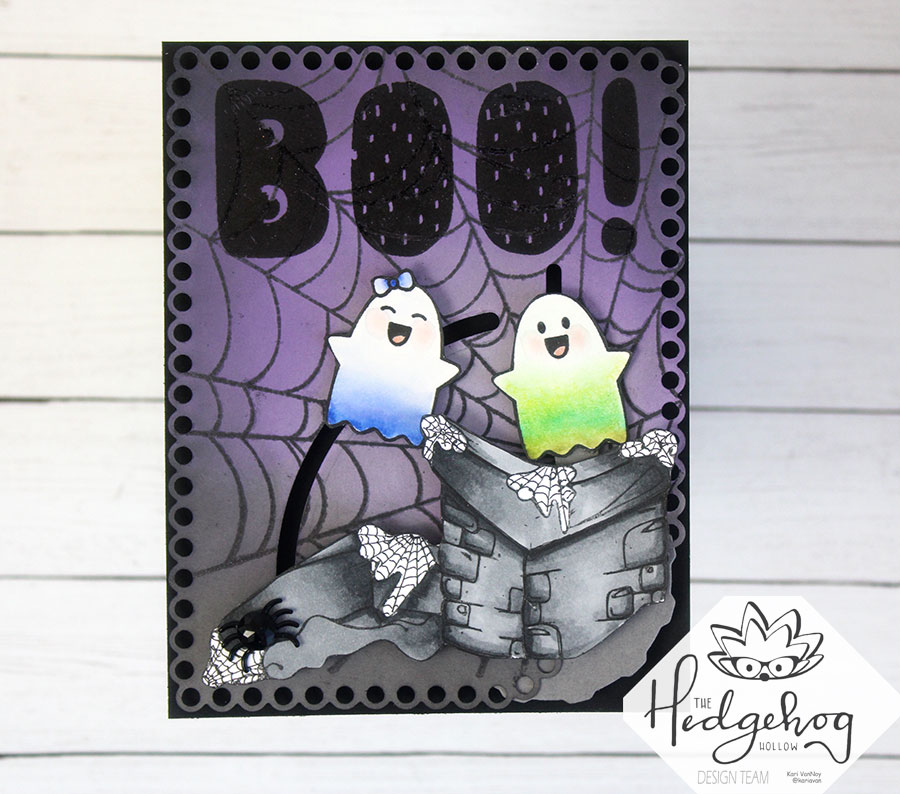
Hello there! Today I have a bit of a Haunted House issue…uh oh! I am using the interactive die from the Hedgehog Hollow October kit and some cute ghosts from a previous kit to create this haunted house.
Oh boy…there are ghosts in that chimney! I have all the details of how I built this card on the Hedgehog Hollow blog today…see it here.
I use the IRON OFF technique for that background spiderweb! First I stamped it with embossing ink and heat embossed clear embossing powder over the spider web. Then I blended on some Distress Oxides over the spider web. Once the ink was dry, I placed the panel on my ironing board, added a piece of plain computer paper over the top, and held the warm iron over it all for a few seconds. The computer paper absorbs the embossing powder and leaves the panel completely FLAT!
You might be asking…why did you want to remove the embossing powder? Well, I wanted to stamp that “BOO” over the top and needed a flat surface to add it. This allowed me to stamp in dark black ink. (I didn’t want a large sentiment strip on this card.)
Here’s what it looks like when you turn the dial…the ghosts pop up!
Isn’t that cool?! To put this card together, I attached the dial and arms with brads, then attached the full card base on the black card panel with foam tape. For a video tutorial of how to do this, check out my earlier video here.
I’m often asked what supplies I use to make my cards and projects, so I’ve put together a list using affiliate links when possible. If you make a purchase with these links I may receive a small commission. These help me to keep up with blog costs and continue bringing you fun projects. Thank you so much for your support!
Haunted House!! I hope you enjoyed this happy Haunted House card today. Thanks so much for stopping by!
Hi I'm Kari. I'm a creator, a card maker, and a day maker! I am Lucky in love to a supportive husband, blessed to raise 3 kids (all moved away now!), and happy to be watched over by 2 dogs.
I originally started this blog to remind me to be happy amid adversity, and I hope it inspires you, too!